Let’s start with how to connect to AWS Redis.
Connect to AWS Redis
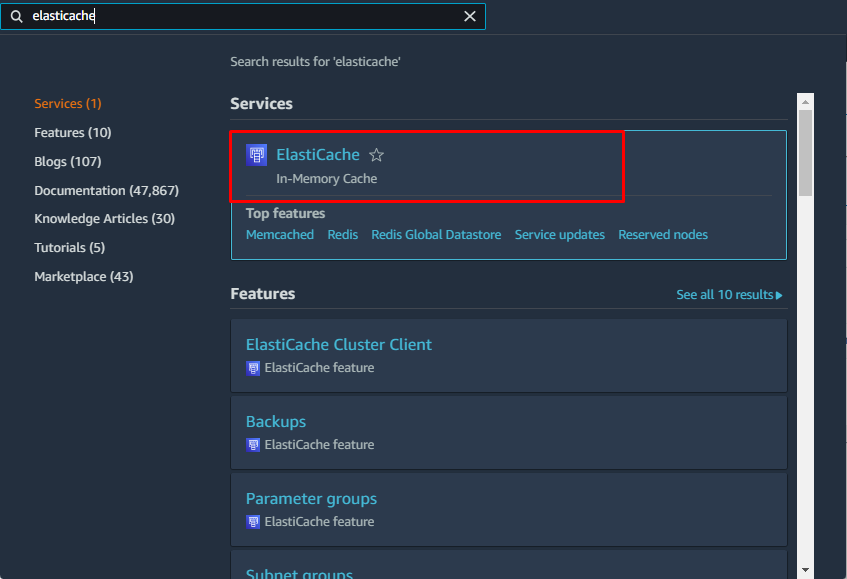
To connect to AWS Redis, search the “ElastiCache” in the search bar on the AWS management console and click on it:
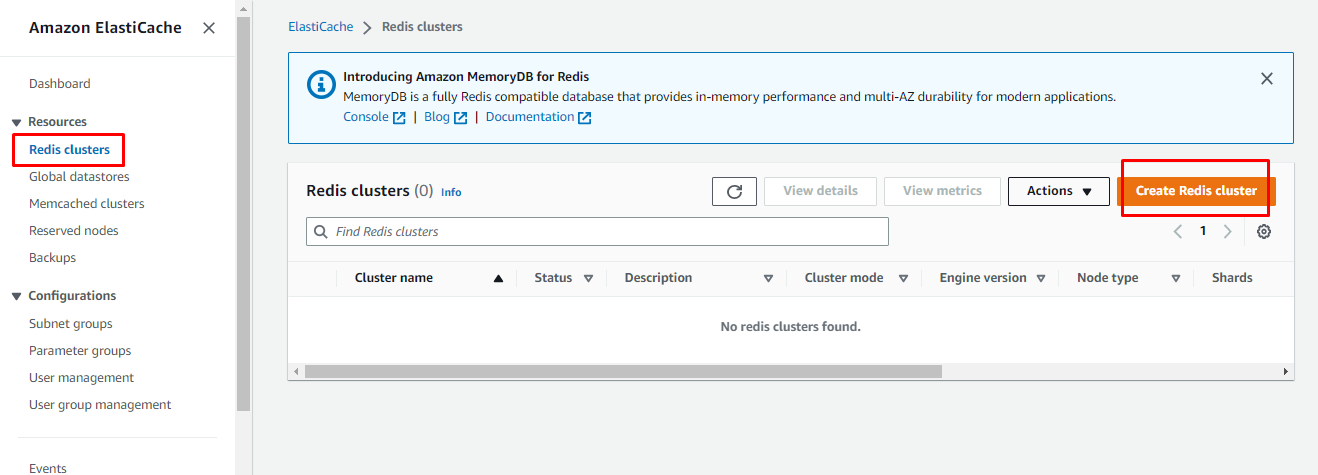
On the ElastiCache page, select “Redis clusters” from the left panel and click on “Create Redis cluster” button:
On the configuration page, choose to create a new cluster and click on the “Disabled” button in Cluster mode:

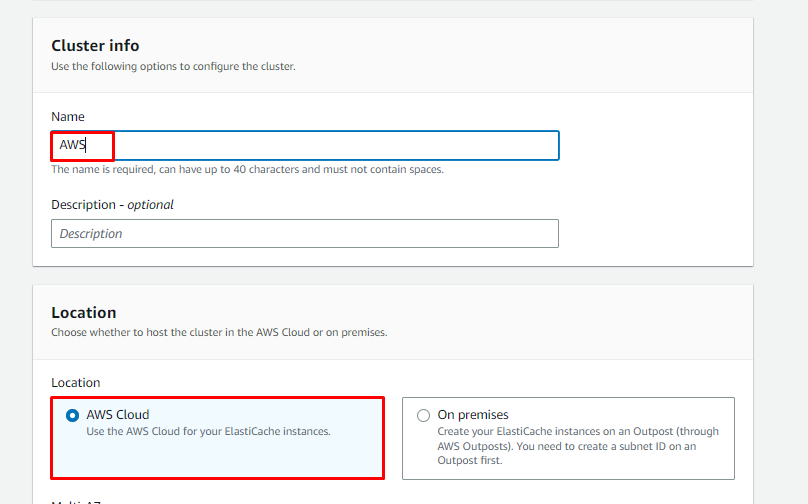
Type the name of the Redis and select the location to host the Redis cluster:
Scroll down to the connectivity section, select the “Network type” and type the name of the Network:

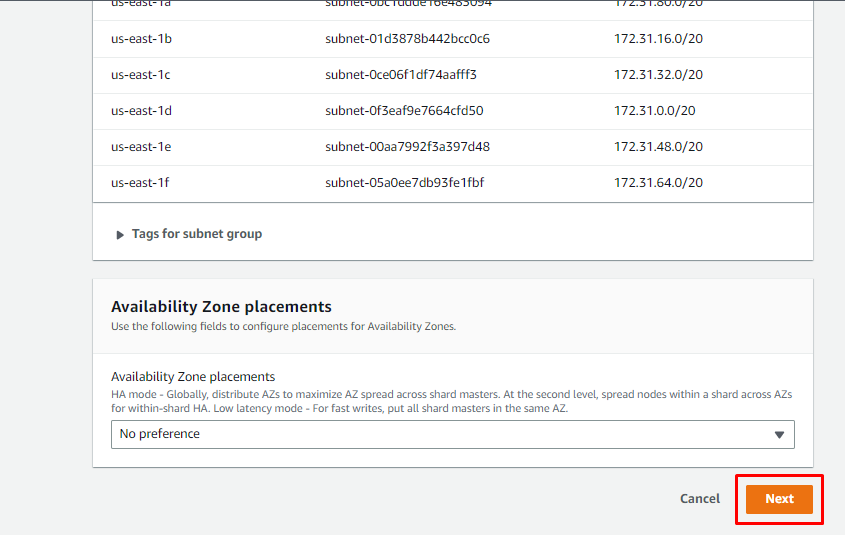
Once the configuration on this page is completed, click on the “Next” button:
In the Backup section, select the number of days to retain these backups:
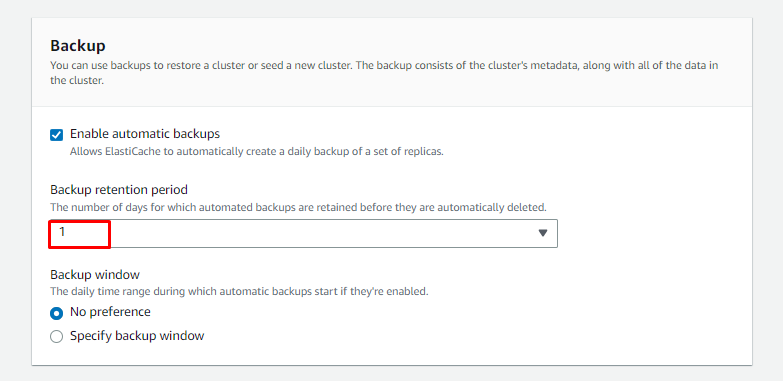
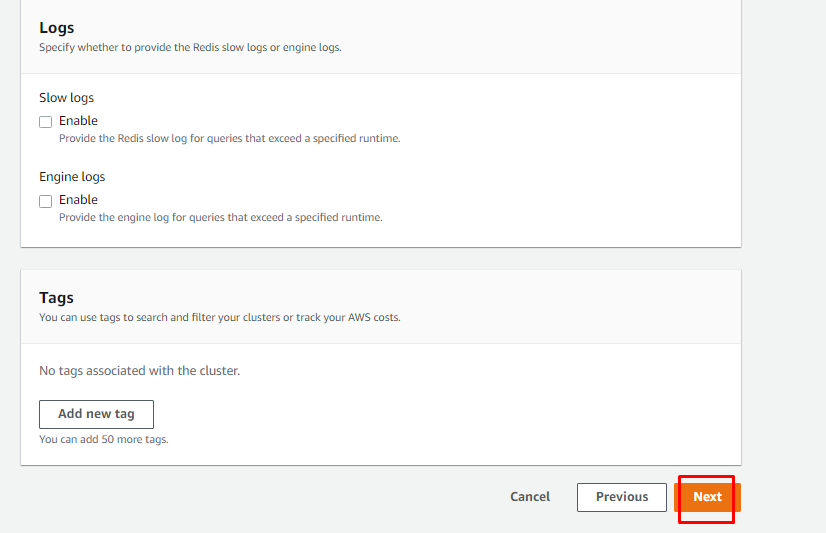
Scroll down to the end of this page and click on the “Next” button:
On the last page of the configuration, review the settings and click on the “Create” button:

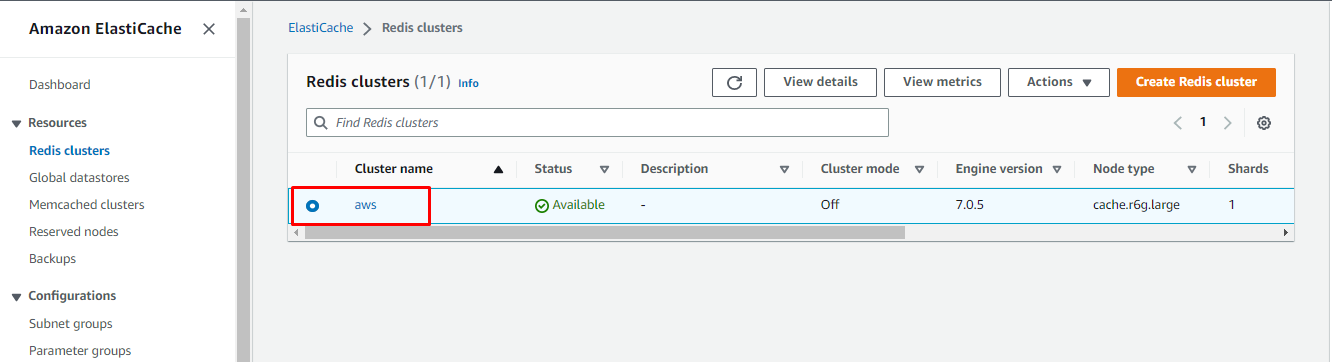
On the Redis cluster page, click on the cluster’s name from the list:
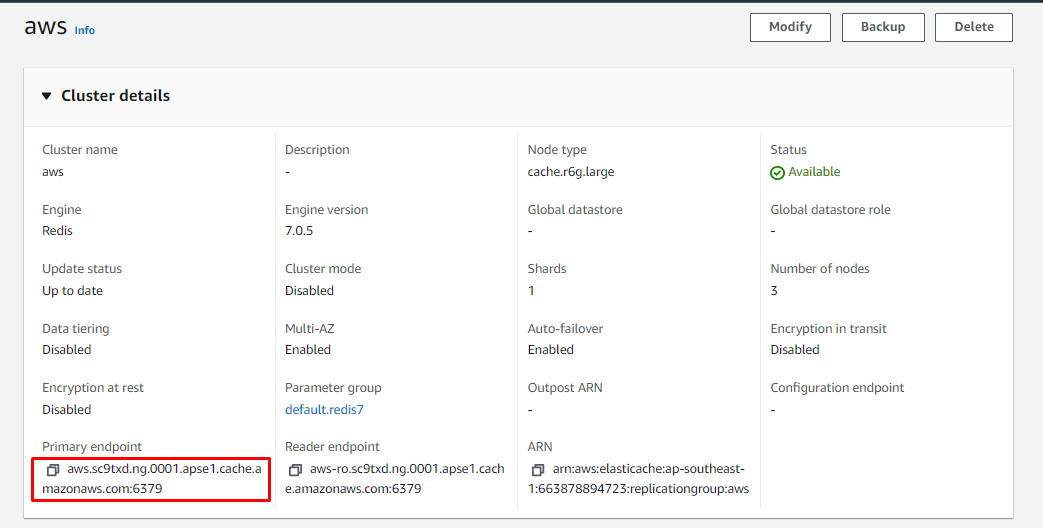
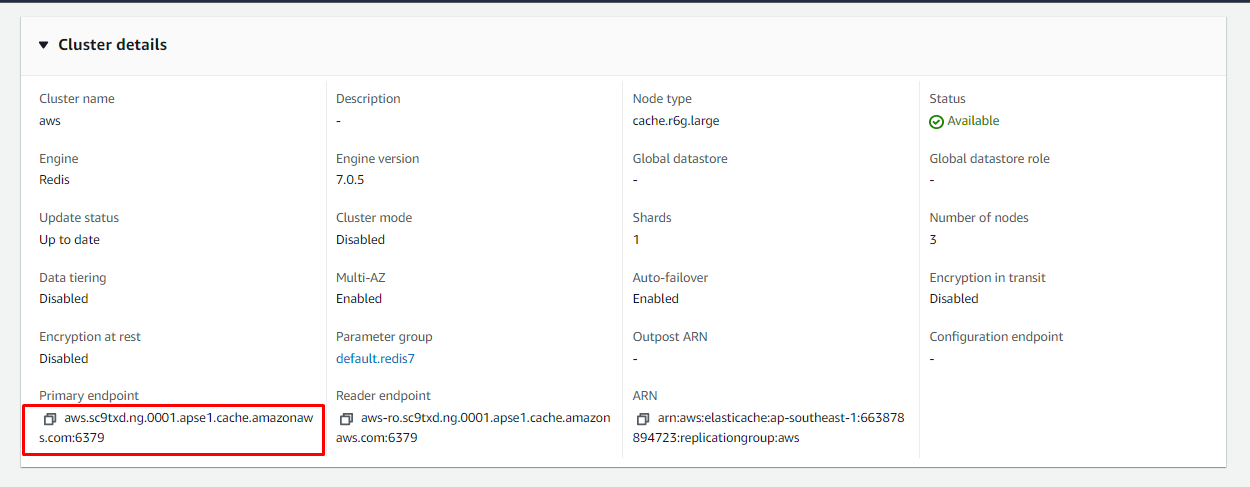
On this page, details of the cluster details will be displayed. The user will need the “Primary endpoint” from this page to connect to the AWS Redis:
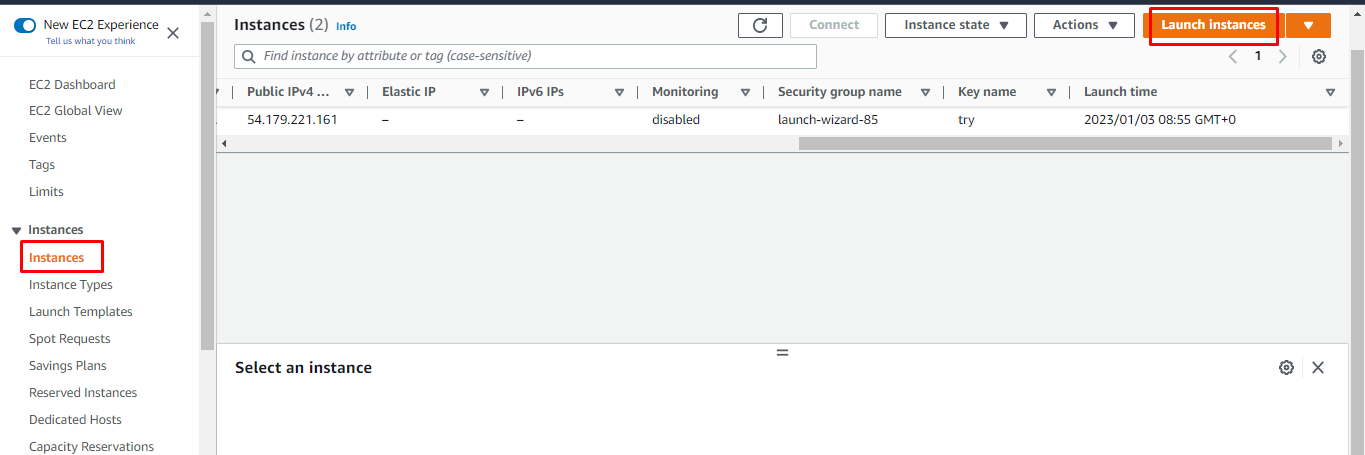
Once the Redis is created, simply visit the EC2 console to create an instance by clicking on the “Launch Instances” button. Redis cluster will be connected through the EC2 instance:
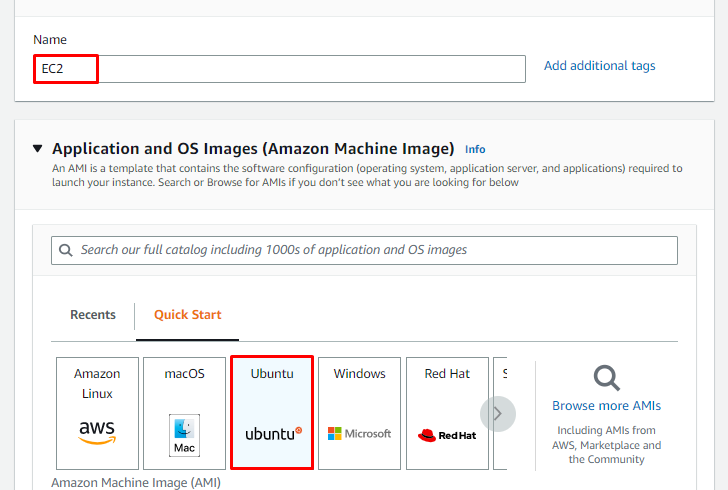
On this window, provide the instance name and select the AMI for the EC2 instance:
Scroll down the page to select the instance type and create a new key pair file to connect to the instance. After that, review the configurations from the “Summary” section and click on the “Launch Instance” button:

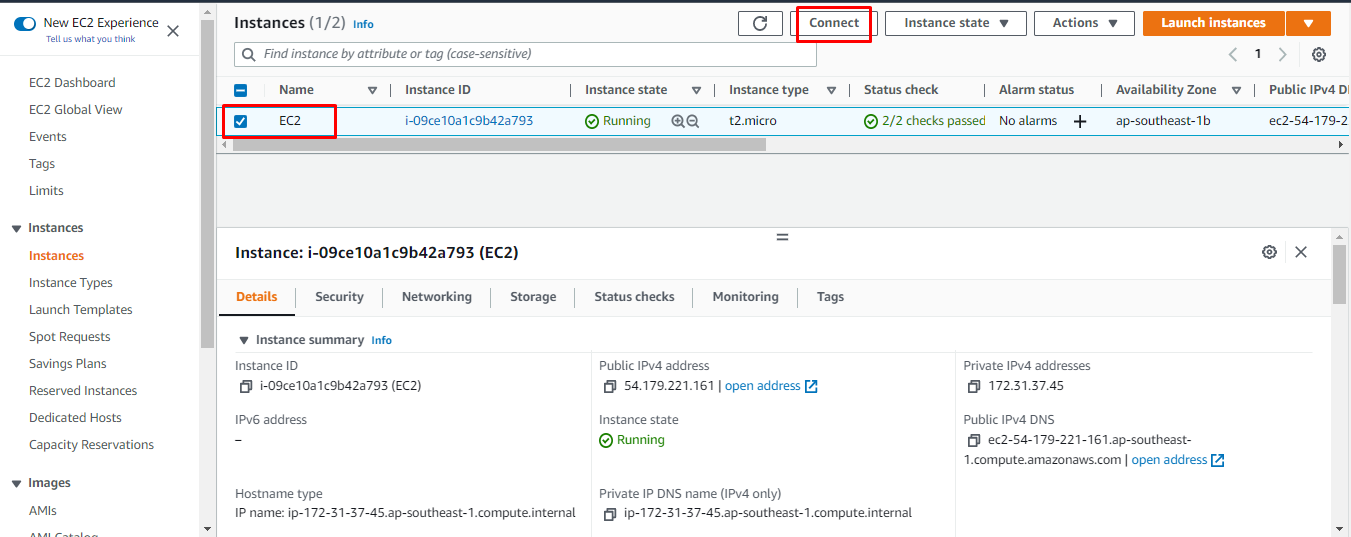
After that, simply click on the “Connect” button after selecting the EC2 instance:
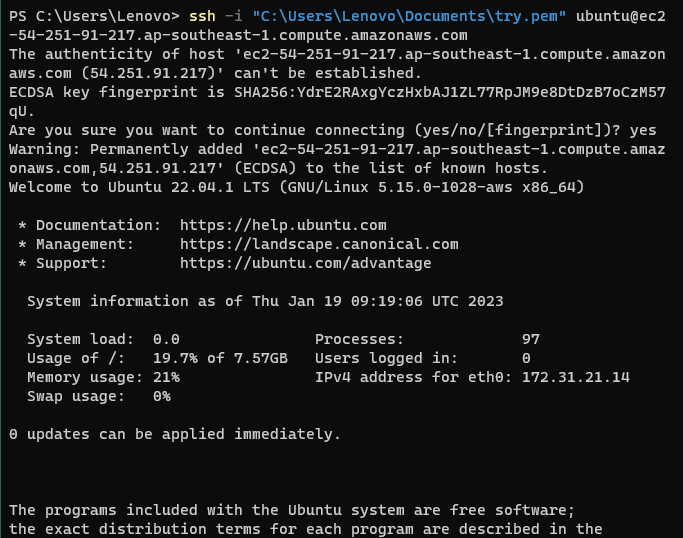
Simply head into the SSH client section and locate the command written under the “Example” heading:
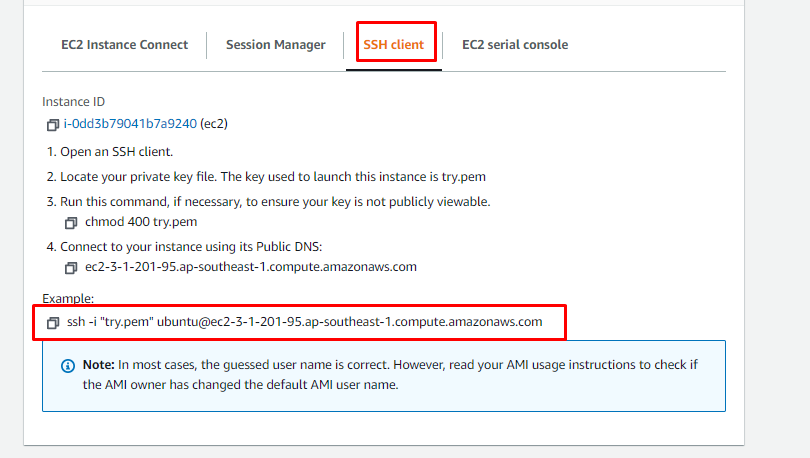
Use the above-mentioned command with a simple change the key pair name with its path:
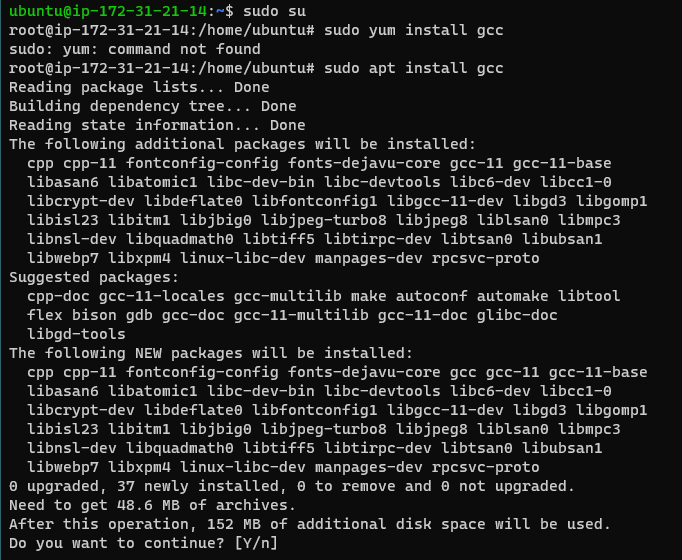
Once the user is connected to the instance, simply install the GNU Compiler Collection using the following command:
The following output will be displayed after running the above command:
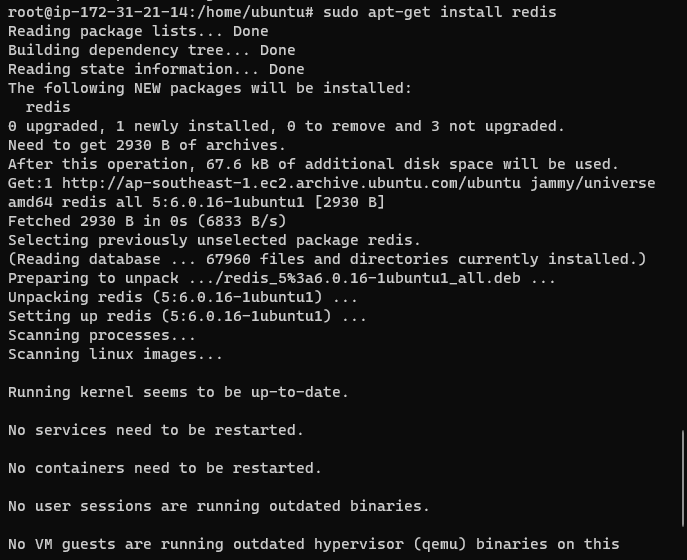
Use the following command to install the Redis server on the instance:
This command will display the following output:
After that, simply copy the “endpoint” from the cluster details and use the command mentioned in the next step:
Once the setup is complete, use the following command to connect to the Redis:
Syntax for the above command is mentioned below:
Running this above command will display the following output:

You have successfully connected to AWS Redis:
Conclusion
To connect to the AWS Redis, create a Redis cluster from the AWS “Elasticache” and get the Primary endpoint from the Redis. The next step will be to create an EC2 instance from the EC2 console page and connect to it. Inside the EC2 instance, install the Redis server on the EC2 instance. Then simply connect to Redis using the endpoint provided by the platform.