
This tutorial will cover the installation and configuration of the NTP daemon in ArchLinux.
Step 1: Install NTP daemon
To install the NTP daemon, fire up the terminal and enter the following command:
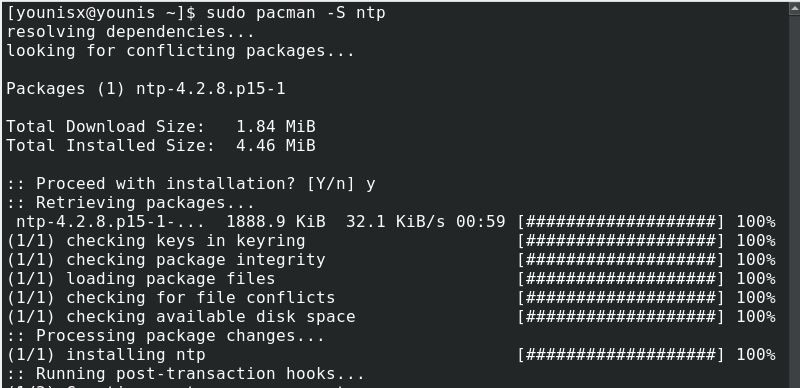
This will install the NTP package on your system, which will assume function in client mode.
Step 2: Connect to NTP server
There are hierarchal layers to NTP servers. Each layer is called a strata. The first stratum, called starum 0, consists of sources that are time-independent. The next layer, stratum 1, consists of servers directly linked to stratum 0. The next layer, stratum 2, consists of sources connected to stratum 1, and the hierarchy continues in a similar fashion.
Stratum 2 servers are used for web-server time synchronization. The NTP project pool provides a list of these, which you can access here: http://www.pool.ntp.org/

You will want to choose the nearest to where your machine is situated, with the iburst option.
Step 3: Set Up NTP server
First, enable the orphan mode before setting up an NTP server on your system. To enable the orphan mode, issue the following command:
![]()
You will now set up the parameters to restrict client access for users looking to connect to your server. Suppose you want to restrict users to only read the contents on your server and keep user queries for the server’s time status at bay. To do so, you would run the following command:
![]()
To get detailed info on these parameters, check out the following link: https://jlk.fjfi.cvut.cz/arch/manpages/man/ntp.conf.5
Step 4: Use NTP Server
To use the NTP server, first, load the NTP package from the console with the -u option:

Alternatively, you can use the -g option to boot the NTP server, which disables the panic-gate:

The panic-gate is a threshold that mitigates the effects of time-jumps if the server time is being synchronized for the first time with an NTP server.
To start the NTP daemon upon system reboot, use the ntpd.service:
![]()
To view the synchronization status, enter the following:

After issuing the above command, you should also be shown a list of ntp servers. Some of these servers will have an asterisk before their name. These are the servers that are syncing with ntpd. Typically, it takes around 15-20 minutes for ntpd to select a server to sync with.
If you are not running a server, you may also sync the time once per boot using the ntpdate.service
Conclusion
In this tutorial, we showed you how to set up an NTP server on your ArchLinux system. Hopefully, you found these instructions simple and easy to follow.