In this guide, we will discuss how to install and also the procedure to configure the ufw on Debian.
How to install and configure ufw on Debian
We will discuss the installation and configuration procedure of ufw on Debian and its version is 11.
Installation of ufw : First, we will upgrade the repository of Debian using the update command.

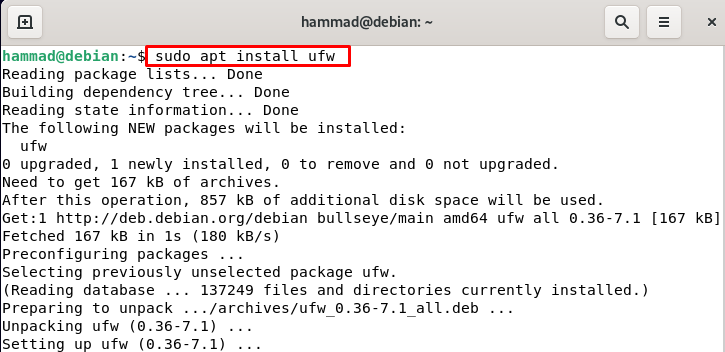
To install the ufw on Debian we will execute the following command in the terminal.
Enabling the UFW : Before enabling the ufw let’s check its status, by default the status of ufw is always inactive.
To enable or activate the ufw we will run the command.
Default policies of ufw : By default, the ufw policies are restricted, and neither allows any incoming traffic nor outgoing traffic. We can change the policies by the command whose general syntax is:
The ufw policies are present at the path of /etc/default/ufw by accessing it we can make the changes or we can change policy settings by running the commands. We are denying the incoming traffic so none of the users can connect to our server.
Similarly, to permit the outgoing:
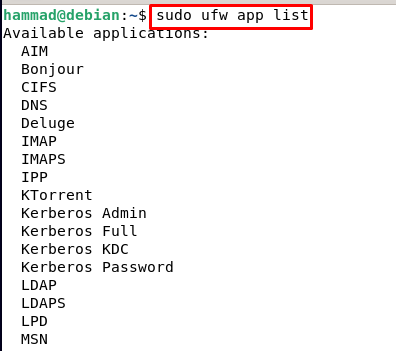
Applications profiles in UFW : Whenever we install any software or application on Debian, it stores the application profiles at the path /etc/ufw/applications.d directory. If we want to display the list of the applications then we will run the following command:
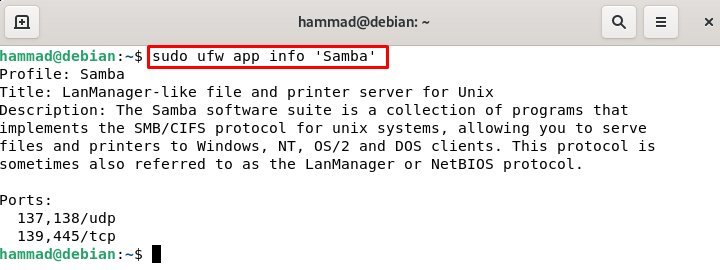
It is clear from the output that this command displays all the applications files which are installed on this machine. Now if we want to get the details of a specific application, let’s say we need all the details of the samba application then we will execute the command.
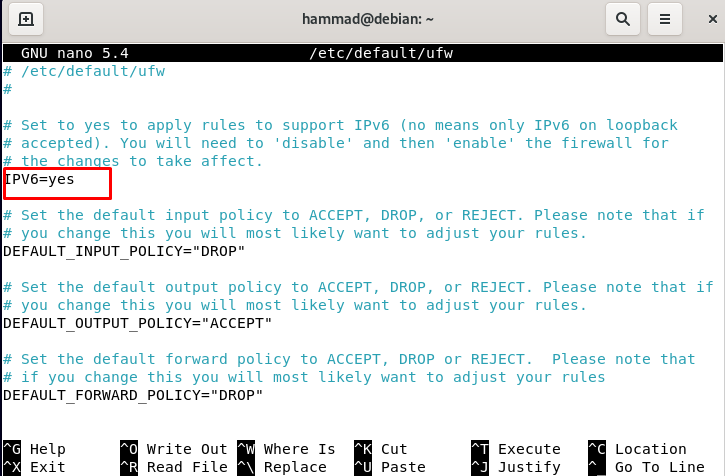
Enabling IPv4 and IPv6 ports : To check whether these two basic ports are enabled or not, we will open the file /etc/default/ufw:
We will search the IPv4 and IPv6 ports and make them enabled by entering yes if they are not enabled.
Now press CTRL + S to save the file and CTRL + X to exit the editor. Reload the ufw so it can configure its new settings.
Permitting ssh connection on ufw : We cannot enable the ufw firewall unless we do not permit the incoming ssh connection. To permit the ssh connection we will execute a command.
By default, the ssh connection is listed on port 22 but if you are using some other port then you have to open it on the ufw firewall. For example, we are using port 4444 then enter the following command:
We will not run the following command because we are using the default port. We can also restrict the ssh connections as:
If you are using the customized port then you will have to execute the following syntax.
Opening of the ports : Now we will have to open the ports for the applications so they can run successfully on those ports. To understand it we will consider HTTP and enable port 80 for it, we can do this.
You can also use the port number instead of HTTP like this:
If we want to set up the web server then along with HTTP we have to open the port for HTTPS which is on 443 port by default:
Using the port number.
Permits port ranges on ufw : We can also set the port ranges for example we want to set a range of 4000-4500 for both the tcp and udp. We can set this by commands:
Similarly, for udp:
Permit specific IP addresses : We can also permit only the specific IP addresses by using the command.
Permit specific IP address to a specific port : We can also permit the specific port to the specific IP address by the following command. Change the IP address as well 44 to your required IP address and port number.
Allow specific network interface : To allow connections of a specific network interface eth2 on a particular port let’s say 22 (SSH), execute the following command.
Deny connections on ufw : By default, all the connections are blocked on ufw as we discussed at the start but we have two more options either to block the connections for a specific range or specific port. To block the connections of the specific ip address, we use the command.
To block addresses on the specific port we use.
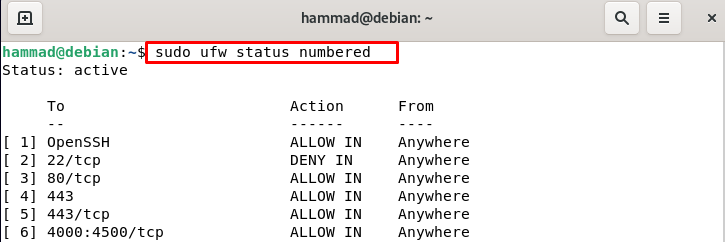
Deletion of ufw rules: We can delete the ufw rules either by the actual rule number or by the actual rule. But before this, we can list down all the rules.
If we want to delete the Openssh using the rule number then we will use the following command.
And if we want to delete rule 443 by its actual rule then run the command.
Dry-run of ufw : We can dry run the ufw without making any changes in the firewall.
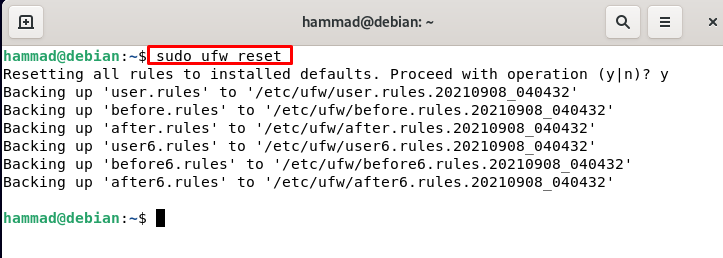
Reset command of ufw : We can reset the ufw by running the following command.
The GUI of ufw
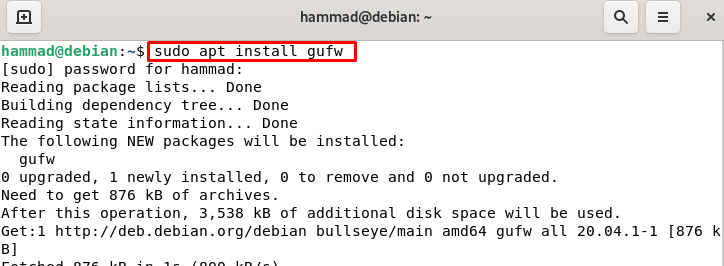
We can also install the GUI (graphical user interface) for the configuration of the ufw:
Now go to the search bar and type firewall.
Click on the icon and it will ask for the root password for the authentication:
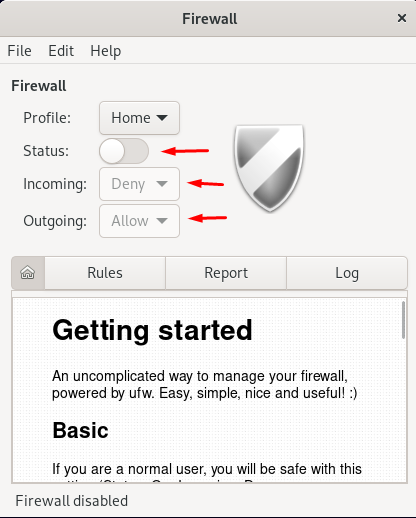
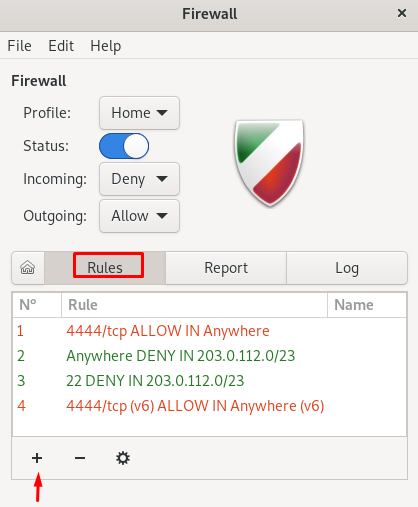
A GUI will be open anywhere you can change the status of the ufw and also allow or deny the incoming and outgoing. To add the rule click on the rules option and click on the add symbol (+).
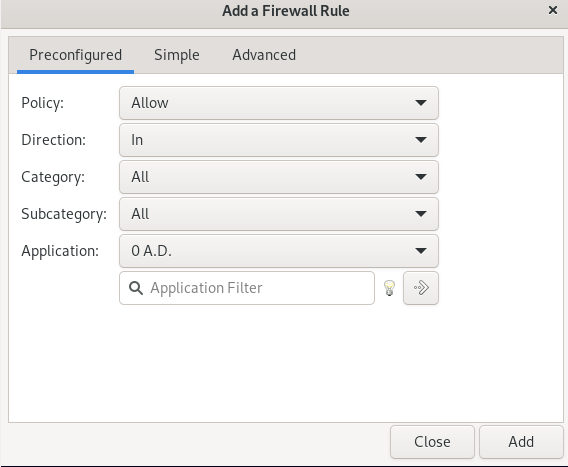
Another prompt will be open.
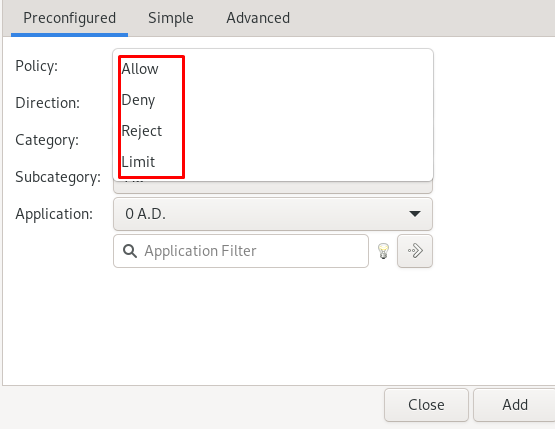
Choose the policy, according to your requirement, to allow, to deny, to reject, or to limit the incoming or outgoing.
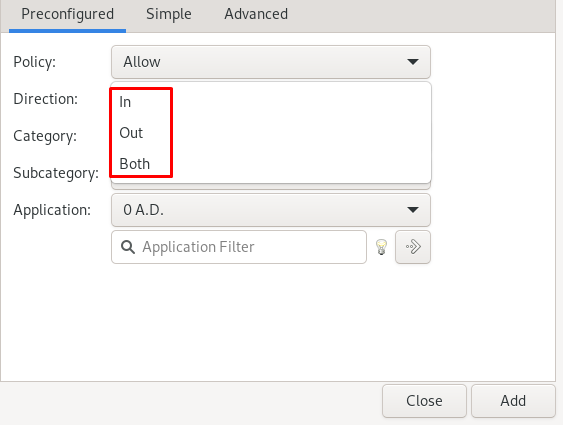
Click on the direction, and choose in, if you are adding the rule for incoming, out if you are adding a rule for the outgoing, or choose both if you are adding a rule for both incoming and outgoing.
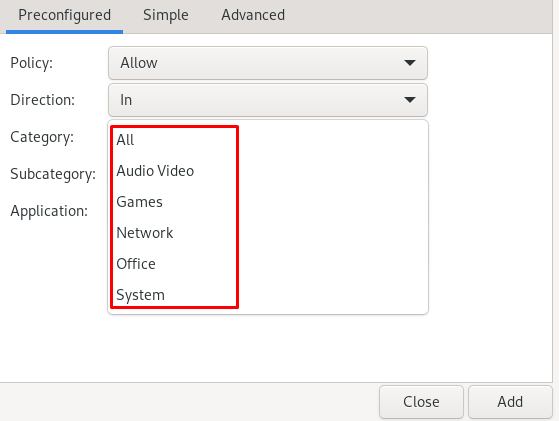
Choose the category,
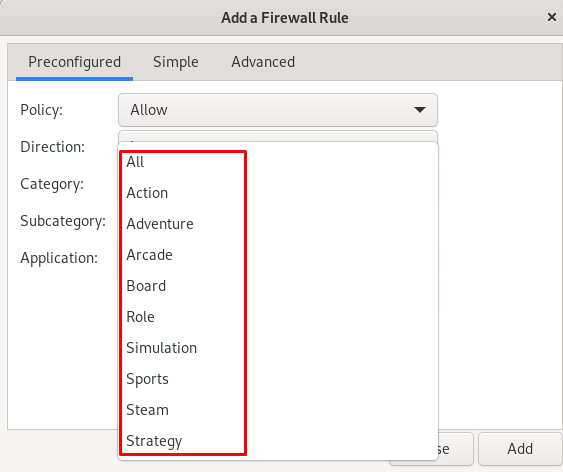
Also, you can choose the subcategory:
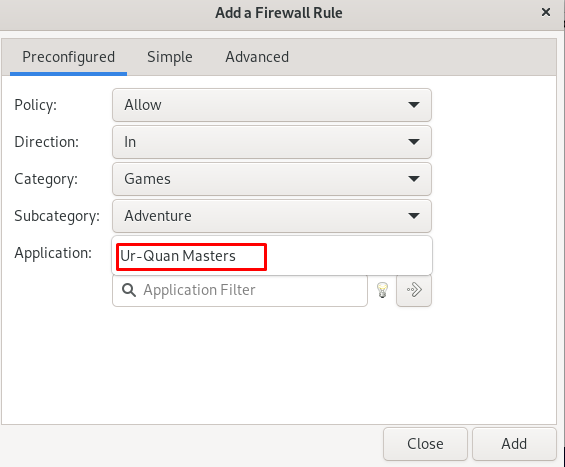
Next, choose the application for this subcategory:
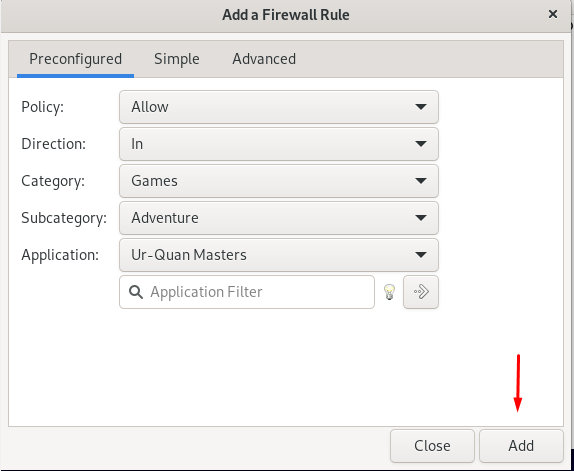
And press the Add button below.
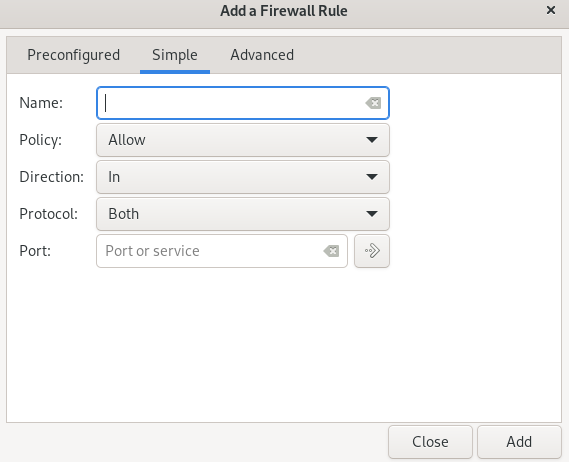
You can also configure, by simply clicking on the Simple, by choosing the type of policy, its direction, protocol, and port number. Then press the Add button.
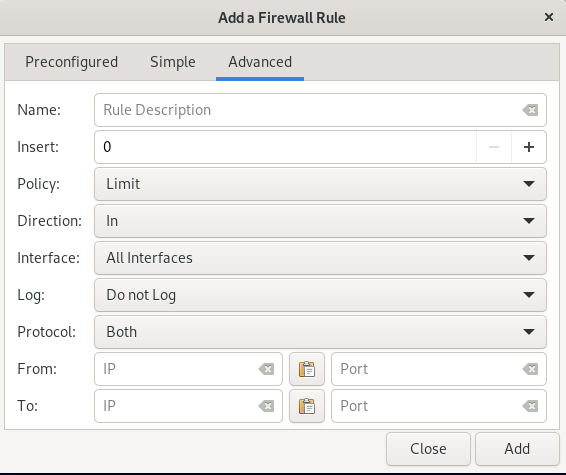
And if you want to add a rule for any certain range then click on Advanced tab.
Conclusion
To secure the network system is the primary need of every user so neither one can hack the network nor can harm the network system files, for this purpose the Linux distribution has the tool known as “ufw ” which is an uncomplicated firewall and it is very easy to use and it’s more efficient. In this guide, we have discussed the installation process of the ufw and also how we can configure the ufw on Debian by both the terminal and GUI method.

