
This article discusses the step-by-step method to configure the Apache web server on Debian.
How To Configure the Apache Web Server on Debian?
To configure the Apache web server on Debian firstly users are required to install the Apache2 Web Server; so the content of this article is distributed as:
I. Installing/Setting up Apache Web Server
To install the Apache web server on Debian, follow the below-written steps:
Step 1: Update/Upgrade the Repository
It is suggested to upgrade the repository first:
Step 2: Install Apache2
Then install Apache2 from the local repository by using the below-written command:
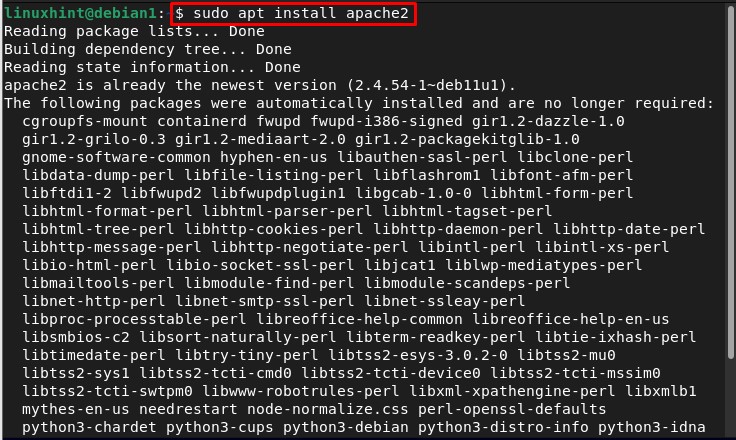
After running the above command, the installation of Apache2 will start and it is going to take some time as all the dependencies will also get installed with it.
Step 3: Enable Firewall
To access the Apache2 web server the firewall should be active on the system and for that run the below-written ufw status command to check the status of the firewall:

If the ufw displays inactive status then enable it by using the below-written command, otherwise for the already active status of ufw you can go to step 4:

Step 4: Verify Apache2 Working
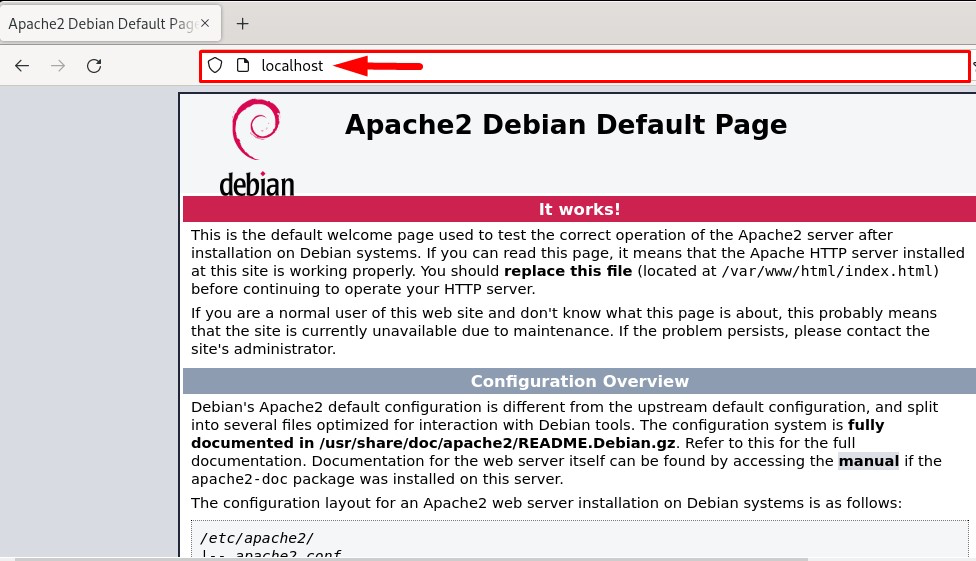
To verify that the Apache2 web server is installed and working successfully, open the local browser and type the word localhost in the search bar:
The output should display the Apache2 default web page which ensures that the Apache web server is installed and working properly:
Step 5: Configuring the Firewall
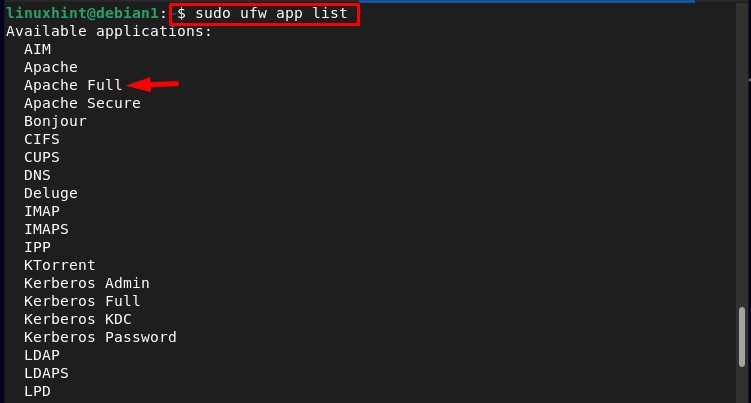
To externally access the Apache2 web server the firewall should be configured to open the ports for the required application. To list the firewall application run the below-written command:
In the list you can see the Apache Full, to allow external access to the Apache2 web server allow the Apache Full through the firewall:
To allow Apache Full through the firewall run the below-mentioned command:

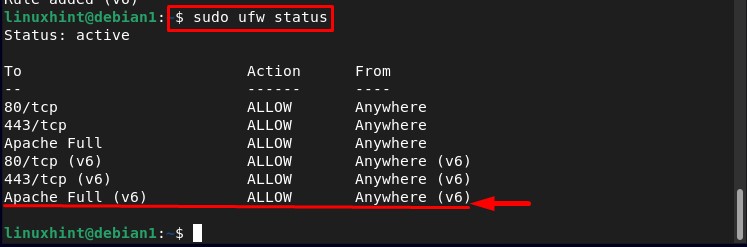
And to confirm that it is added successfully run the below-written command:
In the output you can see that the Apache Full has been added successfully to the firewall-allowed ports list:
Configuring Apache Web Server
After installing the Apache web server, now it is time to configure it and for that follow the below-written steps:
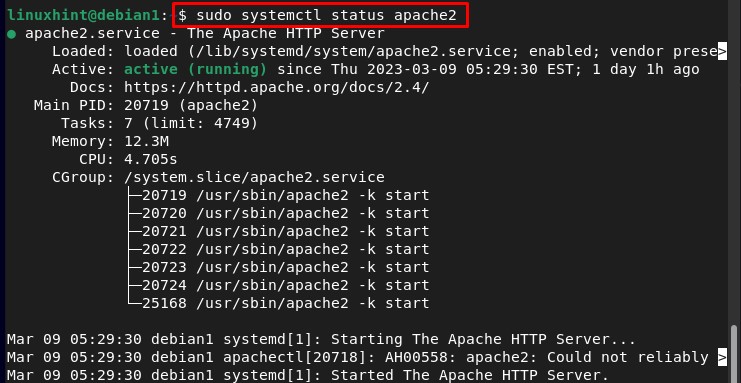
Step 1: Checking the Status of Apache2
Before configuring Apache check its status of it by using the below-written command:
Step 2: Setting up the Virtual Host
To run the host first create a directory for the desired domain “test.com” by running the below-written command:
Note: The “test.com” can be replaced with any desired domain.

After creating the directory change the ownership of the “test.com” directory to the new “www-data” environment variable:

Step 3: Create Configuration File for Virtual Host
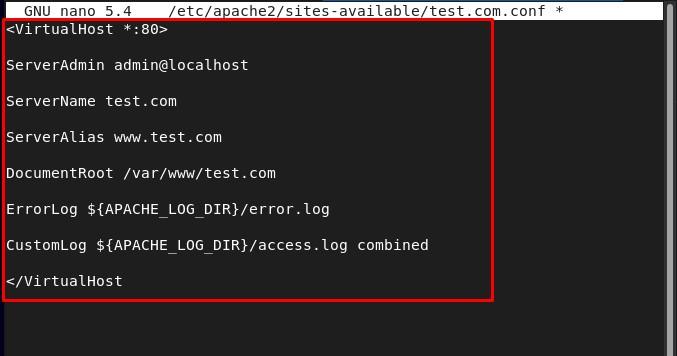
To run the created “test.com” virtual host you are required to configure it, and for that by using the nano editor create a new .conf file for the virtual host by using the below-mentioned command:
Inside the file paste the below-mentioned text for the configuration of “test.com” virtual host, and save the file:
ServerAdmin admin@localhost
ServerName test.com
ServerAlias www.test.com
DocumentRoot /var/www/test.com
ErrorLog ${APACHE_LOG_DIR}/error.log CustomLog ${APACHE_LOG_DIR}/access.log combined
</VirtualHost>
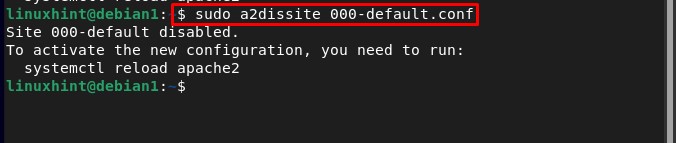
After creating a new .conf file disable the default configuration by running the below-mentioned command:
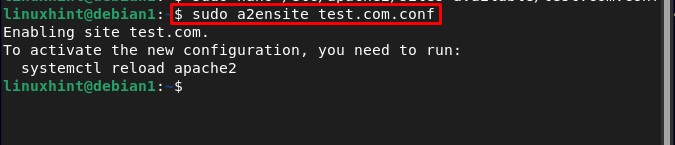
And enable the new configuration by using the below-written command:
Then restart Apache2 so that the new configuration can be loaded:

Step 4: Create Web-Page for Virtual Host
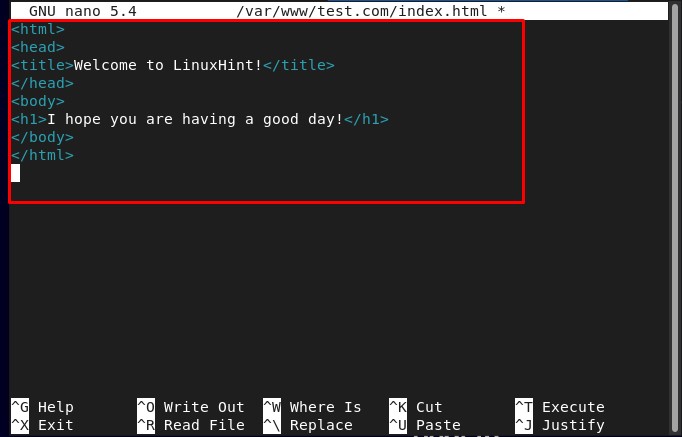
To create a webpage for the “test.com” virtual host we will use the nano editor, “index.html” is the web page that we are creating here:
Then type in the desired HTML code for the web page, and save the file:
Step 5: Finding Host IP
Then find the host IP by using the below-mentioned hostname command:

Step 6: Testing the Virtual Host
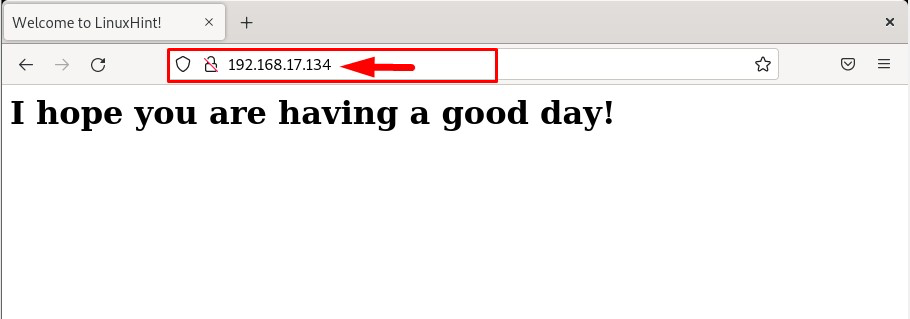
To test that our Apache2 server is configured successfully, go to the browser, and type the host IP to run the created “index.html” webpage:
Example:
In the output you can see that the created web page is displayed successfully, which confirms that the Apache webserver is running perfectly on Debian:
Conclusion
To configure the Apache web server on Debian, first, install and set up the Apache server, then configure it by setting up a virtual host and creating a new configuration file for it. Then enable the new configuration and restart the Apache server. The complete process is discussed step by step in detail in the article.