For professional and industrial purposes, people prefer to use CLI as it gives a similar environment for most technologies, so you don’t have to worry about remembering user interfaces for each service. The AWS management console also has some limitations like shell scripting, cloud formation, enabling MFA to delete on S3 buckets etc. So to resolve these problems, AWS provides its users with the option to use a command-line interface (CLI) to manage and set up everything in AWS.
This article will see how we can configure AWS command-line interface credentials on windows, Linux, and mac.
Generate AWS CLI credentials
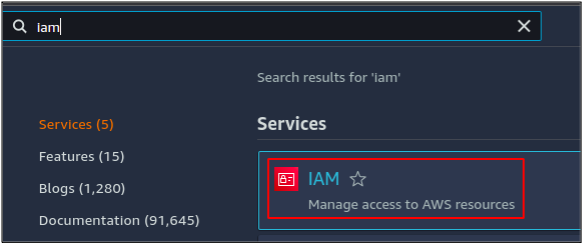
Before configuring the AWS CLI credentials, you need to generate the AWS command-line interface credentials from the AWS management console. First, log into the AWS management console and go to the IAM service.
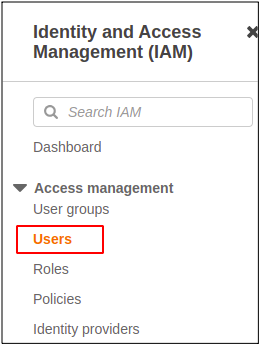
From the left side panel, click on the users option.
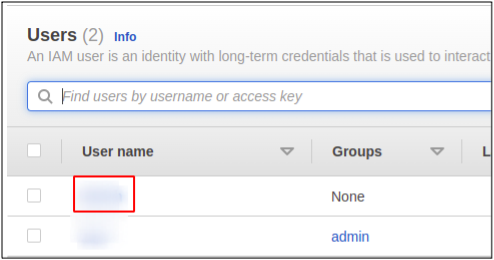
It will list all the available user accounts in the AWS account there. Click on the user account you want to generate AWS CLI credentials for.
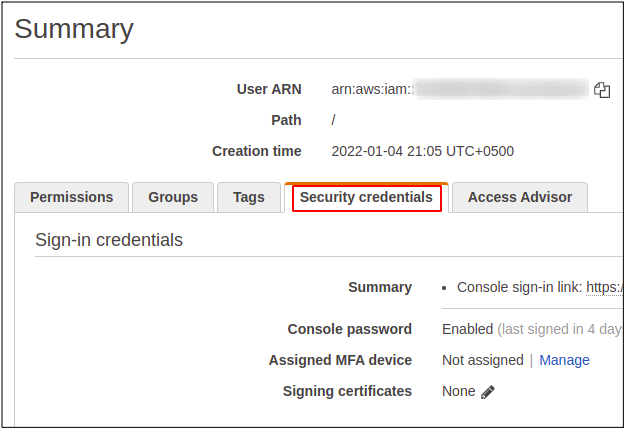
It will display the details of the user account. Now go to the Security credentials tab.
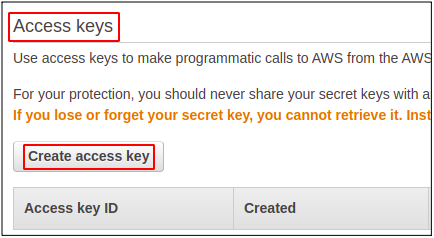
Scroll down to the Access key section and click on the create access key button to generate the AWS command-line interface credentials for the user account.
It will generate the pair of keys: AWS access key ID and secret access key.
AWS Access Key ID
When you login to an AWS account using the management console, you have to provide a user ID, password and MFA if it is enabled for your account. But to use the AWS command-line interface, you need to create an access key for your user account. The access keys can be created from the (identity and access management) IAM section. You can have a maximum of two keys for a user; each key has its own access key ID and secret access key.
AWS Secret Access Key
It is simply a password for your access key. It can only be accessed for the very first time you create an access key, and AWS allows you to download the credentials file; otherwise, you have to recreate your access key.
Configure AWS Credentials on Windows
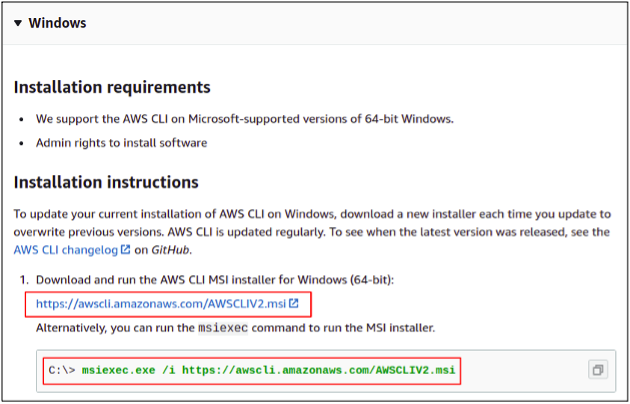
To set up AWS CLI on Windows, first, you need to download the AWS command-line interface package for Windows using the download link provided below.
https://awscli.amazonaws.com/AWSCLIV2.msi
Alternatively, you can download it by simply running the following command in your windows command prompt.
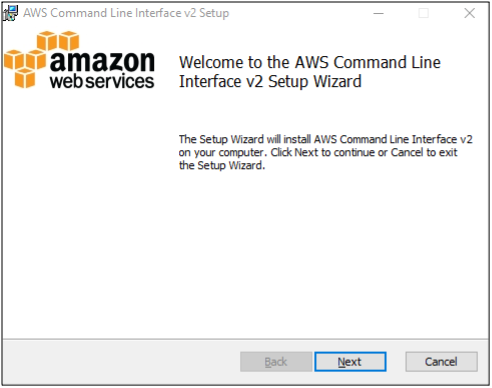
Once the download is complete, open the installation wizard and complete the installation steps to get started with AWS CLI.
Now the installation is complete; you can check whether it is successfully done or not by running the following command in your command shell.
So now we can configure AWS command-line interface credentials using our windows command-line interface. Just run the following command
When you run this command, the CLI will prompt you to provide the following four attributes
- AWS access key ID
- AWS secret access key
- Default region
- Default output format
Both the AWS access key ID and secret access key can be generated from the AWS management console, and we have discussed it in the previous section.
Default Region
This will set the default region for your AWS account; now, every regional service you launch (like EC2 instances, Elastic IPs, VPCs etc.) will be launched in that specific region until you explicitly define the region in the command. You can change your default region anytime you want.
Default Output Format
AWS command-line interface provides different types of output formats out of which you can select anyone. Following are the output formats available by AWS.
- JSON
- YAML
- Table
- Text
So you have successfully configured AWS using CLI on windows.
Configure AWS Credentials on Linux
Download the latest version of AWS CLI on your Linux system using the following command.
The CLI version-2 is the latest at present, which will be downloaded.
Now, as we have downloaded the zipped file, we need to unzip it before installation, for which simply use the following command.
Finally, we can run the following installation command to install the AWS CLI package.
If you want to check whether your CLI has been installed successfully, simply run the following command to check the version of the AWS CLI package.
Our command-line interface is now ready on Linux to set up the AWS credentials over this instead of using the AWS management console.
Now we are going to configure the AWS credentials on CLI. For this, run the following command in the terminal.
The command will prompt you to provide AWS access ID, AWS secret access key, AWS default region and default output format.
In this way, the AWS CLI credentials can be configured in Linux.
Configure AWS Credentials on Mac
Lets now see how to set up the AWS command-line interface on a Mac. You first need to download the AWS CLI for your mac using the download link as mentioned below.
https://awscli.amazonaws.com/AWSCLIV2.pkg
Once you have downloaded the file, run it to launch the installation wizard.
Press continue and follow all the steps for the installation process.
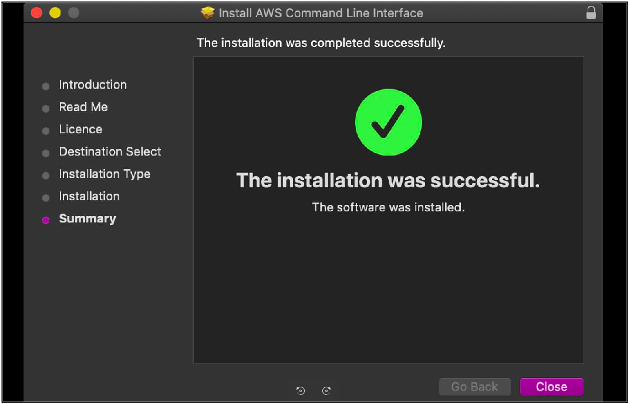
The installation is successful; simply close the installation window.
So finally, the installation is complete, and we are good to go, using the AWS CLI on our Mac. To test the successful installation, open your Mac terminal and enter the following command to check the version of the AWS CLI package.
Now we can configure our AWS CLI credentials on Mac using the following command in the Mac terminal.
Enter the access key ID, secret access key, default region and output format.
So this way, you can easily set up an aws command-line interface on your Mac system.
Creating profiles for multiple AWS accounts
So far, we have seen how we can configure credentials for a single AWS account. You can also configure multiple AWS accounts on a machine. AWS provides profiles to configure AWS CLI credentials for multiple accounts on a single machine. To create a profile, use the following command to configure the credentials.
It will configure the AWS account credentials in account-1 profile. Similarly, multiple accounts can be configured on a single machine with different profile names.
In order to access the resources of a specific account using AWS CLI, you need to pass the profile name in the CLI.
The above command will list all the S3 buckets of account-1 AWS account.
Conclusion
AWS command-line interface is easy to configure and use for all environments: Windows, Linux or Mac. It is simple to learn and master if you are friendly in using the terminal and command-line interface. It allows full access to manage all the services and resources of AWS and consumes less time to develop large web architectural solutions. You can also automate the repetitive tasks by easily creating and running shell scripting.

