
Compile the Latest Linux Kernel from Source on CentOS 7
In this article I will show you how to download the latest Linux kernel source from the official website of Linux kernel, compile Linux kernel from source and use the compiled kernel on CentOS 7. Let’s get started.
Checking Currently Used Kernel:
You can see from the following screenshot that I am using CentOS 7.

And the current kernel version is 3.10

Installing the prerequisites:
To compile the latest Linux kernel from source on CentOS 7, you must have a build tool and some other packages installed on your CentOS 7 operating system.
Before you install anything, run the following command to update package cache:
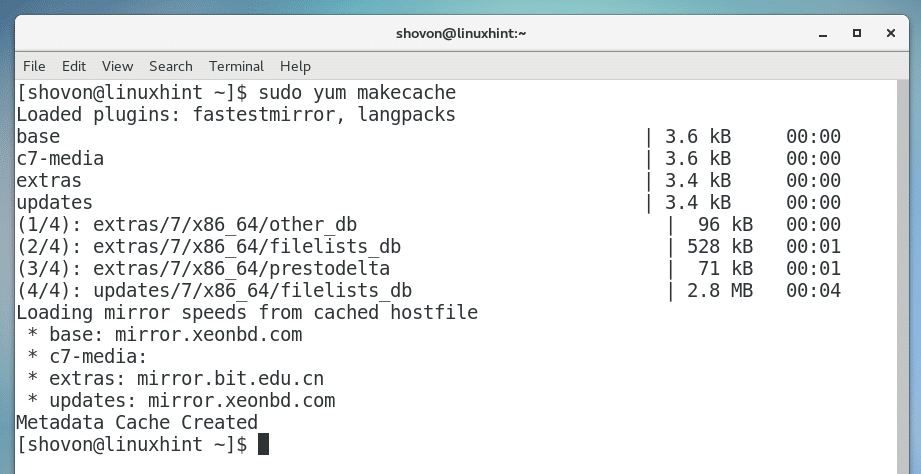
Now you can install the compilers and libraries required for compiling the kernel with the following command:

Press ‘y’ and then press <Enter> to continue.

The build tools should be installed.

Now you have to install elfutils package. Run the following command to install it:

Press ‘y’ and press <Enter> to continue.

‘elfutils’ should be installed.

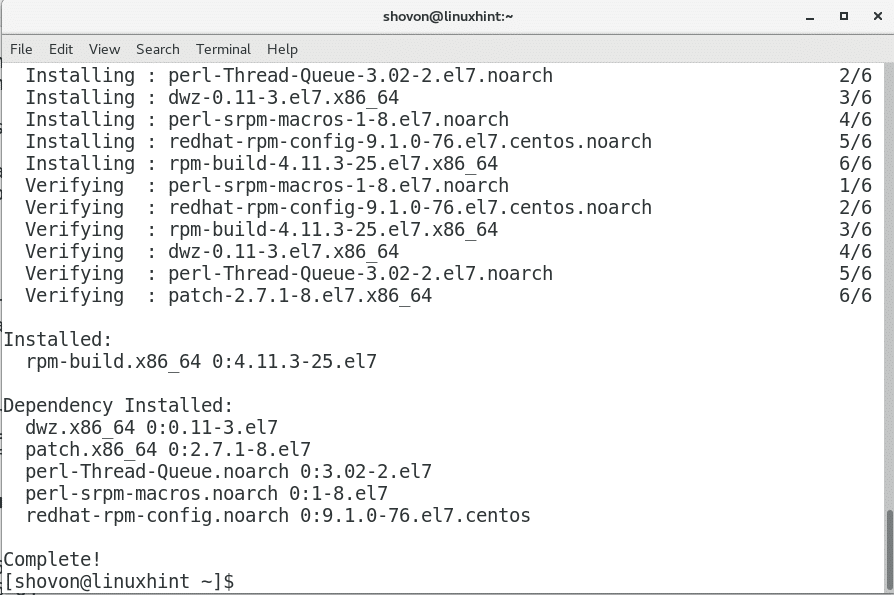
Now you have to install rpm-build with the following command:

Press ‘y’ and then press <Enter> to continue.

‘rpm-build’ package should be installed.
Downloading the Linux Kernel Source:
Go to the official website of Linux Kernel at https://www.kernel.org and you should be the following page.

Click on the “Latest Stable Kernel” button as marked on the screenshot below.

Your browser should prompt you to save the file. Just click on “Save File” and click on “OK”.

Your download should begin.

Compiling the Kernel:
Once the download is complete, navigate to the directory where you downloaded the file. In my case it is the Downloads directory in my user’s HOME directory.
From the output of ‘ls’ you can see that the downloaded file is ‘linux-4.14.10.tar.xz’. Which is a compressed tar file.

Now extract the compressed tar file with the following command:

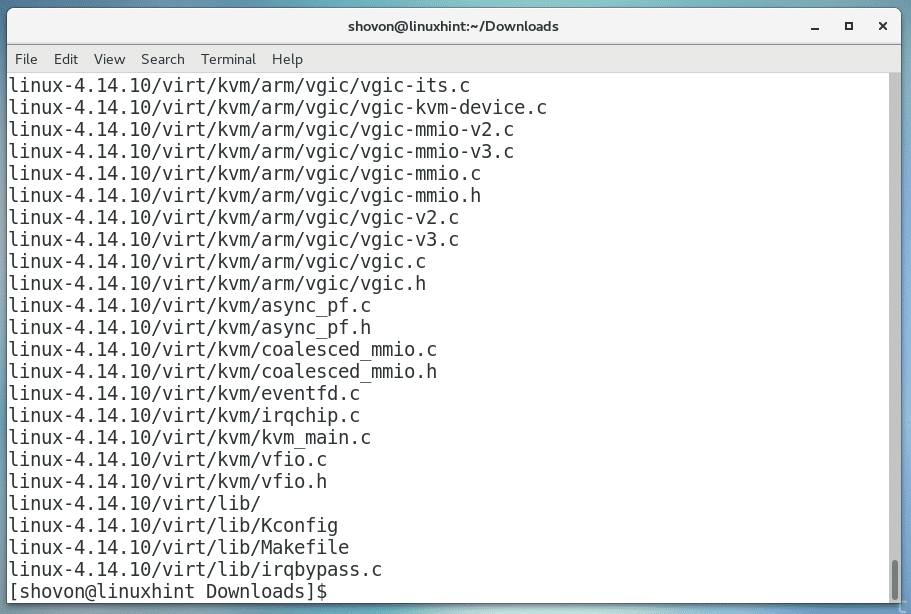
tar is extracting the compressed file.

Once the file is extracted, you should see the following window.
After extraction, you should see a new directory as marked red in the screenshot below. Navigate to the directory with the following command.

If you run the following command, you should see a list of config files used by the kernels that are installed on your system. You can run ‘uname -r’ command to find the one that you need. The filename should match with the output of the ‘uname -r’ command.

Then copy the config file to the linux-4.14.10 directory with the following command:

Now run the following command:

You should see the following window. This is where you enable or disable certain kernel features. If you don’t know what to do here, then just leave the defaults.

Once you’re done, press <Left Arrow> button several times and go to “< Save >” as shown in the screenshot below. Then press <Enter>.

Then press <Enter> again.

Press <Enter> again.
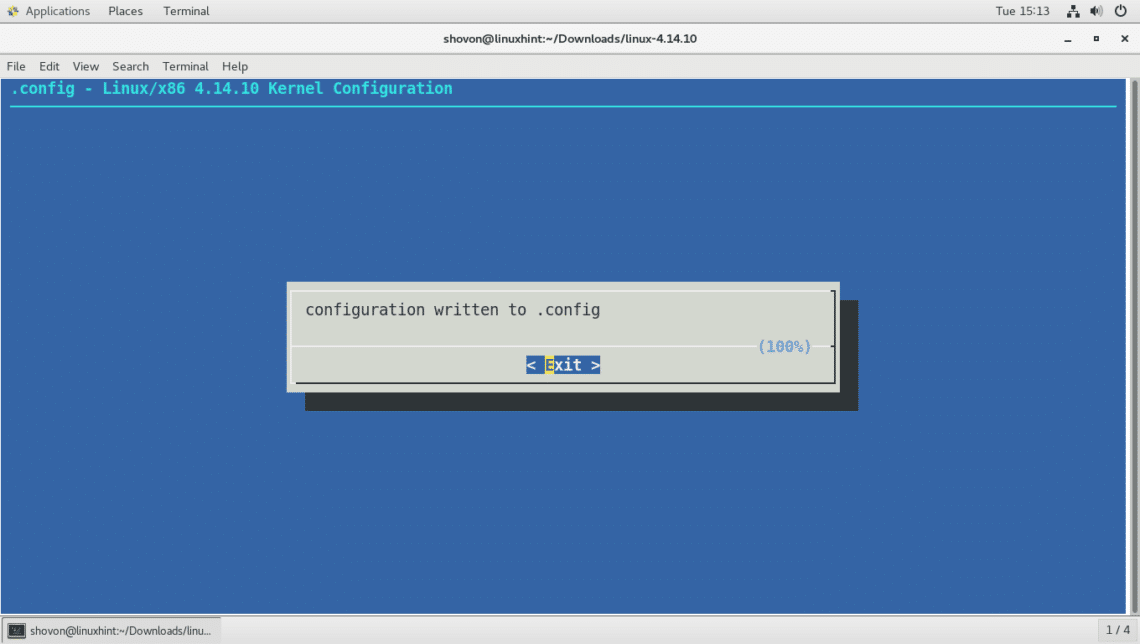
Now navigate to “< Exit >” and press <Enter>

The .config file is updated for the new kernel.

Before you start compiling the new kernels, make sure you have more than 20GB of free space on the filesystem where you’re compiling the kernel.
You can check how much space you have available with the following command:

Now run the following command to start the compilation process:
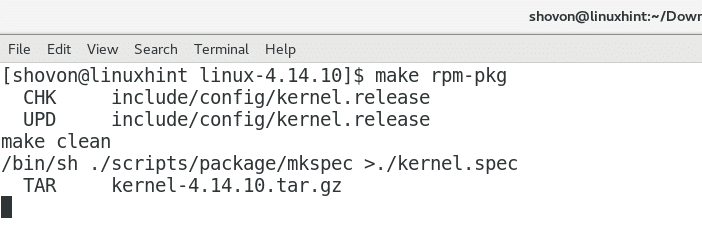
The kernel should be compiling just fine. It should take a long time.

On completion, you should see the following window. Some rpm package file was created on the user’s home directory as you can see from the screenshot.

The generated rpm package files.

Now you can run the following command to install the rpm packages:

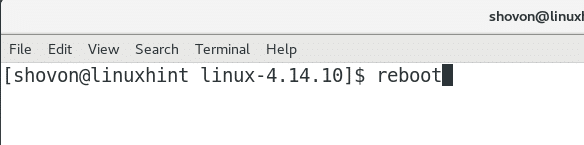
Once the installation is complete, run the following command to restart your computer.
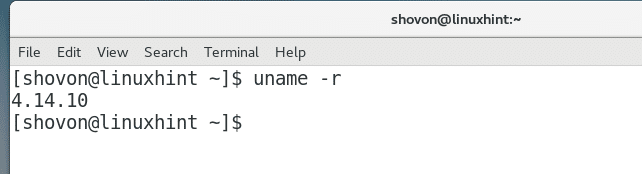
Once your computer starts, you can run the following command to check the version of the kernel that you’re currently using.
You should see that it’s the version that you just installed. For me, it is ‘4.14.10’.
So that’s how you compile the latest kernel from source and use it on CentOS 7. Thanks for reading this article.