This article discusses the complete process of compiling and installing Snort on Ubuntu.
Compile and Install Snort from Source Code on Ubuntu
To install and compile Snort from source code on Ubuntu, follow the below-written steps:
Step 1: Update/Upgrade Repository
The first step is to update and upgrade the repository:
sudo apt upgrade
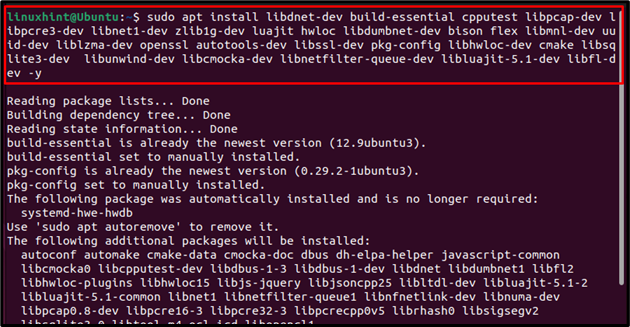
Step 2: Install Dependencies
Then install the dependencies which are required for Snort by using the below-mentioned command:
Step 3: Create a Snort Directory
Then create a directory for Snort since we are installing a lot of files and to organize them it is recommended to create a separate directory for it:
cd ~/snort_src
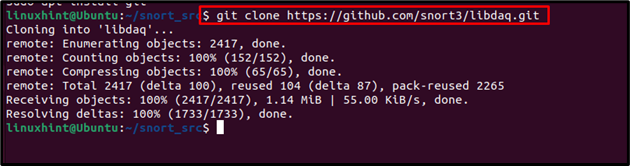
Step 4: Downloading and Installing Snort DAQ
After changing the directory to newly created Snort directory, we have to compile the source code for Data Acquisition DAQ, it is not present in the official repository:
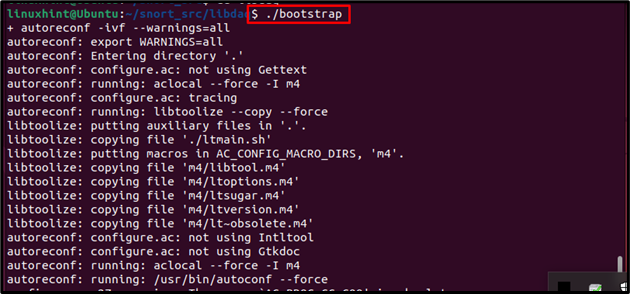
Then change the library to libdaq, where the downloaded DAQ is cloned:
Then run below-mentioned commands to install the configuration files:
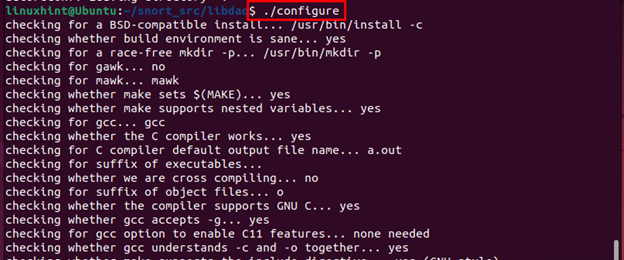
And start configuring the files using the following command:
Then run the below-mentioned command to build the executable files:
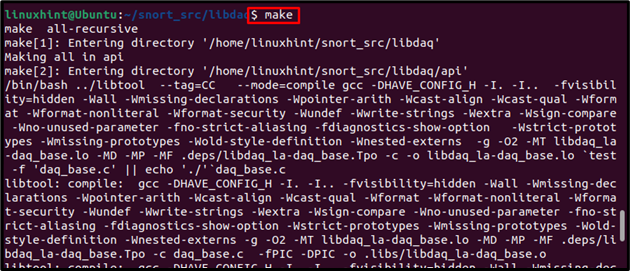
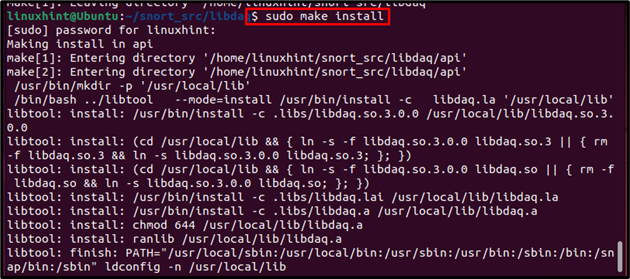
Then use the below-mentioned command to perform the installation:
Step 5: Downloading Performance Booster Packages
For better performance we will install Google thread-caching malloc, TCmalloc, a memory allocator and performance booster using the below-written command:
For this purpose, go back to the Snort directory using the following command:
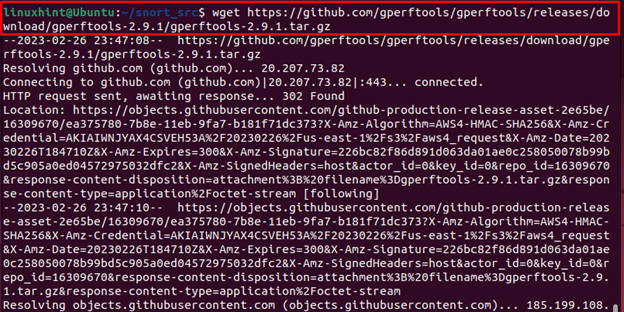
Then download the performance booster package from the following command:
After downloading, extract the .tar file:
![]()
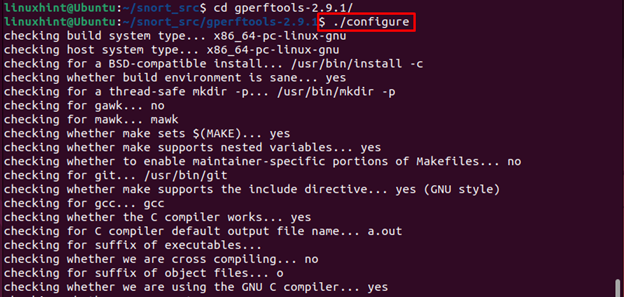
Change the directory to gperftools and install the configuration files using the below-mentioned commands:
Configure the file on Ubuntu using the following command:
Then run the make command to build the files:
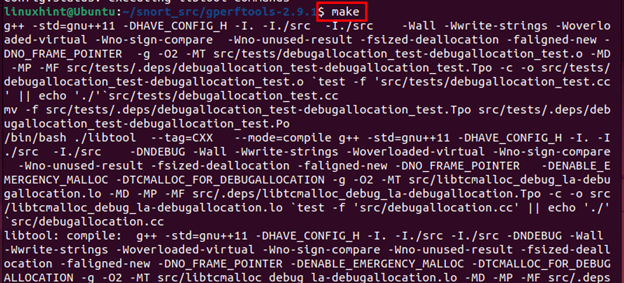
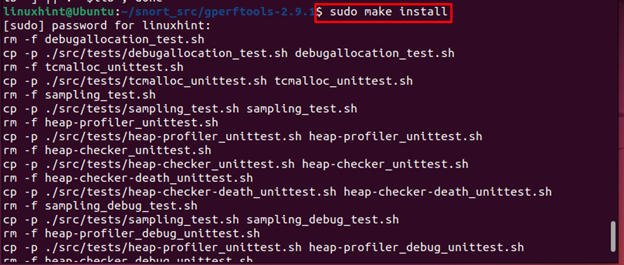
Finally, install the packages by using the below-mentioned make command:
Step 6: Download and Installing Snort from Source File
Now since all the preparations to build the Snort are completed, it is time to download and install Snort in the created Snort directory created in Step 3:
For that, go back to the Snort directory using the below-written command:
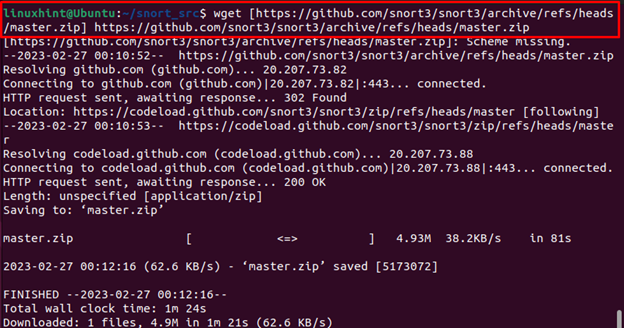
Then downloads the Snort source file on Ubuntu through the following command:
After downloading the Snort zip file, run the below-written command to unzip the file:

Navigate to Snort source directory using the following command:
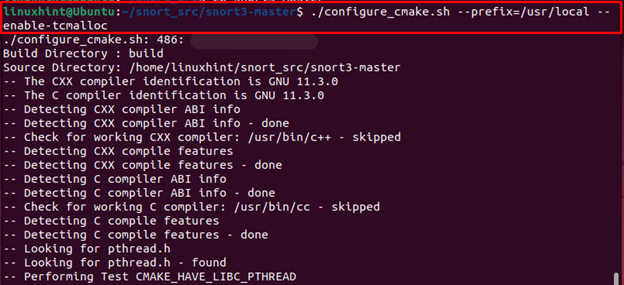
Run the below-written command for dynamic memory management while all the files are being built:
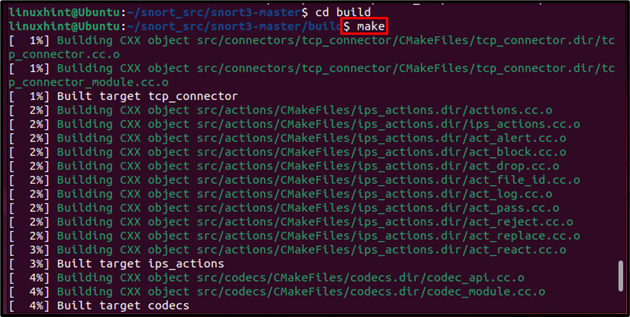
Go to build directory using the following command:
Then build files using the following command:
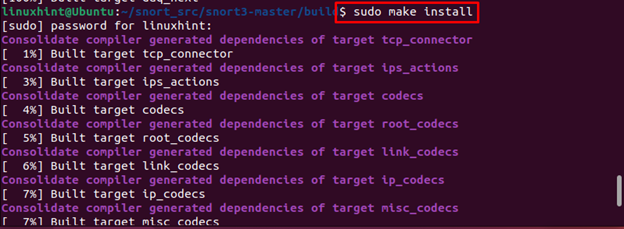
After building, now run the below-written command to finally install all the generated dependencies, and Snort packages on Ubuntu system.
Step 7: Update Shared Libraries
After installing Snort, let’s update the shared libraries by running the below-mentioned command:
![]()
Step 8: Verifying Snort Installation
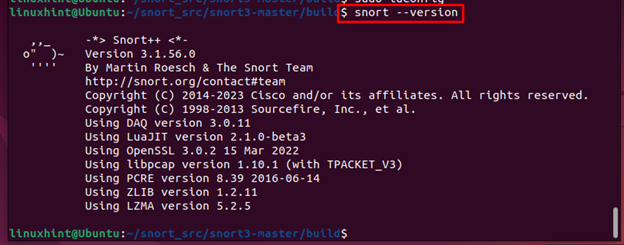
Once everything is done successfully, now run the below-written version command to verify the installation of Snort on Ubuntu system:
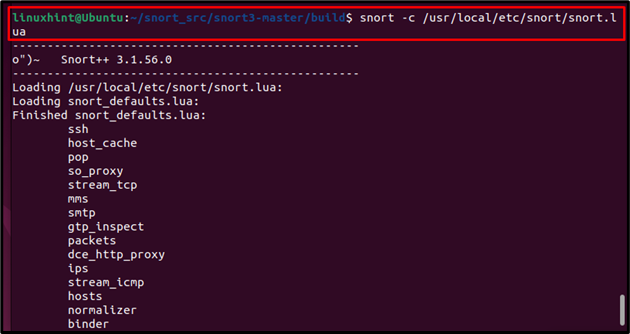
Another way to test that Snort is installed and built perfectly from the source code, is to run the below-written command:
If your output is like as shown below then the installation of Snort is successfully completed and it is built accurately:
Conclusion
Snort is a great tool for network prevention but it is not present in the official repository, so the user must build and compile the snort from the source code. The complete process to download and build the snort from source code is discussed in the article. Also, we have installed a performance booster package to get better performance of snort on the Ubuntu system.