Most Typical Command Lines to Collect the Linux System Information
Linux provides several commands that allow you to display the system information. Therefore, let’s discuss the most suitable commands to display the system-related information in the terminal.
CPU Information
Through several commands, you can learn everything about your CPU in Linux.
1. The Lscpu Command
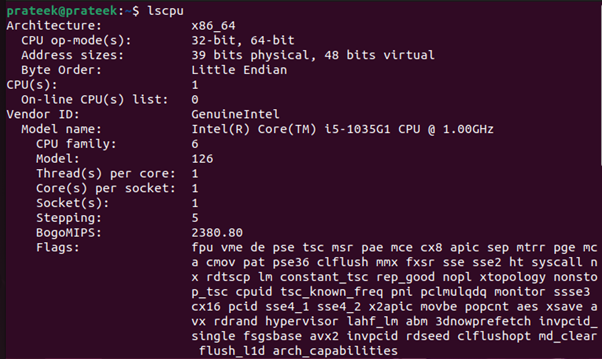
The “lscpu” command line utility provides system CPU-related information under Linux. This command retrieves the CPU’s architecture (threads, CPU caches, CPU family model, cores, number of CPUs, etc.) information from /proc/cpuinfo and “sysfs” files and displays it in the terminal as follows:
Using the grep command, you can reduce the verbosity of the previous details and limit them to the details that you need.
| Command | Information |
|---|---|
| lscpu | grep -i bogo | Gives BogoMips a power rating. |
| lscpu | grep -i hz | Gives CPU’s speed in hertz. |
2. The Lstopo Command
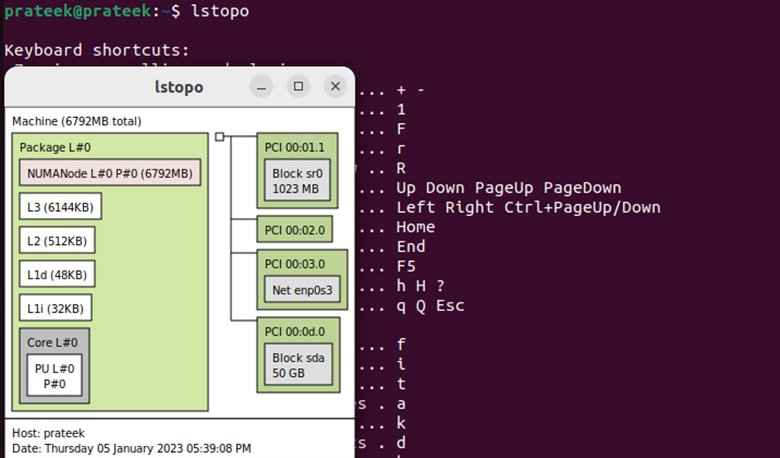
The “lstopo” command is used to view the topology of a Linux system.
This command provides various information such as threads, processor cores, CPU packages, shared caches, and NUMA memory nodes.
Hardware Information
You can comprehensively overview the Linux hardware using the following line commands:
3. The Inxi Command
The “inxi” command lists the information that are related to your system’s sensors, partitions, drives, networking, audio, graphics, CPU, system, etc. This command is not pre-installed in Linux, but you can get it by running the following command:
Now, you can get an information which is related to hardware by running this command:
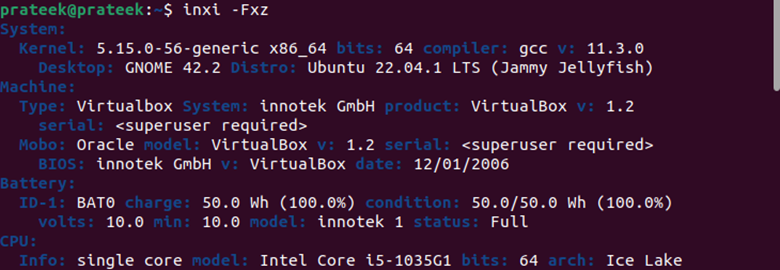
You can get the standard output with the “-Fxz” flag with the following command:
The previous command includes the following:
F → Gives full output
x → Add the details
z → Provides personal identifying details
4. The Hwinfo Command
The “hwinfo” is another hardware testing utility that provides a detailed information about various components. Unfortunately, hwinfo is not a pre-installed utility in the Linux distros, but you can get it through the following command:
Now, you can run the following command to get the information about the system:
The long output from the previous command is difficult to read. You can reduce the details through this command:
5. The Lshw Command
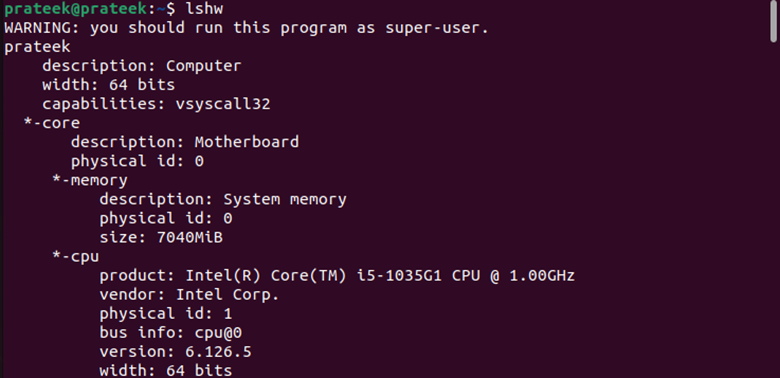
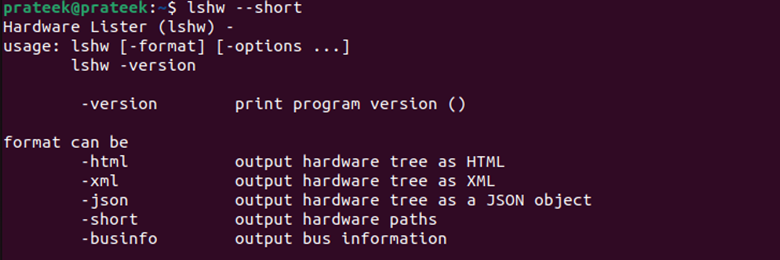
The “lshw” command is a small tool that displays a complete picture of the hardware configuration.
You can also shorten the previous command using the following command:
Note: You can also use this command to print the cache information, bus speed, memory configuration, CPU version, and other Power PCs that run on the backend.
6. The Dmidecode Command
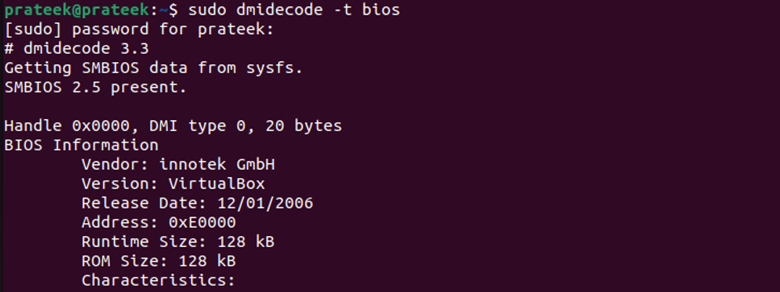
The “dmidecode” command shows the hardware-related information from the DMI tables (SMBOIS data structures) like serial number, memory, BIOS details, RAM (DIMMs), and processor in a readable format. The general syntax to use this command is as follows:
Using the previous command, you can get BIOS, system, processor, memory, baseboard, chassis, slot, connector, and cache information.
For example, we find the BIOS version here using the following “dmidecode” command:
7. The Proc Command
The “proc” command is considered the information and control center of the kernel and provides useful information about all currently running processes. This command also provides a communication channel between the user space and the kernel space.
To know about the system version, you can use the following command:
Similarly, you can get an information about CPU, SCSI/SATA devices, partitions, memory, etc.
System Information
You can get a low-level software information through the Linux terminal like the Linux kernel version, Bios version, etc.
8. The Uname Command
The “uname” command line utility is a computer program in Unix and Unix-like computer operating systems. It provides details about the current system like its version, name, etc., of the operating system that runs on it. Use the following command to list all the details together:
You can also separate all the previous details using the following flags:
| Command | Information |
|---|---|
| uname Or uname -s | Views the operating system name |
| uname -v | Views the kernel version |
| uname -m | Views machine hardware name |
| uname -n | Views network hostname |
| uname -r | Views kernel release |
Network Information
There are tons of such networking line commands under Linux, some of which are as follows:
9. The Ifconfig Command
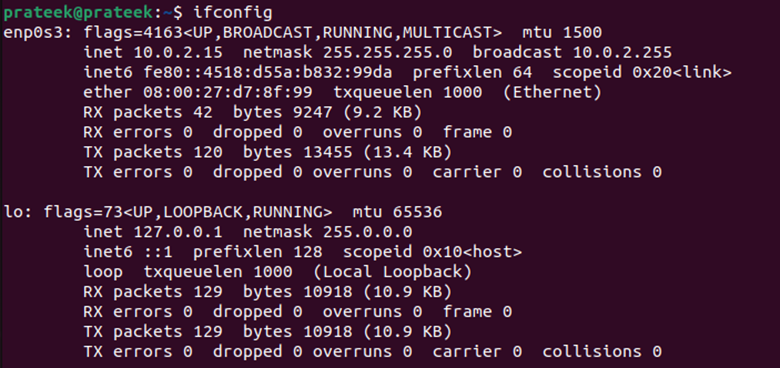
The “ifconfig” system administration utility is used for network interface configuration. Many operating systems also use this command in the system startup scripts.
Net-tools utility manages the “ifconfig” command. Install it using the following command:
This command is used to show the network interfaces.
10. The Ip Command
The “ip” command is also a net tool for network and system administrators. You need to install this utility first using the following command:
Many Linux users use this command to configure the network interfaces. You can use any of the following commands to find out the network interfaces:
Or
You can also use these commands to know the routing tables and default gateways:
Or
11. The Netstat Command
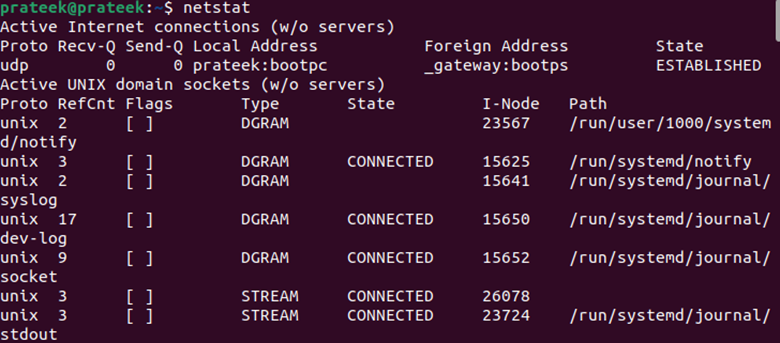
The “netstat” command displays the contents of various network-related data structures for active connections to the system. Running the simple “netstat” command gives the information on all active internet connections and domain sockets.
The following command displays the status of all configured interfaces:
You can get the default gateways and routing tables by adding the “r” flag with the netstat command as follows:
Filesystems, Disks, and Devices-Related Information
You can easily get an information about filesystems, partitions, disks, and other devices using the following commands:
12. The Hdparm Command
In Linux, the “hdparm” command, like “hard disk parameter”, is used to manage the hard disk and disk devices. You can use this command to check the DMA and acoustic management settings, change the write interval, hard disk-related statistics, etc.
You can get a detailed information such as the sector count, supported modes, and serial number, for any specific SATA disk using the following hdparm command:
13. The Lsscsi Command
The “lsscsi” command is used in Linux to get an information about the SATA/SCSI devices. If you don’t have this utility in your system, you can easily install it using the following command:
By default, “lsscsi” outputs a row of all SCSI devices that are currently connected to the system.
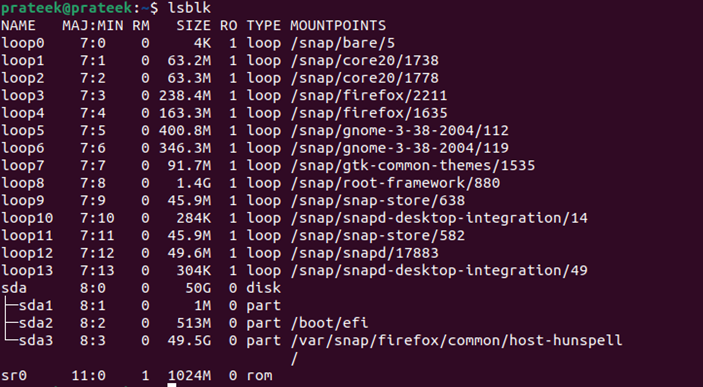
14. The Lsblk Command
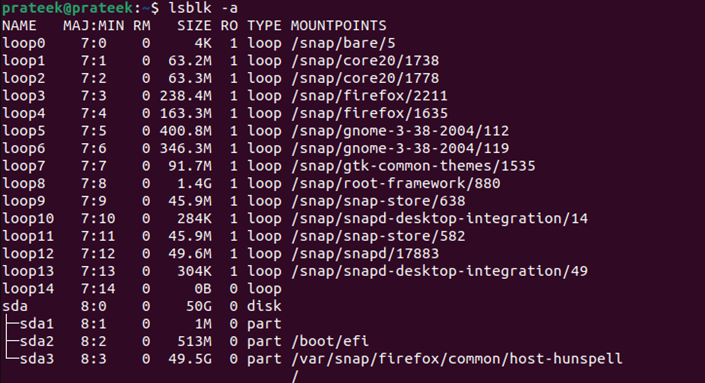
This command displays the details about the block devices (disks, hard drives, flash drives, etc., and their partitions).
To view all blocks devices, use the following command:
15. The Fdisk Command
This dialog-driven command (also known as format disk) is used to manipulate, create, view, delete, copy, move, and resize the disk partition table on a hard drive.
You can use the following fdisk command to list the information such as ending sectors, partition starting, filesystem type and ID, and sector size:
16. The Blkid Command
The blkid command works with the libuuid(3) library which determines the type of content such as swap, filesystem, and attributes (NAME=value pairs, tokens) from the content metadata (e.g., UUID fields LABEL).
In other words, you can use this command when you need to identify the mountable partitions.
The previous command lists each UUID (the unique identifier of the partition) and its filesystem type.
17. The Df Command
You can use the “df” command to find the mounted file system, the amount of disk space used and available for it, and the mount points.
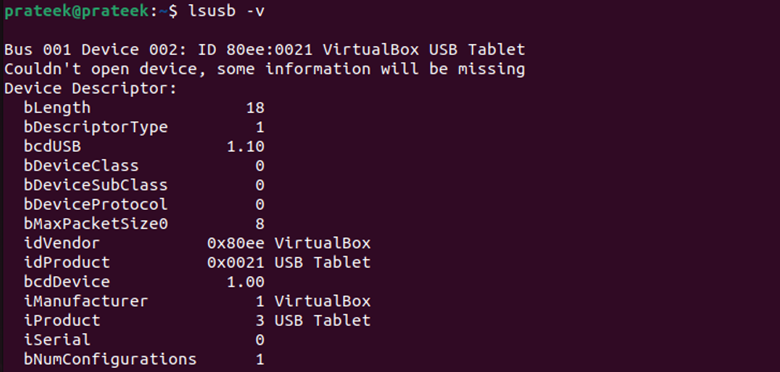
18. The Lsusb Command
The “lsusb” command displays an information about buses and devices that are connected to them in Linux. This information includes properties such as type, class, BUS, speed, etc.
You can run the following command to get the detailed information about each connected USB:
The previous information about the vendor, device id, and connected devices is collected by scanning the /dev/bus/usb.
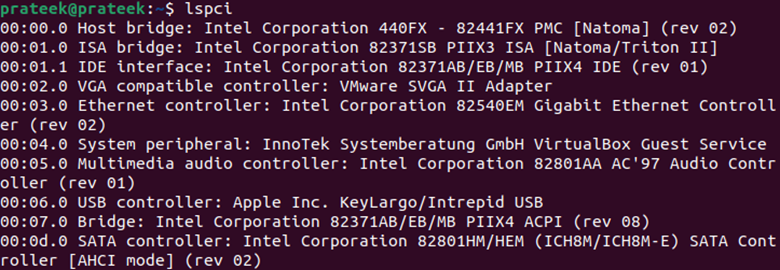
19. The Lspci Command
The “lspci” command prints a detailed information about all devices and PCI buses on a Linux system and the devices connected to them. Based on the common portable library libpci, this command provides access to PCI configuration space on various operating systems.
20. The Mount Command
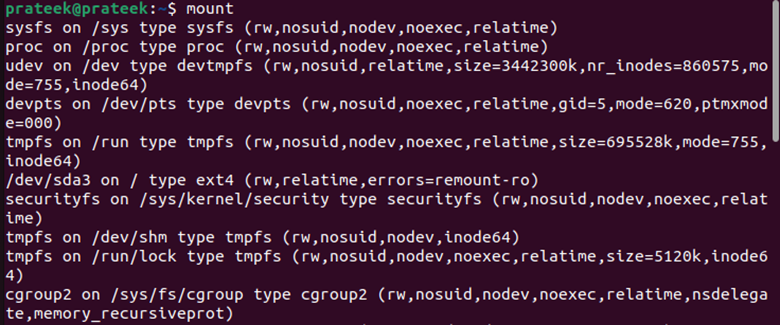
The mount command in Linux is used to mount the filesystems and view them.
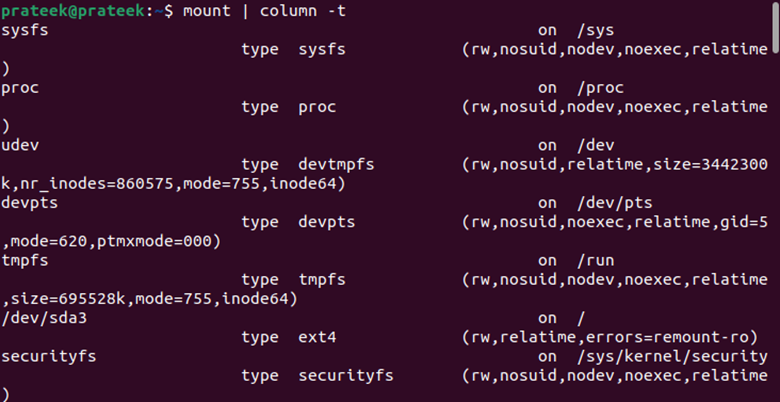
The previous output is a bit hard to understand. Run the following command to get clear results:
In this way, you can find out the information about your Linux system. Moreover, you can explore all the previous commands with the help of the following commands:
| Command Name | Command |
|---|---|
| Lscpu | lspcu -h |
| Lstopo | lstopo -h |
| Inxi | inxi -h |
| Hwinfo | hwinfo -h |
| Lshw | lshw -h |
| Dmidecode | dmidecode -h |
| Proc File | cat /proc/ –h |
| Uname | uname –help |
| Ifconfig | ifconfig -h |
| Ip | ip -h |
| Netstat | netstat -h |
| Hdparm | hdparm -h |
| Lsscsi | lsscsi -h |
| Lsblk | lsblk -h |
| Fdisk | fdisk -h |
| Blkid | blkid -h |
| Lsusb | lsusb -h |
| Lspci | lspci -h |
| Mount | mount -h |
Conclusion
You need a better knowledge of the Linux system to use it fully, plan for upgrades and expansion, obtain vendor support, apply patches, install drivers and appropriate software, etc. For this, Linux provides many built-in commands and commands that must be installed. Here, we mentioned both types of commands and explained the installation process for the commands that are not yet installed.
With the help of all the command lines that are mentioned in this tutorial, you can get a lot of information about the Linux systems. We hope you can collect the Linux system information using all the typical command lines.

