On Git, every team member or developer fully maintains their code and can update history locally or remotely. They are permitted to manipulate or access every part of the code by cloning the full repository or a specific branch in which changes are required.
In this study, we will provide the method of cloning a specific Git branch.
How to Clone a Specific Git Branch?
Cloning is the process of saving a copy of a repository or branch where required. It is considered an efficient way of handling a situation when users do not want to clone all branches or full repositories because of low disk space.
Let’s try out the below-given instructions to clone a specific Git branch.
Step 1: Create Repository
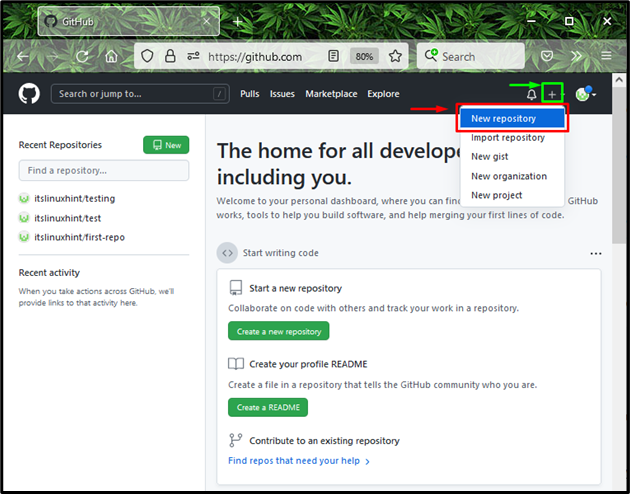
Firstly, create a new repository on “GitHub” by clicking on the “+” icon and selecting the “New repository” option from the opened drop-down menu:
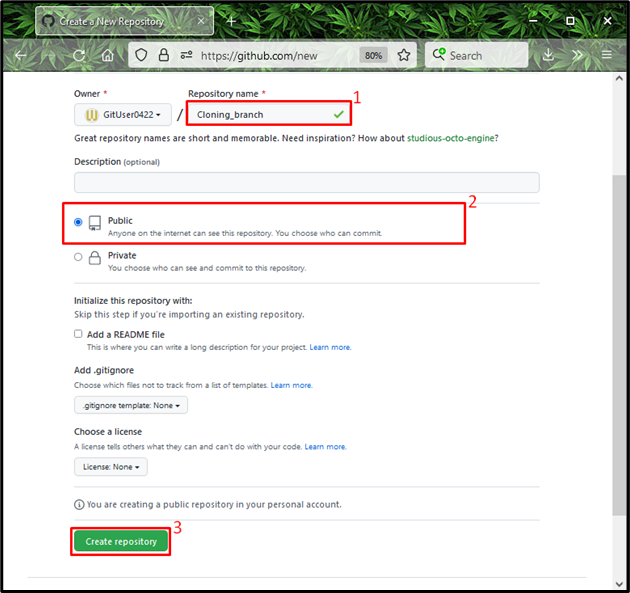
Specify the repository name under the “Repository name” field. Then, mark the “Public” checkbox, which indicates that everyone can see your repository. Lastly, click on the “Create repository” button:
Step 2: Launch Git Bash
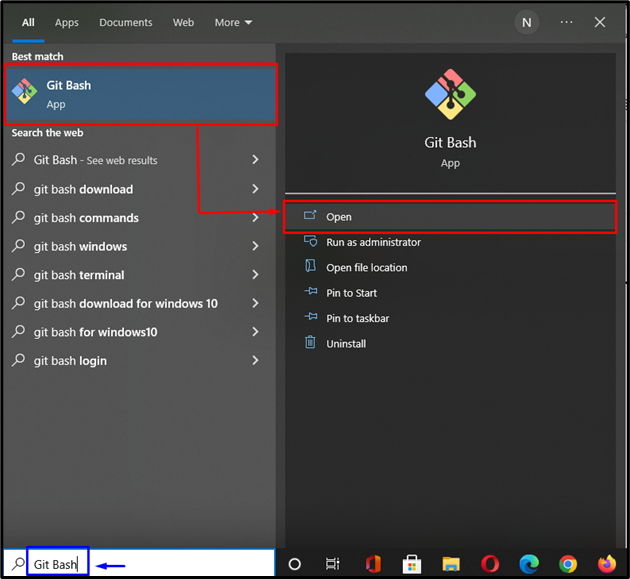
Open up “Git Bash” on your system with the help of the “Startup” menu:
Step 3: Move to Local Directory
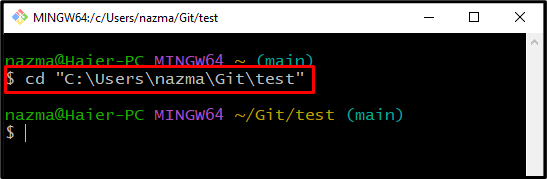
Using the “cd” command, move to the required repository which you want to clone:
Step 4: Copy Remote URL
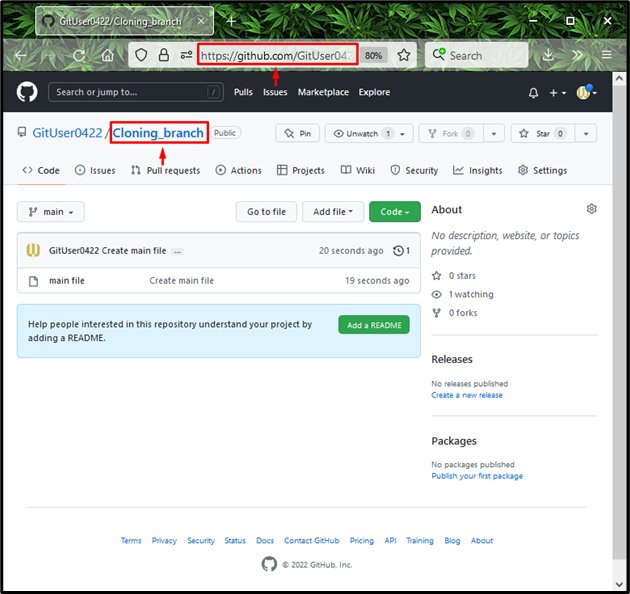
Switch to GitHub, open up a remote repository and copy its “URL”. For instance, we will copy the URL of our “Cloning_branch”:
Step 5: Clone Branch
In the “git clone” command, paste the copied remote “URL” and add the “.git” extension at the end of the remote repository name.
Here, “-b” is an option that is equal to “–branch”, and “main” is the specific branch name which we want to clone from the remote repository:
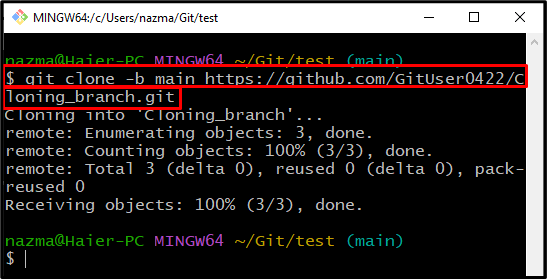
Above output indicates that we have successfully cloned the “main” branch in Git.
Step 6: Verify Cloned Branch
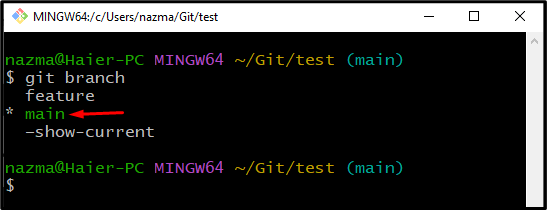
Now, execute the below-provided command for verification:
Output shows that we have cloned our desired “main” branch:
Step 7: Check List of Cloned Branches
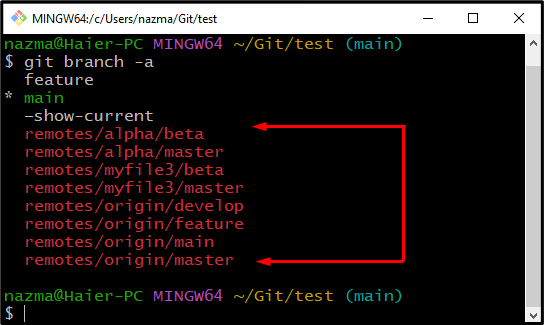
Now, run the “git branch” command with “-a” option to check the list of all cloned Git branches:
In the below output, “* main” is our recently cloned branch:
We have effectively demonstrated the process of cloning a specific Git branch.
Conclusion
To clone a specific Git branch, first, create the repository on GitHub and set it as “Public” to be accessible to everyone. Then, copy the “URL” of the created repository, open up “Git Bash”, and move to the corresponding repository where you want to clone the branch. Execute the “$ git clone -b” command with your repository URL. Lastly, for verification, run the “$ git branch” command on Git bash. This study illustrated the procedure of cloning a specific git branch.