During testing, some committed files may cause a problem or harm the entire project or may slow down the project due to a large number of unnecessary files. For this purpose, Git users may choose to clean the cache of their local repository or delete certain files from the repository.
In this write-up, we will illustrate how to clear a Git local cache.
How to Clear Git Local Cache?
To clear the Git local cache, first, open the Git local repository. Then, commit the staged files. To remove these files or to clear the Git repository cache, utilize the “$ git rm –cached” command.
Take a look at the below-provided steps to clear the Git local cache.
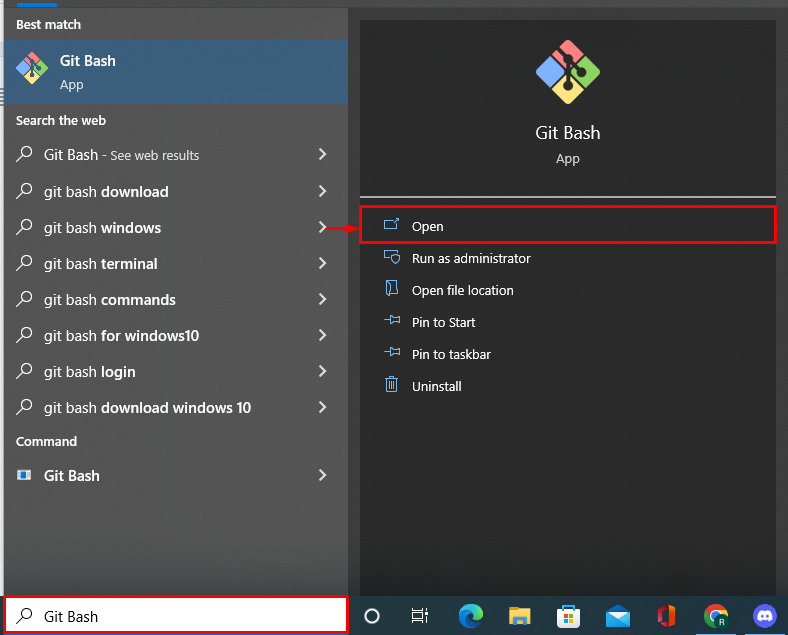
Step 1: Open Git Bash Terminal
Launch the Git “Git Bash” terminal from the Start menu:
Step 2: Navigate to Git Local Repository
Next, navigate to the Git local working repository:
Step 3: Create New File
Create a new text file through the “touch” command:
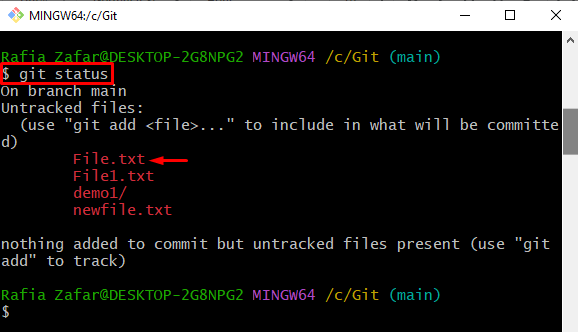
To verify whether the file is created or not, check out the Git repository status:
It can be seen that the file is successfully added to the Git repository but has not been tracked yet:
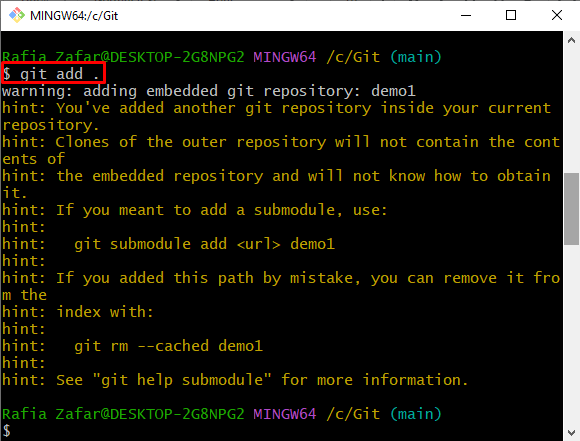
Step 4: Add All Untracked Files to Staging Environment
To track the unstaged files, utilize the “git add” command with the “.” option:
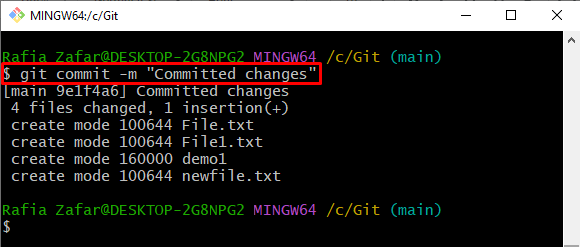
Step 5: Commit Staging Files
Next, commit all staged files by utilizing the “git commit” command:
Step 6: Delete Specific File From Git Cache
In order to remove the specific file from the Git cache, utilize the “git rm –cached” command and specify the name of the file you want to remove:
Step 7: Clear Git Local Cache
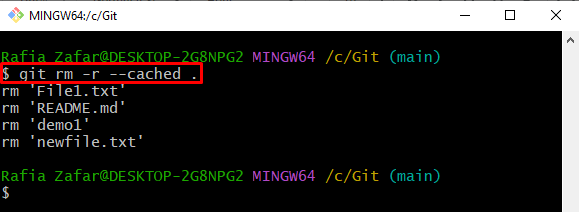
To delete all files from the Git local cache, utilize the “git rm -r –cached .” command. Here, the “-r” option is used to remove files recursively from Git local cache:
Step 8: Check Repository State
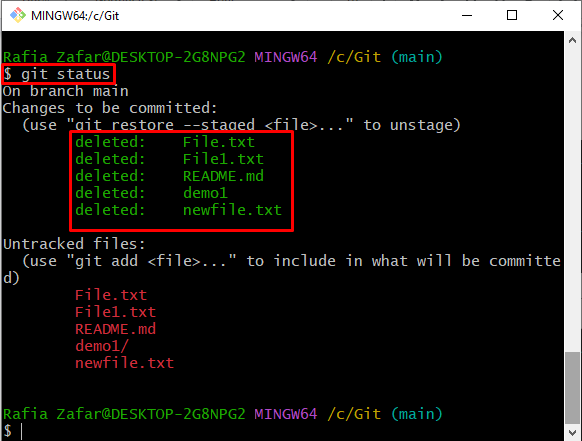
Lastly, check the Git local repository state using the “git status” command:
Here, you can see we have successfully cleared the Git local cache:
Here you go! You have learned the procedure to clear a Git local cache.
Conclusion
To clear the Git local cache, first, open the Git working repository and add all untracked files to a staging environment. Next, commit all the staged files through the “$ git commit -m” command. Then, to remove a specific file from the local Git cache, utilize the “$ git rm –cached <filename>” command. However, to clear the whole Git local cache, use the “$ git rm -r –cached .” command. This tutorial has taught you how to clear Git’s local cache.

