
In this guide, we will learn the steps to cherry-pick a commit from one Git branch to another.
How to Cherry Pick a Commit From One Git Branch to Another?
To cherry-pick a commit from one branch to another, let’s work in one branch, create a new branch, and cherry-pick the commit from our previous branch. To do so, accomplish the below-stated steps.
Step 1: Move to Project Repository
Open Git Bash and move to the project directory by executing the “cd” command:

Step 2: Initialize Repository
Afterward, initialize the Git repository with the provided command:

Step 3: Create New File
Create a file and add the content to it using the “echo” and redirection operators (>). For instance, the “file.txt” file will be created:

Step 4: Track File
Add the created file to the tracking area through the “git add” command:

Step 5: Commit Changes
Commit the changes in the project directory via the “git commit” command:

Step 6: Check Log
Check the long history of the applied commits by running the log command:

Here, you can see the SHA for the particular commit. Note down it, we will use it and cherry-pick it in the later steps.
Step 7: Create New Branch
Now, let’s create a new branch named “develop” with the given command:

Step 8: Switch to Created Branch
Switch to the created branch through the “git checkout” command:

The branch has been switched to “develop”.
Step 9: Cherry Pick a Commit
To cherry-pick the commit, run the “git cherry-pick” command along with the SHA hash of the previous branch commit:
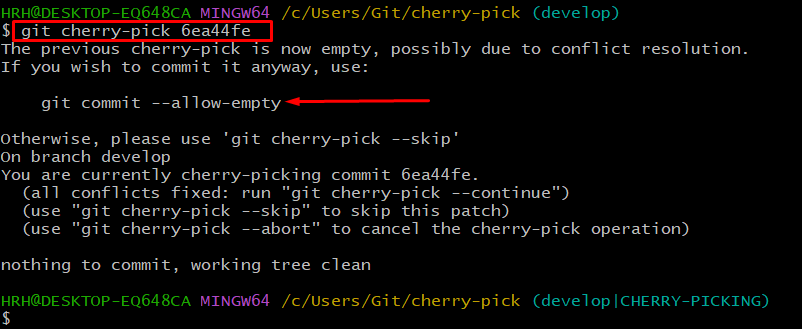
The above output shows the conflict, just ignore it and run the suggested command to do it anyway.
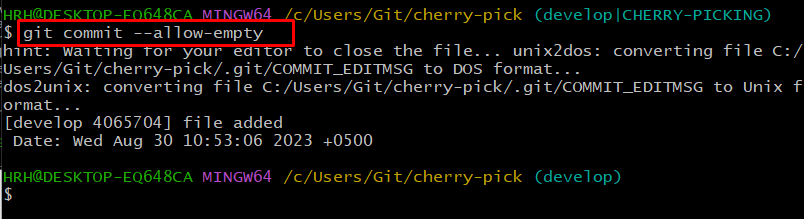
The commit has been cherry-picked.
Step 10: Verify Log History
Verify the log history to check that the commit has been cherry-picked:
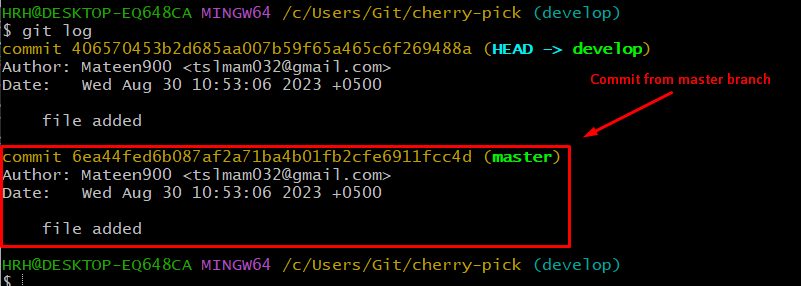
As you can see in the above image our commit from the previous branch “master” has been cherry-picked.
Conclusion
To cherry-pick a commit, copy the SHA hash of the commit and move to the second branch. Then, run the “git cherry-pick <SHA Hash>” command along with the commit SHA hash. Verify the log history that the commit has been cherry-picked.