
In this article, I am going to show you how to change the MySQL/MariaDB database’s default data directory on Ubuntu. So, let’s get started.
[adthrive-in-post-video-player video-id=”4tpqTk7q” upload-date=”2020-04-08T17:10:18.000Z” name=”How to Change MySQLMariaDB Data Directory on Ubuntu” description=”How to Change MySQLMariaDB Data Directory on Ubuntu” player-type=”collapse” override-embed=”true”]
Installing MySQL/MariaDB on Ubuntu:
MySQL/MariaDB database packages are available in the official Ubuntu package repository. So, you can easily install it from there using the APT package manager.
First, update the APT package repository cache with the following command:
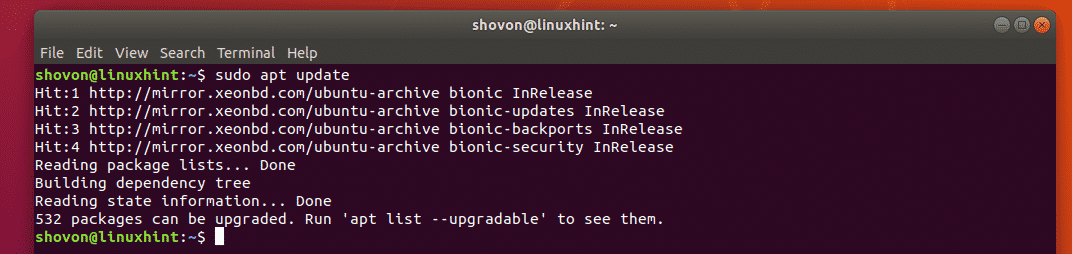
Now, if you want to install MySQL database server, run the following command:

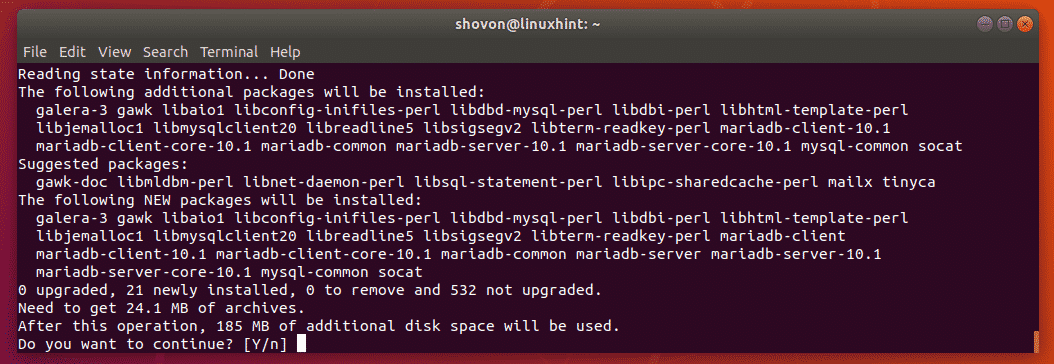
If you want to install MariaDB database server, run the following command:

I am going to install MariaDB database server in this article. You can install MySQL if you want.
Once you run the required installation command, you should see the following prompt. Press y and then press <Enter> to continue.
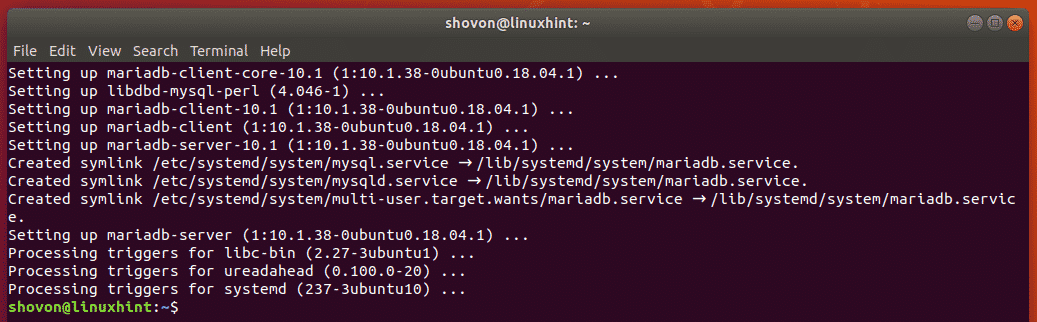
MySQL/MariaDB database server should be installed.
Finding the Default MySQL/MariaDB Data Directory:
You can find the default data directory of MySQL/MariaDB database very easily with the grep or egrep command.
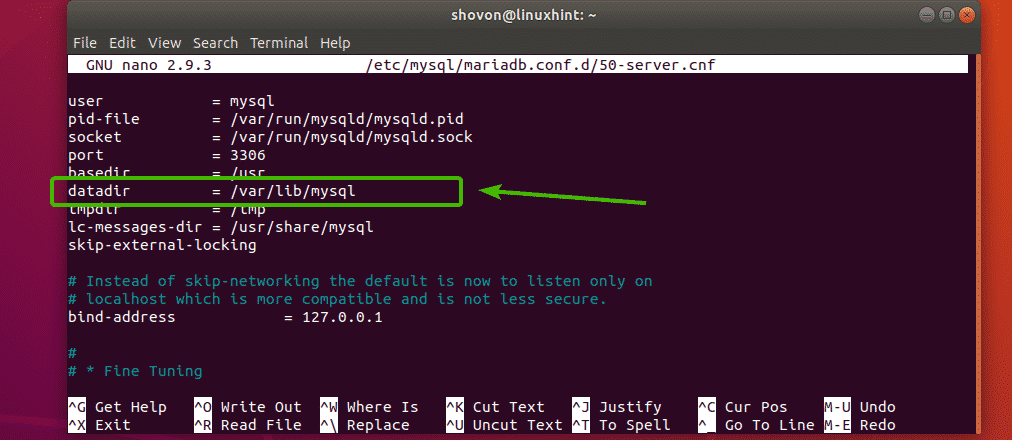
As you can see, the default data directory for the MariaDB database server is /var/lib/mysql. The configuration file of MariaDB database server is /etc/mysql/mariadb.conf.d/50-server.cnf. If you want to change the default data directory of the MariaDB database server, then you have to change it in the configuration file /etc/mysql/mariadb.conf.d/50-server.cnf.

The default data directory for the MySQL database server is /var/lib/mysql as well. But the configuration file is different for MySQL database server. For MySQL, the configuration file is /etc/mysql/mysql.conf.d/mysqld.cnf. If you’ve installed MySQL database server, then to change the default data directory, you have to modify this configuration file.

In the next sections, I am going to show you how to prepare a hard disk or SSD partition for MySQL/MariaDB data directory and change the default data directory.
Preparing MySQL/MariaDB Data Directory:
In this section, I am going to show you how to prepare your Hard Disk or SSD partition for MySQL/MariaDB data directory.
You can list all the installed hard drives or SSDs on your computer with the following command:
All the installed hard drives and SSDs should be listed. sdb is the hard drive where I want to put my MySQL/MariaDB data. Yours should be different. So, replace it with yours from now on.

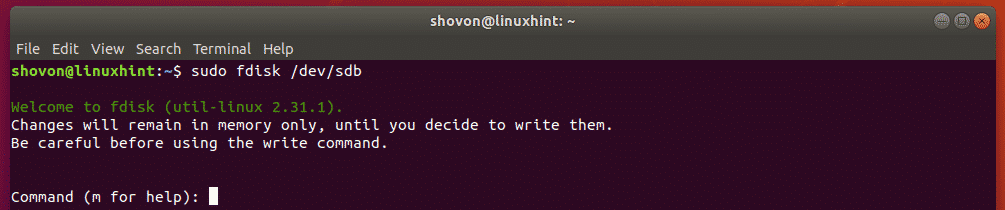
Now, you have to make a new partition on the hard drive sdb with fdisk.
NOTE: In this section, I won’t go through the details on how fdisk work. To learn how to partition hard drives or SSDs with fdisk, read the article How to Use fdisk in Linux.
To make a partition on the hard drive sdb, open it with fdisk as follows:
Now, press n and then press <Enter>.

Now, press p and then press <Enter>.
![]()
Now, press <Enter>.
![]()
Press <Enter>.
![]()
Press <Enter>. A new partition should be created.

Now, press w and press <Enter>.

Let’s say, the hard drive partition you want to use as the MySQL/MariaDB data directory is /dev/sdb1.
Now, format the partition /dev/sdb1 with the following command:
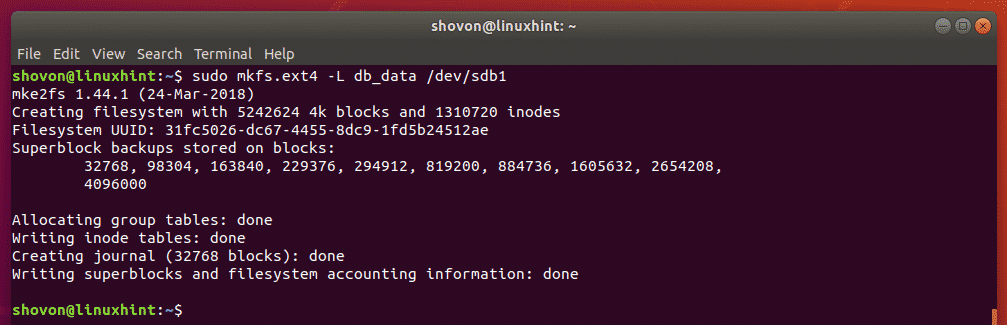
Now, make a new directory /db for moutning the /dev/sdb1 partition.

/db will be the new data directory of MySQL/MariaDB.
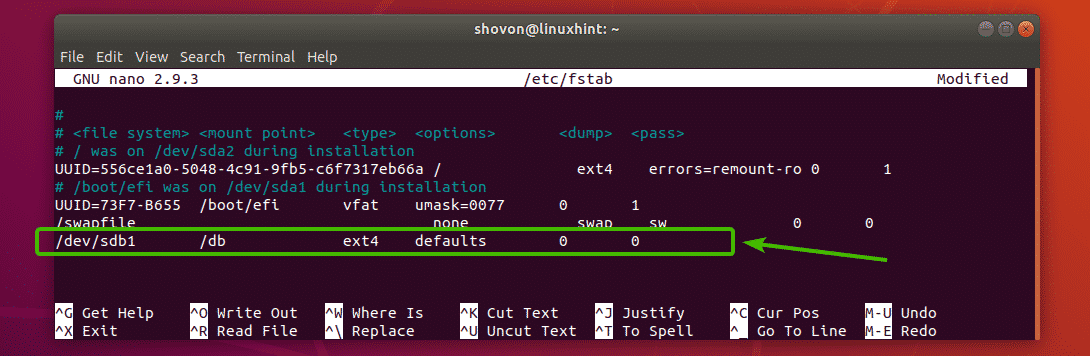
Now, open /etc/fstab file with the following command:

Now, add the following line at the end of the file and save the file by pressing <Ctrl> + x followed by y and <Enter>.
Now reboot your computer with the following command:

Once your computer boots, /dev/sdb1 should be mounted on /db as you can see in the screenshot below.

Now, change the owner and group of the /db directory to mysql with the following command:

Now, you have to stop MySQL/MariaDB database service and copy all the files from the default data directory /var/lib/mysql to the new data directory /db.
If you’re using MariaDB, then stop MariaDB service with the following command:

If you’re using MySQL, then stop MySQL service with the following command:

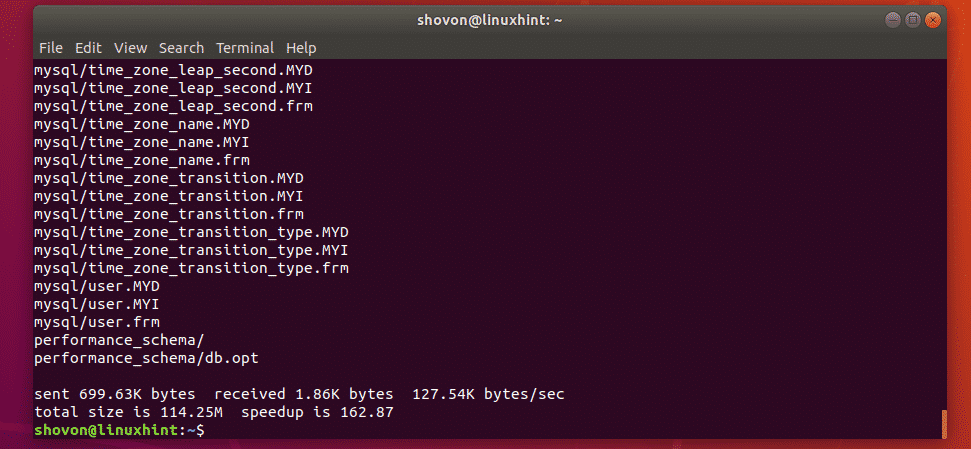
Now, copy all the contents of the default data directory /var/lib/mysql to the new data directory /db with the following command:

All the contents of /var/lib/mysql directory should be copied to the new directory /db.
/db directory is now prepared to be the new MySQL/MariaDB data directory.
Configuring AppArmor:
Now, you have to configure AppArmor to allow /db to be a MySQL/MariaDB data directory.
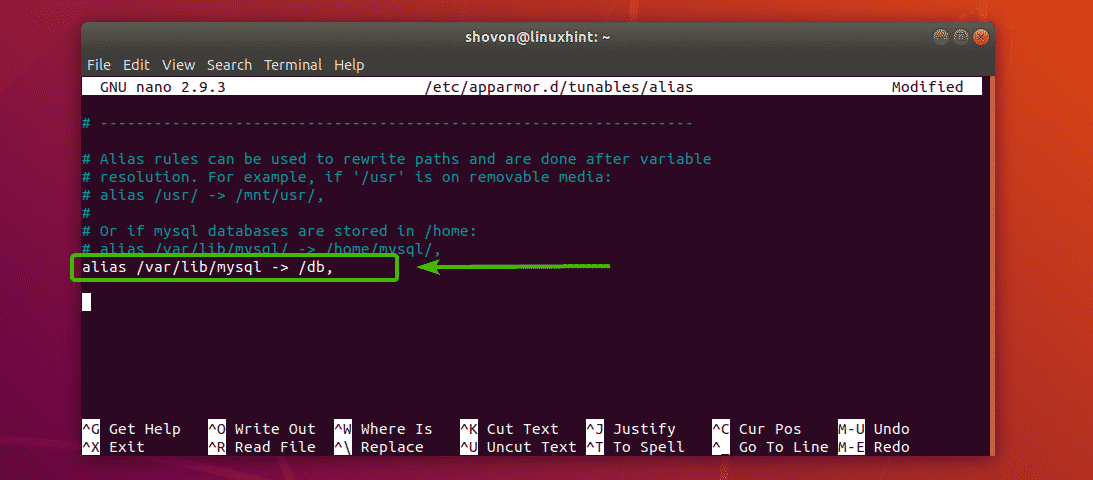
To do that, edit the AppArmor alias file /etc/apparmor.d/tunables/alias as follows:

Now, add the following line at the end of the file and save it by pressing <Ctrl> + x followed by y and <Enter>.
Now, restart apparmor service with the following command:

Now, you’re ready to change the data directory of MySQL/MariaDB.
Changing MySQL/MariaDB Data Directory:
To change the data directory from /var/lib/mysql to /db, you have to edit the required configuration file depending on whether you’re using MySQL/MariaDB.
If you’re using MariaDB, then the configuration file you have to edit is /etc/mysql/mariadb.conf.d/50-server.cnf.
If you’re using MySQL, then the configuration file to edit is /etc/mysql/mysql.conf.d/mysqld.cnf.
Now, edit the required configuration file depending on whether you’re using MySQL/MariaDB as follows:
MariaDB:

MySQL:

Now, find the line as marked in the screenshot below.
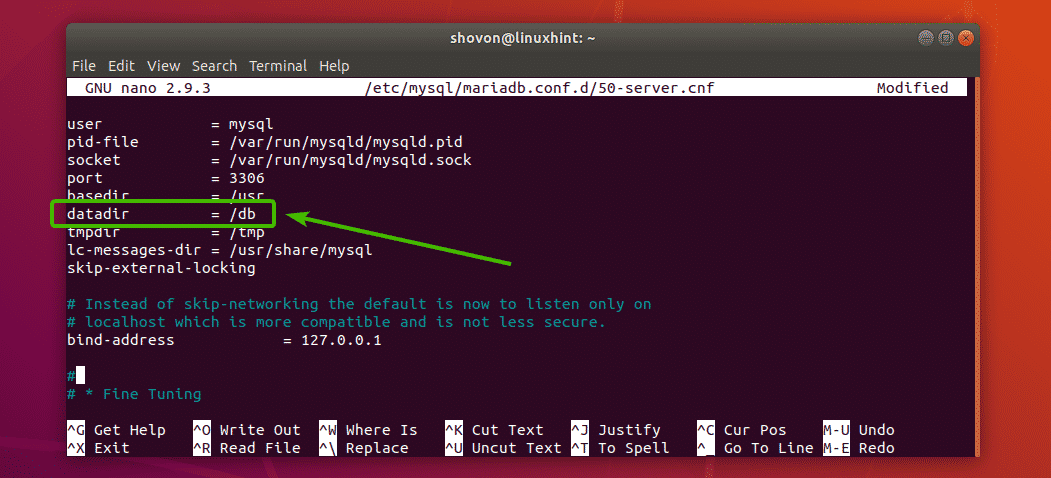
Change the datadir to /db as shown in the screenshot below. Then save the file by pressing <Ctrl> + x followed by y and <Enter>.
Now, start the MySQL/MariaBD service with the following command:
MariaDB:

MySQL:

Testing MySQL/MariaDB:
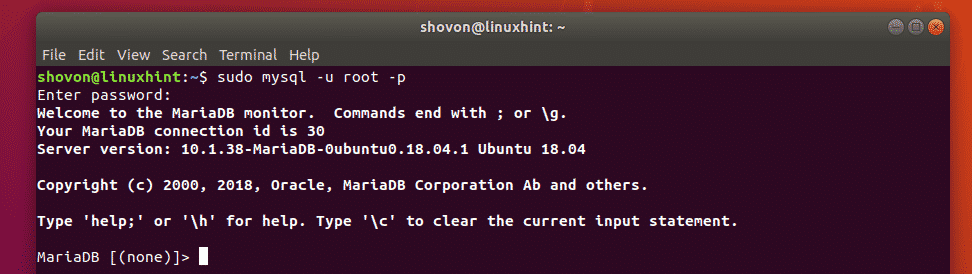
Now, try to connect to the MySQL/MariaDB server as follows:

Then, type in the password of the MySQL/MariaDB server and press <Enter>.

You should be logged in to the MySQL/MariaDB shell as root database user. It’s an indication that it works.
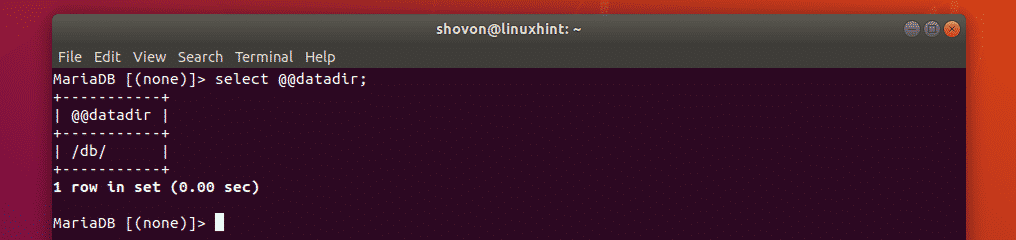
But, just to be sure, type in the following query to find which directory MySQL/MariaDB is currently using as the data directory.
As you can see, the current data directory is /db just as I configured.
So, that’s how you change the MySQL/MariaDB data directory on Ubuntu. Thanks for reading this article.