
In this post, we will go through a step-by-step guide on changing the terminal font size, and along with that, we will also learn how to change some other preferences of a terminal to customize it according to our taste. The steps for customizing the font of the terminal are as follows.
Step 1: Open Up the Terminal
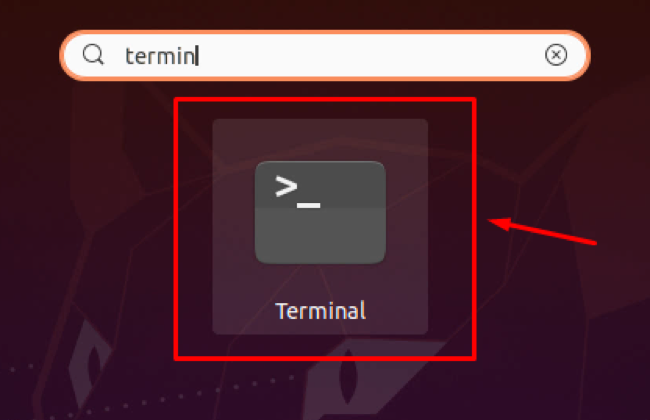
The first step is to open the terminal of the Ubuntu 20.04 LTS system. You can do so either by going to the applications menu of Ubuntu and searching for the “terminal”. From the search results, click on the “Terminal” icon as shown in the picture provided below:
Or you can also use the keyboard shortcut keys CTRL+ALT+T to directly open the terminal in the Ubuntu Operating system.
Step 2: Open Terminal Preferences
After opening the terminal of Ubuntu, we need to open the terminal’s preferences to alter the terminal’s font size.
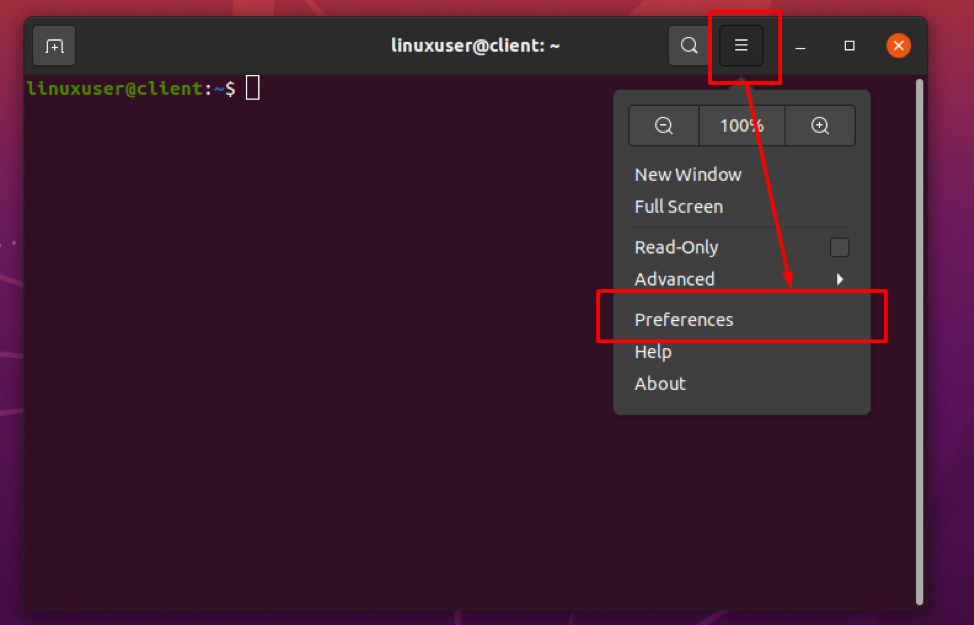
Either you can open the preferences by clicking the hamburger option in the top right corner of the terminal window and clicking on the preferences option.
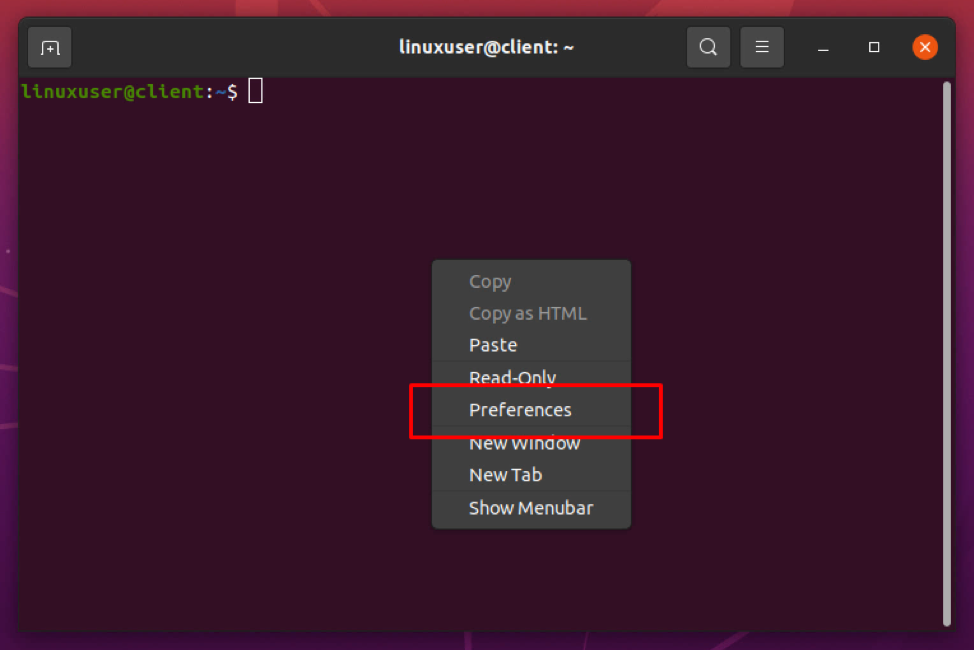
Or you can just right-click anywhere in between the terminal and click the preferences option from the context menu.
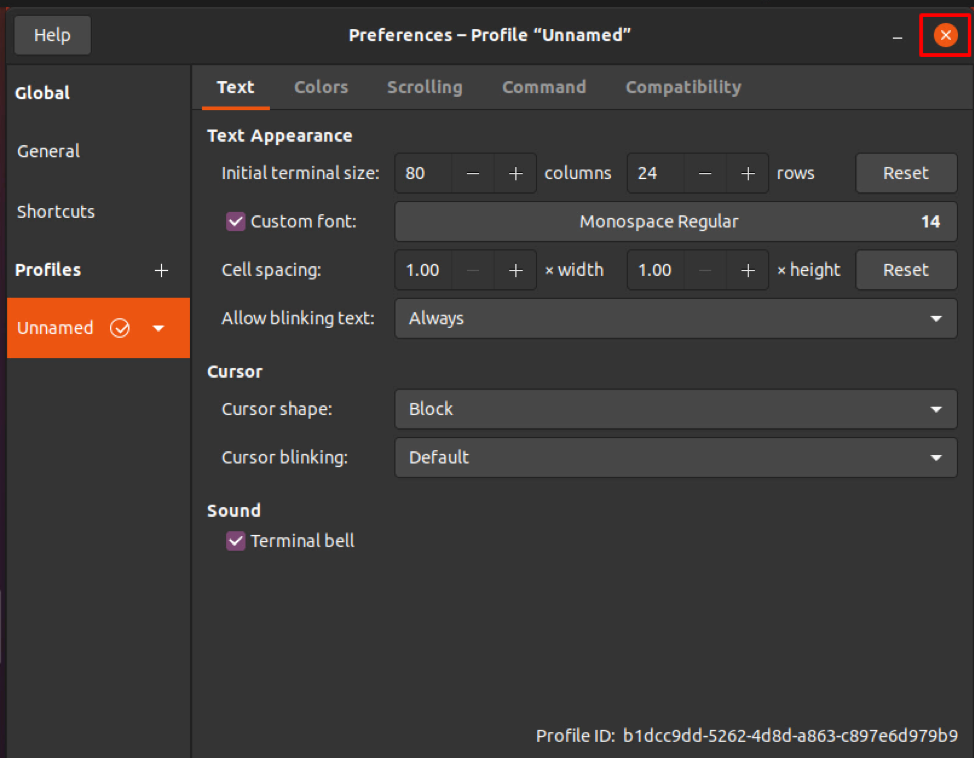
You will have a preference window like this.
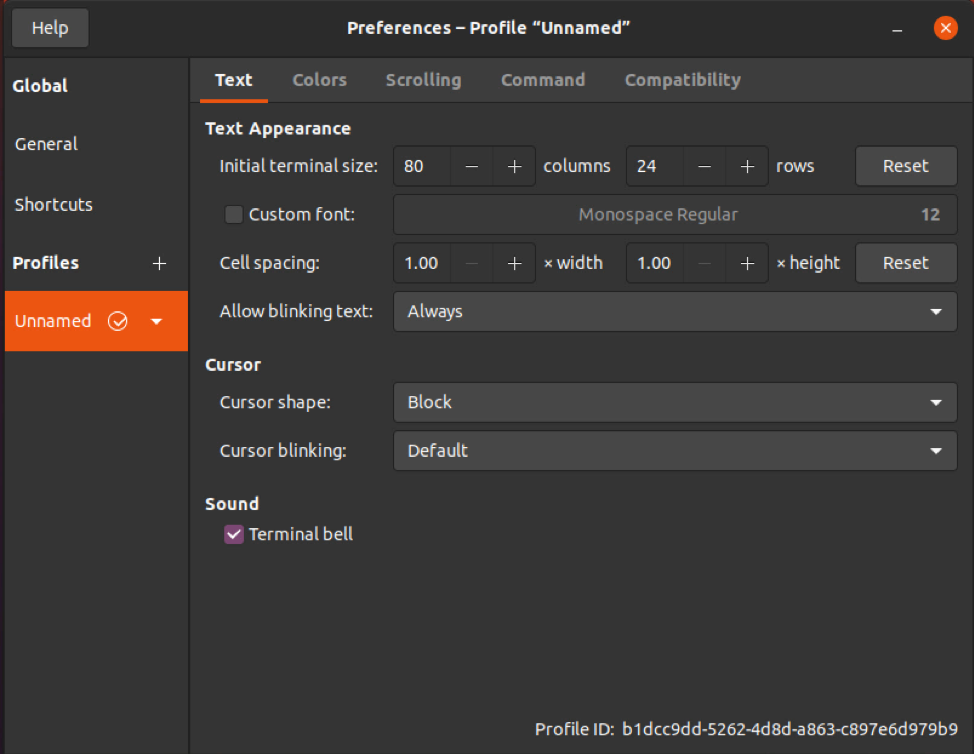
The preference window allows us to have customized preferences and save them. For this reason, you see the default “unnamed” profile name at the top bar of the preference window.
Step 3: Enable Font Customization
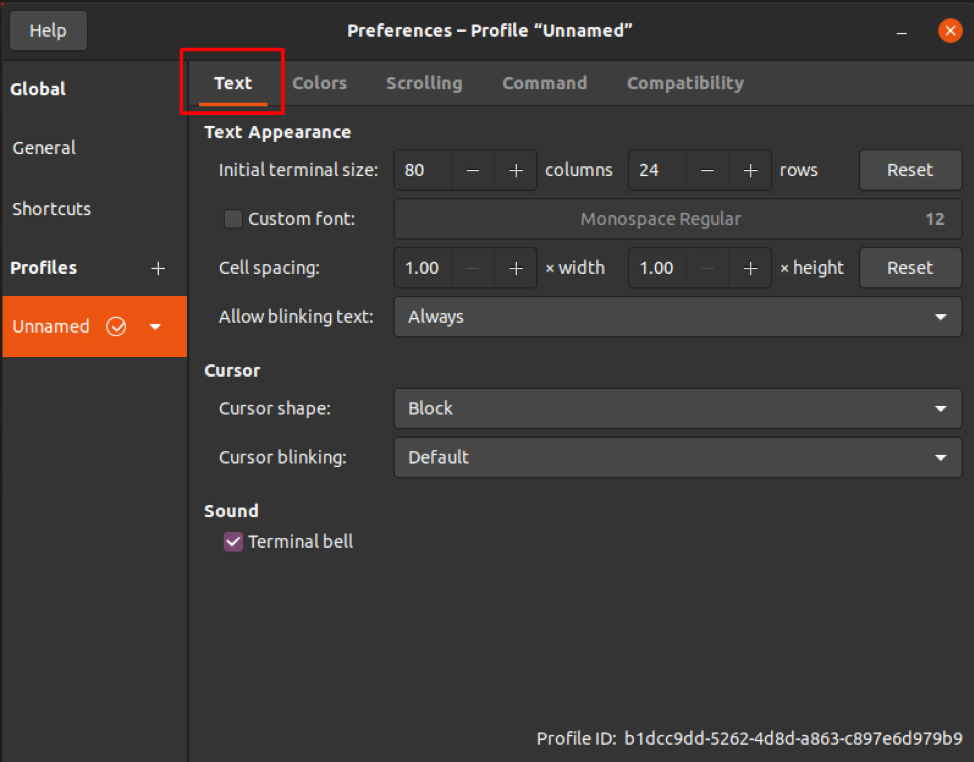
Once you have opened the terminal’s preferences window, ensure that you are in the text tab as shown in the picture provided below:
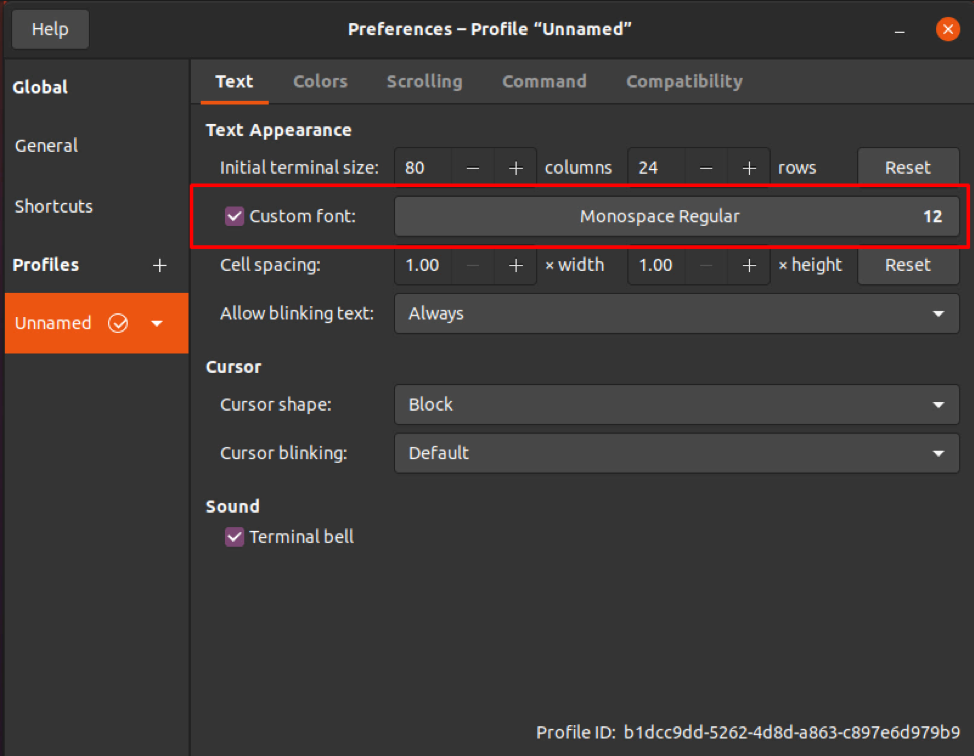
In the text tab, click on the “custom font” check box to enable the font customization and alter the font style and font size.
Step 4: Change Terminal Font
Now, you can see the font name and font size option have become editable. Just click on the “font-size” input field and a small window will pop up.
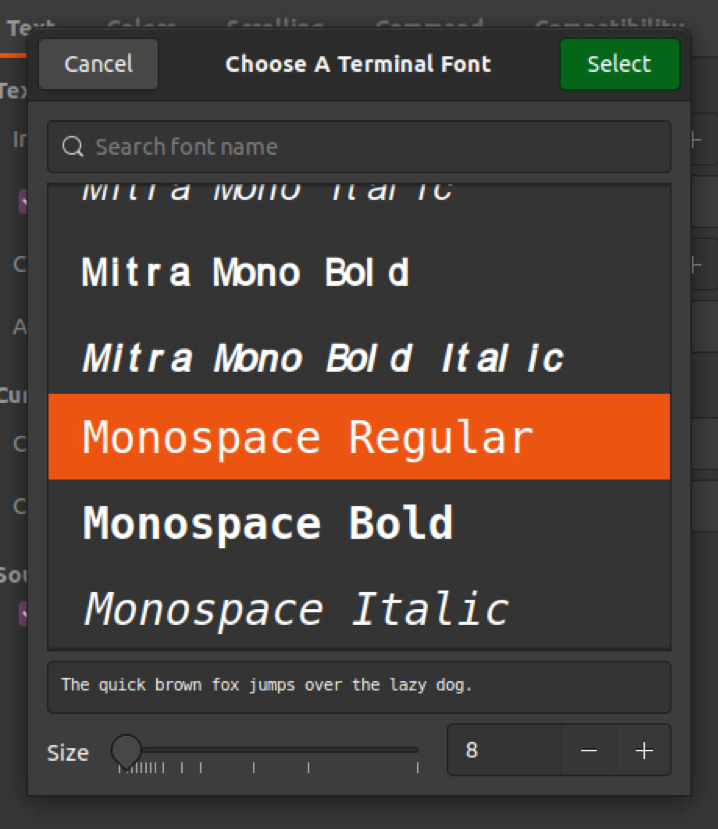
In this small window appeared, you can search for the font of your choice and make it the font of your terminal.

While in the bottom section of the window, you have a slider to change the font size, or you can also directly provide the font of your choice in the input field next to the slider.

Step 5: Save the Settings
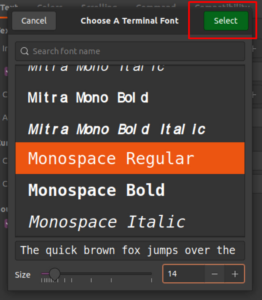
After choosing the right font and font size, do not forget to click on the Select button in the window’s top right corner.
Once you are back in the preference window, simply close the preferences window to save the settings.
When you get back to the terminal, you would have the changed font and font size of your choice.

Conclusion
This is how easy and simple it is to change the terminal font and font size in Ubuntu 20.04 LTS system. By just following the simple steps provided in this post, any Linux beginner can change the terminal font size in Ubuntu.