
This article will present you with the command line method to change proxy settings on the Ubuntu desktop.
Change Ubuntu Desktop Proxy Settings from the Command Line
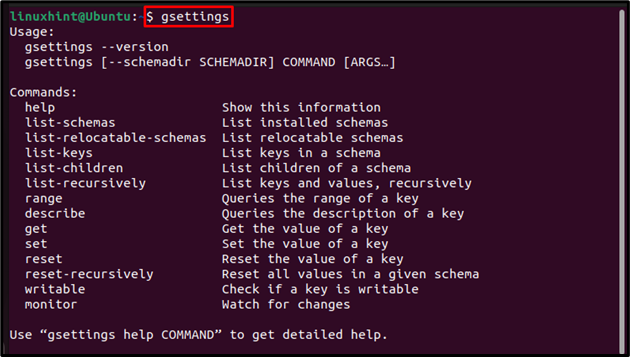
To change the system proxy setting in Ubuntu by using the command line, we will use the gsettings. The gsettings is a command line tool which is used in Ubuntu to modify the database settings. gsettings in Ubuntu enable users to monitor or set keys for changes; It is used to manage applications’ settings
To change the proxy settings on the Ubuntu system, use the below-mentioned command to run the gsettings tool:
Once the gsetting tool is started, you can easily change the proxy settings by following the syntax of the below-mentioned commands:
Now I will use the above commands to change the proxy settings for each; HTTP, HTTPS, FTP and Socks.
For “HTTP” Proxy
HTTP proxy is used to identify suspicious web content that is coming from a non-trusted source. It is required in Ubuntu to protect the HTTP server from miscellaneous attacks. To set up the HTTP proxy settings, run the below-mentioned commands to determine the host (server name or IP) and port for HTTP:
Note: Here, I have used the IP address as host but that is just an example IP.
![]()
The below-mentioned command determines the port for http proxy:

To verify that the http proxy is changed/updated successfully;

For “HTTPS” Proxy
Hypertext Transfer Protocol over Secure Socket (HTTPS) is basically a request protocol between server and clients to provide a secure transaction and communication for users. To determine the host for https proxy, run the below-mentioned command:
![]()
After that determine the port for HTTPS by using the below-mentioned command:

Then verify by using the below-mentioned command:

For “FTP” Proxy
FTP proxy acts as a bridge/relay to transfer files between source and destination. Its performance is better for larger files than HTTP. To change the FTP proxy, run the below-mentioned commands to determine both the host and port on the Ubuntu system:
![]()

Then verify, by using the below-mentioned echo command

For “Socks” Proxy
SOCKS proxy facilitates communication between servers by using a firewall, it supports routing any type of traffic generated by any program or protocol. Similar to all of the above, the socks proxy can also be changed with the gsetting tool and for that, use the below-mentioned commands:
![]()

For example;

How to Change System Wide Proxy Settings?
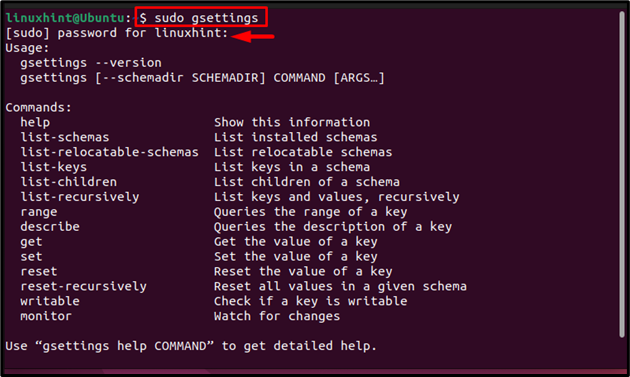
All the above-mentioned commands will change the proxy setting for the current user, but if you want to imply same proxy changes system-wide then run all the commands with sudo to have administrative permission to change the system proxy:
Just to quote the example; here I have only changed the “http” proxy setting for the whole system. You can change your desired proxy settings for the complete system by following the same commands mentioned in the previous section just remember to use “sudo” with them:
![]()

How to Switch the Proxy Mode?
There are three proxy setting modes in the Ubuntu system and those are:
1: “Auto” mode
Run the below-mentioned commands to switch the proxy mode to “auto mode”, this is useful if you are using PAC (Proxy Auto-Config) in Ubuntu.

Switch to auto mode through the following command:
![]()
2: “Manual” mode
The manual mode is used if you want to manually change each proxy settings as we did in the first two sections of this article.

3: None
If you do not want any proxy changes being applied to your system then you can clear all proxy settings by using the below-mentioned command:
![]()
Conclusion
To change the system proxy setting in Ubuntu through the command line, the gsetting tool is used. All the proxy settings can be modified/changed with the gsetting tool. The command and syntaxes for each proxy setting are discussed in the above-mentioned guidelines. The proxy modes “auto”, “manual” and “none” are also discussed above along with commands for each mode.