Follow this guide for a step-by-step process of changing your Zsh prompt name.
Understanding the Zsh Prompt Structure
Before we dive into changing the prompt name, let’s understand the structure of the Zsh prompt. The prompt consists of various elements, such as the username, host, current directory, and more. These elements are represented by special characters called prompt escape sequences. Familiarizing yourself with these escape sequences will help you customize your prompt effectively.
1: Changing the Zsh Configuration File
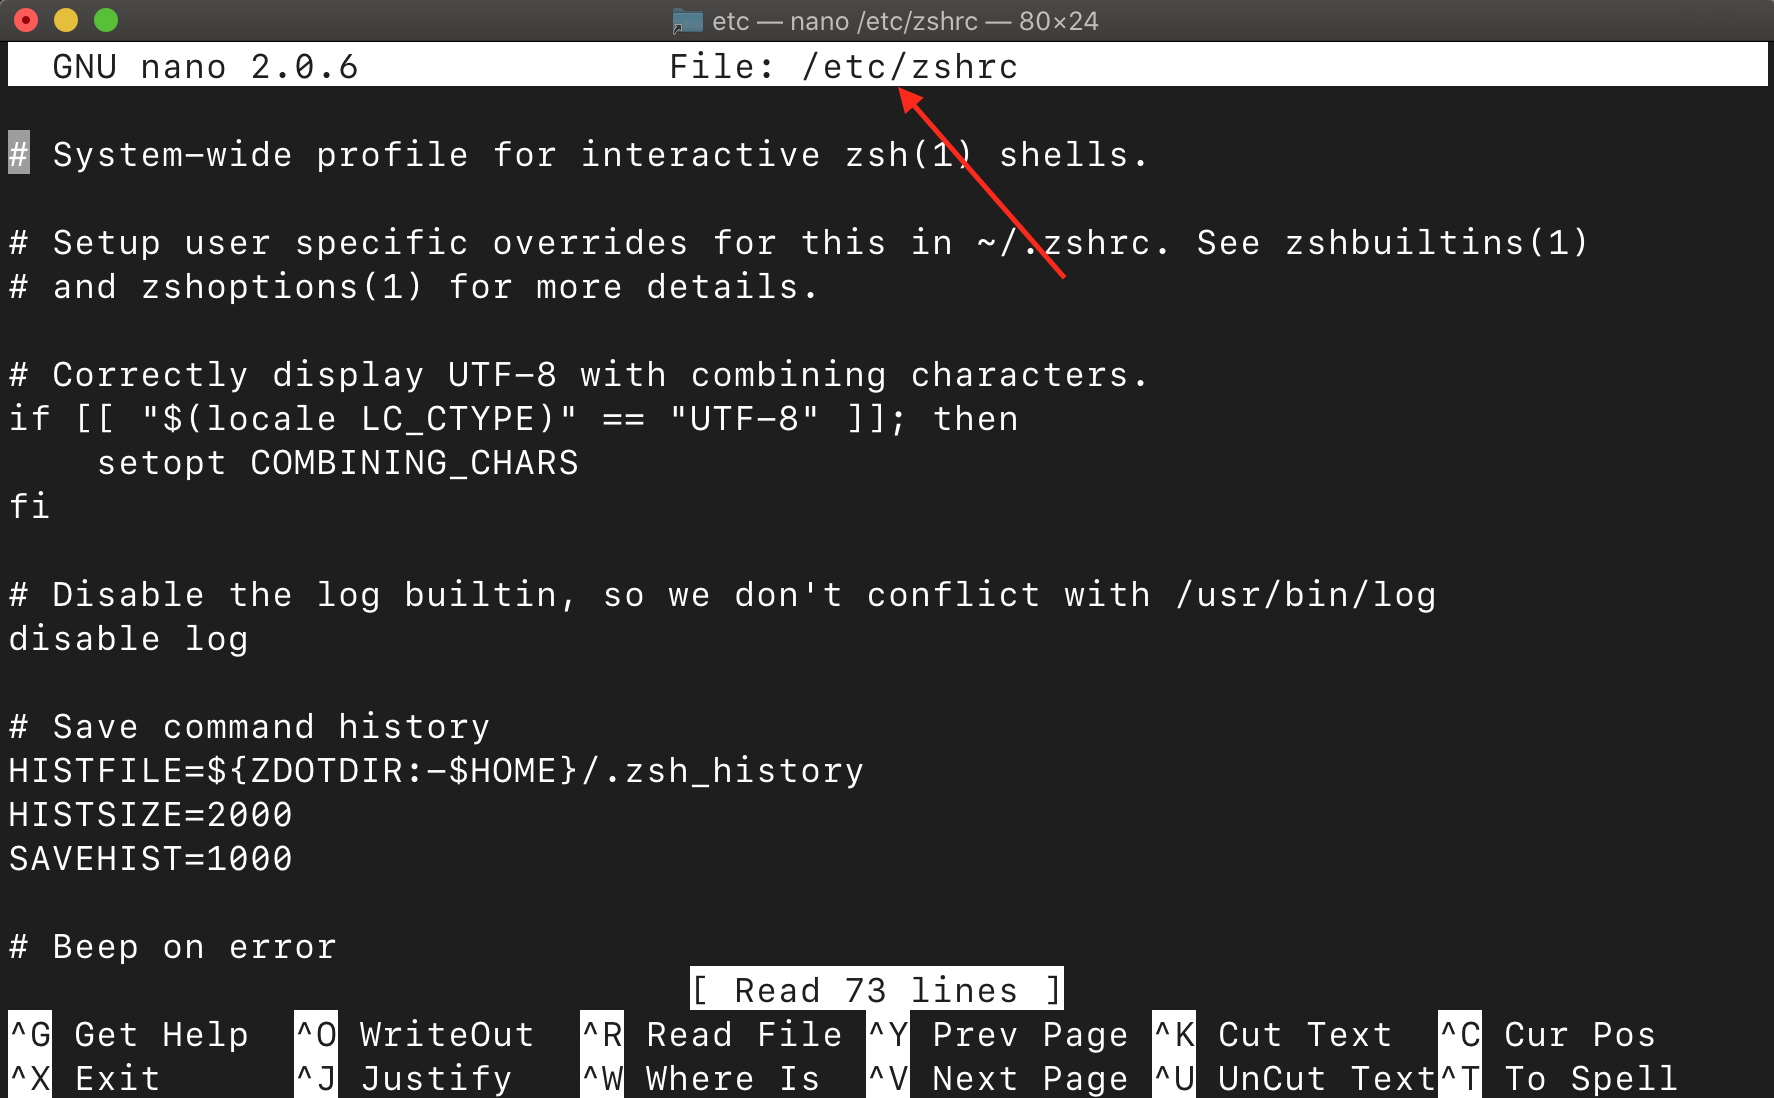
To change the Zsh prompt name, we need to modify the Zsh configuration file, commonly known as .zshrc. This file contains settings and customizations for your Zsh shell, and you can open the file in your preferred text editor using the following command:
1.1: Locating the Prompt Configuration
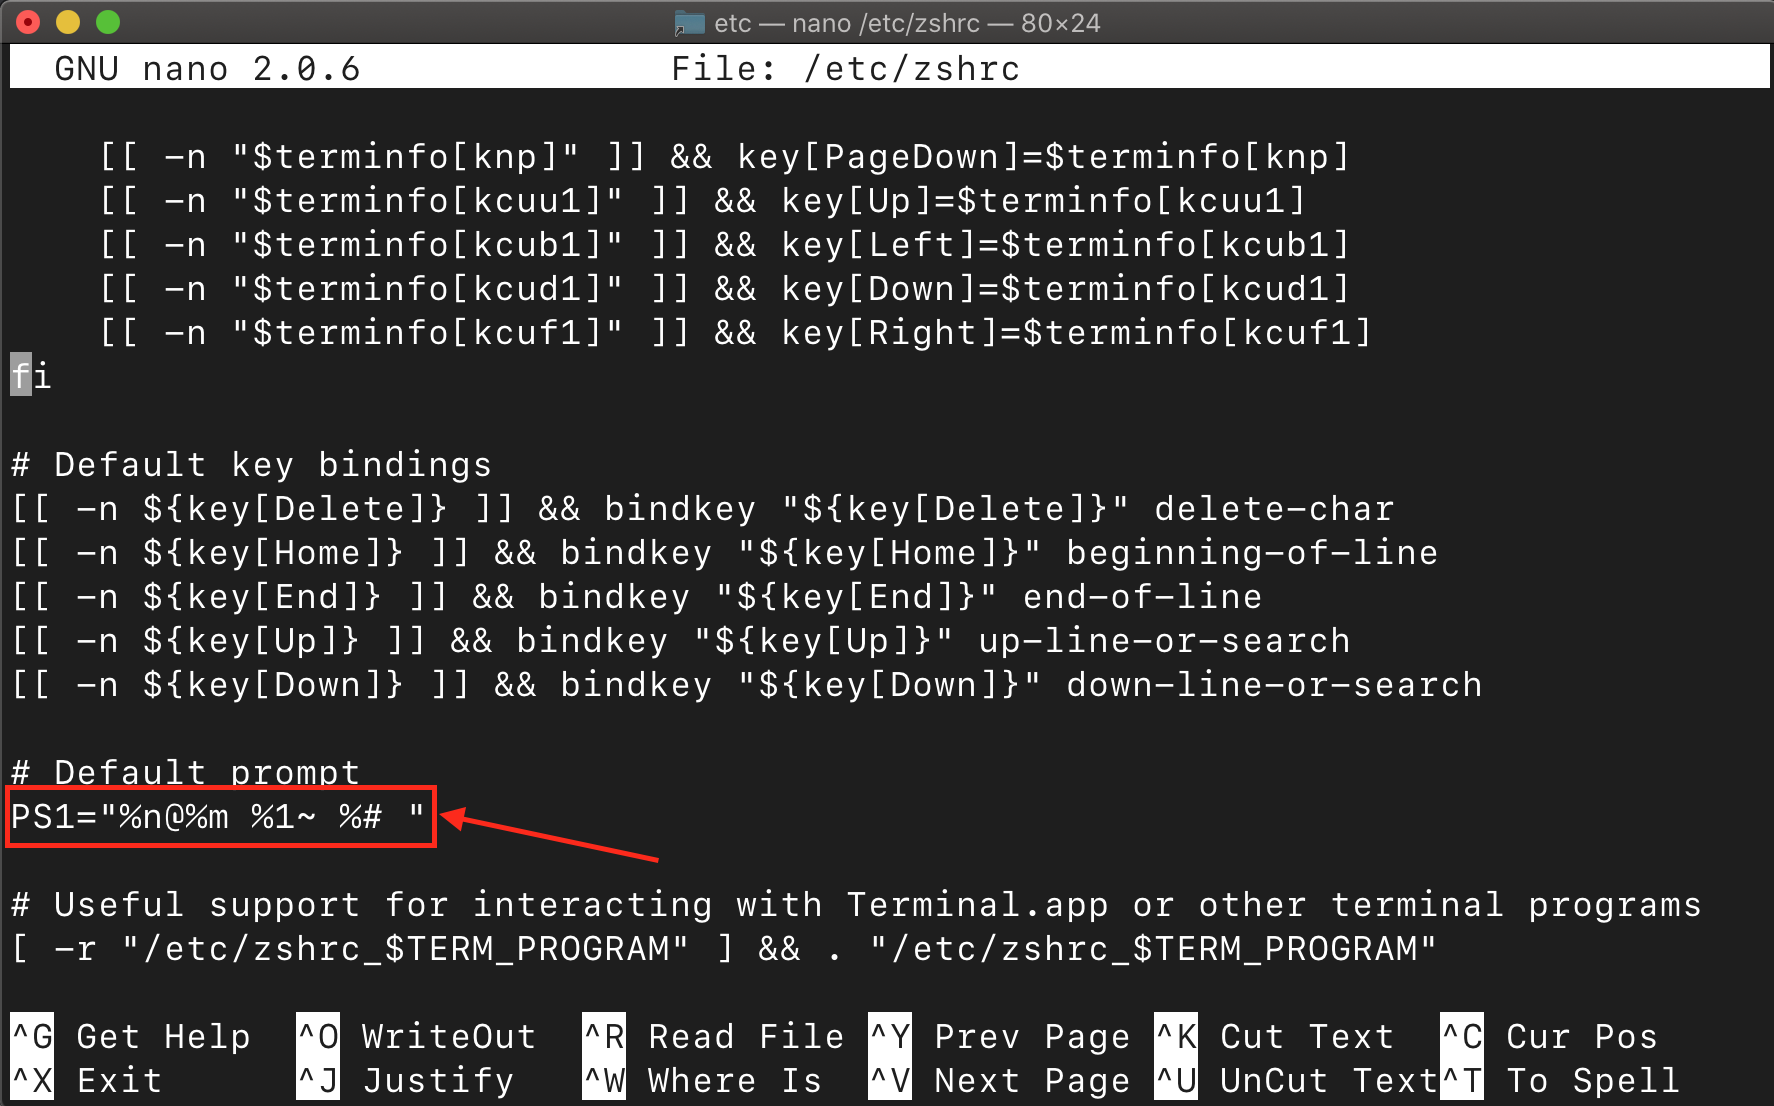
In the .zshrc file, look for the line that starts with PS1=, which defines the current prompt format. The prompt is enclosed in single quotes (”) and it can look something like this:
1.2: Customize the Prompt Name
To change the prompt name, modify the PS1 line. You can use various prompt escape sequences to include different information. For example, to display your username and the current directory, you can use %n and %~ respectively. Feel free to experiment and customize the prompt according to your preferences.
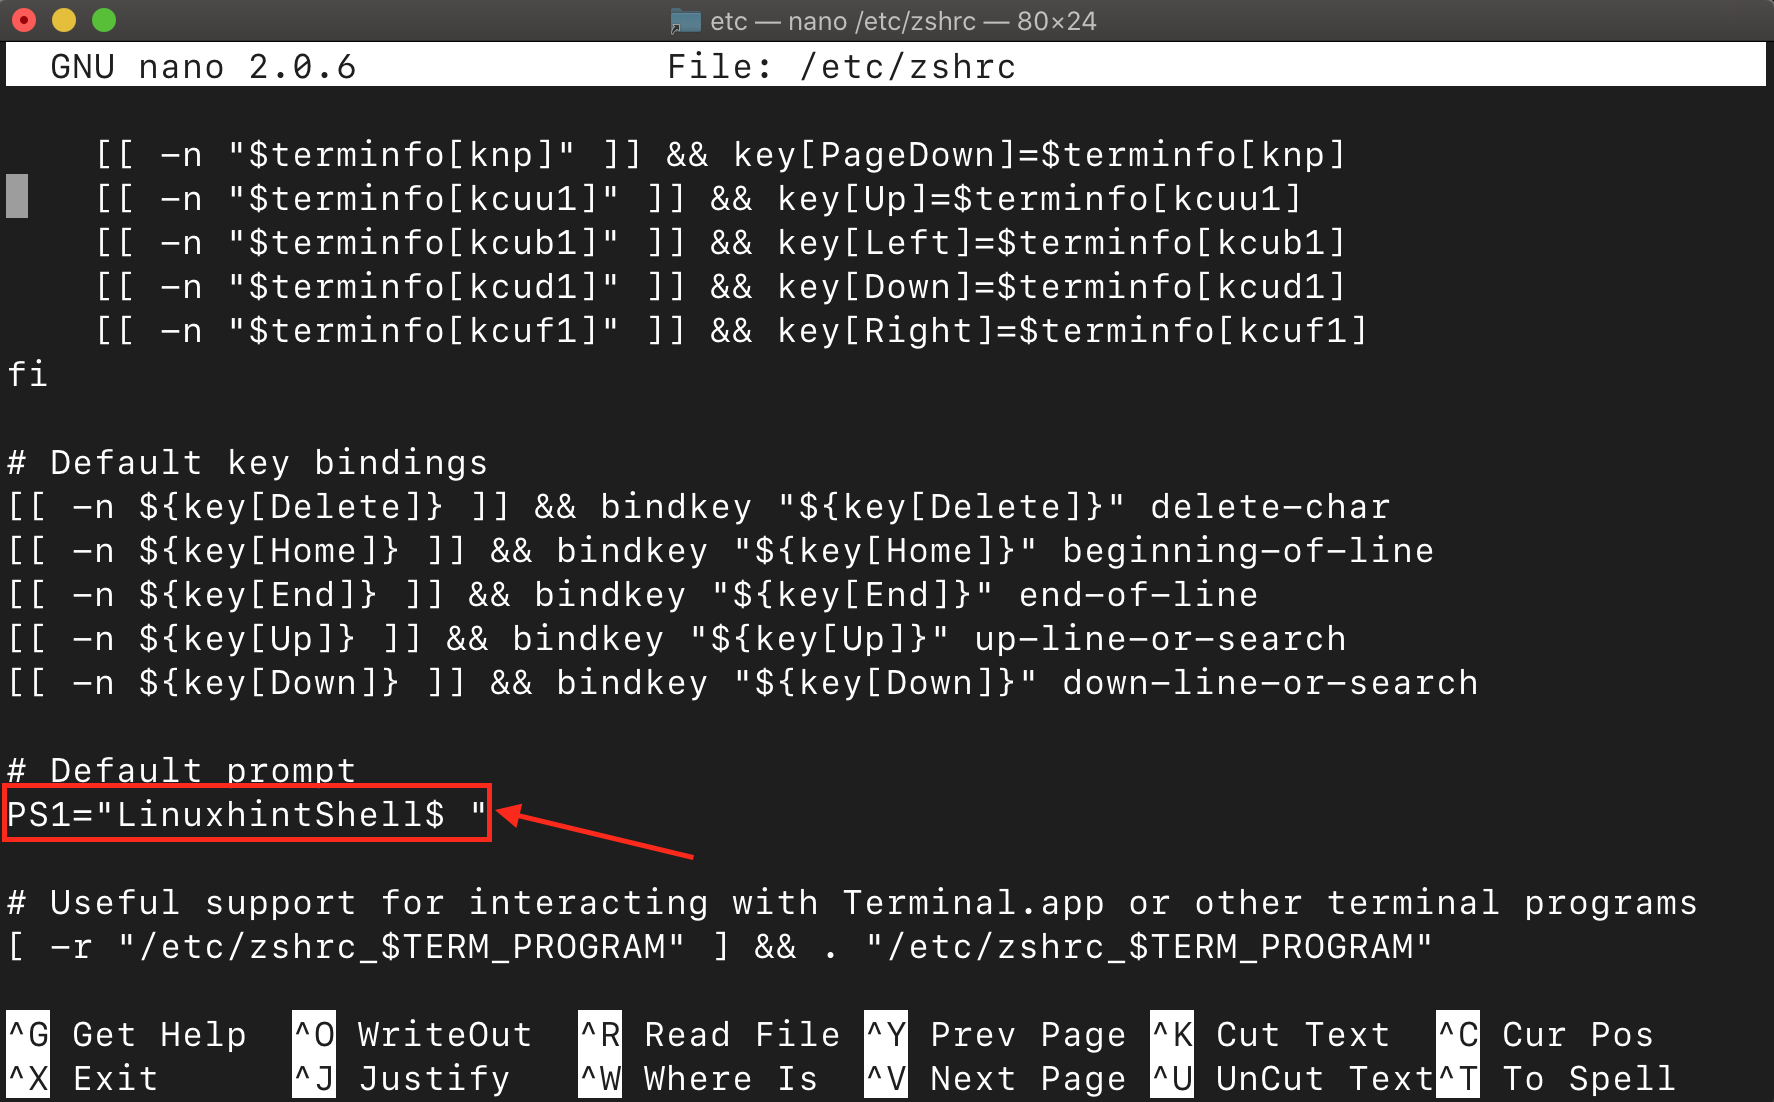
For example, to set the prompt as LinuxhintShell$, modify the PS1 line as follows:
1.3: Save the Changes
Once done, save the file using CTRL+X, add Y and press enter to exit.
1.4: Apply the Changes
To apply the changes you made, reload the .zshrc file using the following command:
Alternatively, you can also close and restart the terminal to apply the changes; after following these steps, your zsh prompt will be set as LinuxhintShell$.
Conclusion
You can customize the Zsh prompt name on Mac to personalize your command-line interface and improves your productivity. By understanding the basic structure of the Zsh prompt, you can modify the configuration file and change the prompt name to suit your preferences. Make sure you save the changes and reload the configuration file for the modifications to be applied.


