Changing the Java Version in Linux
For this guide, we are working with Java 19. However, we install a lower version and check the steps to follow when you want to switch the version.
Let’s first check the current Java version in our system. For that, use the following command:
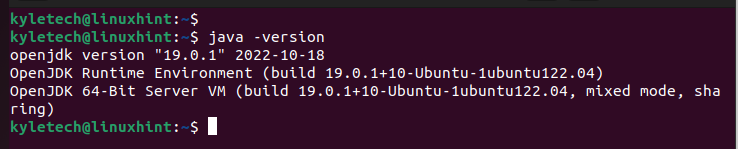
We verified that our current Java version is 19.0.1.
When you want to view your system’s installed Java JDKs and JREs, use the following command:
The command displays all the available Java versions. You can select which one to install from the listed options.
In our case, we only have one installed Java version. Notice that the following output doesn’t give any alternative Java versions.

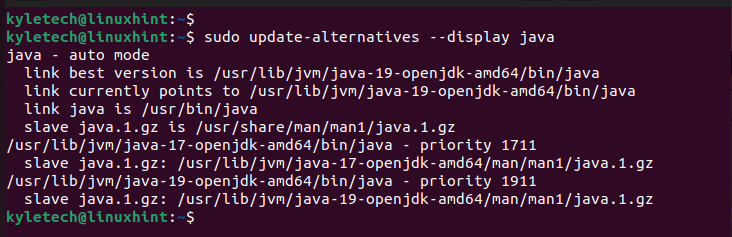
Similarly, you can check the available Java versions using the update-alternatives command:
The output also displays the link to the currently set Java version. In our case, the link points to Java 19.

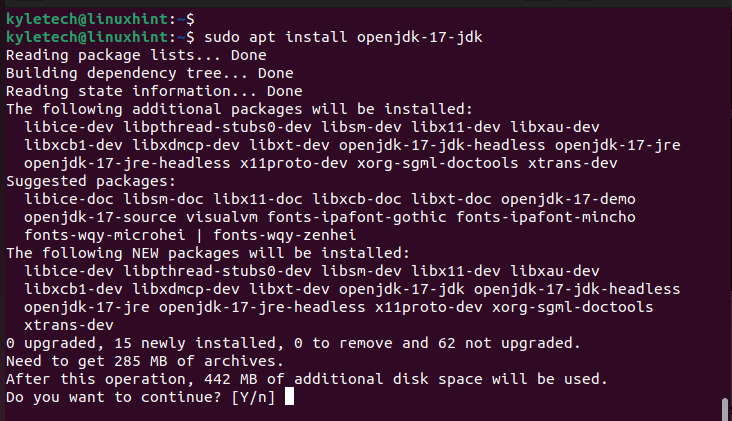
To demonstrate how we switch between the Java versions, let’s quickly install Java 19.
If we check the available Java versions, we now have Java 19 which is the currently set version, and an alternative version which is Java 17.
To change the Java version in Linux, use the –config java option with the update-alternatives command:
A list of all the available JDKs and JREs are displayed. Note the selection number of the Java version that you want to switch to. Next, enter its number in the confirmation prompt on the terminal and press the enter key.
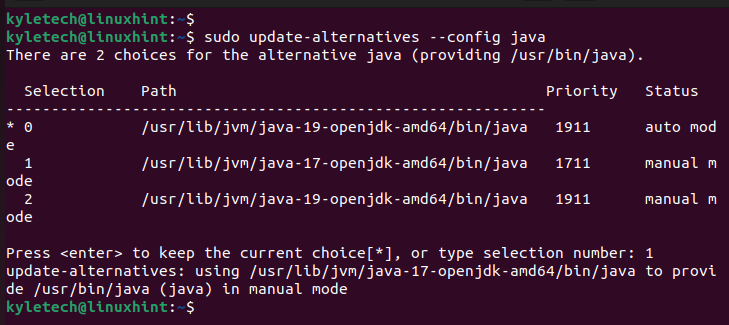
In the example, we entered our selection as 1 to switch to Java 17. Once you enter the selection, you get a message which confirms that the selection is updated.
If we check the current Java version in our system, we should get the Java 17 as we managed to switch to it.
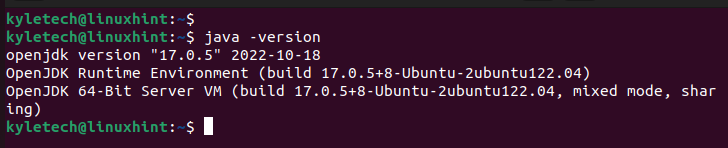
In the output, note that the current Java version is Java 17. If we run a program that requires Java 17, we wouldn’t get any errors.
That’s how you switch between Java versions in Linux. Feel free to try it out.
Conclusion
It’s common to have different Java versions installed on your system. Different programs may require different Java versions to support them. In such a case, you may have various Java versions on your system and you need to switch between them at different instances. We covered the simple steps that you should follow when changing the Java version on your Linux system. Hopefully, you are now at ease with conveniently working with different Java versions.