When a new development project is created, the user needs to configure a desired local branch as a default branch. When developers start work on repositories, the default branch will appear as a working branch. Moreover, they can change the default branch whenever needed while working. For this purpose, the “$ git config –global init.defaultBranch <branch-name>” command can be utilized.
This guide explains the procedure of changing a default branch from master to a new Git branch.
How to Change From Master to a New Default Branch Git?
Follow the below-given steps to change from master to a new default branch:
-
- Go to the Git root directory.
- List the existing local branches of Git.
- Create a new local branch.
- Run the “$ git config –global init.defaultBranch <branch-name>” command.
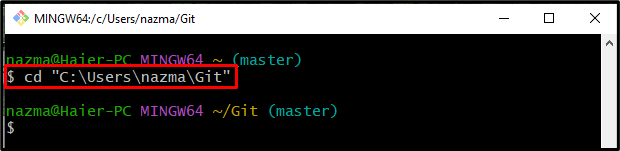
Step 1: Go to Git Root Directory
First, run the “cd” command to move to the Git root:
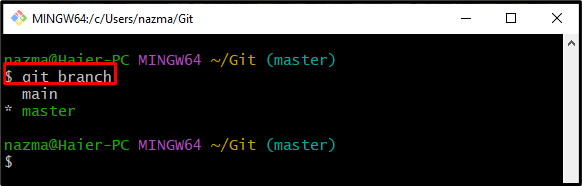
Step 2: List Local Branch
Next, list the local by running the following command:
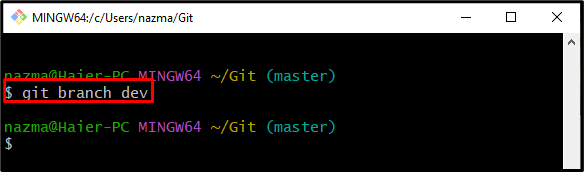
Step 3: Generate New Local Branch
Then, utilize the “git branch” command along with the new branch name to create a new branch:
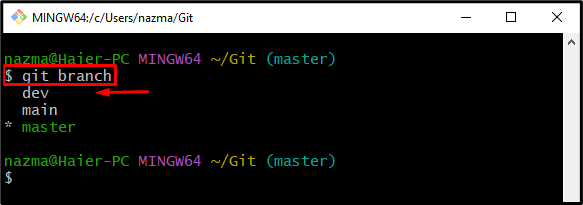
Step 4: Verify Newly Created File
Now, ensure that a new branch is created successfully or not:
As you can see, the pointed branch is newly created:
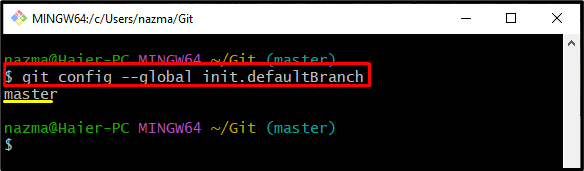
Step 5: Check Default Branch
To view the default branch in Git, run the below-stated command:
Here, the current default branch is named as “master” branch:
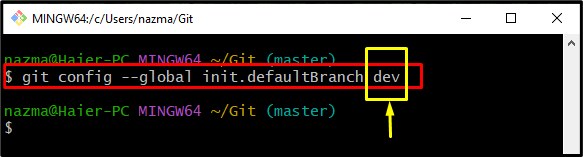
Step 6: Change Default Branch
Finally, change the default branch through the “git config” command along with the “–global” option, “init.defaultBranch” parameter, and desired branch name:
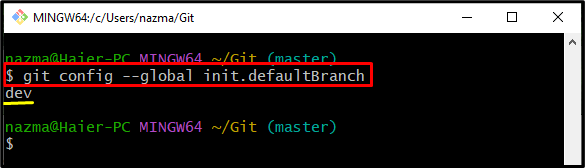
Step 7: Ensure Default Branch
Lastly, execute the below command to check the newly added default branch:
According to the below-given output, the default branch is changed successfully:
We have illustrated the procedure of changing a default branch from master to a new Git branch.
Conclusion
To change from master to a new default branch, first, move to the Git root directory and check the list of existing local branches. Then, create a new local branch. After that, execute the “$ git config –global init.defaultBranch <branch-name>” command. This guide described the method of changing a default branch from master to a new Git branch.