The display manager’s role is to provide a login interface after the system boots start a session. Display managers are available both in graphical and text modes, being GDM, KDM, and LightDM (see picture below) most known examples.

Lightdm
After reading this tutorial, you’ll know how to install, change or disable display managers in Debian, including the following topics:
- How to check my display manager
- How to change the display manager (GDM3 install)
- Installing LightDM
- Installing SDDM
- Installing XDM
- Installing SLIM
- Installing LXDM
- Disabling the display manager
- Enabling the display manager back
How to check what display manager are you running
To learn what display manager your system is running in Debian Linux, run the command shown in the screenshot below:
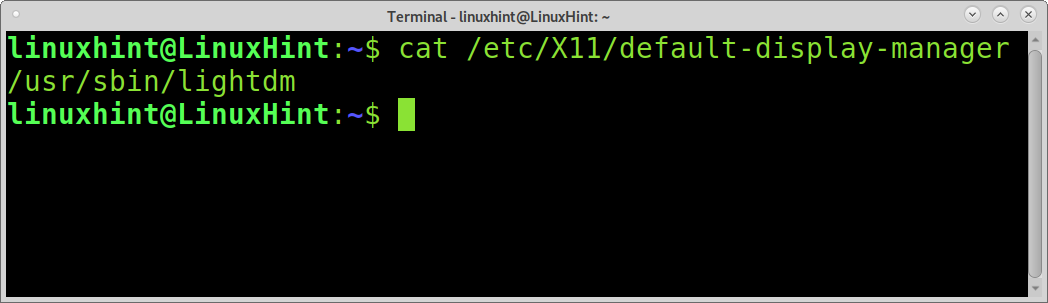
As you can see in the output, my display manager is Lightdm.
Change the display manager:
Before changing the display manager, you need to install the display the managers you want to have on your device. You can install them using the command apt. In the example below, GDM3 is installed.

Once GDM is installed, you can set it using the command dpkg-reconfigure, as shown in the example below.
Or
Note: The command dpkg-reconfigure allows you to reconfigure installed packages. To change your display manager, you can use the command dpkg-reconfigure followed by an installed display manager.
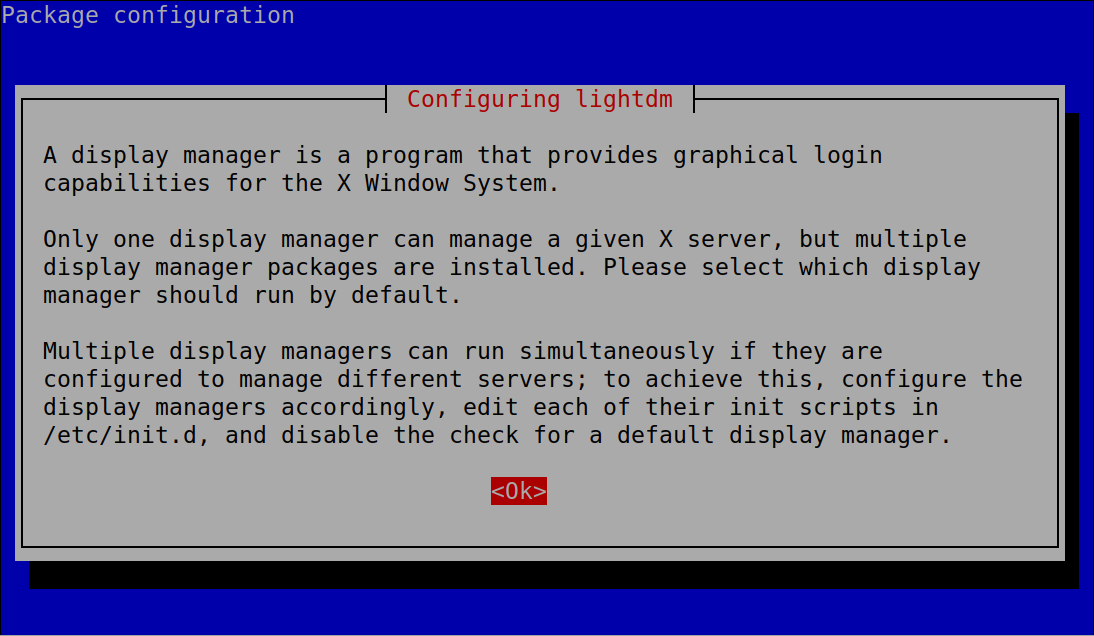
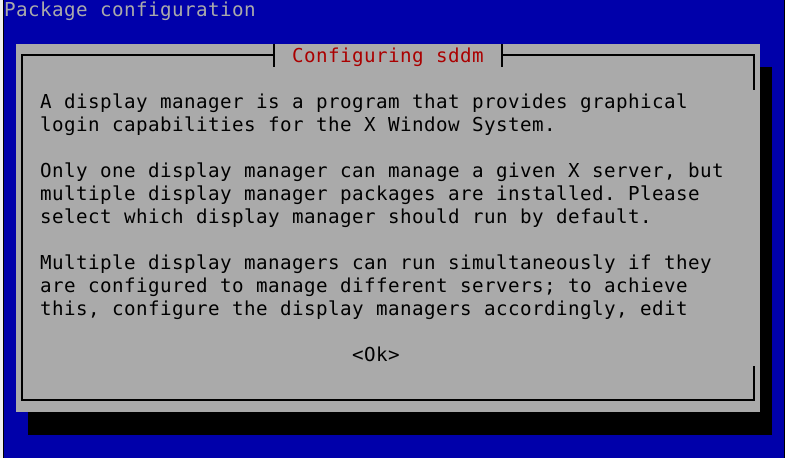
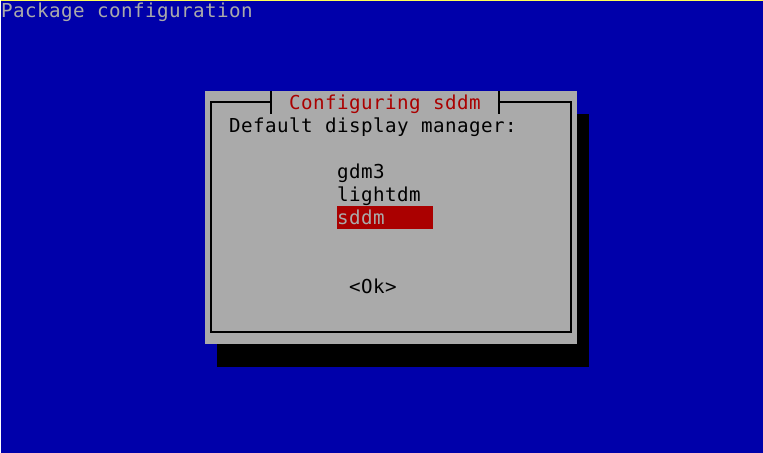
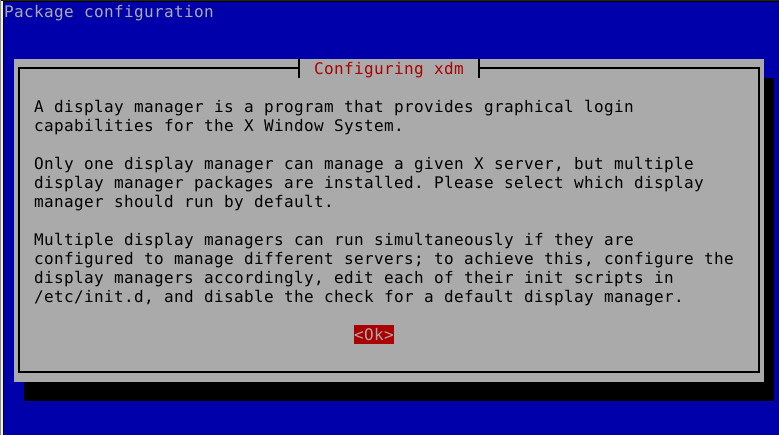
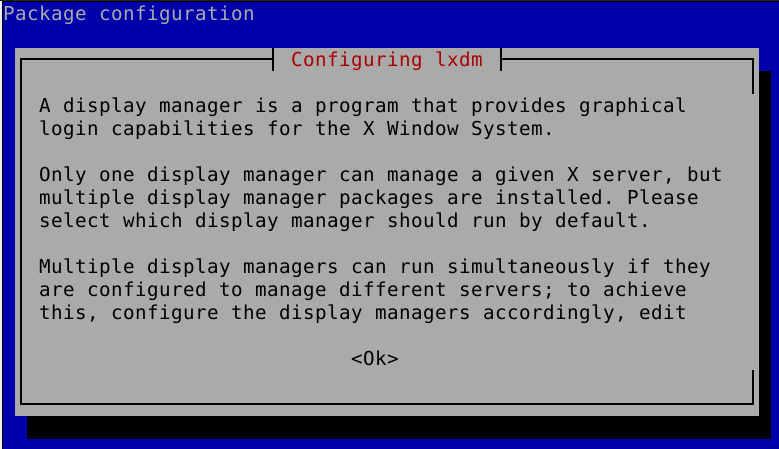
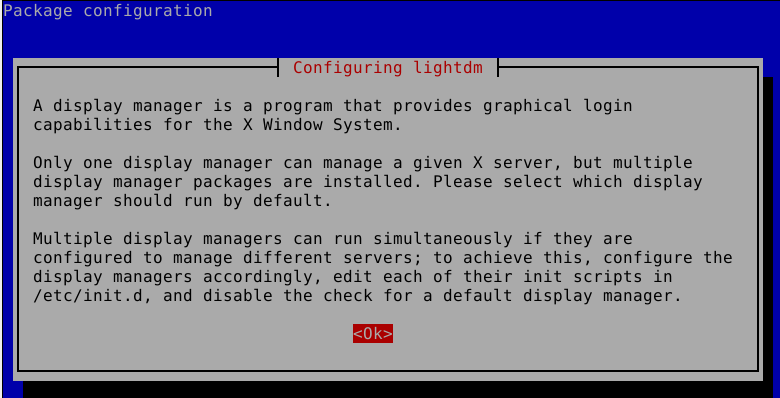
After running the command dpkg-reconfigure, you’ll see the screen shown above with a brief description of display managers. Press OK to continue to the selection menu shown below, where you can choose the display manager you want to change to, select it and press OK.
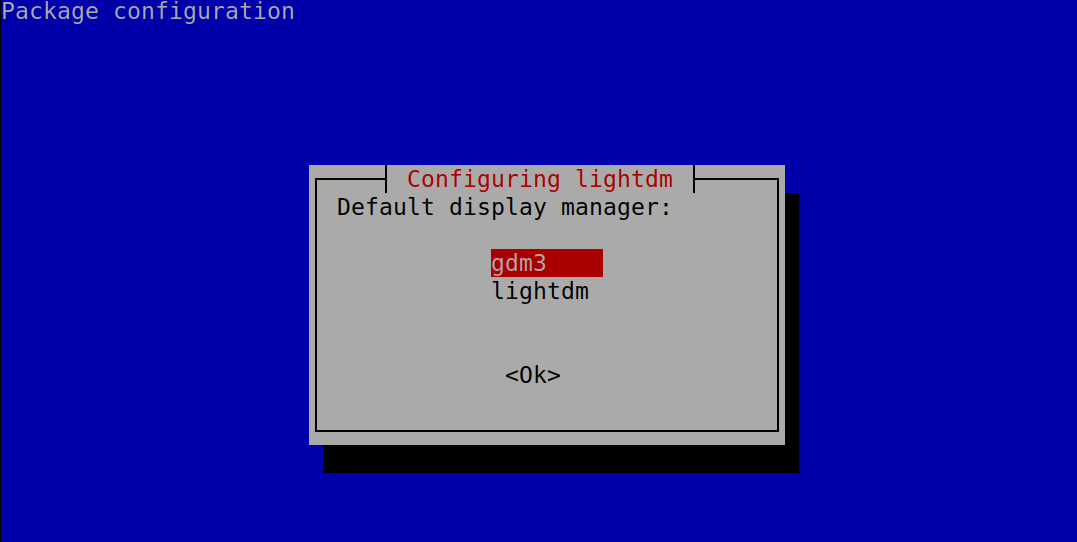
Now when you boot, your computer should see GDM3 as in the image below.

Popular display managers and how to install them:
GDM3: GDM3 (GNOME Display Manager) is the Gnome display manager. It allows users to authenticate and graphically customize and edit settings.
GDM supports theme customization, remote display management, PAM authentication, XDMCP displays, cursor customization, Wayland, among more features.
GDM starts the Xserver process and launches the init script and greeter.
GDM3 also allows you to hide the user’s list, includes built-in themes, supports multiple user logins, fingerprint scanning, smart card authentication, and more.
GDM3 installation was already explained in this tutorial’s first example.
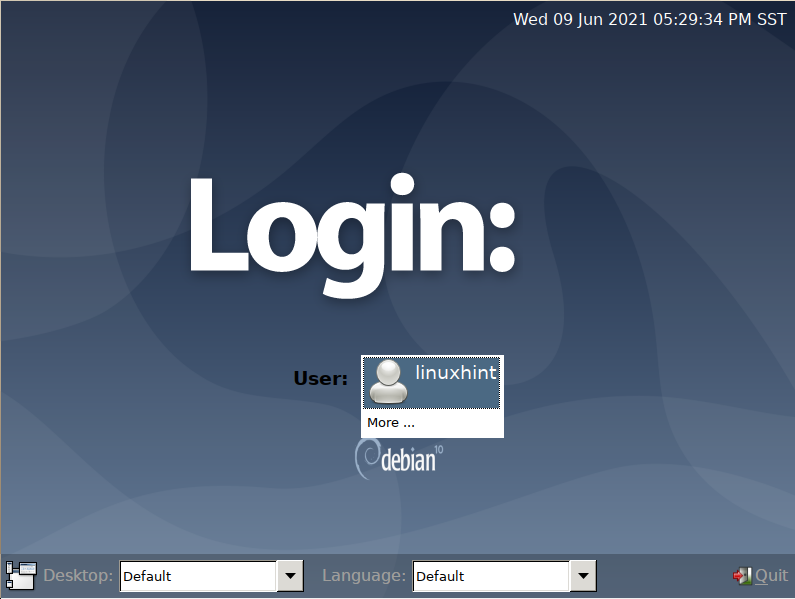
LightDM: LightDM became one of the most popular display managers. It aims to be light and fast, with low code complexity. It has very few dependencies, being a great alternative for low-resource devices; it provides all GDM features without Gnome dependencies.
LightDM also supports XDMCP and VNC. Cross Desktop, multiple GUI is also supported.
Its popularity made LightDM the default display manager for Linux distributions like Linux Mint, Lubuntu, and other OS.
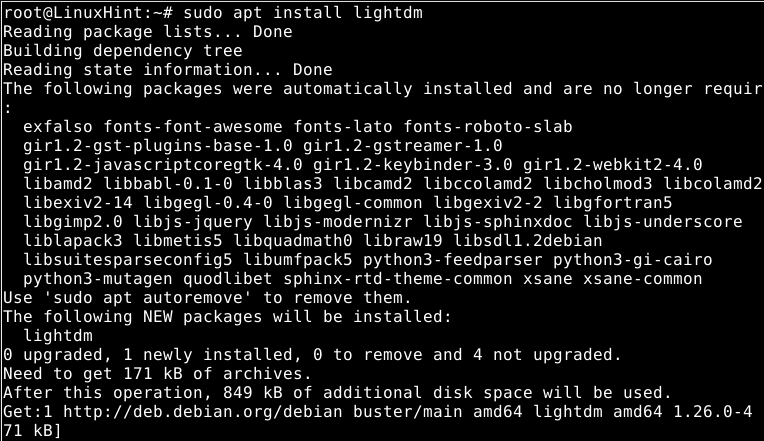
To install LightDM on Debian based Linux distributions, use apt as shown below:
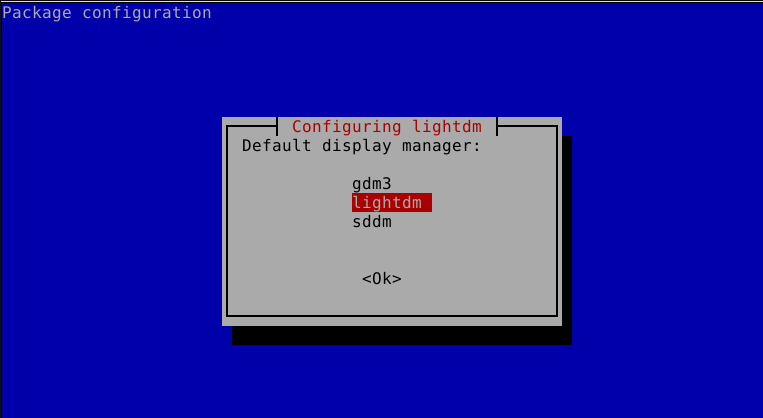
On the first configuration screen, press OK to continue to the display manager selector.

Select lightdm and press ENTER to finish the installation.
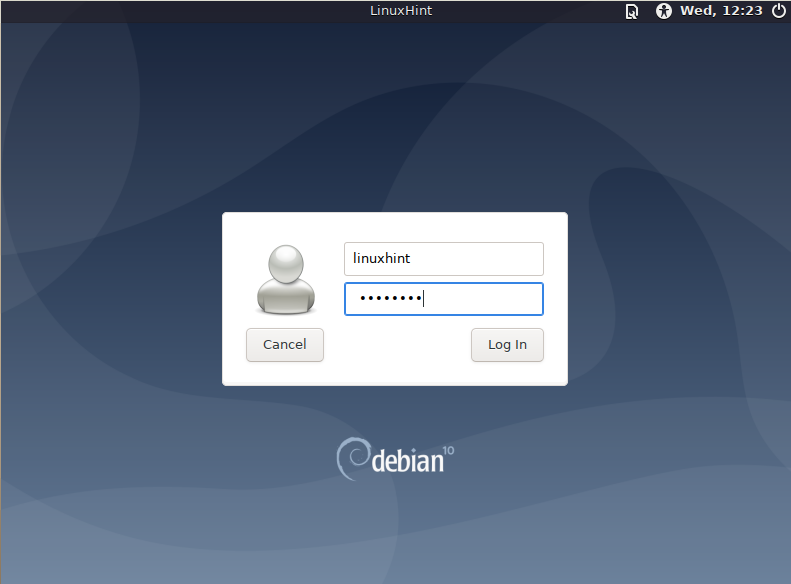
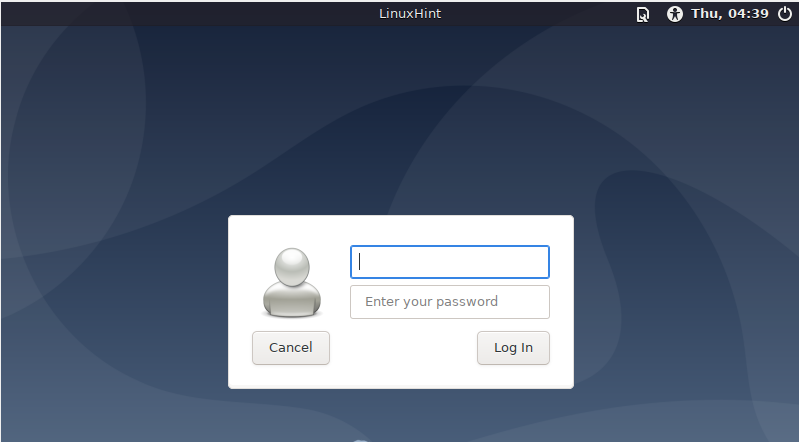
Reboot your computer, and LightDM will show up.
SDDM: SDDM (Simple Desktop Display Manager) supports audio, gif, and video files. Its GUI is simpler than GDM. It also supports Wayland, theme customization, Session selector, Num Lock on, automatic login, among additional features.
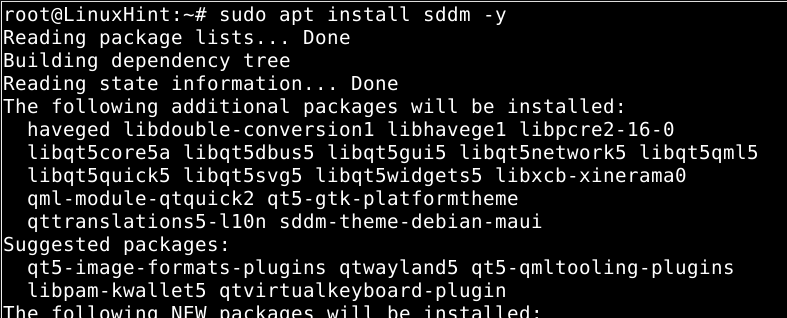
To install SDDM in Debian, use apt as shown below:
The first configuration screen we saw in previous steps will show up; press OK to continue to the next step.
Select sddm and press ENTER to continue the installation
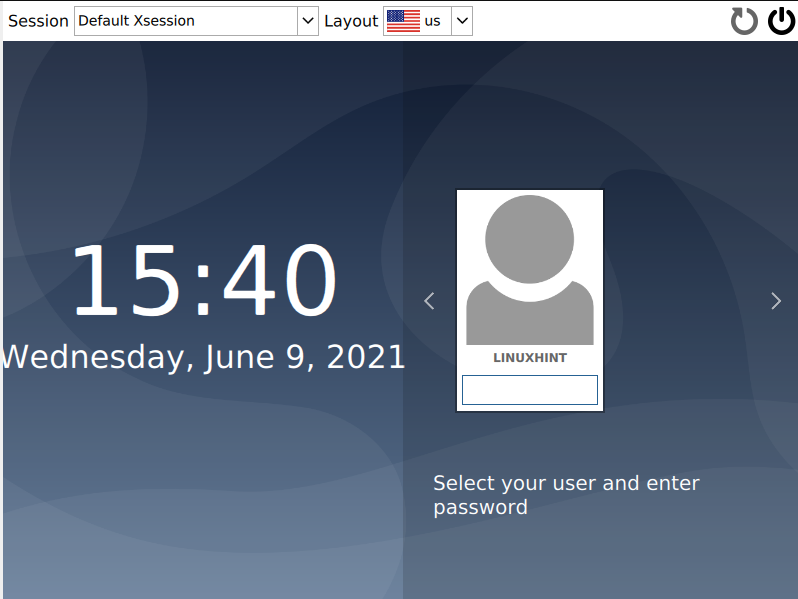
Restart your computer, and SDDM will show up.
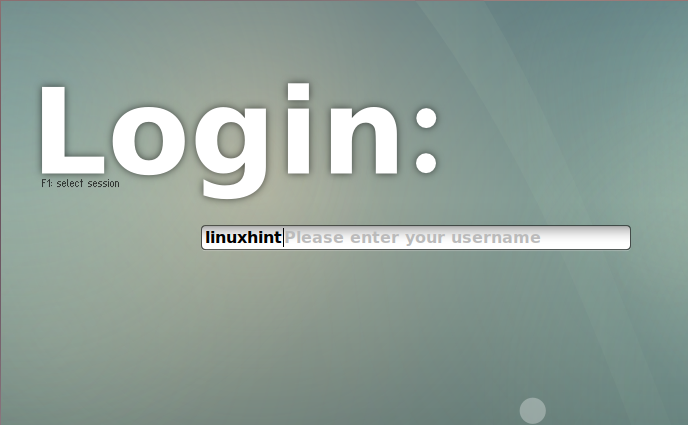
XDM: XDM (X Display Manager) is an old and minimalist alternative. Contrary to previous examples, XDM shows a simple dialogue box without a users list or drop-down menu; just type your username and password and press ENTER.
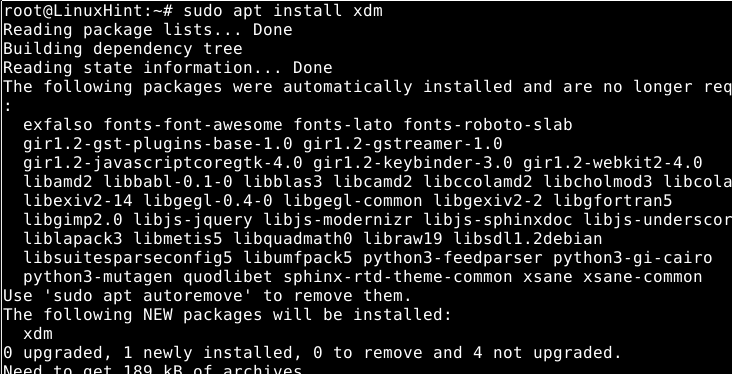
To install XDM on Debian based distributions, run the command below:
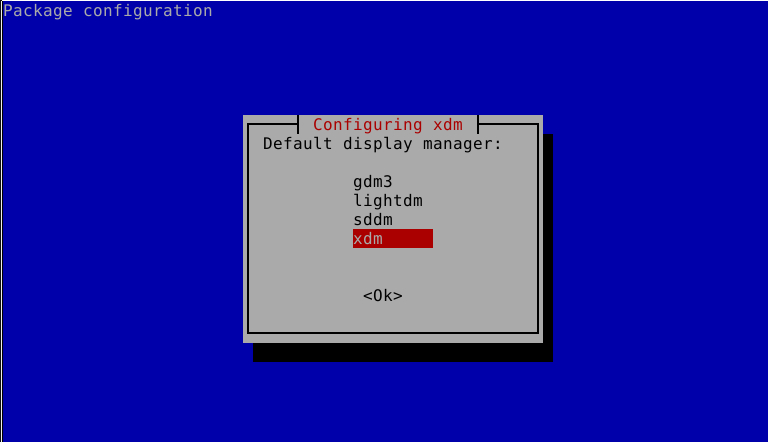
Press OK like in previous examples.
Select XDM and press ENTER
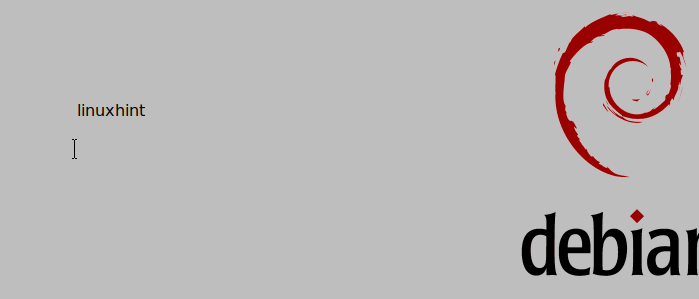
Reboot your computer, and XDM will show up; just start typing your username and password and hit ENTER.
SLIM: SLIM (Simple Login Manager) features PNG and XFT support for alpha transparency and anti-aliased fonts, external themes, different runtime options (X server, shut down, reboot, login). It can also load defined users at startup and supports welcome and shutdown message customization.
To start with Slim installation, run the following command:

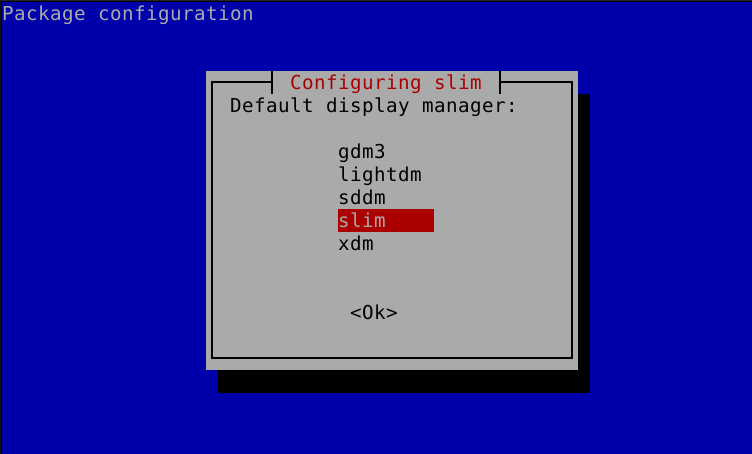
Press OK to continue to the selection screen.

Select slim and press ENTER to finish the process.
Reboot your computer, and SLIM will show up.
LXDM: LXDM is another display manager for LXDE x window manager. LXDM is a lightweight alternative designed to be fast.
To install LXDM in Debian, use apt as shown below:

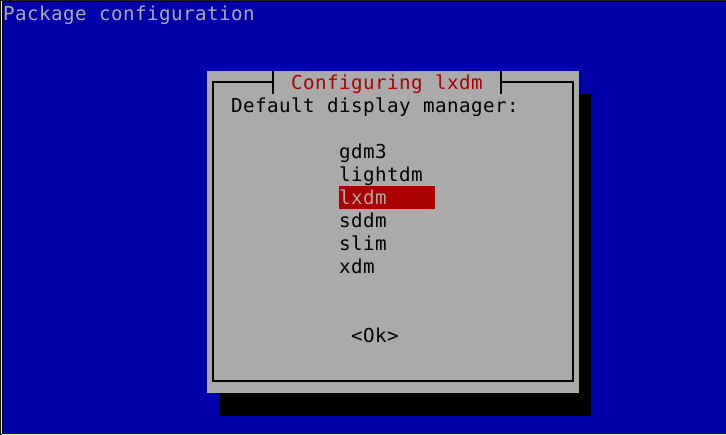
Press OK to continue to the next screen.
On the selection screen, select LXDM and press ENTER to finish the process.
Reboot your computer, and LXDM will show up.
Disabling the display manager in Debian
You may want to disable the display manager and boot to a TTY.
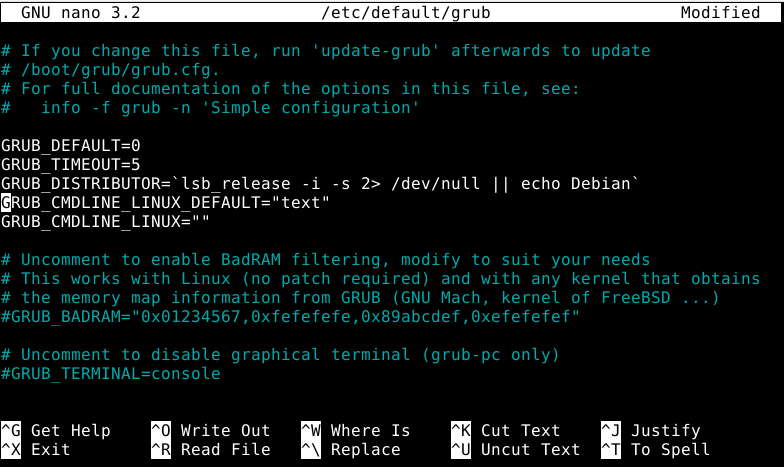
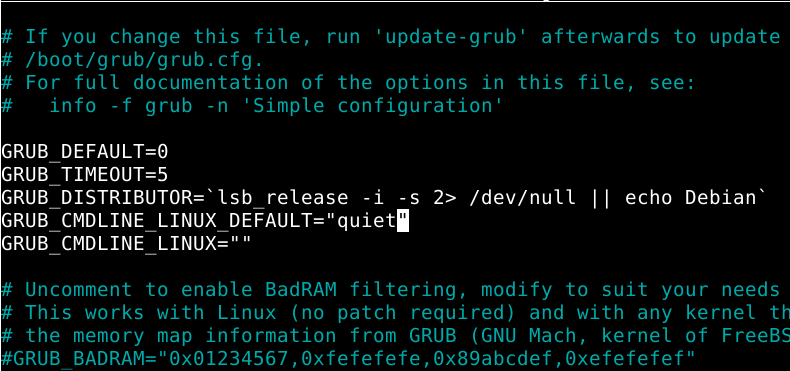
Edit the file /etc/default/grub using your favorite text editor, as shown in the screenshot below.

Edit the following line.
Replace “quiet” with “text” and press CTRL+X to exit saving changes.
Update grub by running the command below.

Disable your display manager by executing the following command, replace <DisplayManager> with your display manager name.
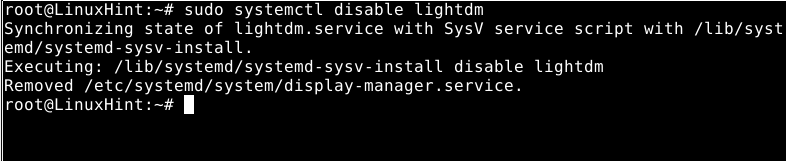
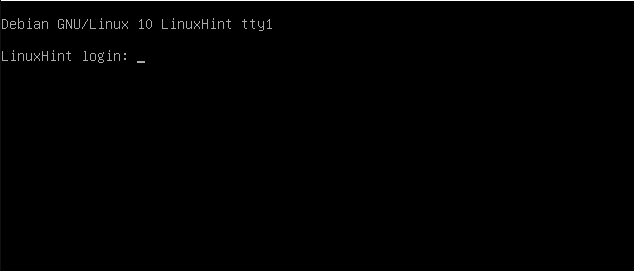
Then you will boot into text mode.
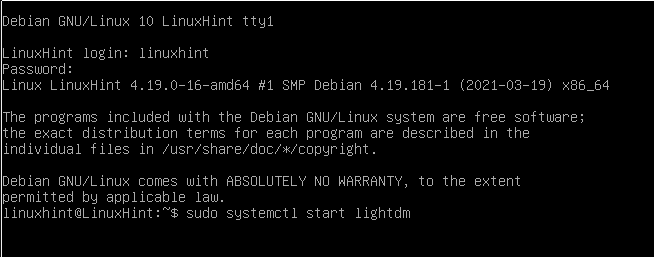
To start lightdm run:
Enabling back the display manager:
If you want to revert the change, edit GRUB back, replacing “text” with “quiet”.
Update GRUB again by running:
And enable your display manager again using systemctl as shown below.

Execute dpkg-reconfigure followed by any of your installed display managers:

Press OK.
Select your display manager and press ENTER.

Reboot your computer.

And your display manager will show up again.
Conclusion:
As shown in this tutorial, any Linux user level can easily change his display manager or disable it in minutes. However, downloading a display manager with unmet dependencies may be the most time-consuming part, for example, if you are using Gnome and want to install KDM.
Fortunately, the open-source community provides a variety of available options both for graphic and text modes.
GDM, LightDM SDDM, and XDM are the most popular display managers in the market, and KDM, which weren’t included in this tutorial, excluding KDE. LightDM seems to be one of the best alternatives due to its performance optimization.
It is important to clarify that using display managers is associated with less security than booting into a TTY1, but most users choose the nice looks to display managers.
I hope you found this tutorial useful. Keep following Linux Hint for more Linux tips and tutorials.