This post contains a profound guide on how to install AWS CLI on CentOS 8 Operating system. AWS CLI is the command-line interface that is used to configure and manage AWS. We can even automate many processes by using scripts. AWS CLI is available on all major operating systems, but we will only focus on how to install it on CentOS 8 machines, specifically in this article.
WHY AWS?
AWS is the most used cloud computing platform. Major tech giants use it for their IT infrastructure needs, such as storing databases and sharing computing power. AWS is still the best option, even when it comes to new businesses, as Amazon offers very affordable options. Amazon does not charge a fixed amount upfront; instead, they treat AWS services like utilities, and you pay as much as you use them.
AWS is the best platform for almost any cloud computing need, such as the warehousing of data, tools deployment, and so on.
As everyone knows now how security is important in cloud computing platforms. AWS offers a very secure cloud platform and has many features which ensure perfect solutions for any IT infrastructure need. AWS has many well-built security features such as strong data encryption, security certifications, hardware security modules, and robust physical security.
Now let’s learn how to install AWS CLI.
Installation of AWS CLI
To install AWS CLI and its tools, we will first need to install the pip package.
Fire up the terminal and run the command given below to install the pip package:
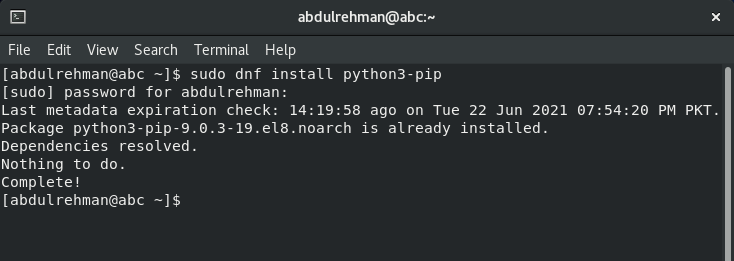
As you can see in the terminal above, the pip package is already installed on my system.
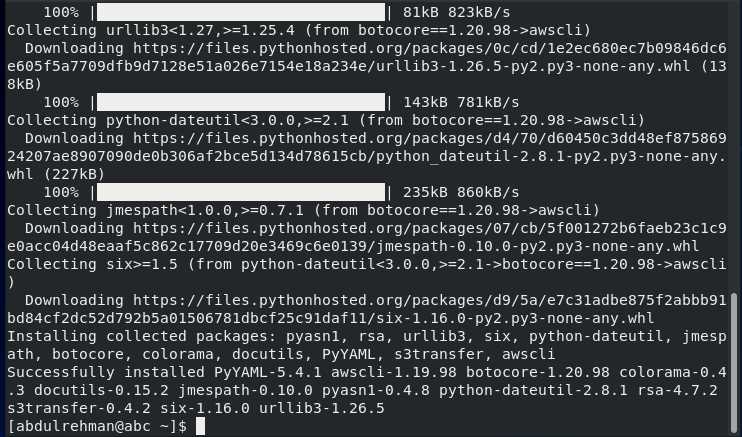
Now we can use the “pip3” tool to install the AWS CLI tools:
![]()
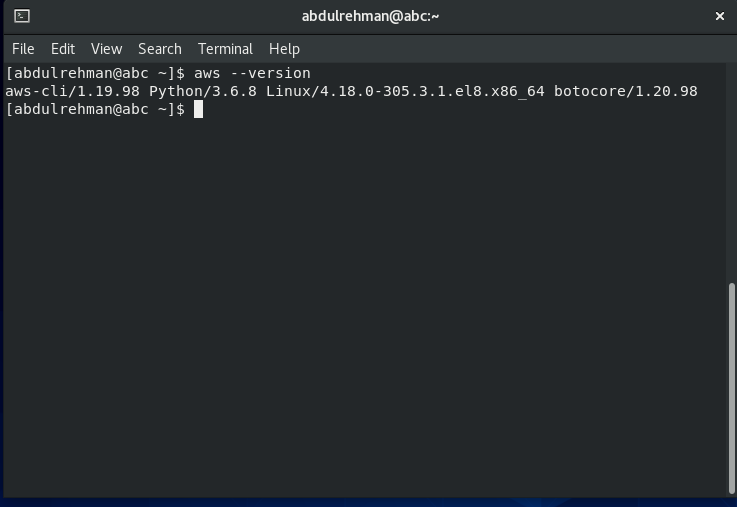
You can verify whether the AWS CLI was successfully installed by using the command provided below:
Configuration of AWS CLI
To configure CLI execute the “aws configure” command:
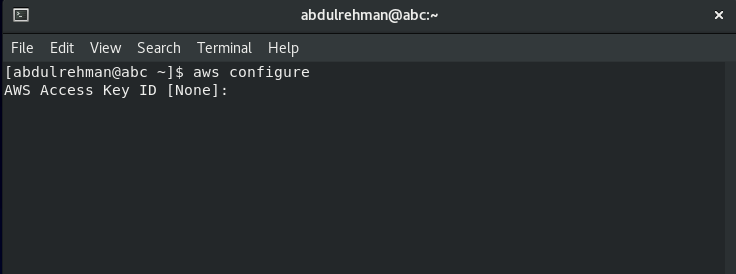
Here you will be asked for an AWS access key. After providing the key, you can begin to configure AWS CLI.
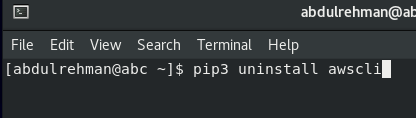
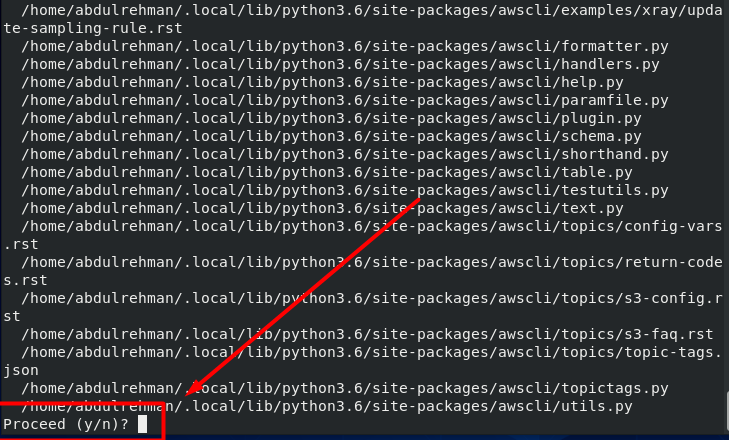
Uninstall CLI
You can use the command given below to remove/uninstall CLI:

Download and install AWS CLI version 2
AWS CLI version 2 is the latest version of AWS CLI, and in this version 2, Amazon has eliminated CLI’s dependency on python. It already has self-contained and embedded Python, so you no longer have to worry about the python version and conflicting python packages.
This section will discuss the steps we can use to download and install AWS CLI on CentOS 8. This method can work on most Linux distributions with a little bit of change.
Use the following command to download the zip file of the latest version of AWS CLI:
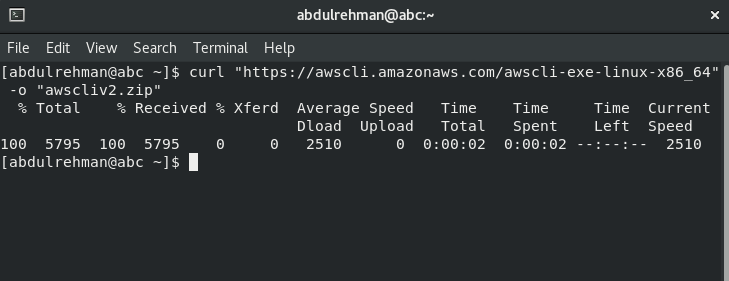
The command given above will download the zip file to the current directory with the name awscliv2.zip. If you want to change the local name of the zip file, please give a different name to the -o flag.
If you want to install a particular version, mention the version number along with the filename.
After downloading, unzip the AWS CLI ZIP file using the command:
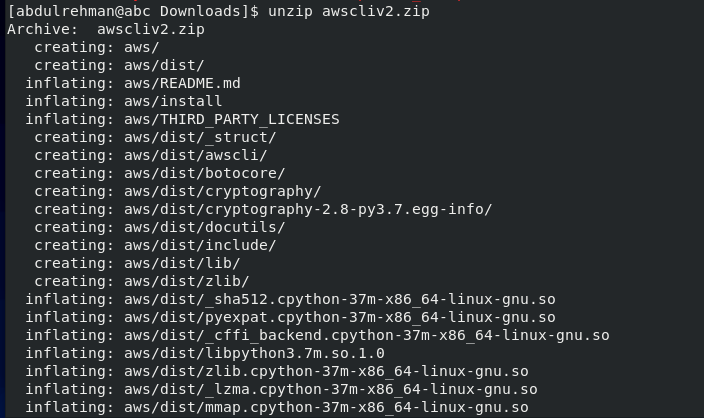
The command given above will unzip the installer file into the current working directory.
Some Linux distributions might not have the built-in unzip command, so you might need to use an alternative.
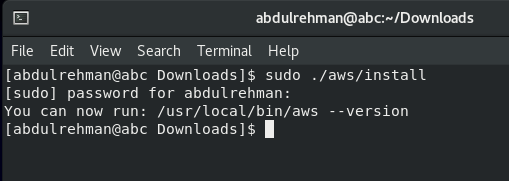
Now execute the command given below to install the aws from the recently unzipped directory. The files will be installed to /usr/local/aws-cli by default.
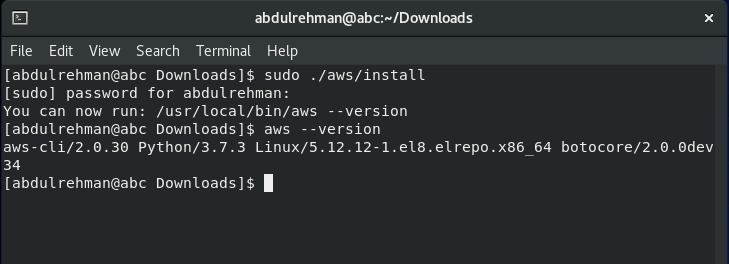
Verify the installation by running the following command:
Output
Now we will learn how to uninstall AWS CLI version 2.
Uninstall/Remove AWS CLI Version 2
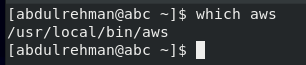
First, use the which command to locate the symlink:
To find the directory symlink points to, use the ls command:

Now run the following command to remove the two symlinks:


Now execute the following command to remove –install-dir directory.

Now, if I use the “$ aws –version” command, I will get the following error:

The error represents that AWS CLI is not installed on the system.
Conclusion
In this article, we learned what AWS is and why it is leading the cloud computing industry. Then we moved on to the installation process of AWS CLI. Moreover, we touched a bit on configuration, management, and the uninstallation process of AWS CLI. Then we repeated the same steps for CLI version two.