This study discusses the procedure to delete all Git stashes at once.
How Can I Remove All of My Git Stashes at Once?
To delete the list of the Git stashes at once, first, navigate to the particular repository. Create a file in the directory. Next, track the text file to the staging area and commit the changes to the repository. Then, update the file and save these changes. After that, temporarily add these changes to the stash and view the list. Finally, execute the “git stash clear” command to remove the whole stash list.
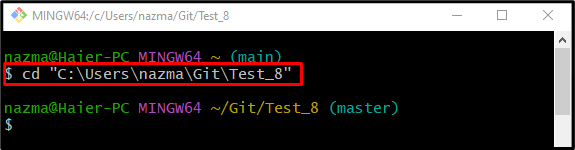
Step 1: Move to Particular Repository
First, navigate to the desired Git repository using the “cd” command:
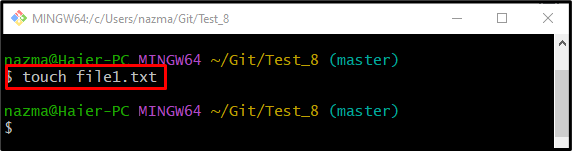
Step 2: Create New Text File
In order to create a new text file in the repository, run the “touch” command:
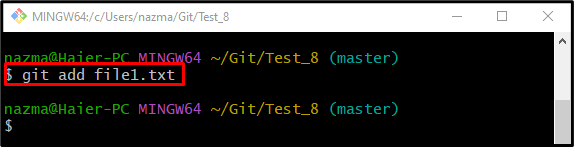
Step 3: Add File Into Staging Area
Next, add the file to the staging area from the working directory through the following command:
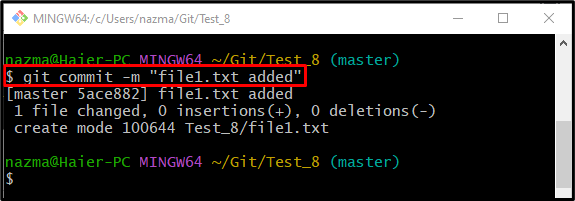
Step 4: Commit Changes
Next, run the below-listed command to update the repository with the newly added text file:
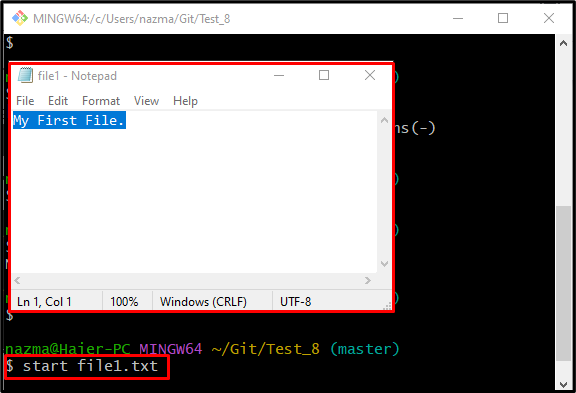
Step 5: Update Text File
Now, open the file in the default text editor using the “start” command to update and save it:
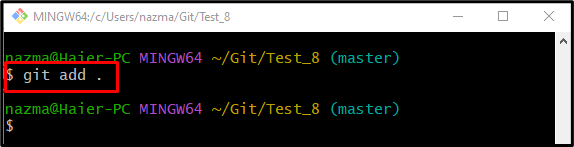
Step 6: Stage Changes
Run the “git add .” command to add the made changes into the repository:
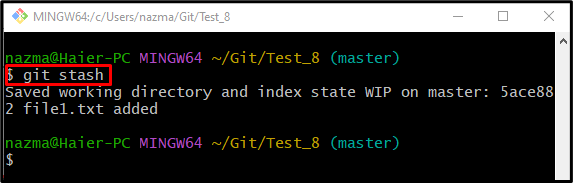
Step 7: Create Stash
After staging the added changes, execute the “git stash” command to create stash and add made changes temporarily into stash:
As you can see, the added changes are temporarily kept by the stash command:
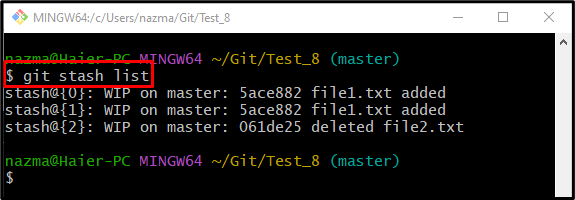
Step 8: View Stash List
To show the list of changes that are temporarily kept by stash, run the “git stash list” command:
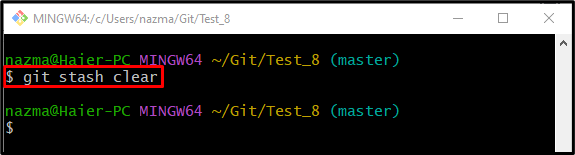
Step 9: Delete Stash List
Now, execute the “git stash clear” command to delete all existing stashes:
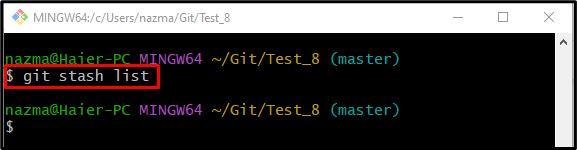
Step 10: Verify Stash List
Lastly, to ensure if the stash list is empty, utilize the “git stash list” command:
According to the below-listed output, the stash list is empty:
That’s all! We have described the procedure to delete all of my Git stashes at once.
Conclusion
To delete all the Git stashes at once, first, move to the desired local repository and create a new text file in the working directory. Then, add the text file to the staging area and commit changes to the repository. Next, open the file with the default text editor, update it, and save these changes. After that, temporarily add these changes to the stash and check the list. Lastly, run the “$ git stash clear” command to remove the whole list of stashes. This study demonstrated the method of deleting all Git stashes at once.