Pre-requisites:
You have to complete the following tasks before starting the steps of this tutorial.
- Create a new Laravel project named voyagerProject. Here, the composer has been used to create the Laravel project. If the composer is not installed before then, you must install it before executing the following command.
$ composer create-project laravel/laravel voyagerProject
- Go to the project folder.
$ cd voyagerProject
- All steps of this tutorial have been tested in Laravel version 9+. So, check the installed version of Laravel.
$ php artisan --version
Setup Database:
You have to create a database in MySQL to store the project data used in the admin panel. Complete the following tasks to create a database and set up the database for the Laravel project.
- Login to the MySQL server and run the following SQL command to create a database named db_voyager from the MySQL prompt.
mysql> CREATE DATABASE db_voyager;
- Open the .env file of the Laravel project and initialize the values for the following information based on the database.
APP_URL=http://localhost:8000
DB_CONNECTION=mysql
DB_HOST=localhost
DB_PORT=3306
DB_USERNAME='username'
DB_PASSWORD='password'
DB_PASSWORD='password'
Install Laravel Voyager:
Run the following composer command to download the Laravel voyager package.
Run Voyager Installer:
You can install Laravel voyager with or without the dummy data. The following command will install the Laravel voyager without the dummy data.
The following command will install the Laravel voyager with the dummy data.
It is better to install Laravel Voyager with the dummy data to test the admin panel properly. So, install the Laravel Voyager with the dummy data by executing the above command.
Testing Laravel Voyager:
Open the terminal and go to the project folder. Run the following command to start the Laravel development server that starts at port number 8000 by default.
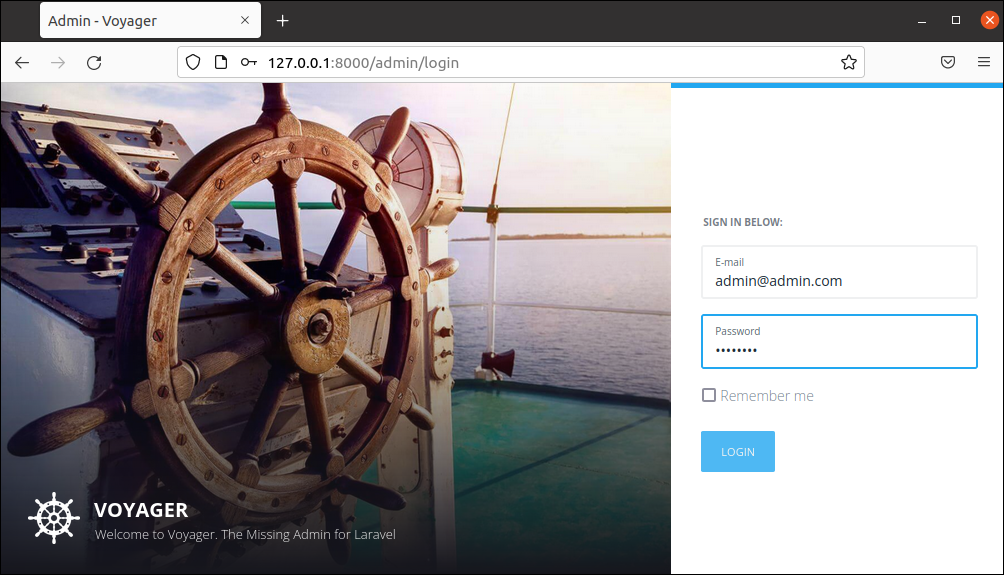
The default login information of the admin user for Laravel Voyager is given below.
Password: password
Open the following URL from the browser to open the login page for the admin login.
The following page will appear after executing the above URL. Provide the valid login information and click on the LOGIN button to open the admin panel. Click on the Remember me option before clicking the submit button to store the login information.
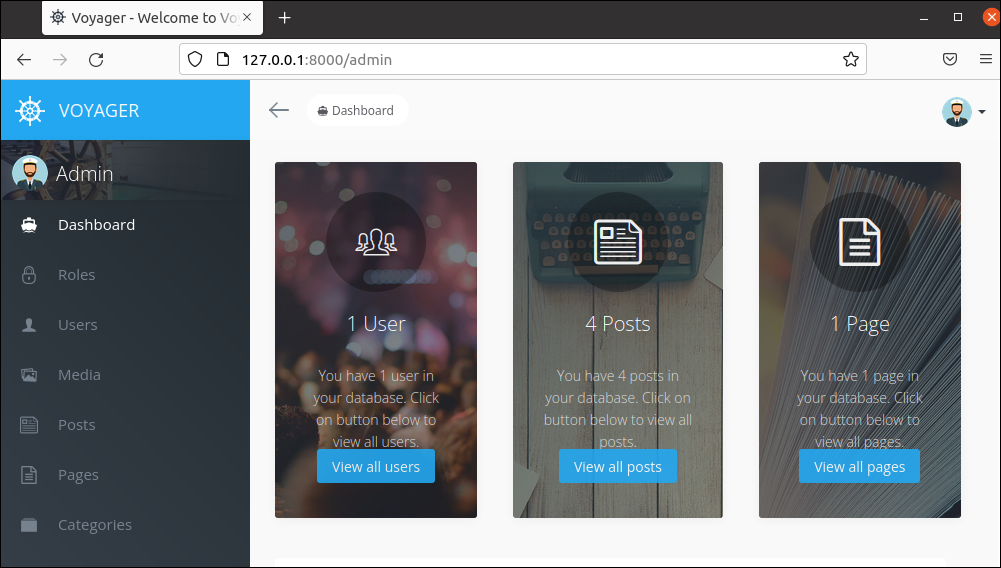
The following information will appear if the admin login is successful. The admin dashboard contains the sidebar menu, and it includes the information about the user’s roles, user’s information, media, posts, pages, and categories. The information will be displayed based on the dummy data. The right side of the admin panel contains all users, posts, and page information. Some admin panel uses have been explained in the next part of the tutorial.
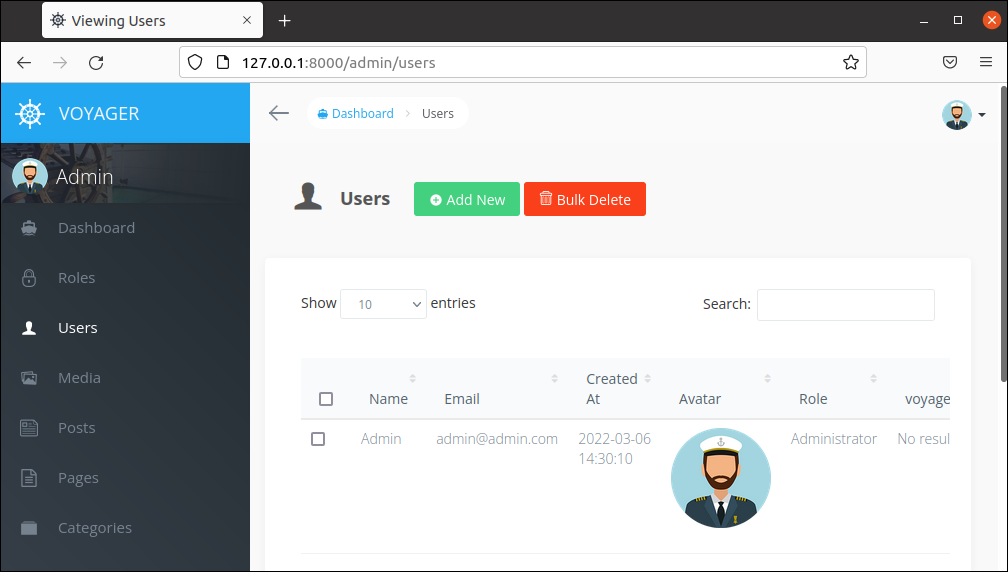
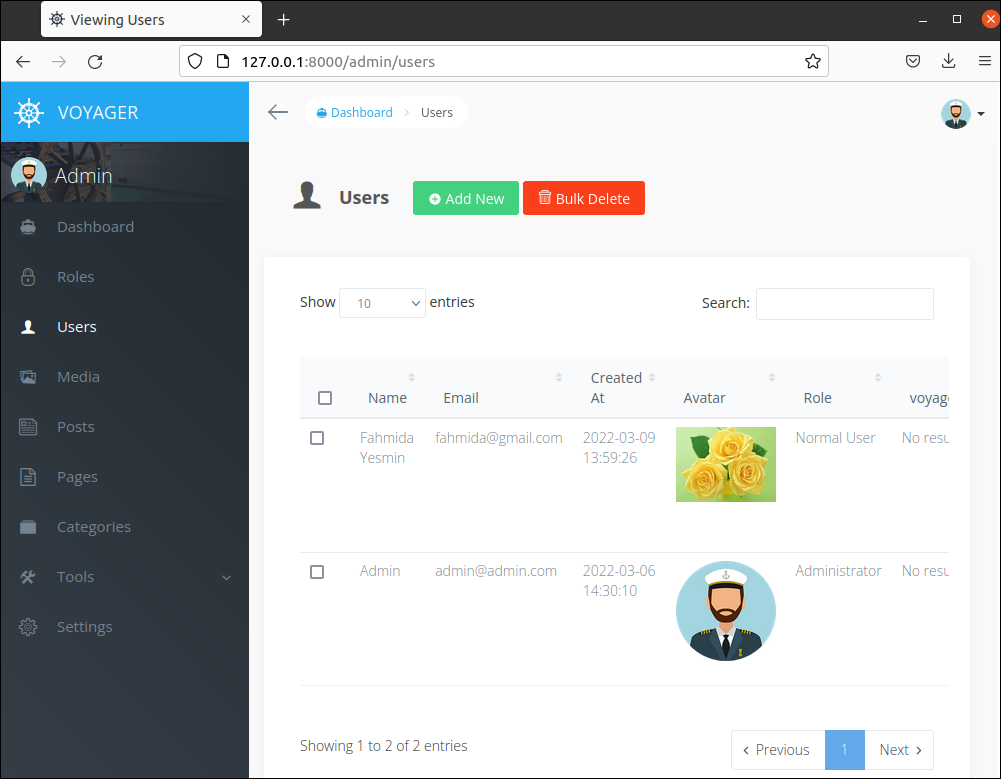
The following page will appear if the user clicks on the Users in the side-bar menu or the View all users button from the right side of the panel. The admin user can create a new user, edit an existing user’s information and delete one or more users’ information. The admin user information is created by default at voyager installation. So, the record of one user is displayed in the output. The new user can be created by clicking on the Add New button, and the information of the multiple users can be deleted by clicking on the Bulk Delete button after selecting the users.
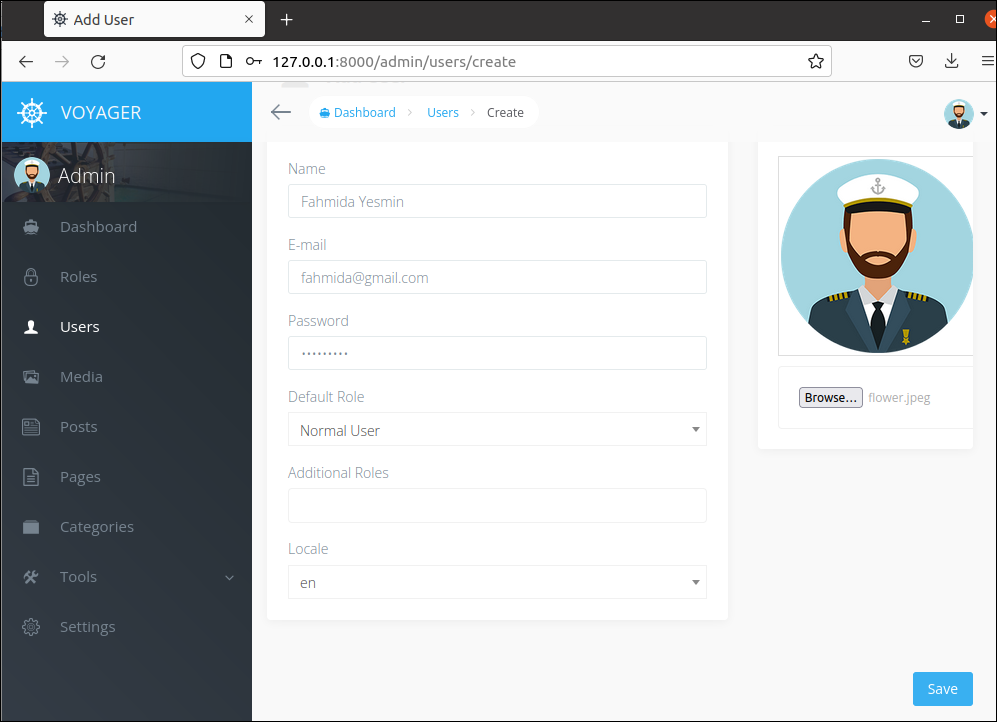
The following form will appear after clicking on the Add New button of the user’s section. A new user will be added to the application if the admin user clicks on the Save button after adding the valid user’s information. The user’s Avatar can be uploaded by selecting the image with the Browse… button.
The following similar information will appear if the new user account is created properly in the previous step. The admin can change any existing users’ information by clicking the Edit button.
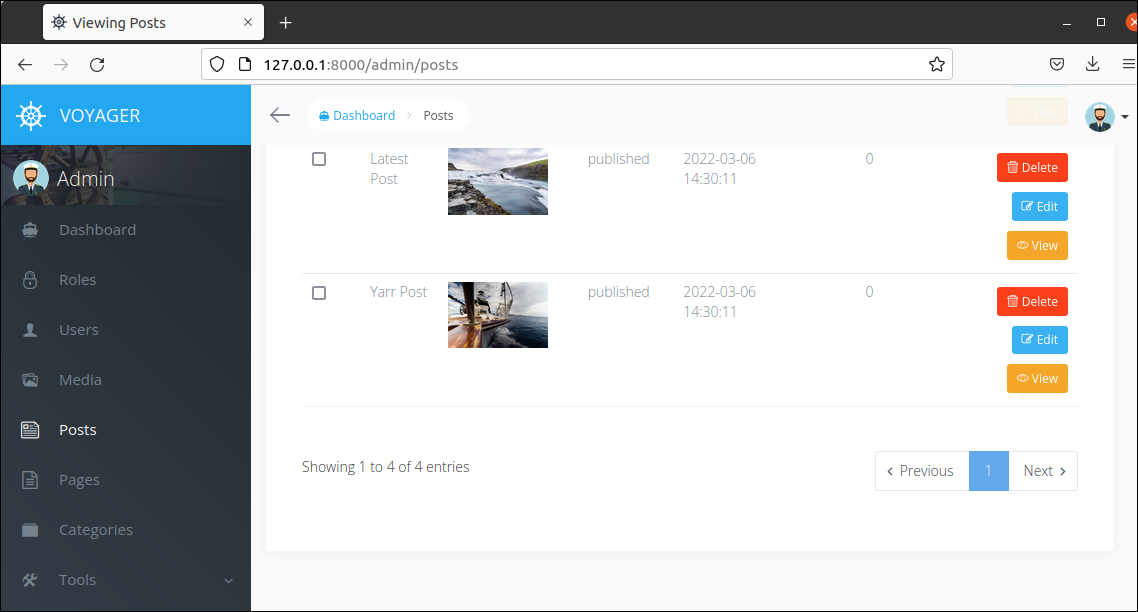
If the user clicks on the Posts on the sidebar or View all posts button from the right side, all existing post information will be displayed. The four-post records exist by default. The admin user can create, update and delete any post like the user’s information that has been shown before. The pagination has been implemented for all table data, like the posts table managed by the admin panel. Each record of the posts table or other table can be displayed, updated, and deleted individually by using the View, Edit, and Delete buttons added with each record.
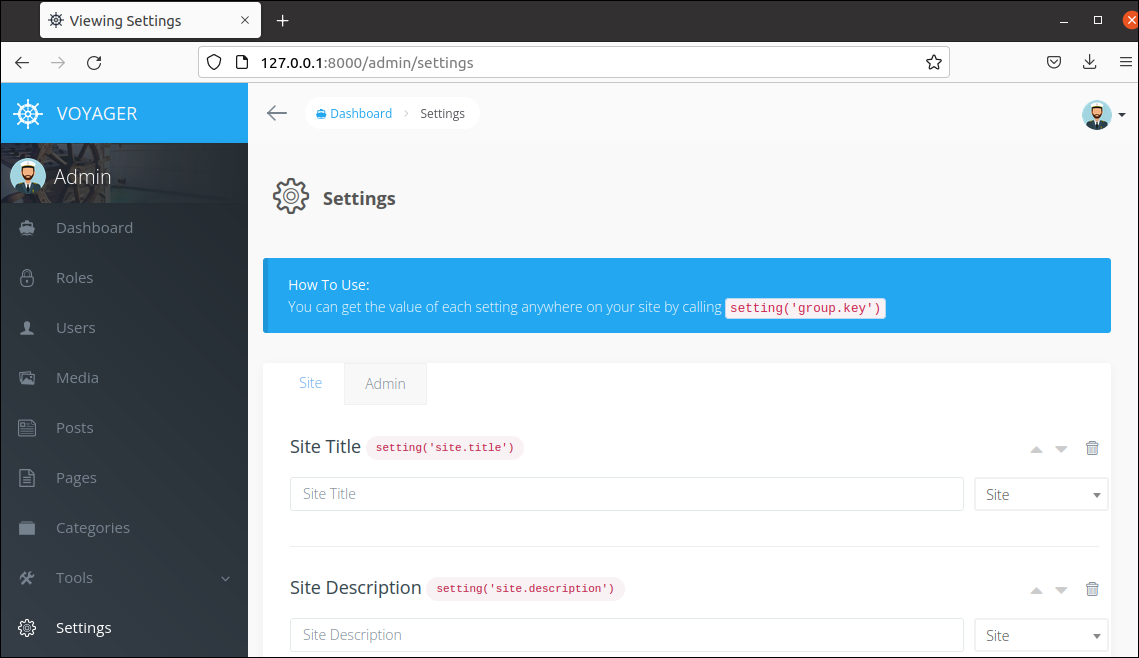
The Tools and Settings options are added in the sidebar for different purposes. The following page will appear if the user clicks on the Settings option of the sidebar. Different types of application configurations can be set by using this option.
Conclusion:
The beautifully designed responsive admin panel for the Laravel project can be implemented without any cost by using the Laravel Voyager package. So, it is a beneficial Laravel package for the low-budget web application. I hope the Laravel users will be able to add an attractive admin panel freely in their project after reading this tutorial.

