In this guide we are focussing on the use of bridge utils on ubuntu. We will discuss the installation of this package on Ubuntu and will also learn how this package will be utilized in Ubuntu.
How to use bridge-utils on Ubuntu
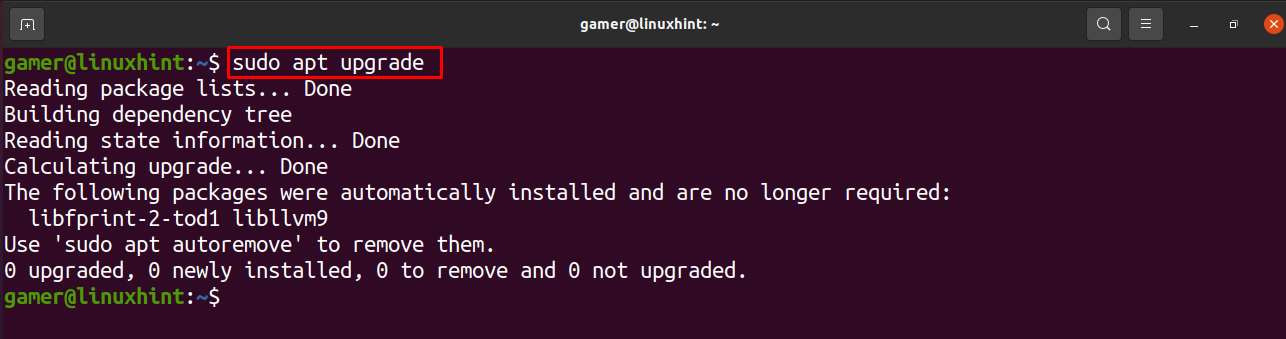
Before understanding the use of the bridge-utils we will open the repository, will update as well as upgrade the repository and then we will install the bridge-utils.
For the updating of the repository we will use the following command.
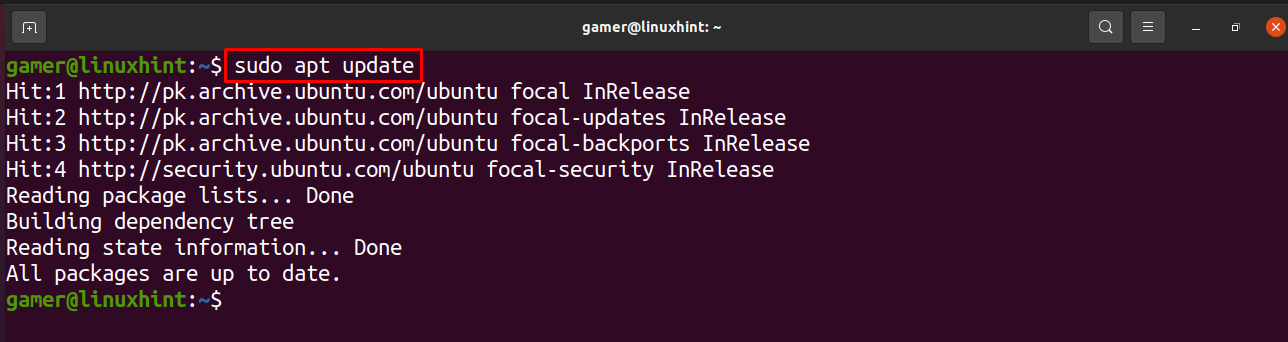
In this step we will update the repository by:
Finally we will install the bridge utils in the Ubuntu:

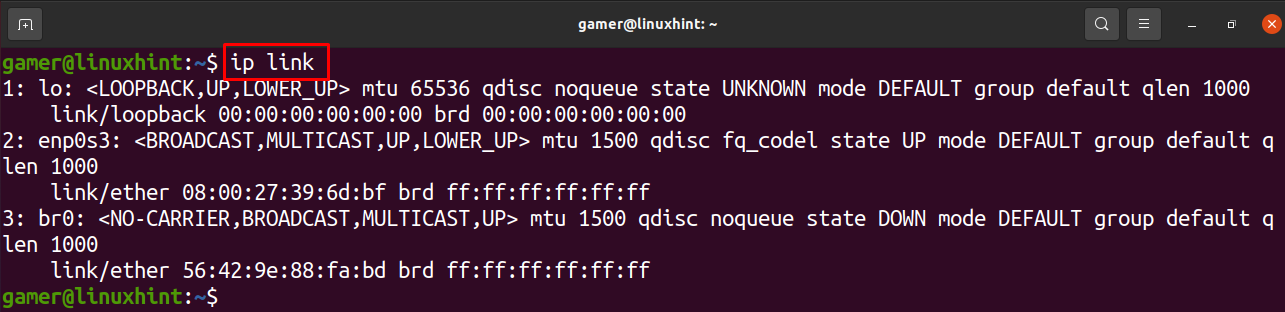
For the identification of the ethernet device interface name we use the following command:
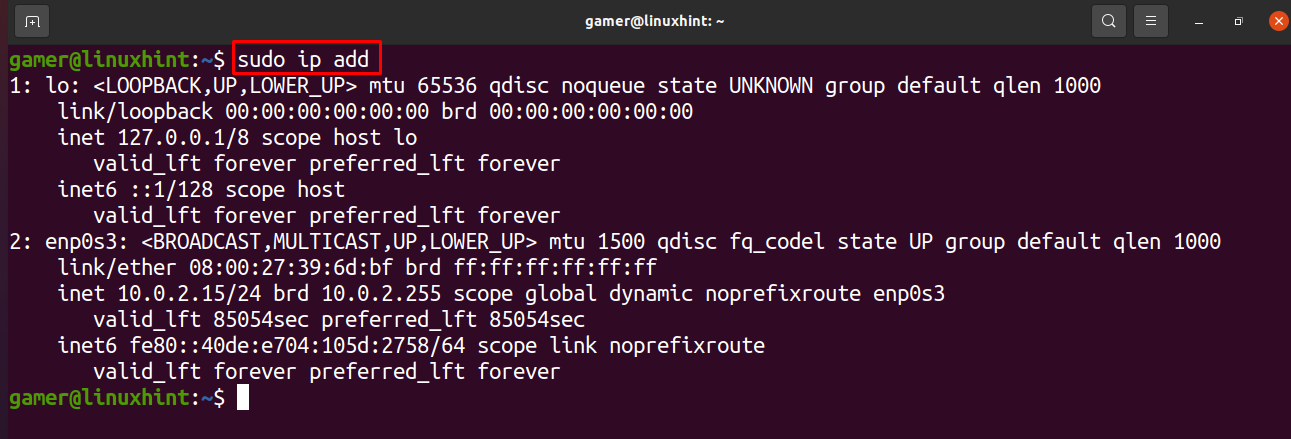
Here the interface name of our ethernet device is enp0s3. Here “en” represents ethernet, “p0” represents the ethernet card number and “s3” represents the slot number.
Now to understand the use of bridge-utils, we will create a bridge in Ubuntu using bridge-utils.
How to create network bridge using nmcli command
The nmcli is a command line utility to manage the network manager. We can modify, delete, add or activate the network devices by using the nmcli command. A bridge, named br0 is created by the command:

Addition of the ethernet bridge in the bridge by the following command but you have to change the ethernet name of the device which you noted above and replace in the command:

To show the newly created bridge:

We can see in the output that a bridge with a name of “br0” has been created. Now we will activate the newly created bridge as:

So in this way we can make and activate the bridge.
How to create network bridge using brctl command
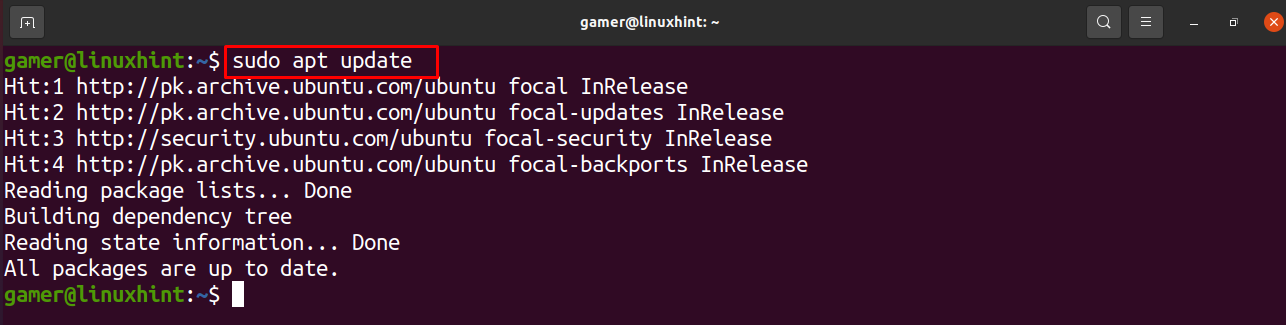
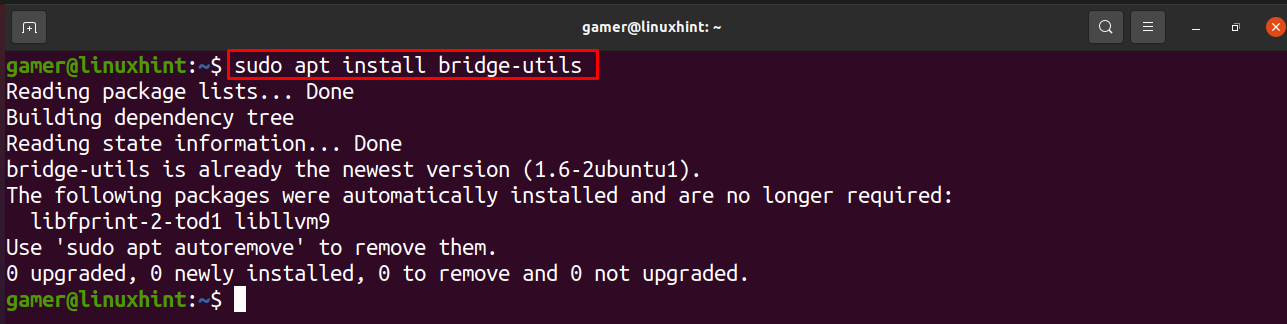
We can create a bridge by using the brctl command. To do this first we will open the terminal and update the repository by using the following command:
Now we will check the networks we have already by using the “ip link” command:
We will also note the interface name of the ethernet device. Now we will install the bridge utilities which we need for the creation of the bridge:
After the installation of the bridge utilities, we will add a bridge using brctl command with the name “cr0” but you can use some other name of your choice too.

Now we will add the bridge interface to the default interface as:

Now for the configuration of the newly created bridge we will create the file /etc/network/interface by using nano command:

Copy and paste the following text to the editor. Write the ip address, gateway and networks address of your own which are of your machine and network.
iface cr0 inet static
bridge -ports enp0s3
address 192.168.18.152
network 255.255.255.0
gateway 192.168.5.1

To confirm whether the bridge cr0 has been created or not we will run the command:

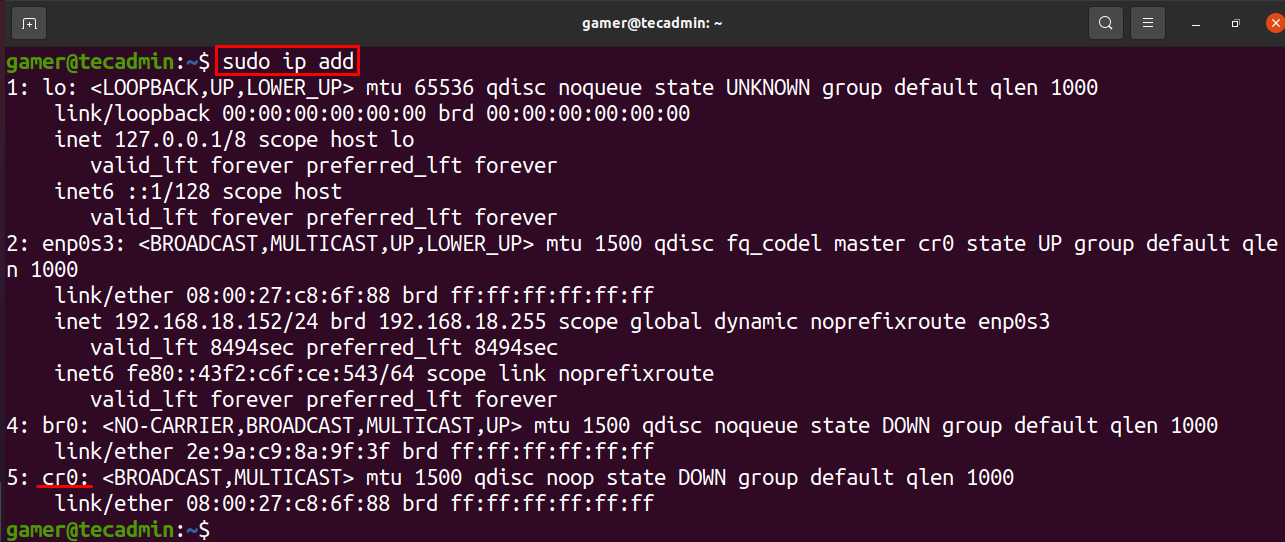
We can note that the cr0 bridge has been created.
Conclusion
A bridge is used for connecting two things with each other, the bridge we discussed in this guide is used for connecting two LANS with each other. It is used to communicate the data with each other. This guide is helpful in understanding what is the purpose of bridge and how we can use bridge-utils command for the creation of the bridge. We created a bridge by two methods; one is by using nmcli command and the other one is by using brctl command. We also verified the creation of the bridges by using the “ip add” command. Bridges are used in creating the network in which different computers are connected to the one computer by means of the bridges. We hope this post not only resolves the issues regarding the creation of the bridges but also helps to understand the bridge utilities.