In the world of modern technology, everyone seems concerned about their security. Here, we are not only talking about malware and phishing attacks. Theft and intrusion are old threats that endanger property in the home and or in the organization, which is why now people lookout for high-quality monitoring systems.
Webcams are also utilized in monitoring and security surveillance systems. These cameras are commonly used to capture images, videoconferencing, enable real-time video chat, and broadcast television channels over the internet. Webcam hardware is included in modern notebooks and laptops to take photographs and record videos. If you are not sure which security camera software to use in Ubuntu, then read our post to know about the best security camera software for Ubuntu. So let’s start!
Motion
Motion is an open-source camera and security utility that is used for detecting motion. It is mostly used to keep an eye on footage for movement and minor changes. Motion is a motion surveillance program having a command-line interface and a simple MotionEye web server. Ubuntu users can utilize this webcam software for monitoring their pets, view birds, make time-lapse videos, etc.
What are the features of Motion
Here is the list of some of the commendable features of Motion:
- The Motion software comes with a simple web browser. Users on the network can access it by installing it on a Ubuntu server.
- It has noise and threshold control that is automated.
- Motion is capable of processing images from a variety of network cameras as well as Video4Linux webcams.
- Feeds are saved in a MySQL or PostgreSQL database.
- With fully configurable settings, you can take complete control of your security.
- On the attached devices, this application supports a variety of streaming types.
- For motion detection, it has extremely adjustable masks.
How to install Motion on Ubuntu
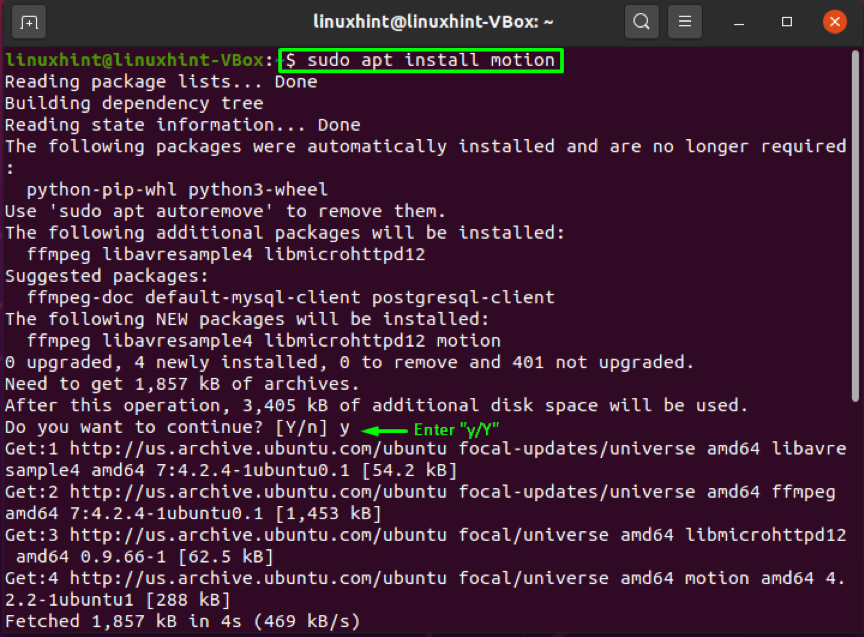
Utilize the below-given command for installing Motion on your system:

How to configure Motion on Ubuntu
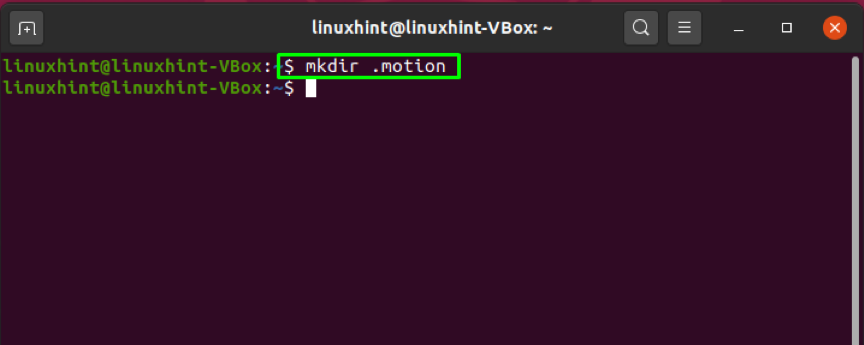
For configuring Motion as a webcam software on a system, the first step is creating a separate directory. For this, we will utilize the “mkdir” command:
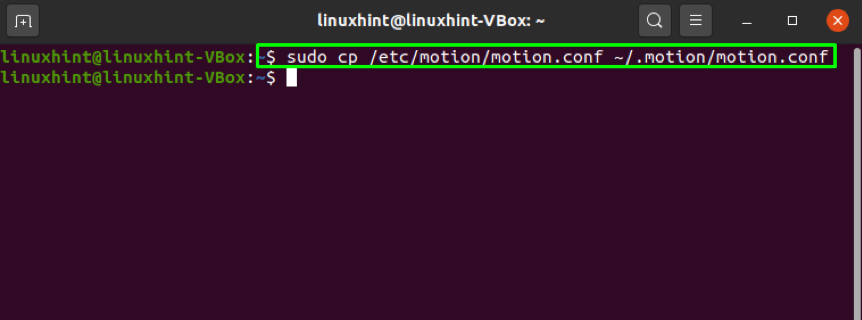
Now execute the “cp” command for copying the configuration file of the motion application to your home directory:
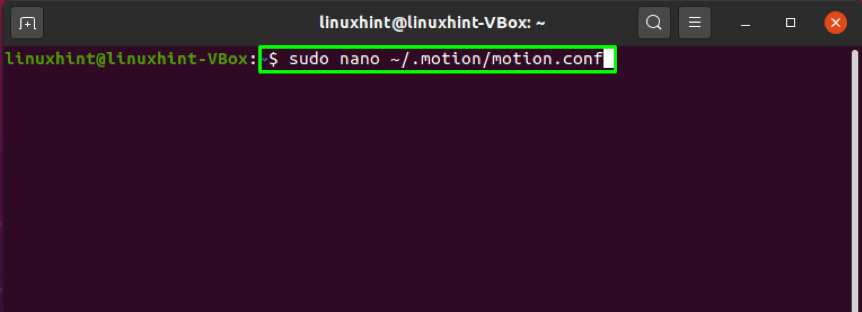
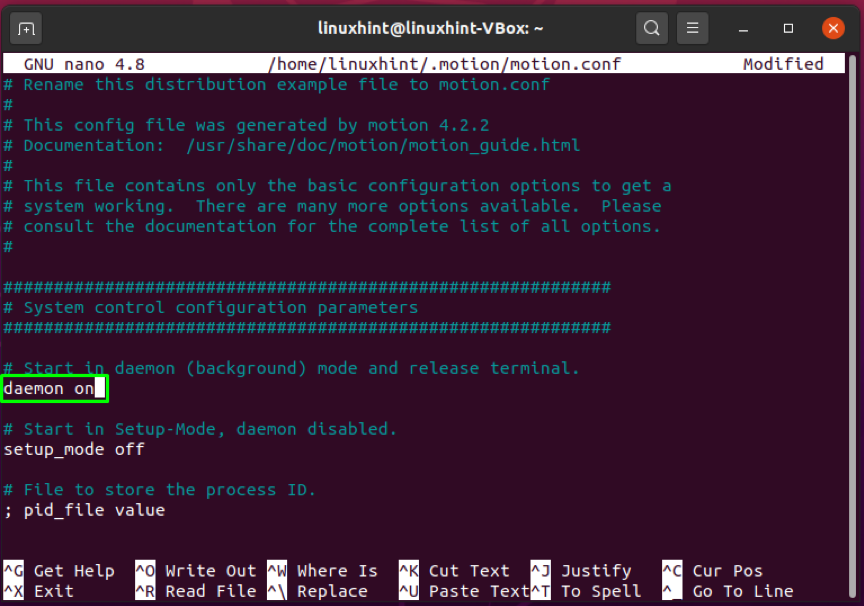
Next step is to open up the motion configuration file in your “nano” editor:
Search for the line specifying “daemon on” or “daemon off“. If you want to execute the motion application in your background whenever your Ubuntu system starts, then add the “daemon on” line; otherwise, “daemon off” will force you to start the motion application manually. In our case, we want the motion software to run in the background from the system startup:
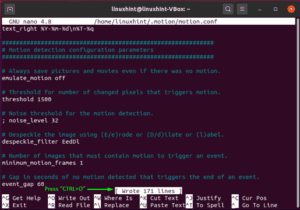
Press “CTRL+O” to save the changes you have made:
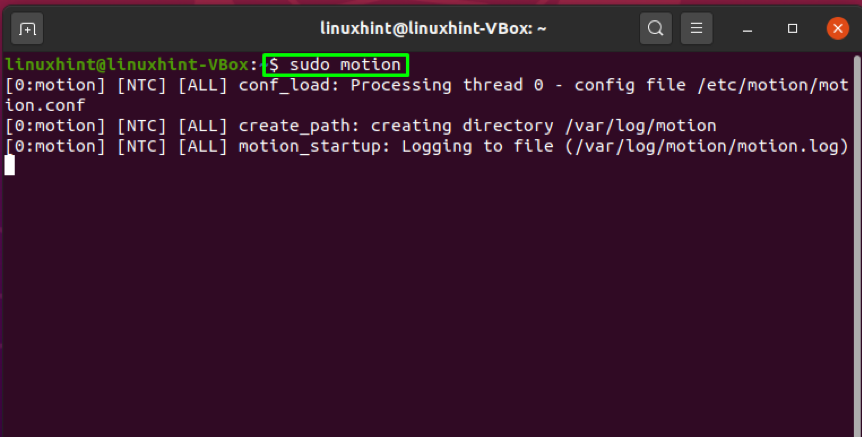
Now, execute the “motion” application from your terminal:
Guvcview
The Guvcview or GTK+UVC Viewer is a freely available, open-source camera and webcam viewer for Ubuntu users. Guvcview is developed in the C programming language. It is a webcam software for GNOME. The user-friendly graphical interface of Guvcview makes it simple to use. UVC driver permits Guvcview to record and watch those videos. You can also utilize this camera software for security purposes.
What are the features of Guvcview
Check out the below-given list of Guvcview features:
- It has a graphical user interface based on two windows.
- The FPS counter in the title bar permits its users to monitor video recordings conveniently.
- The Guvcview features like temperature, white balance, brightness, saturation, gamma, contrast, and others are highly adjustable.
- It offers support for a variety of image formats, such as PNG, BMP, and JPG.
- It has built-in audio mixing options for fast adjustment of onboard microphones from several webcams.
- Extension controls are supported in this webcam software.
How to install Guvcview on Ubuntu
If you monitor your home or organization with the help of Guvcview software, then firstly, you have to install it on your Ubuntu system. To do so, write the below-given command in your Ubuntu terminal:
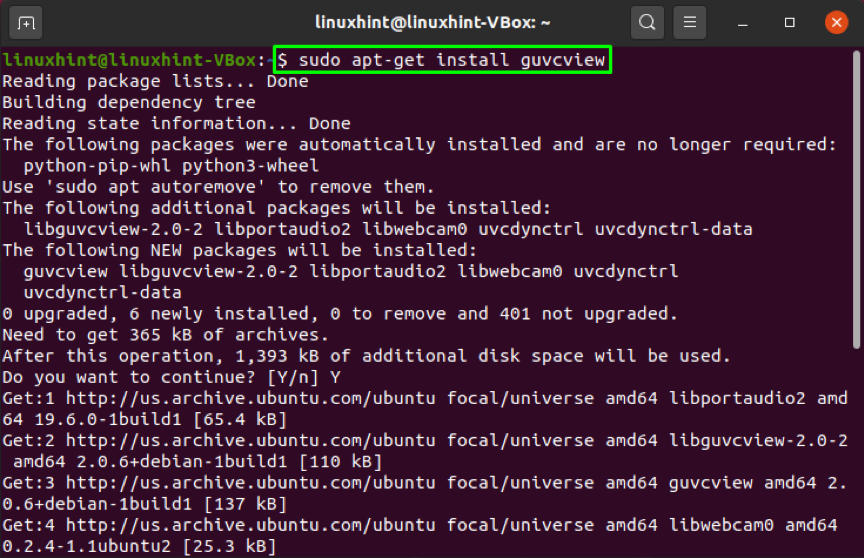
The error-free output indicates that now Guvcview exists on your system. You can search “guvcview” in the Application’s search to open it:
Webcamoid
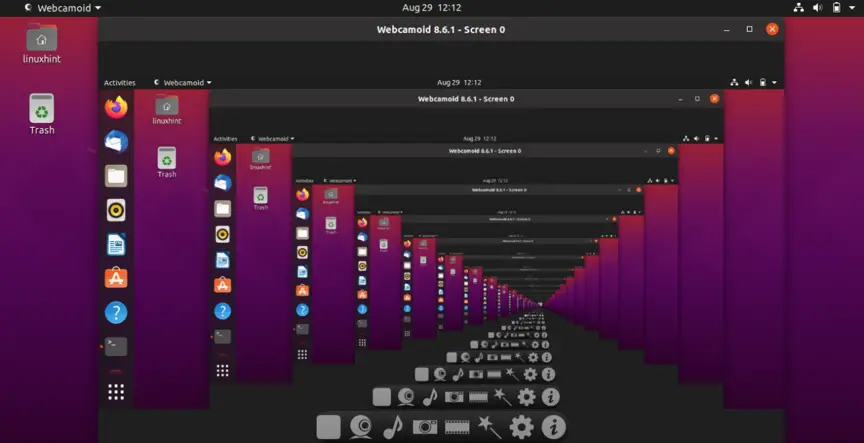
For Ubuntu users, Webcamoid is a simple and handy webcam software. This software is based on the Qt framework and C++ programming language. It has various configuration options that can be utilized to customize the software according to your needs. Webcamoid is used for capturing videos and pictures being a security camera software. It also permits its users to customize their webcam controls in the video capturing. Isn’t it interesting?
What are the features of Webcamoid
Now, check out the list of some great features of Webcamoid:
- Webcamoid can handle several webcams at a time.
- You can adjust the contrast, frame rate, resolution, sharpness, and other aspects of the video or photo.
- Apple HTTP Live Streaming, WebM, AVI, MPEG-2 PS, FLV, MPG, DV, ASF, MP4, Ogg, and many other recording formats are supported in Webcamoid.
- There are over 60 effects, including cartoon, warp, film, ASCII art, paint, aging, dice, face detection, distort, psychedelic, water, black&white, etc.
- Webcamoid can utilize network files, local files, as network devices and record on the desktop.
- Plugins can be used to extend its functionality.
How to install Webcamoid on Ubuntu
If you want to install Webcamoid on your system, then write out the below-given command in your Ubuntu terminal:
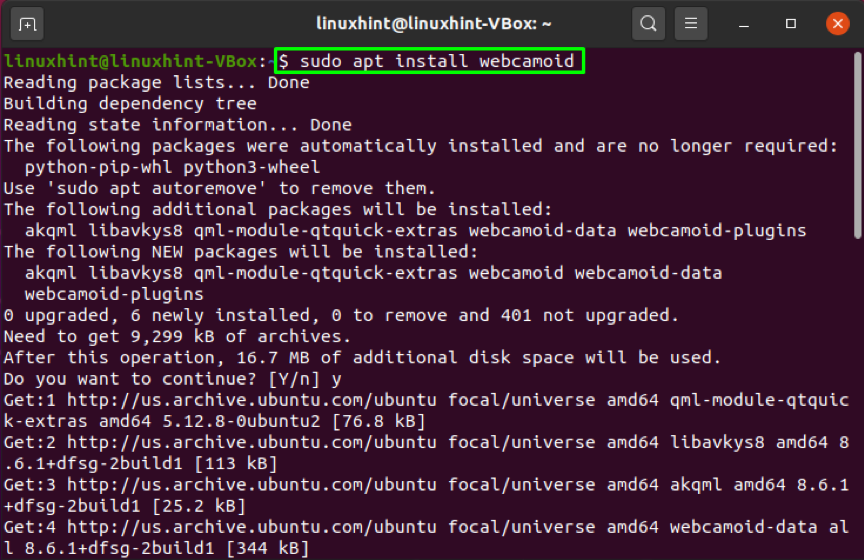
The error-free output declares that now you have a Webcamoid application installed on your system. Open it using your Application’s search bar as follows:
Kamoso
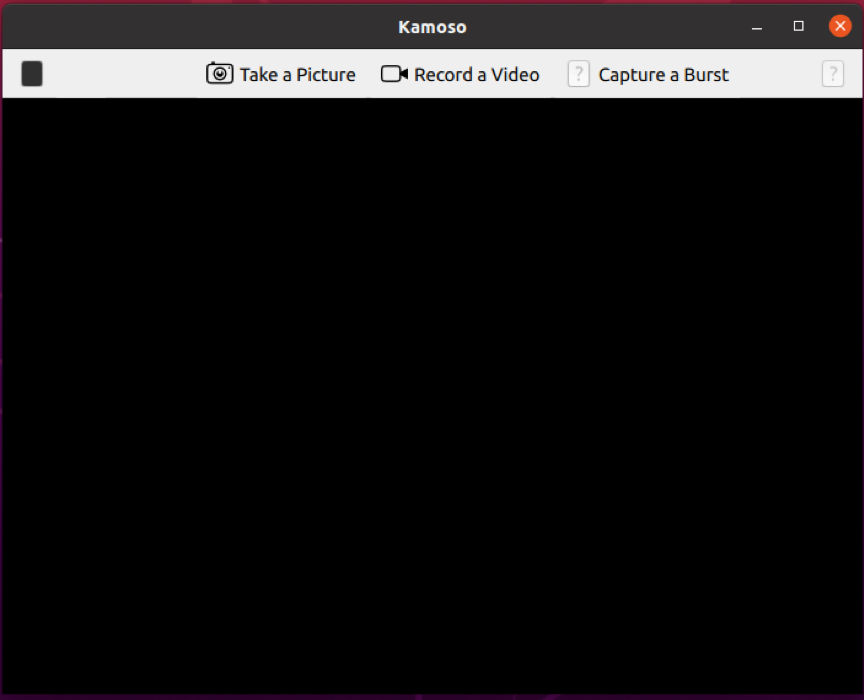
Kamoso is a simple Linux webcam program that is based on Qt for the KDE desktop environment. You can use this security camera software with an external or built-in webcam for recording videos and screenshots. It is an open-source project built in C++ and freely available for all Ubuntu users. It offers a simple graphical interface that permits its users to capture videos and images quickly.
What are the features of Kamoso
We have listed some commendable features of Kamoso in the below-given list:
- It comes with a variety of graphical effects for videos and photos. Kamoso users can alter and adjust brightness, contrast, video hue, gamma, and saturation, under its video settings.
- You can easily integrate Kamoso with social media sites.
- Content can be published to web 2.0 services using Kamoso.
- It has an image gallery browser that allows users to examine photographs and add various effects to them.
- Plugins can be utilized to add new functionality to the Kamoso program.
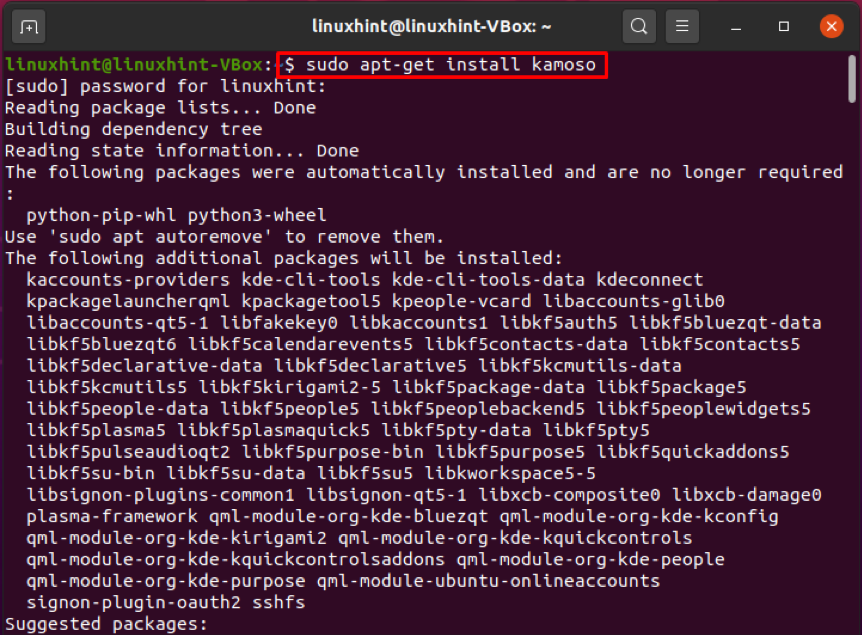
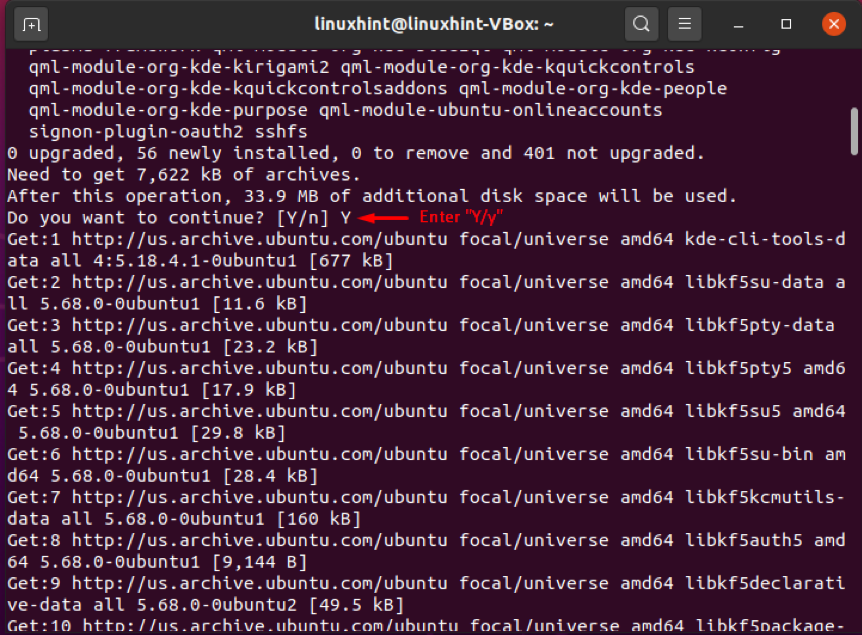
How to install Kamoso on Ubuntu
With the help of the below-given command, you will be able to install Kamoso on your Ubuntu system:
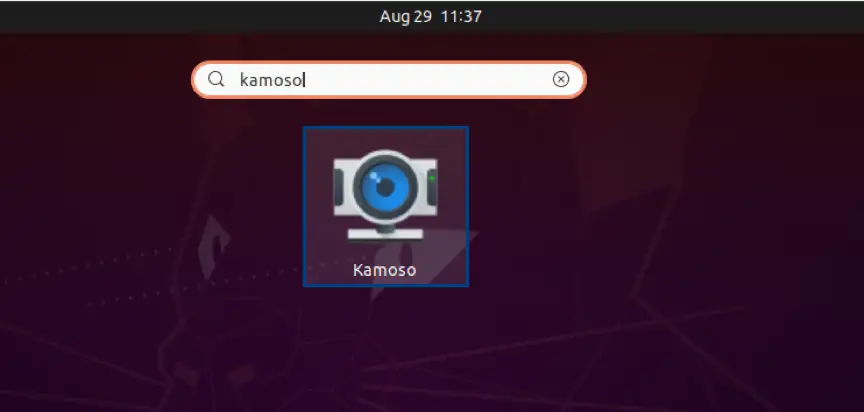
Now you have a Kamosa application on the Ubuntu system. Open the application by searching it manually in the Application’s search bar:
HasciiCam
HasciiCam is another software option if you are looking for video surveillance software for Ubuntu. This software is developed in the C programming language. It converts video from a television card into ASCII letters. To view the live video, you do not need any further software or plugins. It only requires a Ubuntu system, a television card, and a modem. The command line is used to control this online utility.
What are the features of HasciiCam
Now, check out these features of HasciiCam:
- It has a simple user interface.
- Hasciicam can stream live video over a low-bandwidth connection.
- Standard video formats are supported in this webcam software.
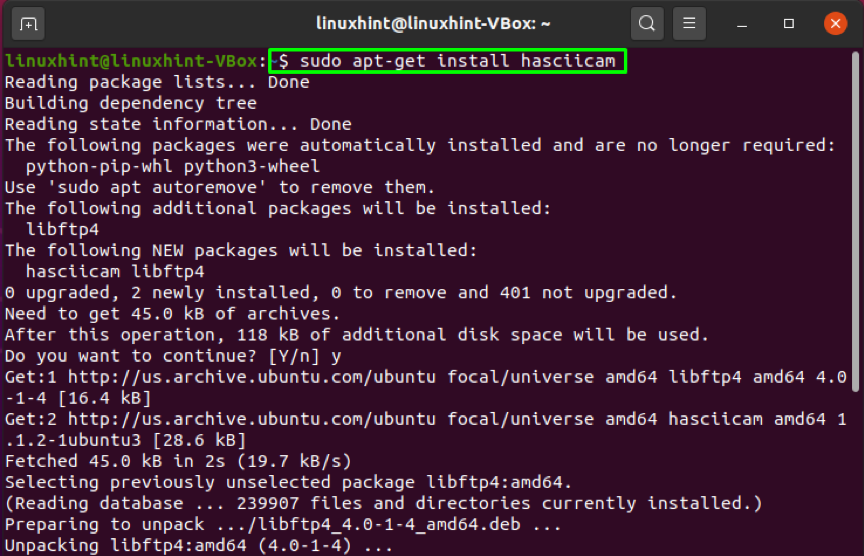
How to install HasciiCam on Ubuntu
You can utilize the below-given command for installing the HasciiCam application on your Ubuntu system:
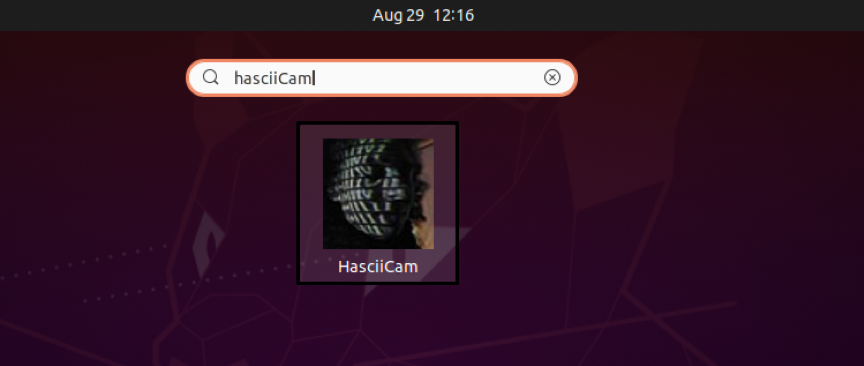
HasciiCam is successfully installed on the system. Now, open it by searching “hasciicam” in the Application’s search bar:
Conclusion
If you already have a Ubuntu system and a few backup cameras, you do not have to spend hundreds of dollars on a surveillance or monitoring system. When you utilize the proper security camera software, the established monitoring system assigns you more access without any cost. We have compiled a list of the best security camera software for your Ubuntu system. Moreover, we have also demonstrated to you their installation procedure.