
Note: All the commands stated below have been executed in CentOS 8. However, if you want to use any other distribution of Linux, then you can also do it very conveniently.
Basic SELinux Commands
There are some basic commands that are very frequently used with SELinux. In the following sections, we will first state each command, then we will provide examples to show you how to use each command.
Checking SELinux Status
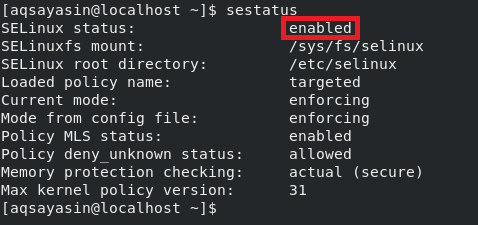
After launching the terminal in CentOS 8, suppose we would like to examine the status of SELinux, i.e., we would like to determine whether SELinux is enabled in CentOS 8. We can view the status of SELinux in CentOS 8 by executing the following command in the terminal:
![]()
Running this command will tell us whether SELinux is enabled in CentOS 8. SELinux is enabled in our system, and you can see this status highlighted in the image below:
Changing SELinux Status
SELinux is always enabled by default in Linux-based systems. However, if you feel like turning SELinux off or disabling it, then you can do this by tweaking the SELinux configuration file in the following manner:
![]()
When this command is executed, the SELinux configuration file will open with the nano editor, as shown in the image below:
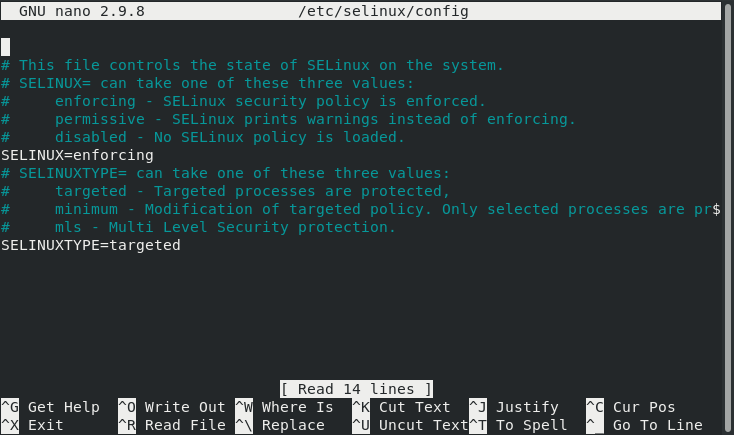
Now, you need to find out the SELinux variable in this file and change its value from “Enforcing” to “Disabled,” After that, press Ctrl+ X to save your SELinux configuration file and get back to the terminal.
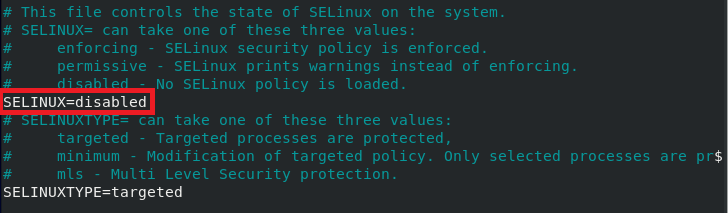
When you check the status of SELinux again by running the “sestatus” command above, the status in the configuration file will change to “Disabled,” whereas the current status will still be “Enabled,” as highlighted in the following image:
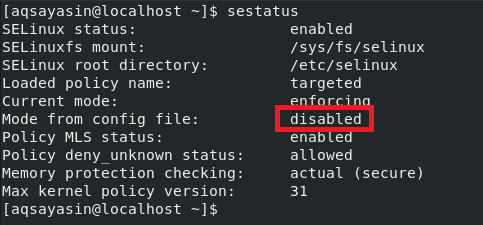
Therefore, to put your changes into full effect, you will need to reboot your CentOS 8 system by running the following command:
![]()
After rebooting your system, when you check the status of SELinux again, SELinux will be disabled.
Checking SELinux Mode of Operation
SELinux is enabled by default and works in the “Enforcing” mode, which is its default mode. You can determine this by running the “sestatus” command or by opening the SELinux configuration file. This can also be verified by running the command below:
![]()
After executing the above command, you will see that SELinux is operating in the “Enforcing” mode:

Changing SELinux Mode of Operation
You can always change the default mode of operation of SELinux from “Enforcing” to “Permissive.” To do this, you need to use the “setenforce” command in the following manner:
![]()
When used with the “setenforce” command, the “0” flag changes the mode of SELinux from “Enforcing” to “Permissive.” You can verify whether the default mode has been changed by running the “getenforce” command again, and you will see that the SELinux mode has been set to “Permissive,” as highlighted in the image below:

Viewing SELinux Policy Modules
You can also view SELinux policy modules that are currently running on your CentOS 8 system. The policy modules of SELinux can be viewed by running the following command in the terminal:
![]()
Executing this command will display all currently running SELinux policy modules in your terminal, as shown in the image below. To access the entire list, you can scroll up or down.
Generating SELinux Audit Log Report
At any point in time, you can generate a report from your SELinux audit logs. This report will contain all information regarding any potential event that has been blocked by SELinux and also how you can allow the blocked event(s) if needed. This report can be generated by running the following command in the terminal:
![]()
In our case, since there was no suspicious activity taking place, that is why our report was very precise and did not generate any alerts, as shown in the image below:

Viewing and Changing SELinux Boolean
There are certain variables of SELinux whose value can either be “on” or “off.” Such variables are known as SELinux Boolean. To view all the SELinux Boolean variables, use the “getsebool” command in the following manner:
![]()
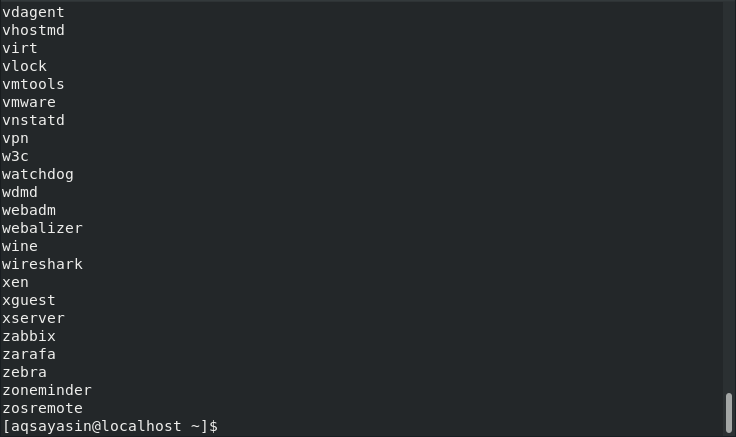
Executing this command will display a long list of all the variables of SELinux whose value can either be “on” or “off,” as shown in the image below:
The best thing about SELinux Boolean is that even after changing the values of these variables, you do not need to restart your SELinux mechanism; rather, these changes take effect immediately and automatically.
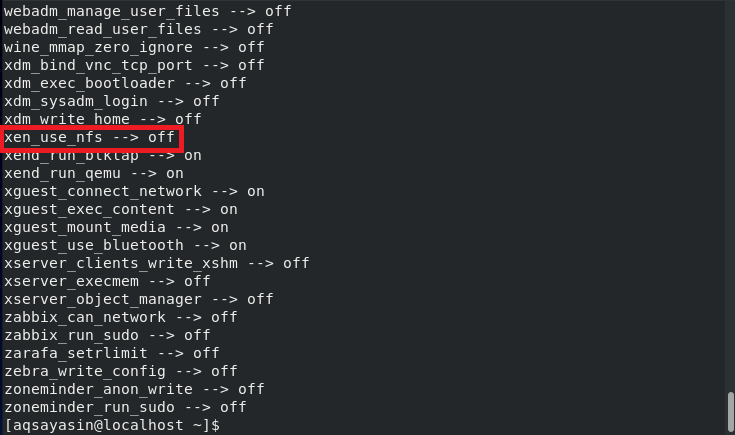
Now, we would like to show you the method of changing the value of any SELinux Boolean variable. We have already selected a variable, as highlighted in the image shown above, whose value is currently “off.” We can toggle this value to “on” by running the following command in our terminal:
Here, you may replace xen_use_nfs with any SELinux Boolean of your choice whose value you wish to change.
![]()
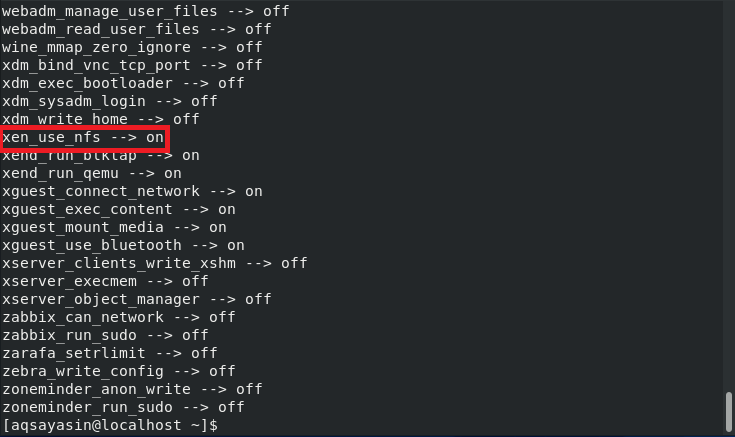
After running the above command, when you run the “getsebool” command again to view all the SELinux Boolean variables, you will be able to see that the value of xen_use_nfs has been set to “on,” as highlighted in the image below:
Conclusion
In this article, we discussed all the basic SELinux commands in CentOS 8. These commands are used quite often while interacting with this security mechanism of SELinux. Therefore, these commands are considered extremely helpful.