This guide will explain how to block suspicious traffic with Amazon Guard Duty and AWS Network Firewall.
Automatically Block Suspicious Traffic With AWS Network Firewall and Amazon GuardDuty
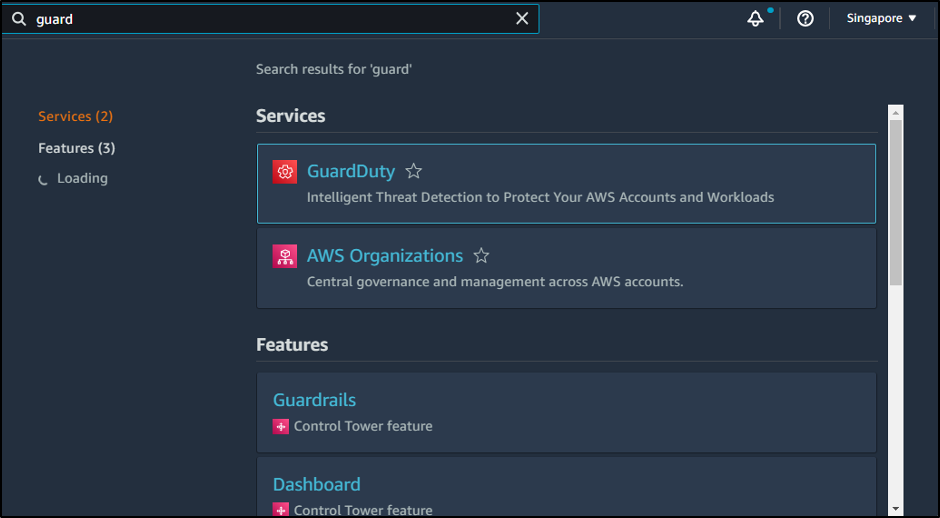
To block suspicious traffic, start by searching Amazon GuardDuty service from the Amazon dashboard:
Click on the “Get Started” button:
Simply click on the “Enable GuardDuty” button:
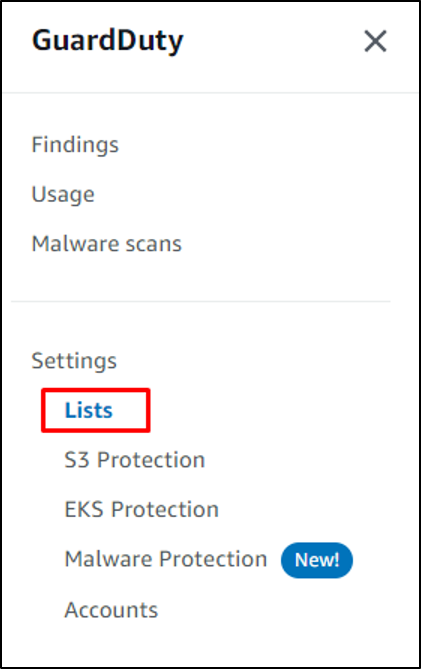
After that, head to the “Lists” page from the left panel:
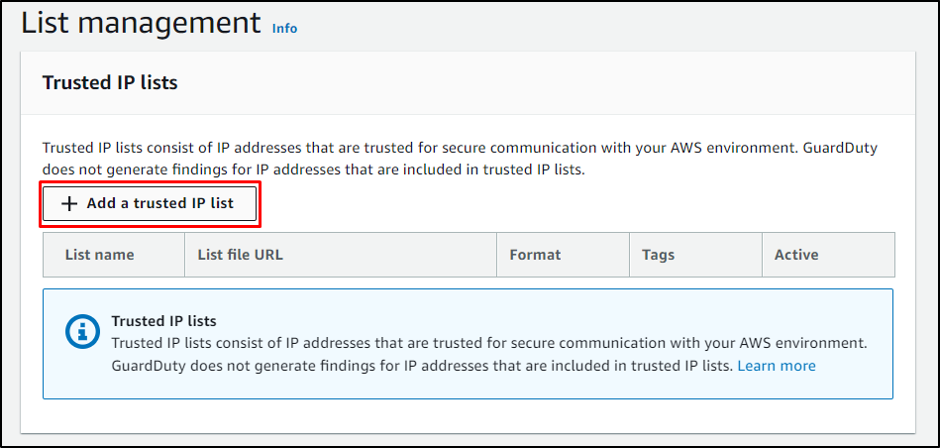
Simply add the trusted IPs to the list:
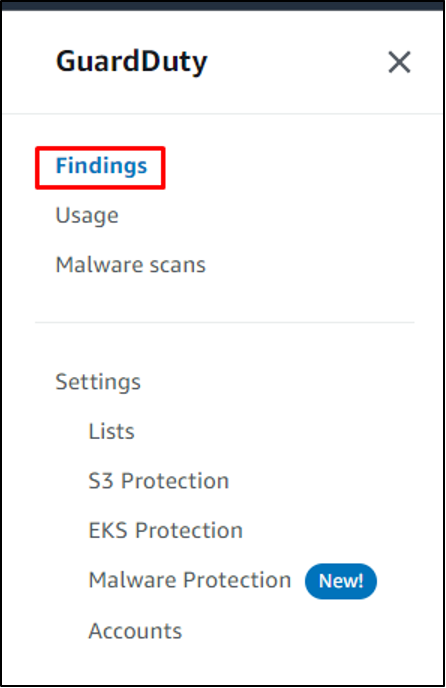
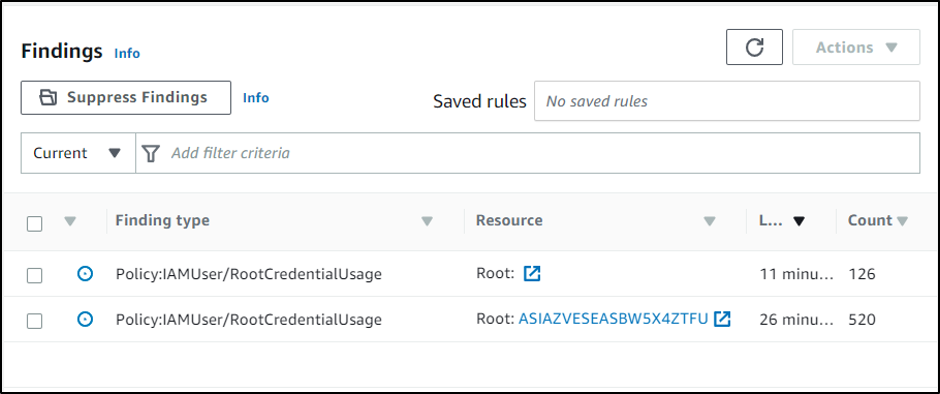
Give it some time to find some activities and then head into the “Findings” page, which provides the list of all activities performed:
Activities found by the GuardDuty are mentioned in the following screenshot:
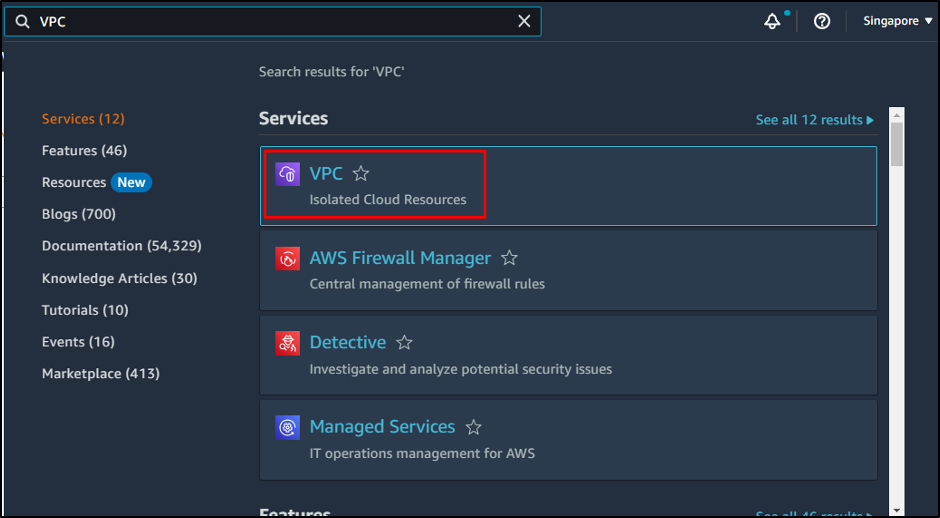
Once the GuardDuty is enabled, simply search for VPC service from the navigation bar:
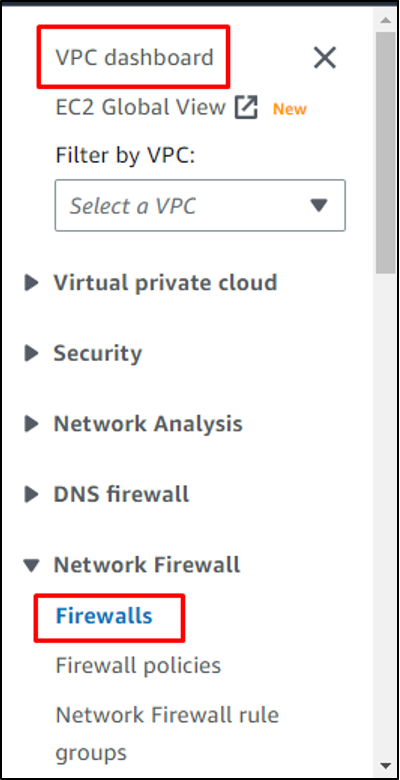
Locate the “Network Firewall” section and click on the “Firewalls” page:
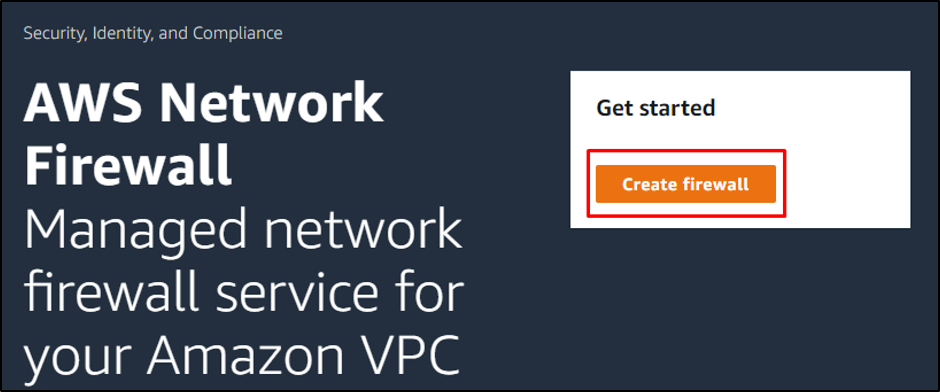
Click on the “Create firewall” button:
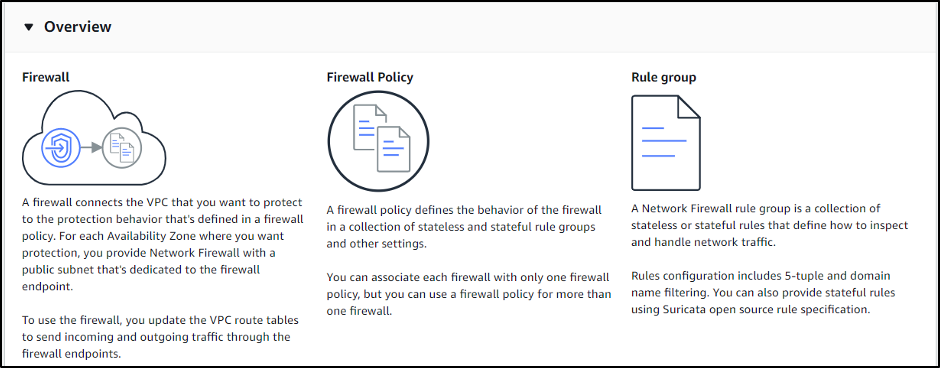
The page provides the overview of the activities to perform:
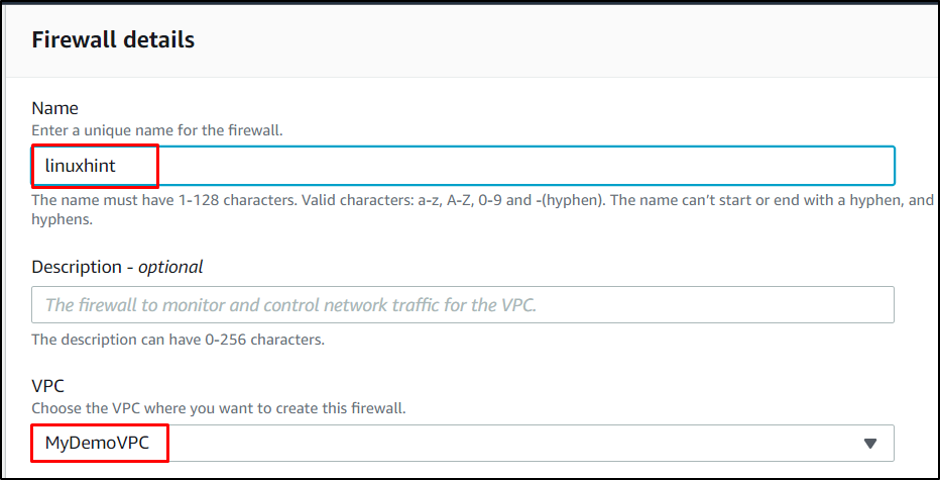
Scroll down the page to type the name of the firewall and select the VPC in which the firewall will be created:
After that, choose the subnet attached to the VPC:
Scroll down to create the firewall policy by typing its name:
Simply click on the “Create Firewall” button to complete the process:
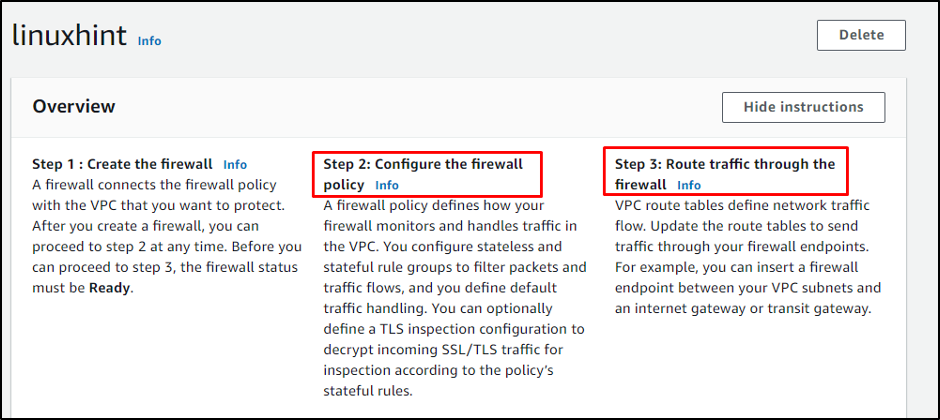
Simply attach rules to the policy according to the needs and block any other traffic:
You have successfully enabled GuardDuty and created Firewall to block suspicious traffic in AWS.
Conclusion
To conclude, the GuardDuty service is enabled to keep track of all the traffic and add a trusted IPs list to keep everything else away. AWS Firewall can be created with VPC attached to it to make it more secure by adding different rules in the Firewall Policy. This guide has explained how AWS Network Firewall and Amazon GuardDuty are used to block suspicious traffic.

