
Downloading and Booting into the Arch Linux Installer CD
You can download a copy of Arch Linux installer CD from https://www.archlinux.org/download/
Once you download and boot your Arch Linux Installer CD, you should see the following window. Select the first option as shown in the screenshot below.
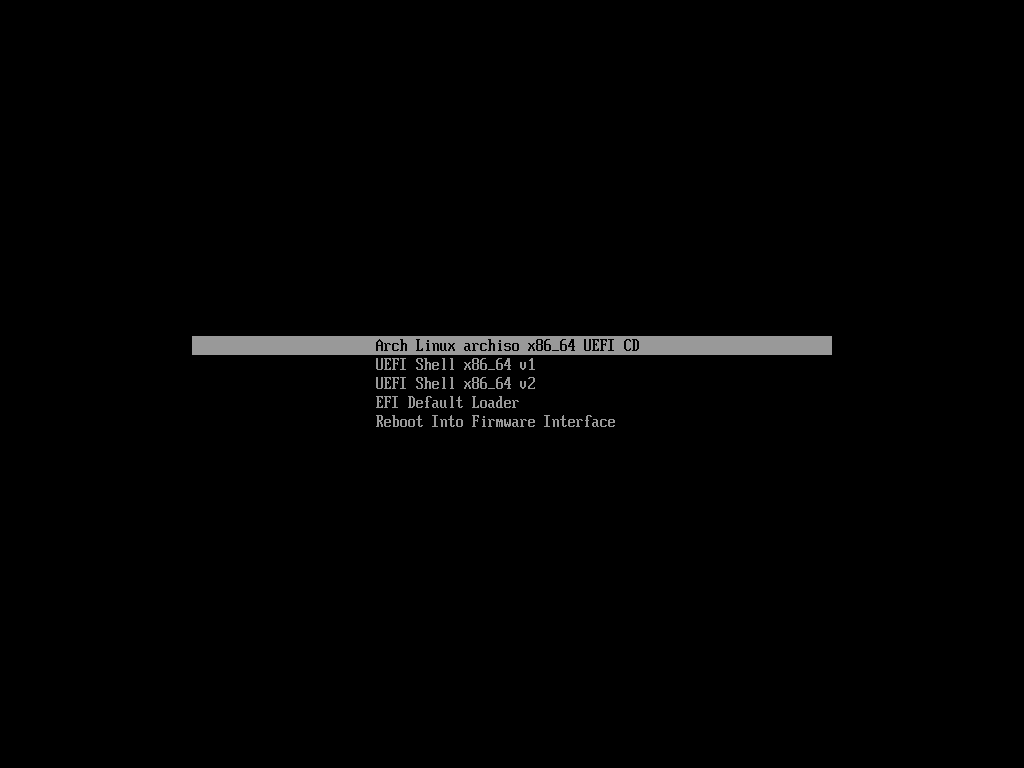
You should see the following window. You will have to install Arch Linux manually from here.

Connecting to the Network
The first thing you have to do once you boot your Arch Linux CD image is to connect to the network.
If you’re connected to the wired network, run the following command to get an IP address from the DHCP server:
![]()
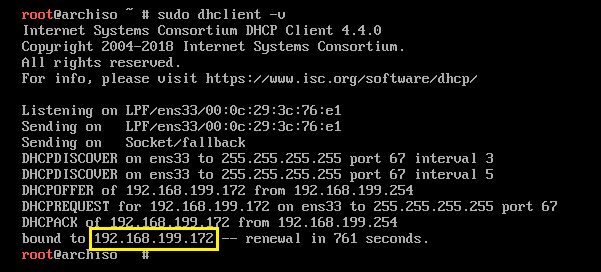
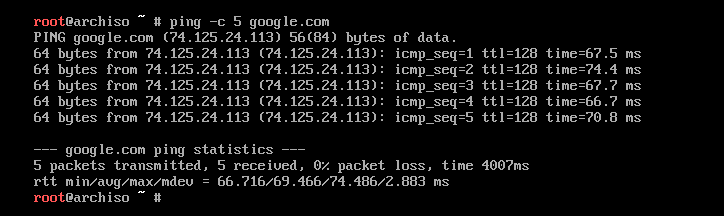
Now try to see if you can connect to google.com with the following command:
![]()
It works. So you’re connected.
Partitioning the Disk
Now you have to partition the disk.
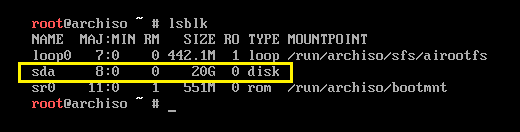
Run lsblk to find out your hard drive identifier. As you see, in my case it is sda. So it is available as /dev/sda.
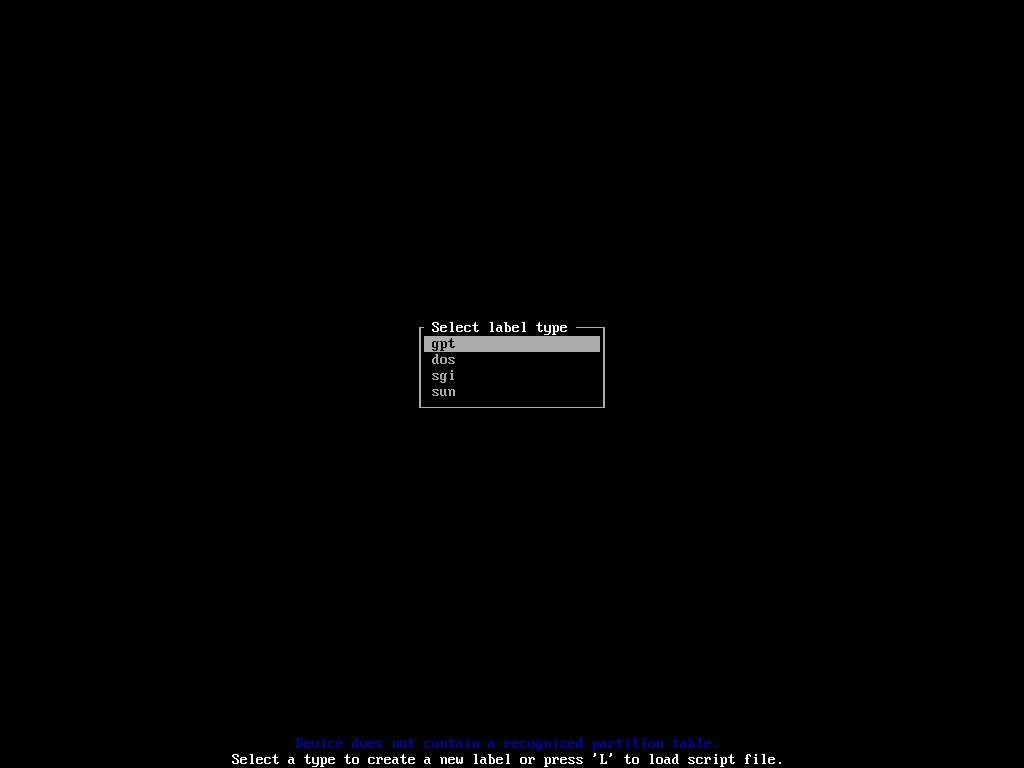
Run the following command to start cfdisk disk partitioning utility:

Select gpt and press <Enter>.
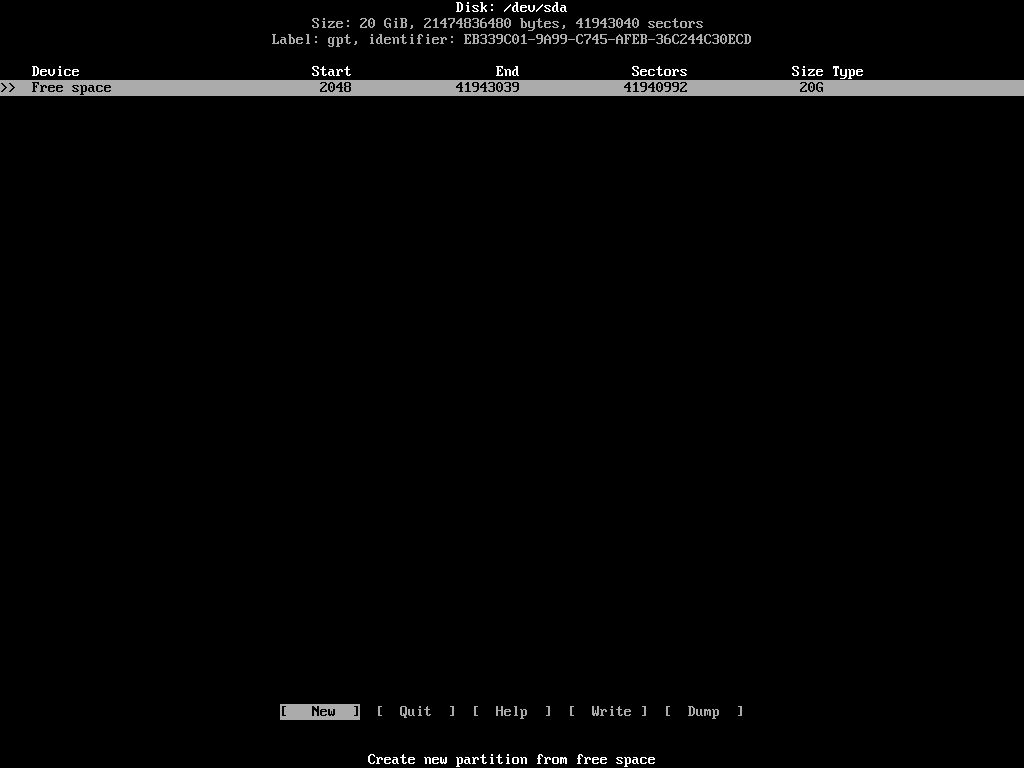
You need to create 3 partitions, EFI partition, Boot partition, Root partition.
Select [ New ] and press <Enter> to create a new partition.
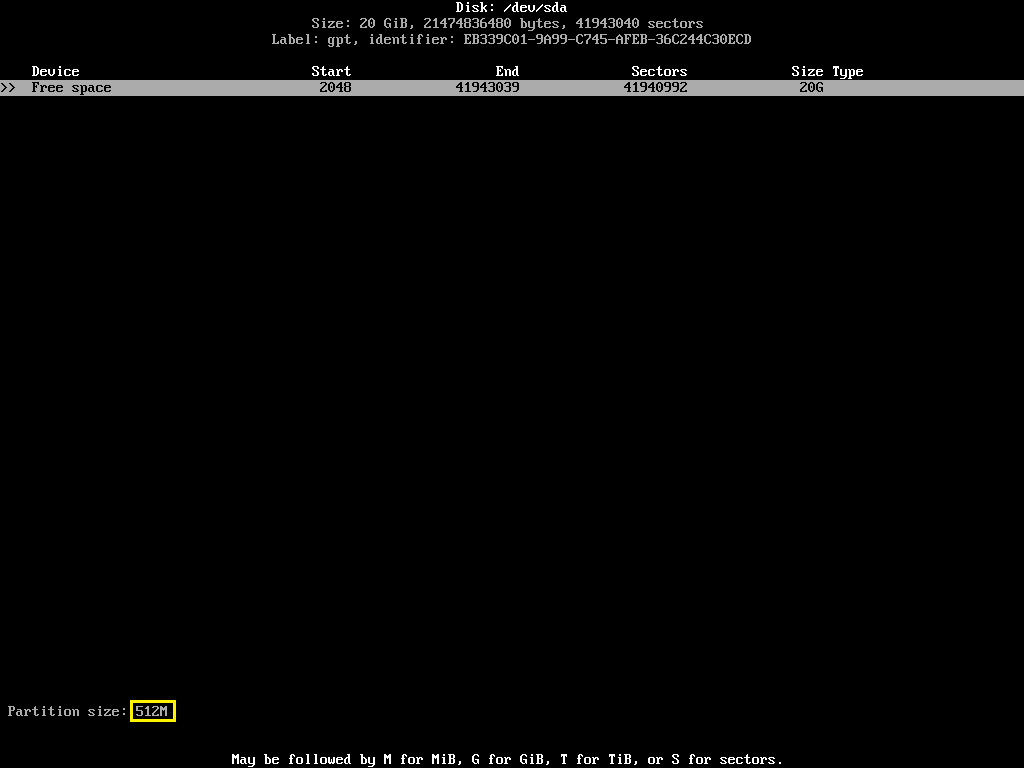
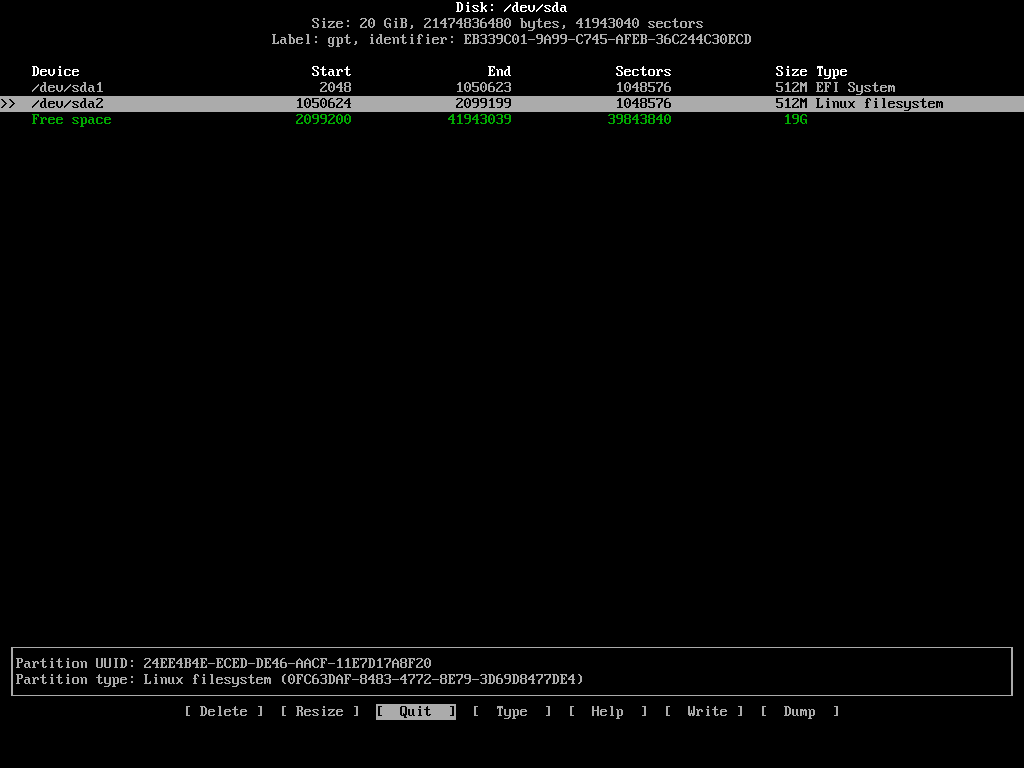
First create the EFI partition of about 512 MB of size as follows:
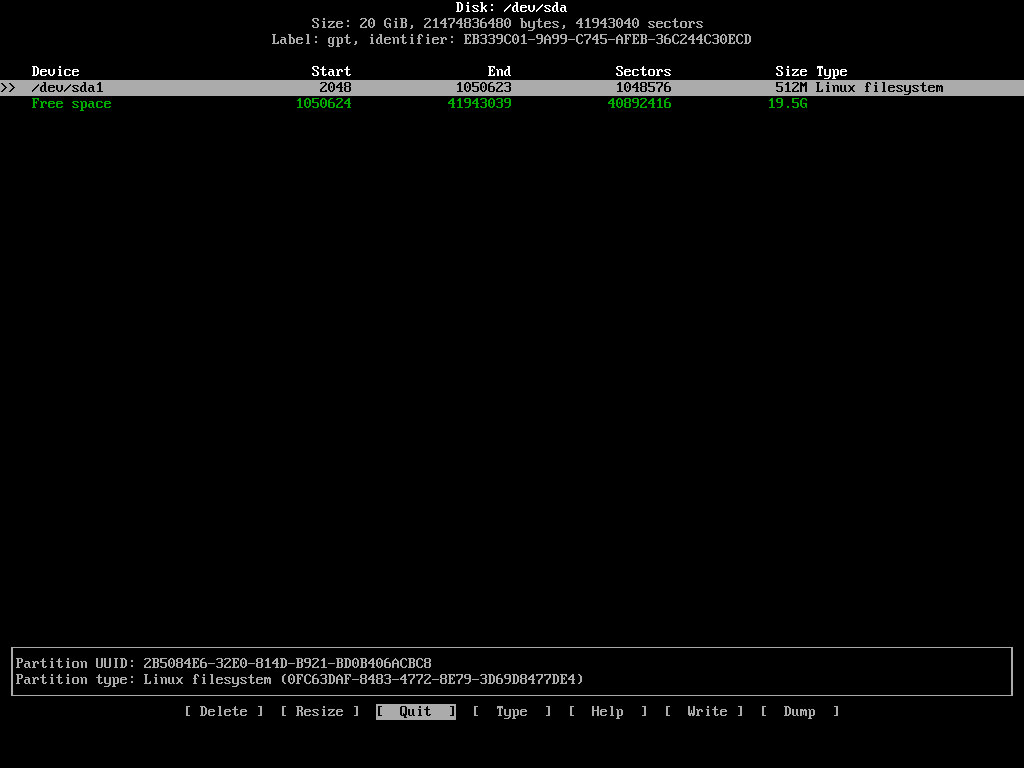
The EFI partition is created.
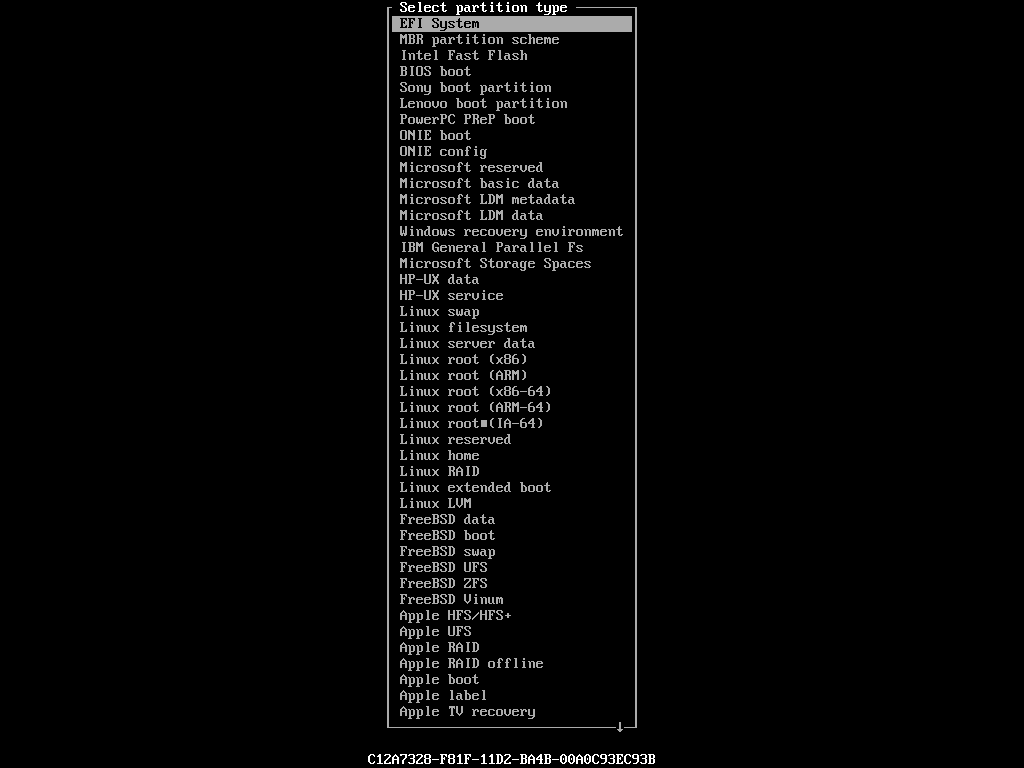
Now you have to change the type of EFI partition to EFI System. This is important. To do that, select [ Type ] and press <Enter>.

Select EFI System and press <Enter>.
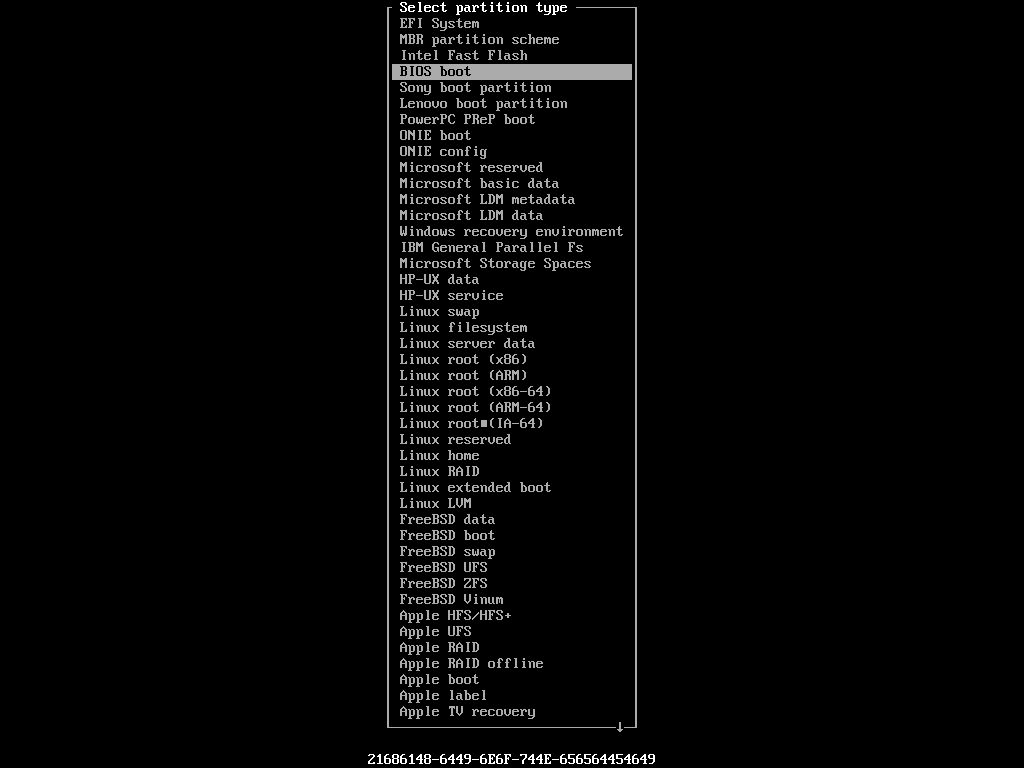
Now create Boot partition of 512 MB of size the same way.
Change its type to BIOS boot. This is also important.
Now create the Root partition. Give it the rest of the space.

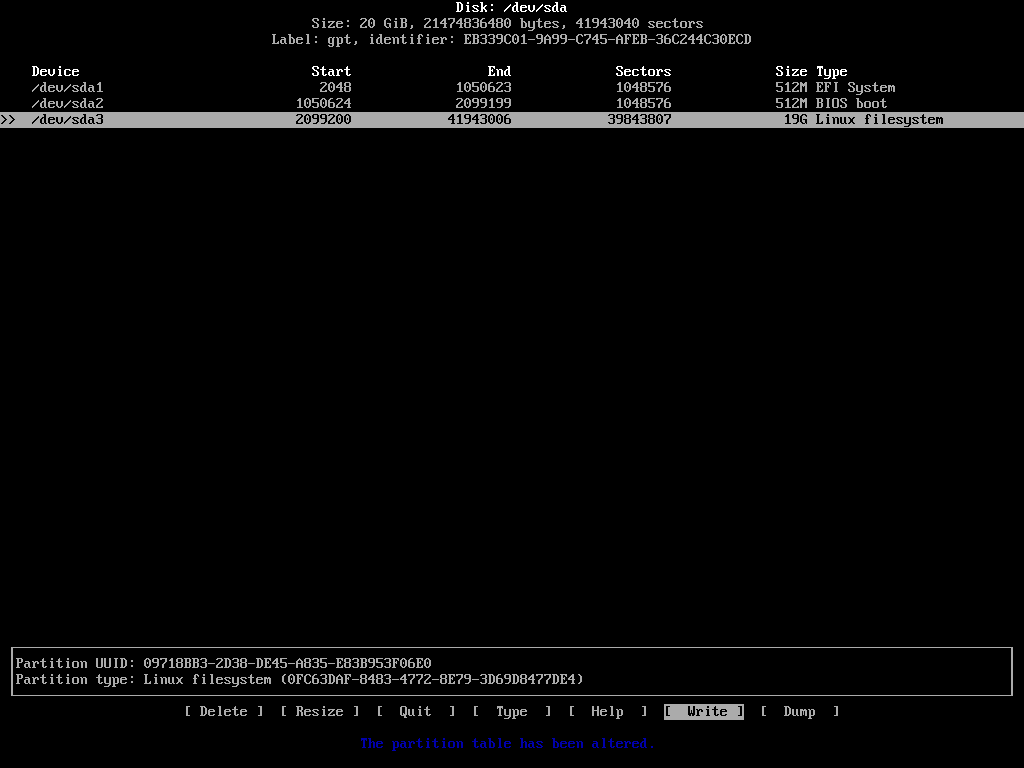
Now to save the changes, go to [ Write ] and press <Enter>.
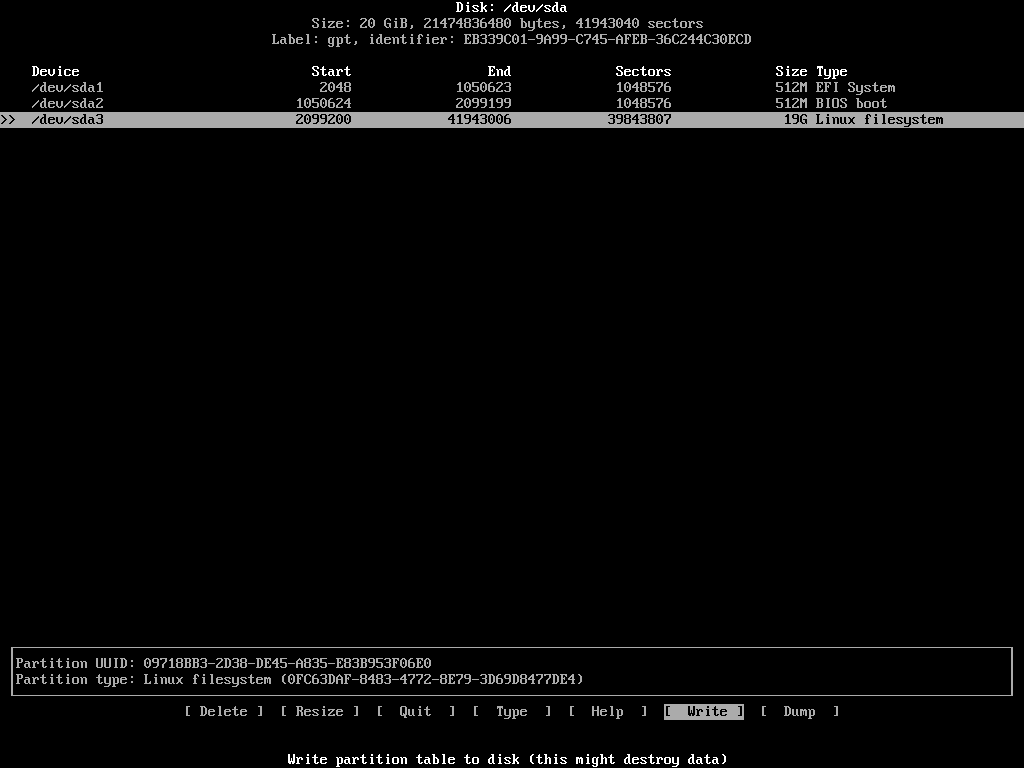
Type in yes and press <Enter>.
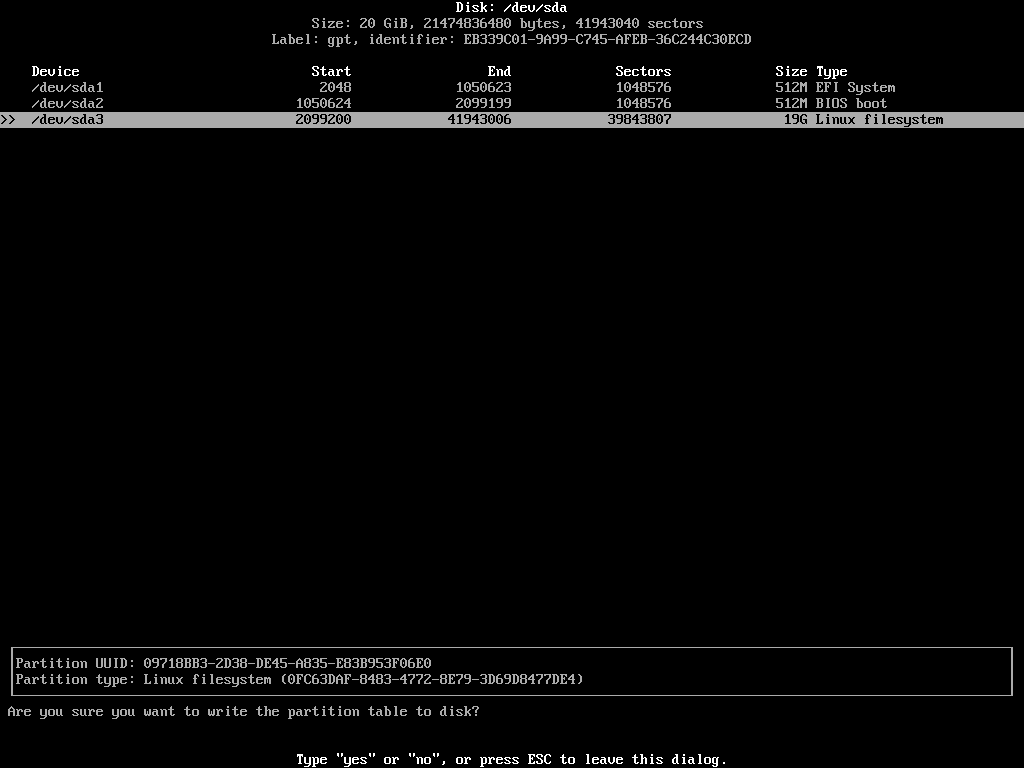
The changes should be written.
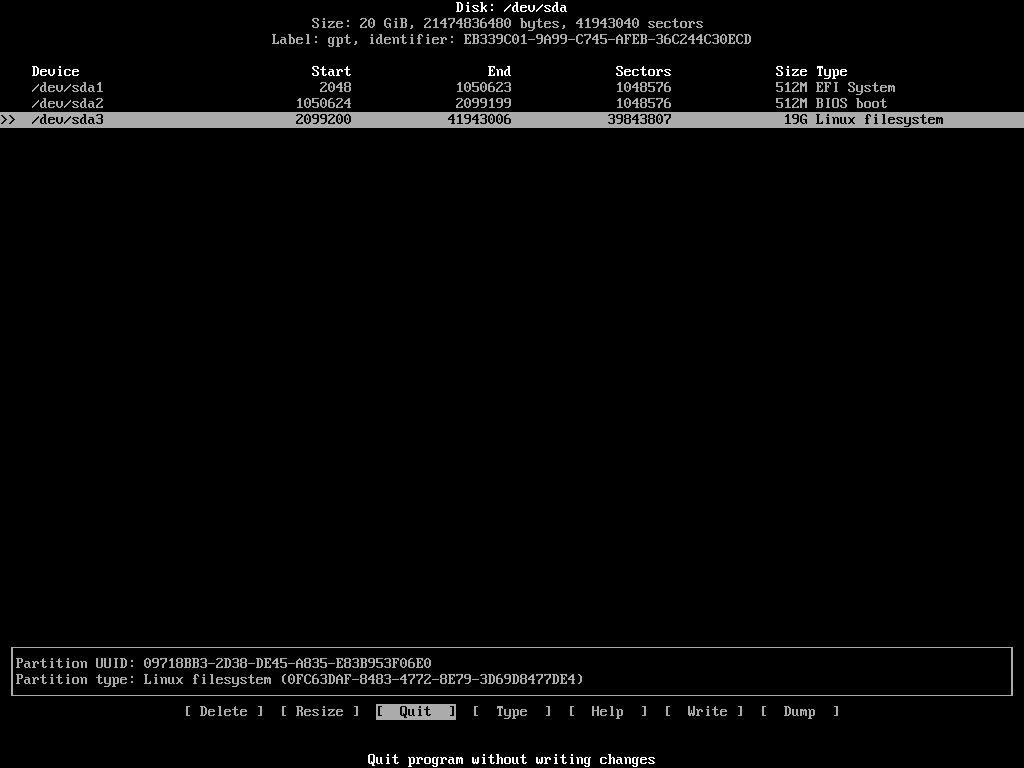
Now select [ Quit ] and press <Enter>.
Formatting the Partitions
Now you have to format the partitions.
Formatting the EFI partition:


Formatting the Boot partition:


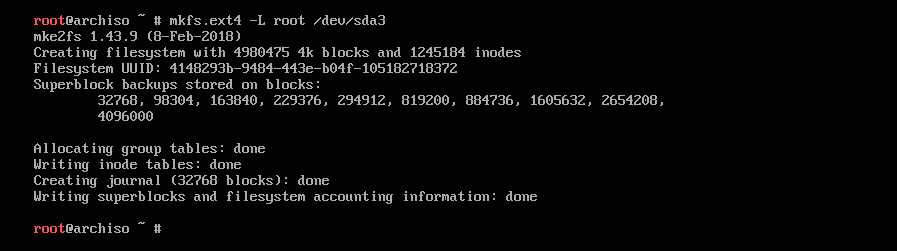
Formatting the Root partition:

Mounting the Partitions
Now you have to mount the partitions in the correct order. First the Root partition (/dev/sda3 in my case), then the Boot partition (/dev/sda2 in my case), then the EFI partition (/dev/sda1 in my case).
Mounting the Root Partition:

Mounting the Boot and EFI Partition:
![]()


![]()
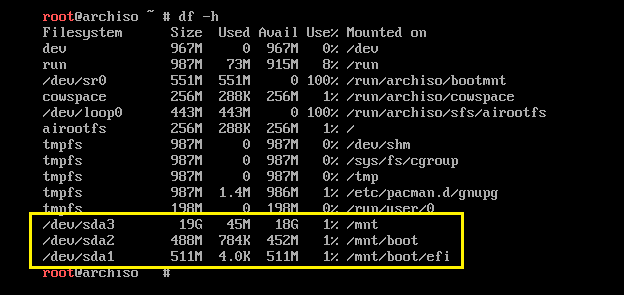
Once you mount all the partition, run df -h to make sure they are mounted correctly.

Configuring Swap
In this section I will show you how to configure file based Swap.
Make a file of about 1GB in size for Swap:
![]()

Now format the Swap file:


Change the swapfile permission:

Enable swap:

You can verify whether Swap is activated using free -h command.

Installing Arch Linux Minimal
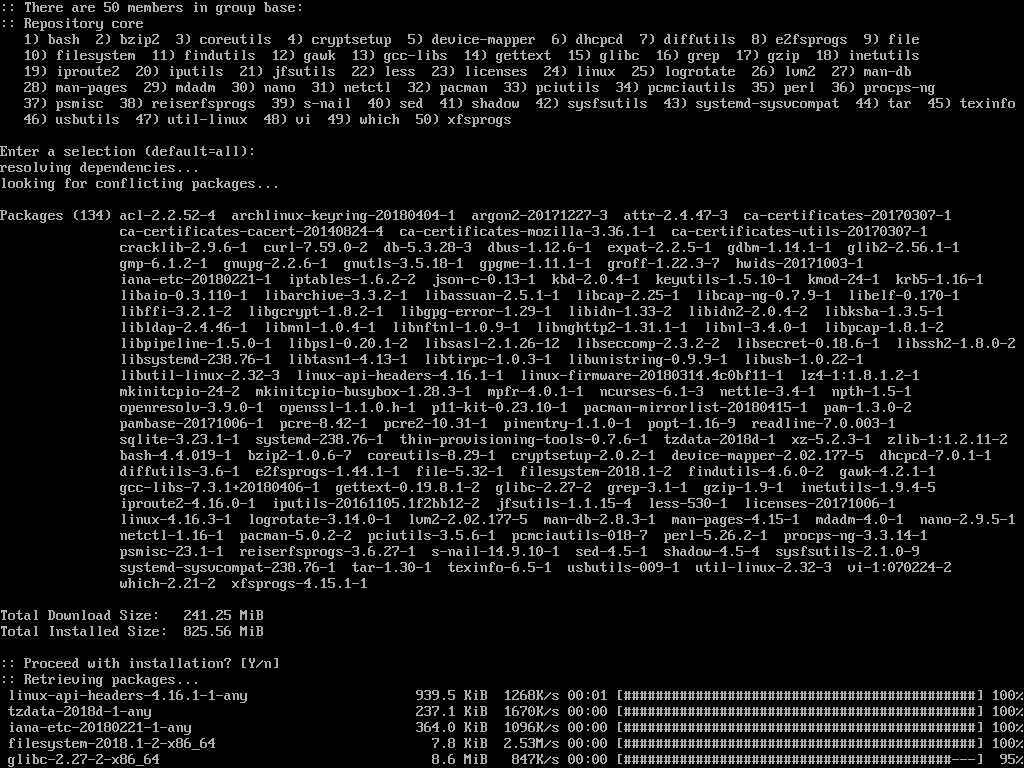
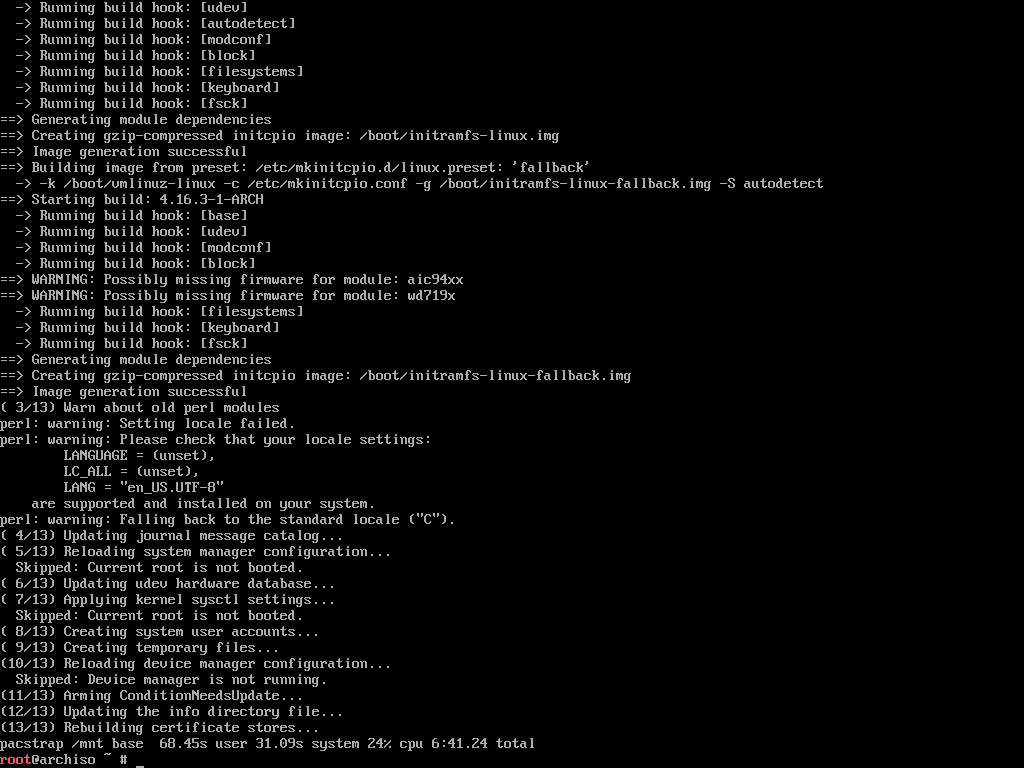
Now install Arch Linux with the following command:


Configuring the System
Now you have to do some additional configuration.
Generate /etc/fstab file with the following command:

Chroot into the /mnt directory:

Now set the right time zone with the following command:
![]()
Now run the following command to set the hardware clock:

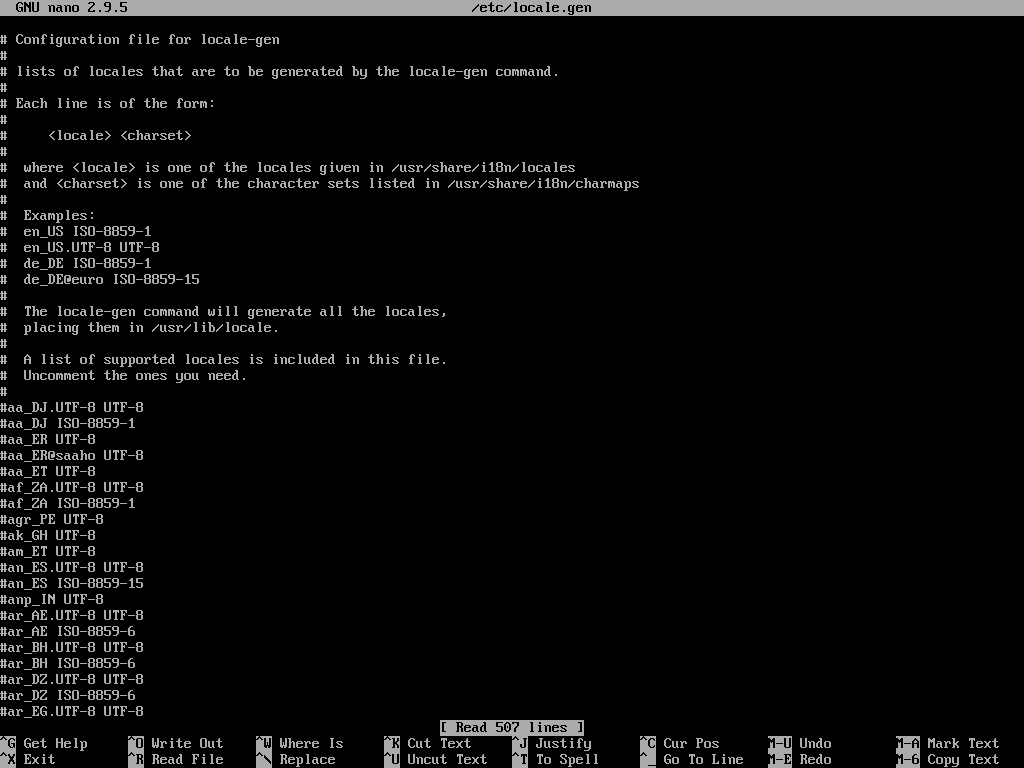
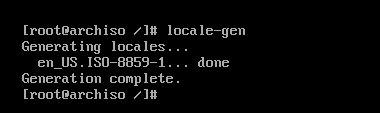
Edit the /etc/locale.gen file:

You should see the following window. Scroll down the list and uncomment the line (by removing # from the beginning of the line) depending on your location and language. For English United States UTF8 character set, the correct locale is en_US.UTF-8. Remember the locale you set here, as you will need it again.
To save the changes, press <Ctrl> + x and then press y and then press <Enter>.
Now generate the locale:

Now run the following command to set LANG to your selected locale:
![]()
Now set your desired hostname with the following command:
![]()
Now you have to run the following commands to fix local DNS name resolution.
For IPv4 DNS name resolution:
![]()
For IPv6 DNS name resolution:

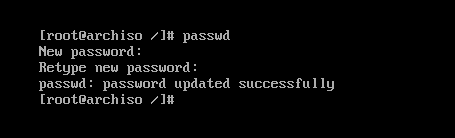
Now set a password for your root user:
![]()
Installing the Boot Loader
Now run the following command to install the GRUB boot loader.

Press y and then press <Enter>.

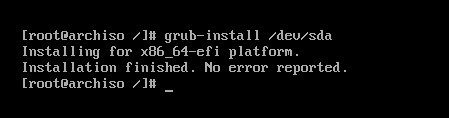
Now run the following command to install the bootloader on your hard drive:
![]()
Now that everything is complete, exit out of Chroot environment with the following command:
Now reboot your computer with the following command:
Then eject your Arch Linux installer CD.
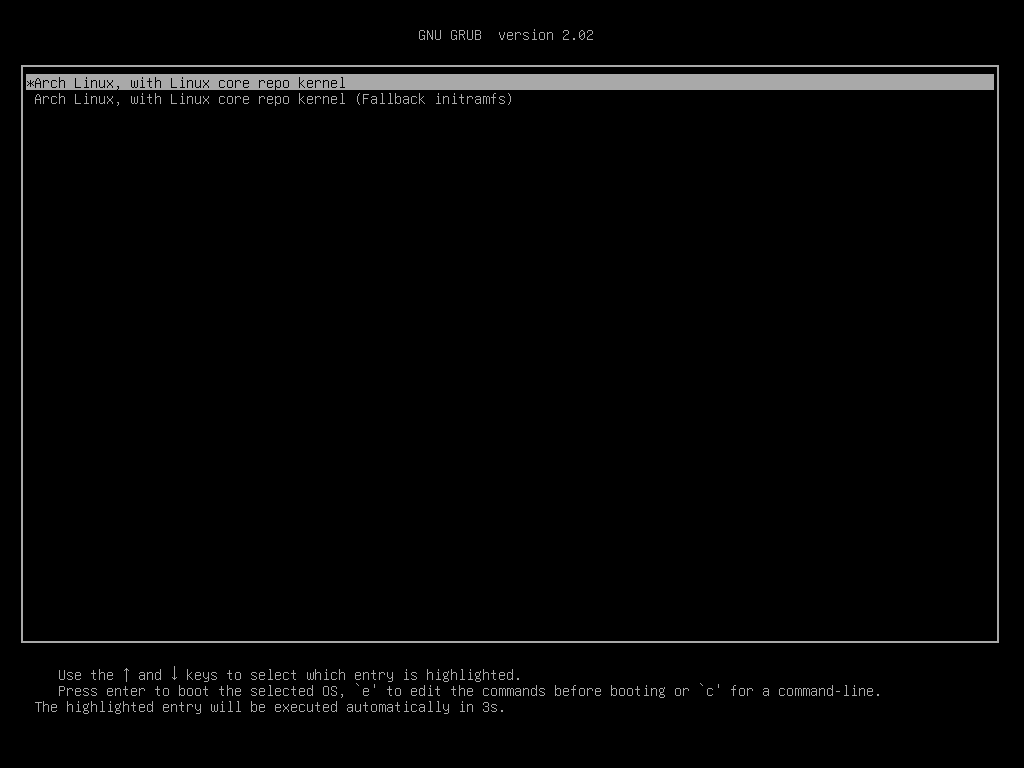
Booting into the Arch Linux System
Now if you boot from your hard drive, you should see the following window. Press <Enter> to continue.
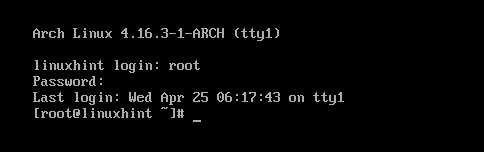
You should see the login prompt as you can see in the screenshot below.

You can login as user root and the password that you set earlier as you can see in the screenshot below.
That’s how you install the Minimal version of Arch Linux on your computer. Thanks for reading this article.