This post will demonstrate the method to apply the Git patch generated with the git format-patch command.
How to Apply a Patch Generated With the “git format-patch” Command?
To apply a generated patch, first, commit the changes. Next, generate the patch using the “git format-patch -1” command. After that, open the repository where you want to apply the generated patch and utilize the “git am <patch-path>” command.
Now, check out the below-given practical implementation.
Step 1: Launch Git Bash Terminal
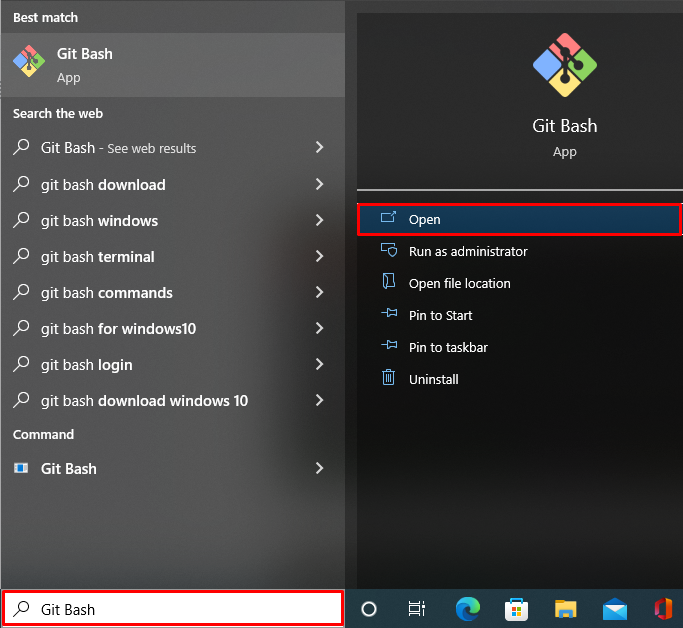
First, open the Start menu and launch the “Git Bash” terminal:
Step 2: Go to Git Working Repository
Utilize the “cd” command and open the Git working repository:
Step 3: Generate New File
Generate the new text file using the “touch” command:
Step 4: Add File to Staging Index
Move the untracked file to the tracking index to commit changes using the “git add” command:
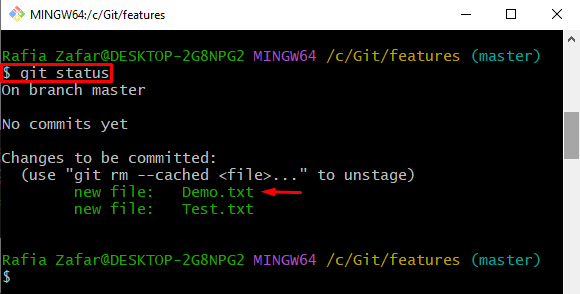
Check the repository state to confirm if the file is added to the tracking index or not:
Step 5: Commit Tracked Changes
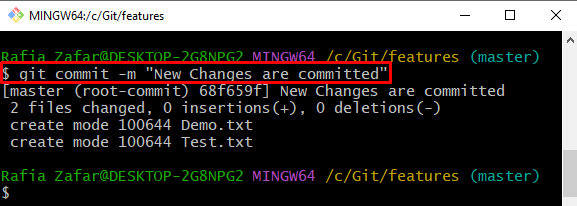
Commit the tracked changes to add them to the local repository through the provided command:
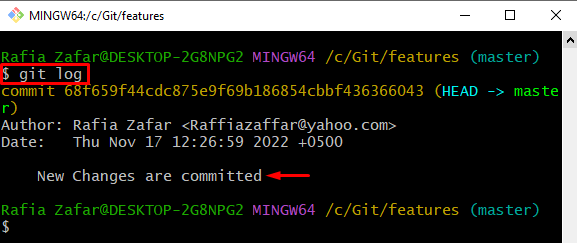
Check the Git log to verify if the changes are committed or not:
Here, you can see new changes have been committed successfully:
Step 6: Generate a Patch
Generate the patch of committed changes using the “git format-patch” command:
It can be observed that the patch “0001-New-Changes-are-committed.patch” is generated:
Step 7: Apply Patch
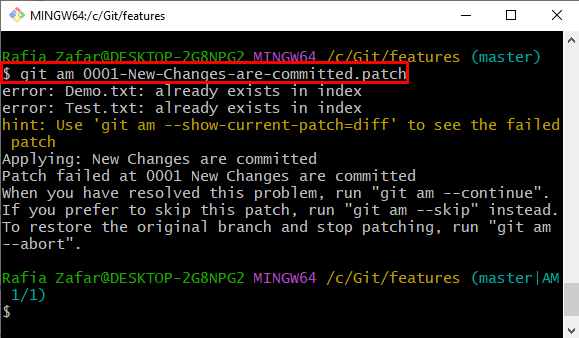
Now, apply the patch in the same repository using the “git am <patch-file>” command:
Note: Do not worry if an error occurs if you are applying a patch to the same repository where you developed the patch and that repository has already committed modifications.
To handle this situation, skip the patch and apply it to another repository:
Step 8: Skip the Patch
To skip the applied patch, utilize the below command with the “–skip” option:
Step 9: Create New Repository
Make a new directory/repository, where we will apply the generated patch:
Next, use the “cd” command to navigate to the new repository:
Step 10: Apply a Patch on Another Repository
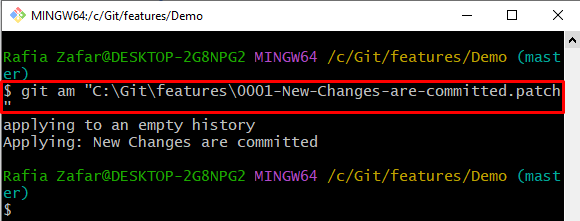
Lastly, apply the patch to the newly created repository using the “git am <“patch path”>” command:
Here, you can see we have successfully applied the patch generated with the “git format-patch” command:
We have learned how to apply a patch generated with the “git format-patch” command.
Conclusion
To apply a patch generated with a “git format-patch”, first, go to the Git working repository. Then, commit the tracked changes using the “git commit” command. Next, generate a new Git patch using the “$ git format-patch -1” command. After that, go to a repository where you want to apply the generated patch and apply the patch using the “git am <“patch-path”>” command. This post has demonstrated the method for applying a patch generated with the git format-patch command.

