
Unlike packages and Flatpaks, which have dependencies that vary across different Linux distributions, AppImages are the complete package. They don’t need to rely on any external dependencies. This allows AppImages to run on almost any distribution, with the setup being as simple as assigning them the right to become an executable file.
That being said, managing AppImages can be challenging if you’re dealing with lots of them over time. This is because they can only be opened with the help of the CLI. This is where having an application that can serve as a launcher for AppImages might come in handy.
Worry not, the AppImageLauncher is here to save the day. As the name implies, it is an application that serves as a launcher for AppImages. The AppImageLauncher allows you to integrate the available AppImages with the Applications menu of your Linux distribution.
Seeing how the AppImageLauncher improves user accessibility by leaps and bounds, no doubt it’s an app that you’d want on your system. This guide is meant to be a tutorial on how to use the AppImageLauncher.
It should be noted that we’ll be using Ubuntu 20.04 LTS for this tutorial. Nevertheless, the method shouldn’t differ much for any other distribution. With that said, let’s begin.
Understanding AppImages
Before we learn about the AppImageLauncher, it’s a good idea to understand AppImages.
As the name suggests, AppImages are a form of portable software available on Linux and its distributions. Additionally, AppImages can install and run applications on a Linux distribution without requiring superuser permissions. This gives them an edge over conventional methods of installing applications, the likes of which include packages, snaps, Flatpaks, etc.
The installation method for AppImages is different than the conventional methods for packages. Instead of adding the necessary packages across the file system of the Linux distribution, AppImages are the compressed version of the entire application.
This implies that a single AppImage can run across multiple Linux distributions since the required packages are already available in the AppImage.
While they might sound like the ideal application installer, the installation of multiple AppImages could lead to the same packages being installed repeatedly leading to redundancy and taking up extra space on the system.
Now that you’ve learned about AppImages, you can proceed to learn how to install the AppImageLauncher.
Installing AppImageLauncher
First and foremost, it’s necessary to install AppImageLauncher on your system. For this, you can make use of the Command Terminal.
To install AppImageLauncher, you can use the $apt install command.
Follow these steps to install AppImageLauncher on your system:
Start by opening the Command Terminal. The shortcut for the Terminal is Ctrl + Alt + T.
Once the Terminal is open, type the following command:
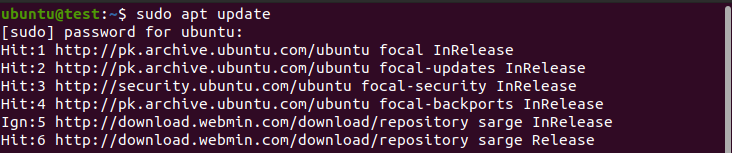
This should update the repositories to the latest version that is available.
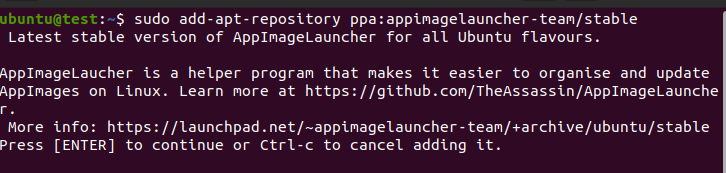
Once the update is complete, type the following in the Command Terminal:
If you followed the steps correctly, then you should have the AppImageLauncher installed on your system. All that’s left now is to learn how to configure it.
Getting Started With the AppImageLauncher
With the installation process out of the way, it’s time to learn how to use AppImageLauncher.
To start, we’re going to download an AppImage. We’ll be using the Atom AppImage for this guide.
Once the AppImage of your choice is downloaded, double-click on the file to launch it:

Alternatively, you can launch it from the Command Line Input by typing the following:
In our case,
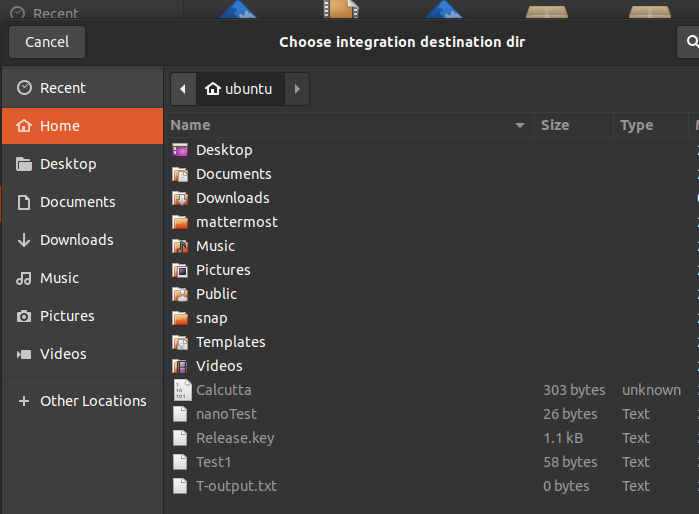
Since this is the first time the AppImageLauncher is launched, you should see a prompt asking you to select a central location for the AppImages. If you wish to use any location other than the default one, click on “Customize” and select the location of your choice:
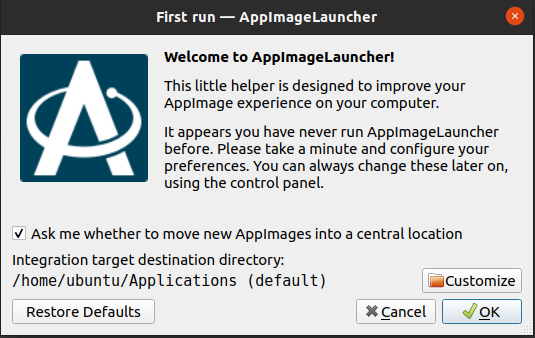
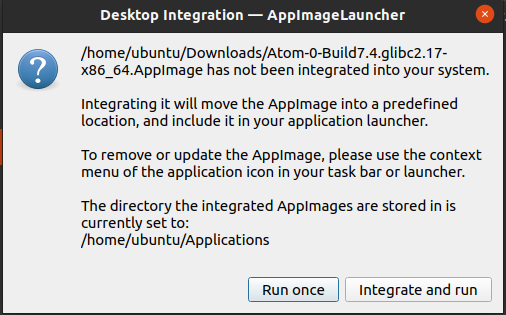
Once you’ve chosen the location, click on “OK”. You should now see a window with a prompt similar to the image below:
If you only wish to run your selected AppImage once, click on “Run once”. If you want to make it an executable and move it to the central directory, click “Integrate and run”. This will create the relevant icons for the AppImage, allowing you to execute it with just a simple click:
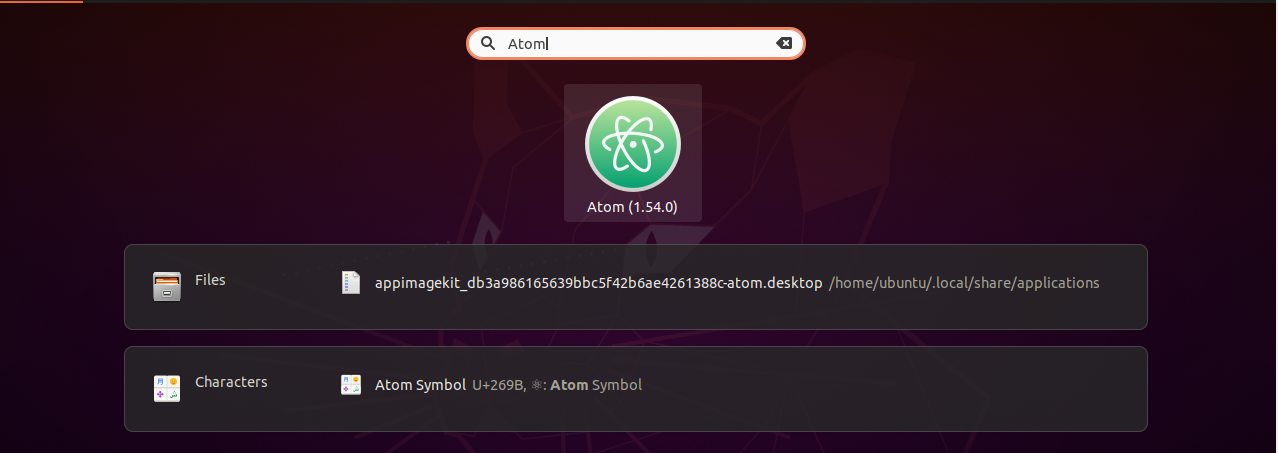
With the configuration complete, you can now launch the AppImage without using the CLI. Just type the name of the application in the search bar and you’re good to go.
Changing the Target Location of the AppImages
As stated earlier, the AppImageLauncher is responsible for moving the AppImages to a target location on your system. It is possible to change the location after configuring it once. The process is simple and makes use of the Graphical User Interface.
Follow these steps to change the target location of the AppImages.
First, click on the Applications icon and navigate to the Search bar. Type “AppImageLauncher” in the Search bar and click on the first result:

You should see a window similar to the one seen in the following image:
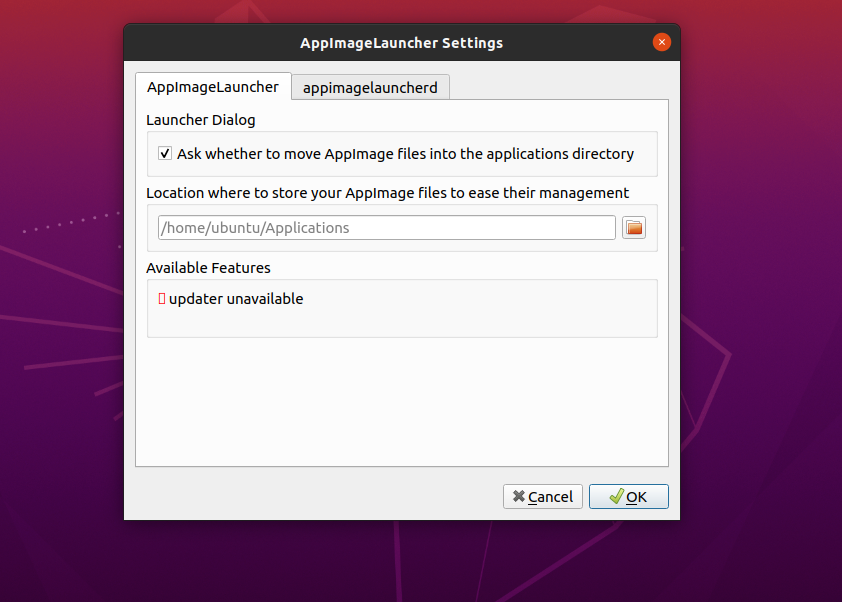
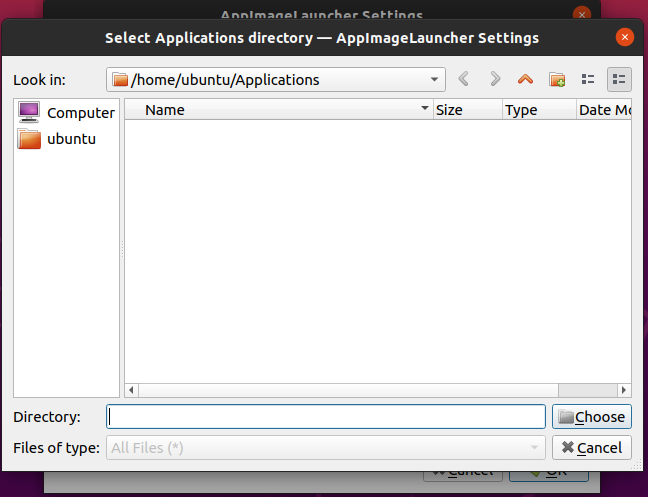
Next, navigate to the AppImageLauncher tab. You should see a folder icon under “Location where to store your AppImage files to ease their management”. Click on it and select the new target location according to your need:
If you followed the steps correctly, you should now have changed the central location of your AppImage files. All new AppImages will now be stored in the new location.
Conclusion
We hope this guide helped you learn how to use AppImageLauncher on your Linux distribution. This guide covered the basics of AppImages, how they work, and when to use them. It also covered how to install AppImageLauncher, along with a basic overview on how to configure it properly. With this, we wish you all the best for your future experiences with Linux. Check out other Linux Hint articles for more tips and information.