By default, most of us will interact with Ansible using the command-line interface using Playbooks, ansible-galaxy, and more.
However, the Ansible Semaphore tool rescues us from the terminal by providing a UI interface for Ansible.
By definition, Ansible Semaphore is a modern UI for Ansible. It allows us to run the Ansible playbooks efficiently, get notifications about fails, and control the access to the deployment system.
The goal of this tutorial is to guide you on how to quickly install and use the Ansible Semaphore UI in your workflows.
Requirements:
Before installing the Ansible Semaphore, ensure that you have the following:
- Installed Ansible controller
- Ansible target hosts configured as appropriate
- Permission to install and configure the packages on your system
- Installed either MySQL, PostgreSQL, or BoltDB on your machine
NOTE: This tutorial demonstrates how to install Ansible Semaphore on Ubuntu 22.04. However, you can check the instructions on how to install it for your system.
Install Ansible Semaphore Using Snap
The first and most common method of installing Ansible Semaphore is using the snap packages. Run the command as follows:
The command should use the snap manager to download and configure the Ansible Semaphore tool on your system.
Create an Admin User
Once installed, you should have the Ansible Semaphore manager running on http://localhost:3000.
Before logging in, create an admin user as shown in the following commands:
Stop the Semaphore service:
Create admin user:
--login admin \
--name=admin \
--email=admin@example.com \
--password=password
Ensure to configure the previous details to match your desired configuration.
Finally, start the semaphore service as follows:
Once completed, check the status of Semaphore:
Output:
semaphore.semaphored enabled active -
Install Ansible Semaphore Using the Package Manager
As you can guess, we can also install the Ansible Semaphore using various Linux package managers.
Apt
To install the Ansible Semaphore on Ubuntu and other Debian-based distributions, run the command as follows:
download/v2.8.75/semaphore_2.8.75_linux_amd64.deb
$ sudo dpkg -i semaphore_2.8.75_linux_amd64.deb
Finally, run the following command to setup Semaphore:
This should give you a bunch of prompts that allow you to configure the Semaphore properties such as the database that you wish to use, database credentials, and more.
Once configured, you can run it with the following command:
Yum
If you use yum or REHL-based distributions, run the following command to install the Ansible Semaphore:
download/v2.8.75/semaphore_2.8.75_linux_amd64.rpm
$ sudo yum install semaphore_2.8.75_linux_amd64.rpm
Install Ansible Semaphore Using Docker
The third method that you can use to configure the Ansible semaphore is running it as a Docker container.
We assume that you already have the Docker Engine and Docker compose installed. Hence, start by creating a “docker-compose.yaml” file with the configuration as follows:
# uncomment this section and comment out the mysql section to use postgres instead of mysql
#postgres:
#restart: unless-stopped
#image: postgres:14
#hostname: postgres
#volumes:
# - semaphore-postgres:/var/lib/postgresql/data
#environment:
# POSTGRES_USER: semaphore
# POSTGRES_PASSWORD: semaphore
# POSTGRES_DB: semaphore
# if you wish to use postgres, comment the mysql service section below
mysql:
restart: unless-stopped
image: mysql:8.0
hostname: mysql
volumes:
- semaphore-mysql:/var/lib/mysql
environment:
MYSQL_RANDOM_ROOT_PASSWORD: 'yes'
MYSQL_DATABASE: semaphore
MYSQL_USER: semaphore
MYSQL_PASSWORD: semaphore
semaphore:
restart: unless-stopped
ports:
- 3000:3000
image: semaphoreui/semaphore:latest
environment:
SEMAPHORE_DB_USER: semaphore
SEMAPHORE_DB_PASS: semaphore
SEMAPHORE_DB_HOST: mysql # for postgres, change to: postgres
SEMAPHORE_DB_PORT: 3306 # change to 5432 for postgres
SEMAPHORE_DB_DIALECT: mysql
SEMAPHORE_DB: semaphore
SEMAPHORE_PLAYBOOK_PATH: /tmp/semaphore/
SEMAPHORE_ADMIN_PASSWORD: password
SEMAPHORE_ADMIN_NAME: admin
SEMAPHORE_ADMIN_EMAIL: admin@localhost
SEMAPHORE_ADMIN: admin
SEMAPHORE_ACCESS_KEY_ENCRYPTION: BinmDWWf2h/dR4WFN/87csyNYHHU7PlSspUZVHGh144=
SEMAPHORE_LDAP_ACTIVATED: 'no' # if you wish to use ldap, set to: 'yes'
SEMAPHORE_LDAP_HOST: dc01.local.example.com
SEMAPHORE_LDAP_PORT: '636'
SEMAPHORE_LDAP_NEEDTLS: 'yes'
SEMAPHORE_LDAP_DN_BIND: 'uid=bind_user,cn=users,cn=accounts,dc=local,dc=shiftsystems,dc=net'
SEMAPHORE_LDAP_PASSWORD: 'ldap_bind_account_password'
SEMAPHORE_LDAP_DN_SEARCH: 'dc=local,dc=example,dc=com'
SEMAPHORE_LDAP_SEARCH_FILTER: "(\u0026(uid=%s)(memberOf=cn=ipausers,cn=groups,cn=accounts,dc=local,dc=example,dc=com))"
depends_on:
- mysql # for postgres, change to: postgres
volumes:
semaphore-mysql: # to use postgres, switch to: semaphore-postgres
Ensure to specify the following variables:
- MYSQL_PASSWORD and SEMAPHORE_DB_PASS — The password for the MySQL user.
- SEMAPHORE_ADMIN_PASSWORD — The password for the Semaphore’s admin user.
- SEMAPHORE_ACCESS_KEY_ENCRYPTION — The key for encrypting the access keys in the database. Run the following command to generate it.
Finally, run the container with the following command:
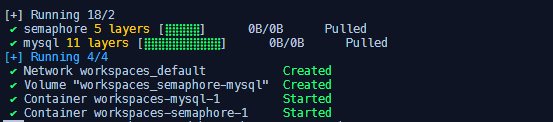
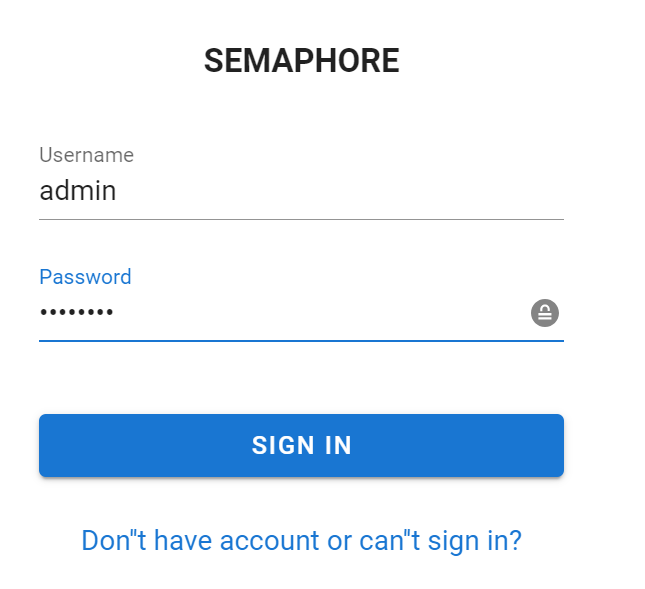
Once the containers are running, open your browser and navigate to http://localhost:3000 and login wit the credentials that are specified in the Docker configuration file.

Setting Up A New Project
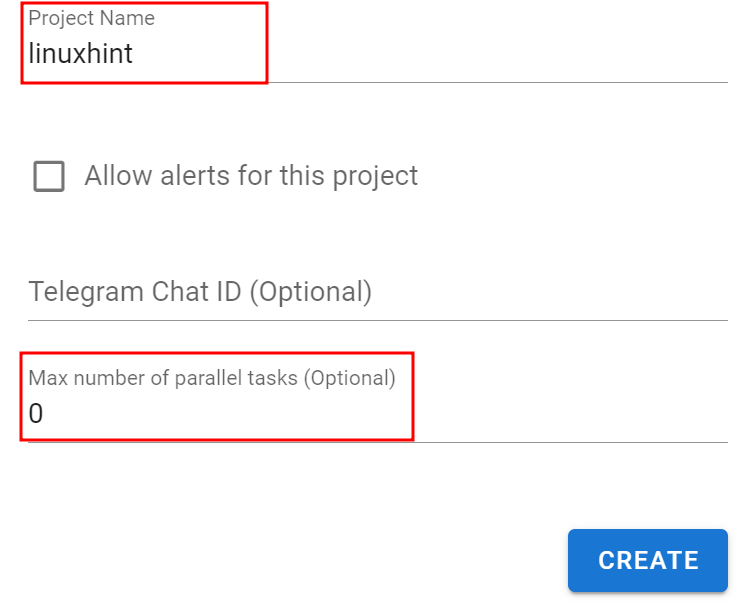
Once logged in for the first time, the Semaphore manager will prompt you to configure a new project for your Ansible deployments.
Here, you need to specify the project name and the maximum number of parallel tasks that your project should execute. If you set the value to 0, the project should have unlimited tasks.
You can also define the alerts for your configuration using Telegram. This may require you to configure a Telegram bot to your desired needs.
Once created, it should take you to the dashboard to explore the manager including the inventory files, task templates, and more.
Conclusion
This tutorial taught us how to install and configure the Ansible Semaphore UI using various methods and techniques. Feel free to explore the documentation to learn more.