PowerShell is an effective scripting language and tool that enables you to manage many features of your Windows system and automate operations. Adding a user to a group is one of the activities that PowerShell can carry out. Groups are collections of users with the same system access privileges and permissions and by adding a user to a group, you can grant or deny them certain privileges and resources.
How To Add a User to a Group in Windows 10 PowerShell
Adding a user to a group in Windows 10 PowerShell can help to simplify security management by granting the user the same permissions as other members of the group. Here are some detailed steps of adding a user to a group in Windows 10 PowerShell:
Step 1: List the Local Groups
Before adding a user to a group, you need to know what groups are available on your system. You can use the Get-LocalGroup cmdlet to list all the local groups on your system. Local groups are groups that are defined on your local computer, as opposed to domain groups that are defined on a domain controller. To list all the local groups, open a PowerShell window with administrator privileges and type the following command:
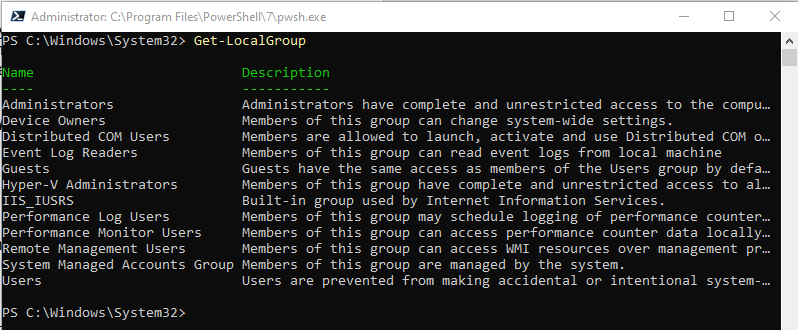
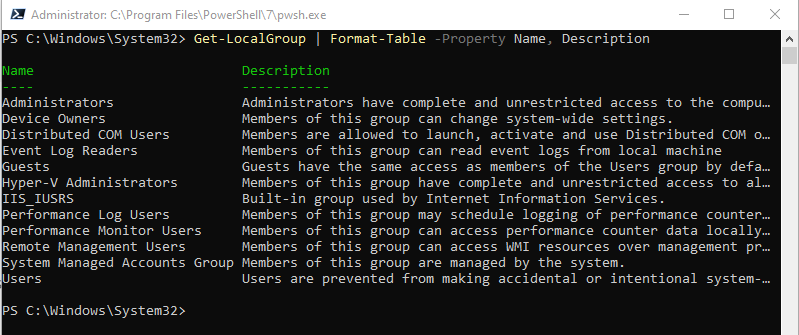
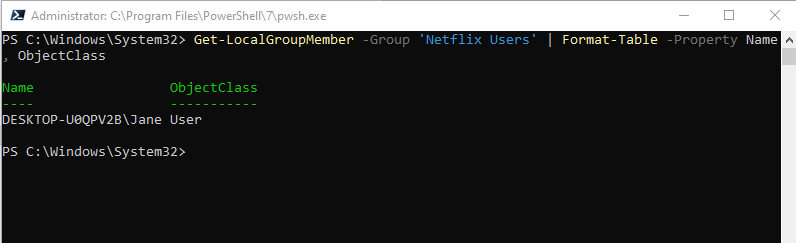
This command will display information about all the local groups, such as the name, description, SID (security identifier), and principal source. For example, you can use the following command to display only the name and description of each group:
Step 2: List the Users
After listing the local groups, you need to know what users are available on your system. The local users are users that are defined on your local computer, as opposed to domain users that are defined on a domain controller and to list all the local users, type:
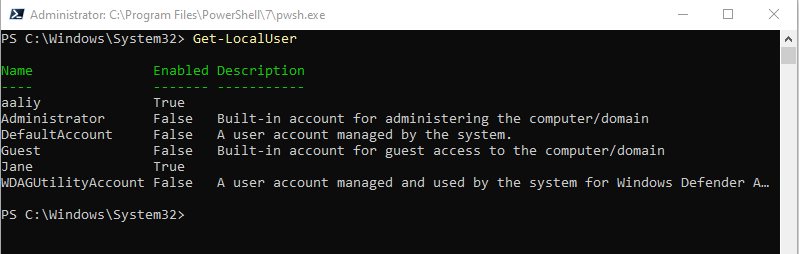
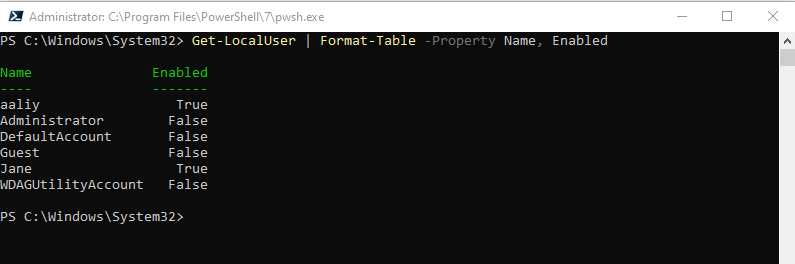
This command will display information about all the local users, such as the name, account type, enabled status, last logon date, password changeable date, password expires date, password required status, SID (security identifier), and user principal name. For instance, the following command will just display each user’s name and their enabled status:
Step 3: Create a Group
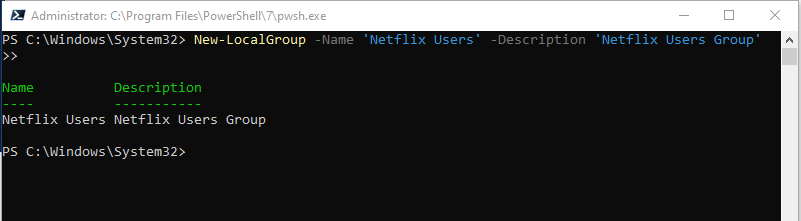
If you want to add a user to a new group that does not exist yet, you need to create it first. You can use the New-LocalGroup cmdlet to create a new local group on your system and to create a new local group execute:
Replace “Group-Name” with the name of the group that you want to create and replace “Group-Description” with a brief description of the group’s purpose. For example, you can use the following command to create a new local group named “Netflix users” with a description of “Netflix Users Group”:
Step 4: Add a User to a Group
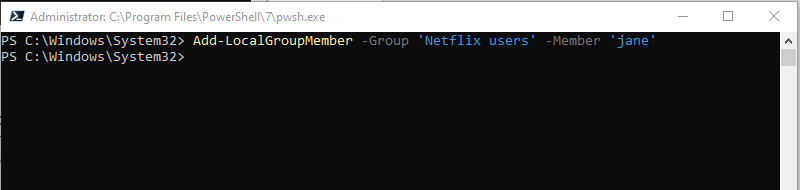
After creating or choosing a group that you want to add a user to, you need to use the Add-LocalGroupMember cmdlet to add one or more users or groups to that group. This cmdlet will grant all the rights and permissions that are assigned to the group to the added members and to add a user to a group execute:
Here the “Group-Name” should be changed to the name of the group you want to add the user to, and “User-Name” should be changed to the name of the user you want to add. You can also specify multiple users or groups by separating them with commas.
You can use the following command to add two users named “User01” and “User02” to the group named “Test-Group”:
This command will add two users named “User01” and “User02” to the group named “Test-Group”. The command will not give any output, but you can verify the result by using the Get-LocalGroupMember cmdlet.
Step 5: List the Group and Its Users
To verify that you have successfully added a user to a group, you can use the Get-LocalGroupMember cmdlet to list all the members of a group. This cmdlet will display information about each member, such as their name, object class, SID (security identifier), and principal source.
Here the “Group-Name” should be changed to the name of the group whose members you want to list:
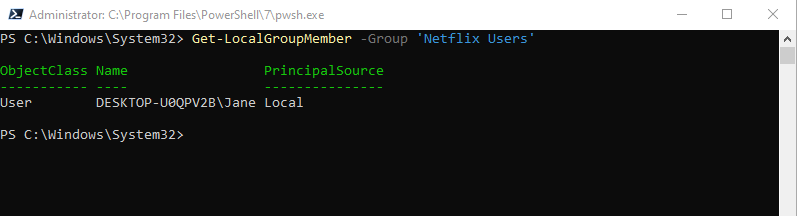
To see a list of every person in the group called “Netflix Users”, execute the command:
Step 6: Remove a User from a Group
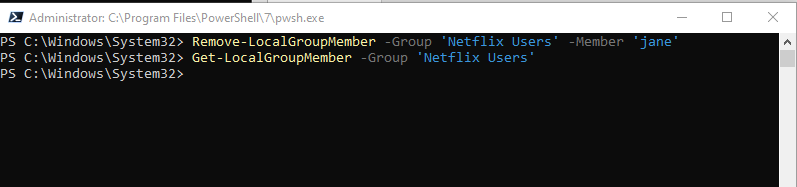
If you want to remove a user from a group, you need to use the Remove-LocalGroupMember cmdlet to remove one or more users or groups from that group. This cmdlet will revoke all the rights and permissions that are assigned to the group from the removed members, to remove a user from a group, type execute:
If you want to remove a user from a group, replace “Group-Name” with the name of the group, and “User-Name” with the person’s name.
Conclusion
Use Get-LocalGroup for listing all the groups, use Get-LocalUser to list the users and use New-LocalGroup to create a group. To add a user in a group, use the Add-LocalGroupMember cmlet and to view the group member use Get-LocalGroupMember, similarly use the Remove-LocalGroupMember to remove user from group.