
This blog will demonstrate the method to add swap space on Ubuntu 22.04.
Adding swap space on Ubuntu 22.04
For the purpose of adding swap space on Ubuntu 22.04, follow the given instructions.
Step 1: Check Swap information
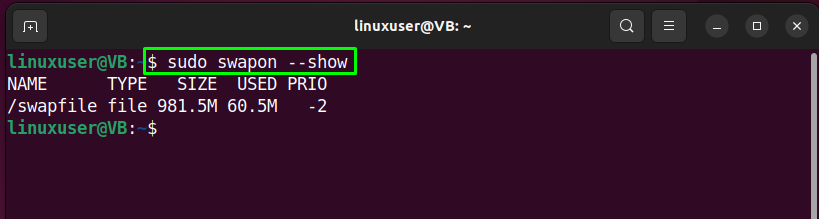
First of all, run the provided command to check in there exists any pre-configured swap on the system:
Alternatively, utilize the “free” command with the “-h” option to verify the existence of active swap space:
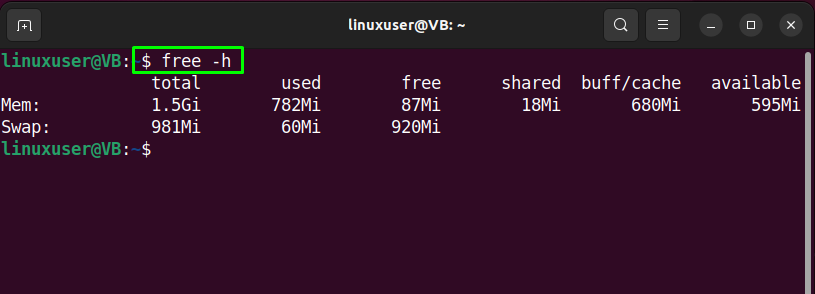
The output of the given commands indicates that a swap file is already present on our system. However, we will create a new swap file for demonstration and show you the method of adding swap space in Ubuntu 22.04.
Step 2: Check available hard drive space
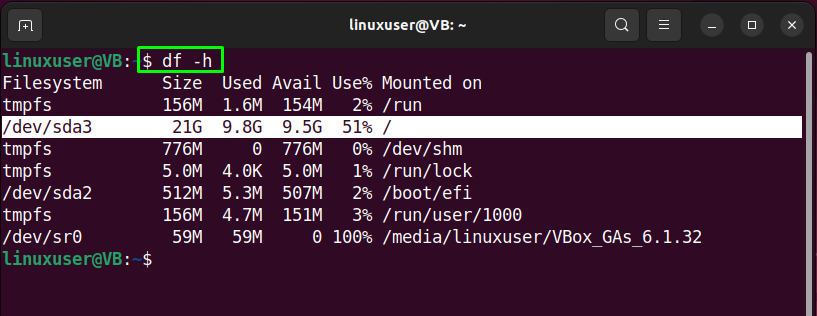
In the next step, check the available space of the hard drive to ensure that it has enough space:
As you see, we have “9.5G” available space on our system:
Step 3: Create Swap file
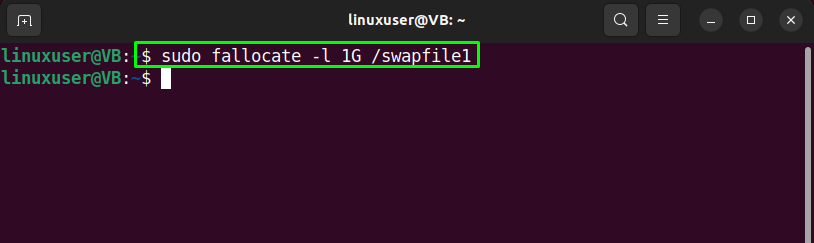
For the purpose of creating a Swap file, write out the provided “fallocate” command in your Ubuntu 22.04 terminal with the “-l” option and specify the amount of space you want to allocate. In our case, we will create a swap file named “swapfile1” having “1G” space:
Step 4: Verify Swap file allocated space
Verify the allocated space to the swap file by utilizing the provided command:

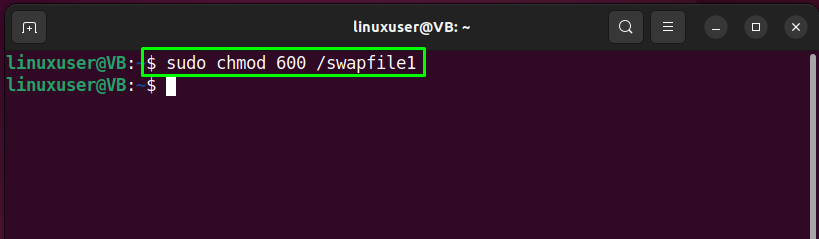
Step 5: Change Swap file permission
Utilize the provided “chmod” command to change the permissions of file to be only accessible by “root”:
Then, verify the assigned file permissions:

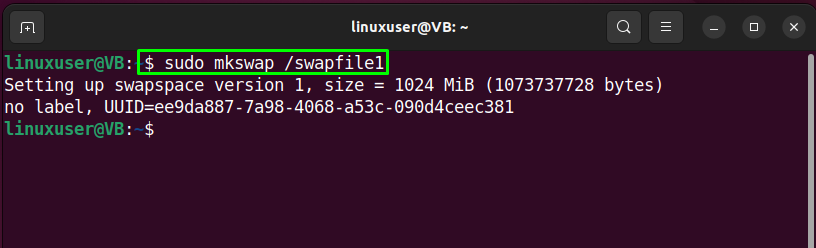
Step 6: Mark swapfile1 as swap space
Type out the following command for marking the created “swapfile1” as swap space:
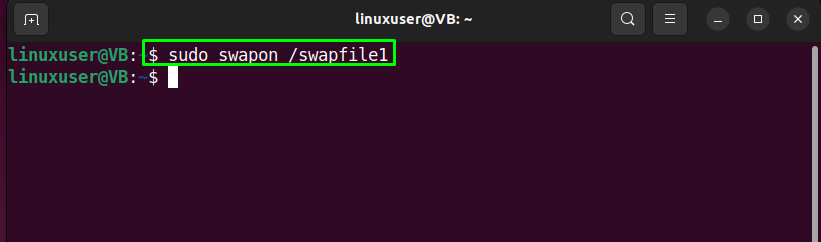
Step 7: Enable Swap file
Enable the created swap file and permit the Ubuntu 22.04 system for its usage:
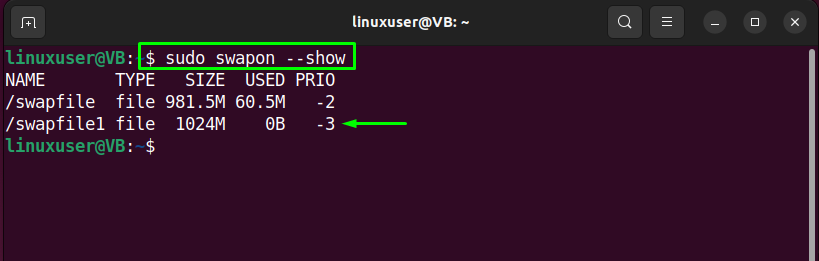
Step 8: Check swap file availability
After enabling swap file, verify if it is available or not by using the given “swapon” command:
Or, execute the “free” command with the “-h” option for the same purpose:

Step 9: Make Swap file permanent
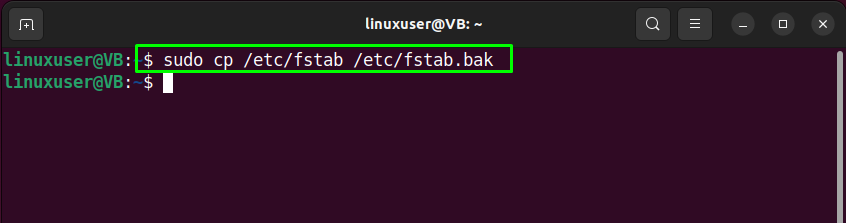
The changes you have made till now are only applied to the current session. This states that as soon as the system reboot, the server will not automatically continue with the added settings. To make the swap file permanent, add the created file to the “/etc/fstab” file.
So, firstly, backup the “/etc/fstab” file as a precautionary measure:
Then, append the following information related to “swapfile1”:

Now move to the last step.
Step 10: Tune Swap space settings
At this point, Swap space is permanently and ready to use. However, we will tune some additional swap space settings that will impact the performance of your Ubuntu 22.04 in a good way.
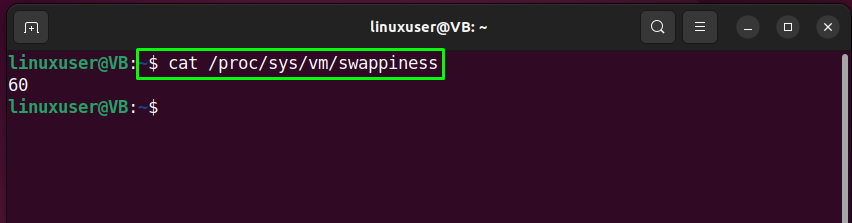
Firstly, check the value of the “swappiness” parameter, which indicates how often the system is going to swap data out of the RAM to the added swap space. The parameter’s value will lie between “0” and “100”. In order to check the current value of the “swappiness” parameter, run the following “cat” command:
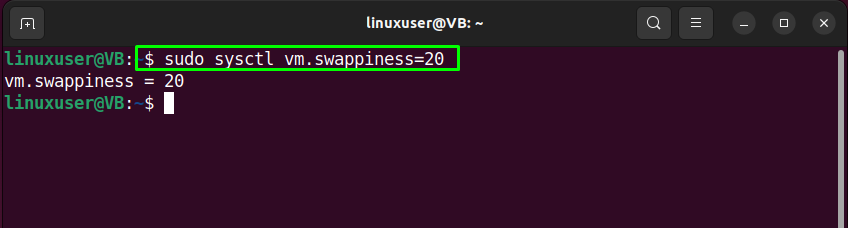
Then utilize the “sysctl” command to assign a new value to the “swappiness” parameter:
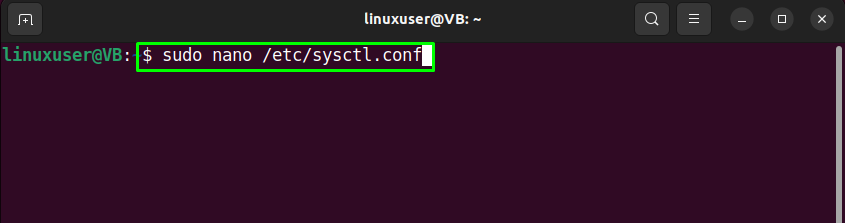
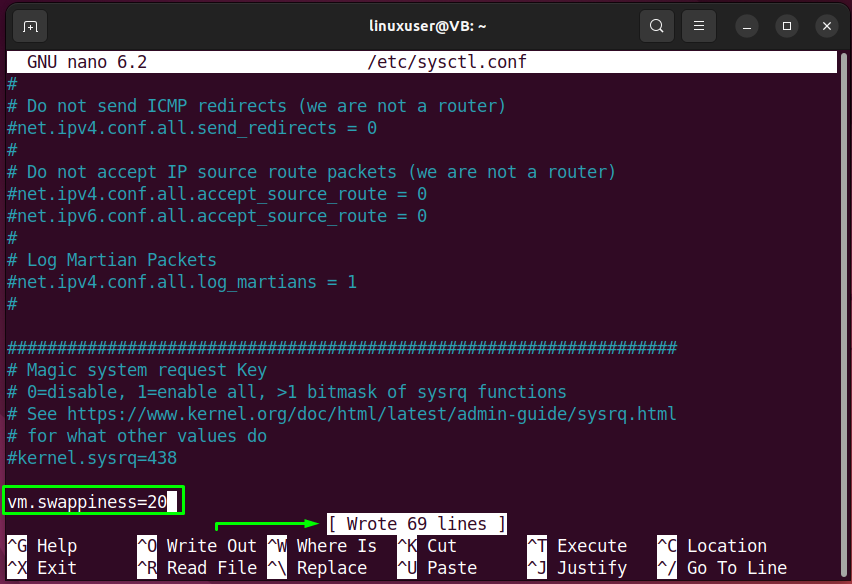
To permanently save the added settings for the added swap space, add the same line in the “sysctl.confl” file:
Another parameter’s value that we are going to tune is “vfs_cache_pressure”. This parameter controls the cache dentry and inode information. Check its current value with the help of the provided “cat” command:

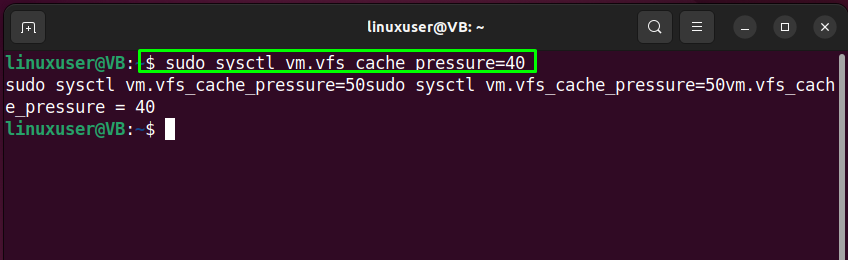
Similarly, set a new value for the “vfs_cache_pressure” parameter using the “sysctl” command:
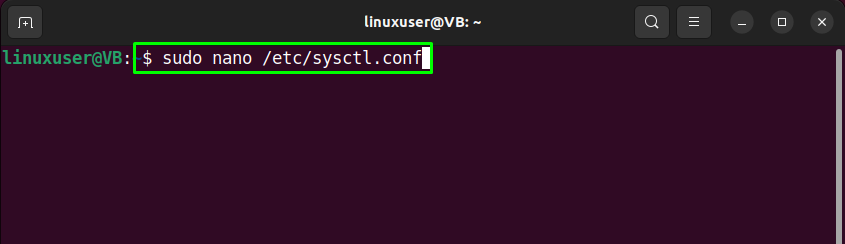
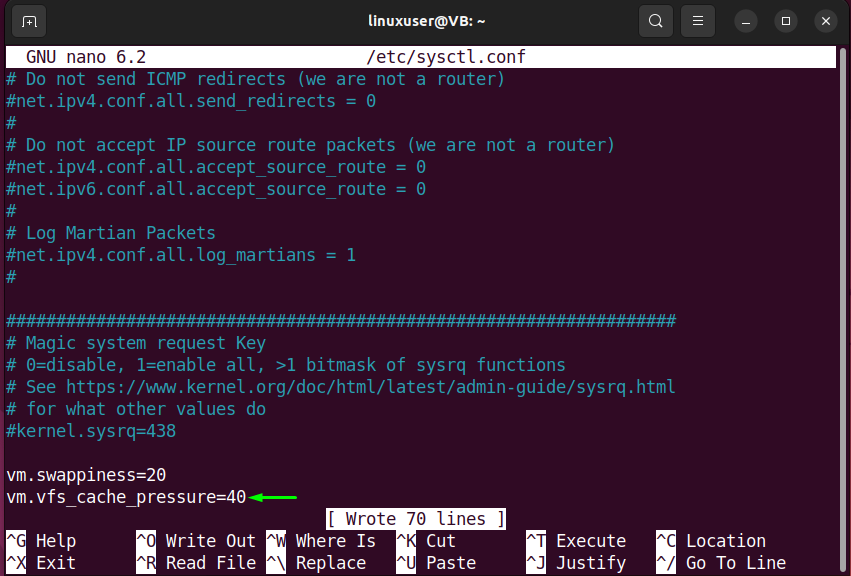
Add the same line in the “sysctl.conf” file to permanently set the value of “vfs_cache_pressure” parameter:
Hit “CTRL+O” to save the added line and switch back to the terminal. The created Swap space is all ready to use with the configured settings:
We have compiled the easiest method for adding swap space on Ubuntu 22.04.
Conclusion
For the purpose of adding swap space in Ubuntu 22.04, firstly, check the available hard drive space, then execute the “$ sudo fallocate -l 1G /swapfile1” command while specifying the allocated space and path to the swap file that is going to be created. Then change the file permissions of the swap file, mark it as swap space, and enable it on your Ubuntu 22.04 system. This blog demonstrated the method to add swap space on Ubuntu 22.04.