LFS stands for Large File Storage. Git LFS replaces large files with the text pointer in Git while keeping the file’s content on remote servers, such as GitHub. While working on large development projects, developers must create and manage multiple files. However, Git is not optimized for managing large files because adding large files to the Git repository can affect the whole project. In this situation, Git LFS is designed to manage large files efficiently. More specifically, it helps users to share large files and collaborate with them.
This write-up will illustrate the procedure of adding a single file to the Git LFS.
How to Add a File to Git LFS?
To add a single file to the Git LFS, follow the given-provided steps:
-
- Navigate to the Local Directory.
- List Repository Content.
- Choose a particular file.
- Add file to Git LFS using the “git lfs track –filename <file-name>” command.
- Stage and commit changes to the Git repository.
- Verify changes.
Note: Git LFS is already installed in the latest version of Git. However, you can install its extension manually using the provided link.
Step 1: Redirect to Local Repository
First, type out the below-listed command and navigate to the local repository:
Step 2: View Repository Content
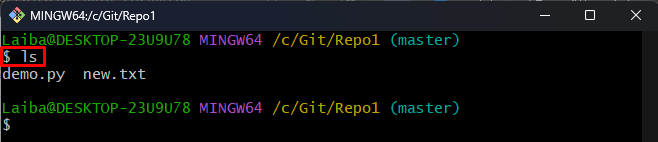
Next, list the current repository’s content:
It can be seen that the repository contains two text files. Now, choose the desired file that needs to be added to Git LFS. For instance, we have selected that “new.txt” file:
Step 3: Add File to Git LFS
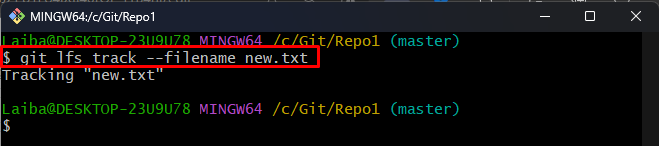
Then, utilize the provided command along with the desired file name for adding it to the Git LFS:
Step 4: Track Changes
After that, add changes to the Git index:

Step 5: List LFS Files
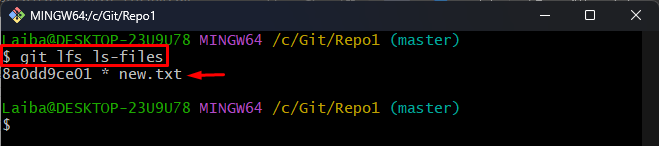
Now, view the LFS content to ensure that the desired file has been added to it:
The below output indicates that the “new.txt” file has been added to the LFS successfully:
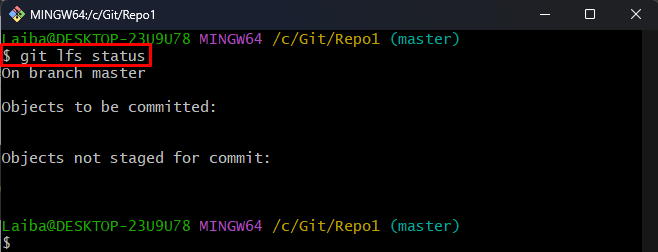
Step 6: View LFS Status
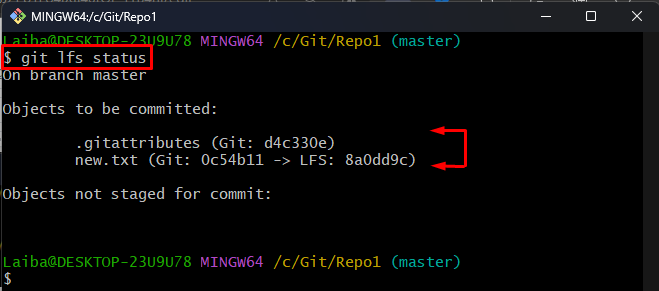
Run the following command to check the current status of the LFS:
It can be observed that the LFS changes need to be committed:
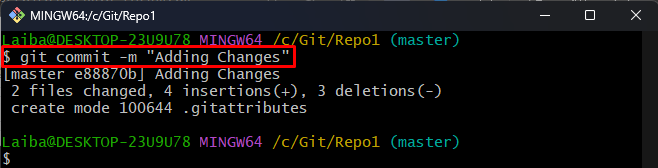
Step 7: Commit Changes
Next, commit LFS changes to the Git repository:
Step 8: Verify Status
Lastly, verify that the file changes have been staged and committed:
As you can see that the Git status is clear now which indicates there is nothing to be staged or committed:
That was all about adding a single file to the Git LFS.
Conclusion
To add a single file to the Git LFS, first, select the desired file that needs to be added to the Git LFS. Then, execute the “git lfs track –filename <file-name>” command to add it to the Git LFS. After that, stage and commit file changes. This write-up illustrated the method of adding a single file to the Git LFS.