This write-up will illustrate the method to add the local branch to the remote Git repository.
How do Add a Local Branch to the Remote Git Repository?
To add the local branch to the remote Git repository, follow the below-listed instructions:
- Redirect to the desired local repository.
- Choose the particular local branch.
- Add a remote URL and verify it.
- Add the local branch to the remote Git repository through the “git push –set-upstream <remote-name> <branch-name>” command.
- Ensure changes on the GitHub repository.
Step 1: Navigate to Local Repository
First, enter the following command and redirect to the particular local repository:
Step 2: View Available Branches
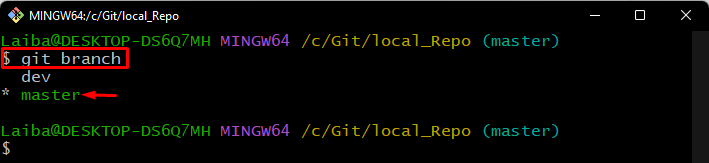
Then, list all the available branches:
The given output indicates that the current repository contains two local branches and “master” is the current working branch.
Choose the desired branch that you want to add to the GitHub repository. For instance, we have selected the “master” branch:
Step 3: View Branch Content
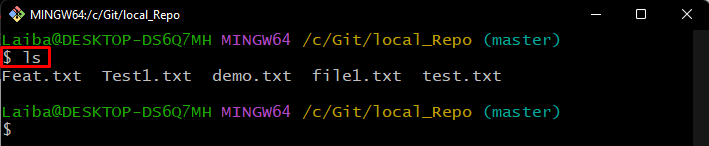
Next, display the content of the current working branch through the provided command:
You can view the content of the “master” branch:
Step 4: Add New Remote
After that, add the new remote in the local repository to connect it with the remote repository:

Step 5: Verify Remote URL
Next, type out the below-listed command to ensure that the remote has been added to the local repository:

Step 6: Add Local Branch to Remote Repository
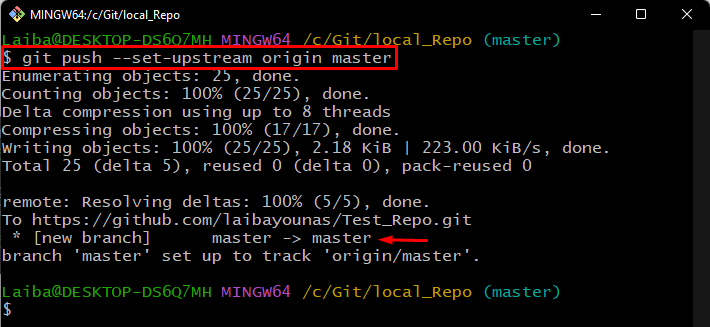
Now, run the “git push” command to push the local branch to the GitHub repo:
Here:
- “–set-upstream” is used to set the tracking information while pushing local content to the remote repository.
- “origin” is the remote name.
- “master” is the name of the remote branch:
Step 7: Verification
Lastly, verify the changes on the GitHub repository:
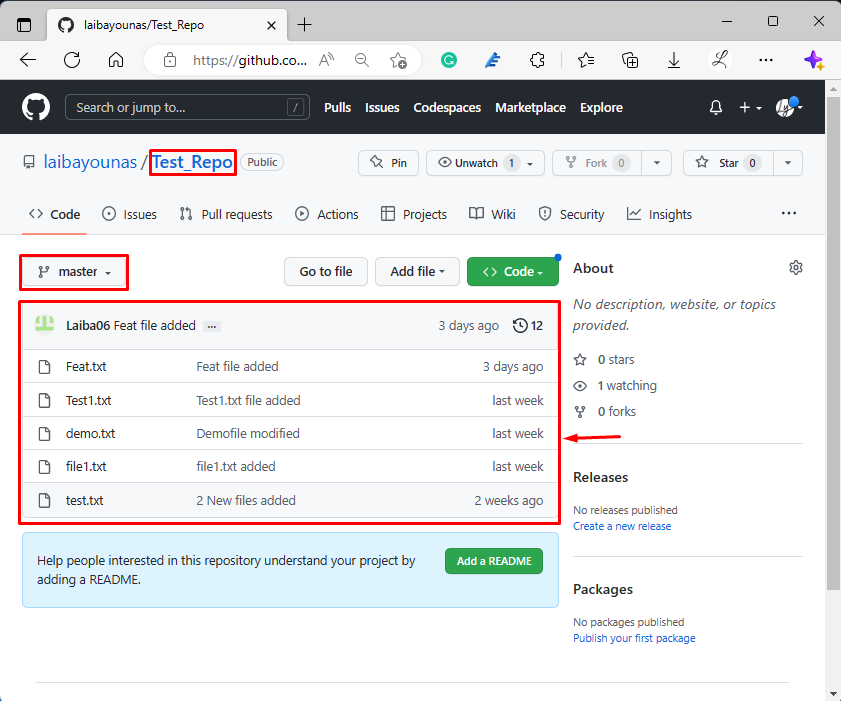
It can be seen that the content of the local “master” branch has been added to the GitHub repository:
Conclusion
To add the local branch to the remote Git repository, first, switch to the local repository and choose the local branch that needs to be added to the GitHub repository. Next, add the remote URL to link the local directory with the remote repository. Finally, execute the “git push –set-upstream <remote-name> <branch-name>” command and verify changes on GitHub. This write-up illustrated the method to add the local branch to the remote Git repository.