
Git files have by default “100644” chmod permissions mode. This represents that the file owner can “read/write” permission. In contrast, the other members can only have “read” permission, indicating they cannot edit the files. Moreover, Git provides the “100755” (owner can read/write/search, and others can search only) and “100777” (all can read/write/search) chmod permissions for files. Git developers can add desired chmod permissions to the files by enabling the “core.filemode” in the configuration file.
This guide will talk about the method of adding chmod permissions to files in Git.
How to Add chmod Permissions to File in Git?
Try the below-listed steps to add chmod permissions to a file in Git:
- Navigate to the required Git repository.
- Set the file mode configuration value as “true” in the configuration file.
- List the stage files with their default permissions mode.
- Execute the “git update-index –chmod=+x <file-name>” command.
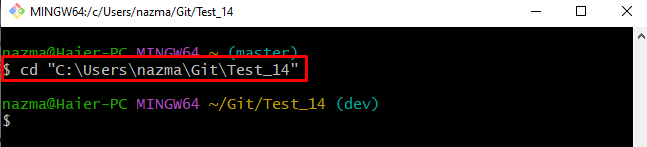
Step 1: Go to Git Repository
First, use the “cd” command along with the desired repository path and move to it:
Step 2: Set File Mode Configuration Value
Next, add the value of the file mode into the configuration file by running the “git config” command with the “core.filemode” parameter and value as “true”:

Step 3: Verify Added File Mode
Now, ensure whether the file mode value is added or not:

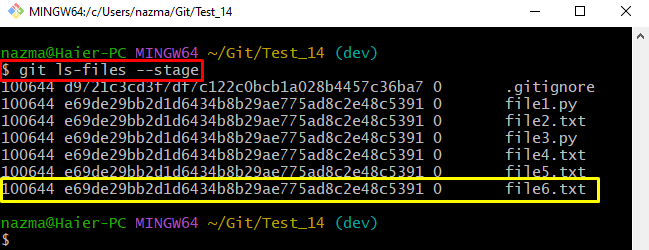
Step 4: List Stage Files With Permissions Mode
After that, execute the “git ls-files” command with the “–stage” option to list all stage files along with their permission mode:
According to the below-given output, all listed files have the “100644” permission mode which indicates that the file owner has the “read/write” permission. However, other members have only the “read” permission:
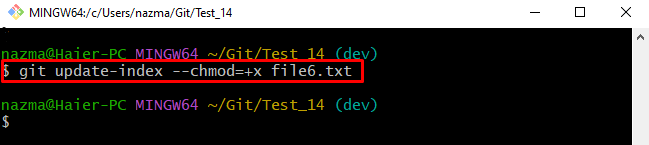
Step 5: Add Chmod Permissions to Files
Now, run the “git update-index” command along with the desired chmod permission mode and particular file name to which need to add permission:
Here:
- “–chmod” is the parameter having the “+x” value which represents the “755” permission mode.
- “file6.txt” is the desired file name:
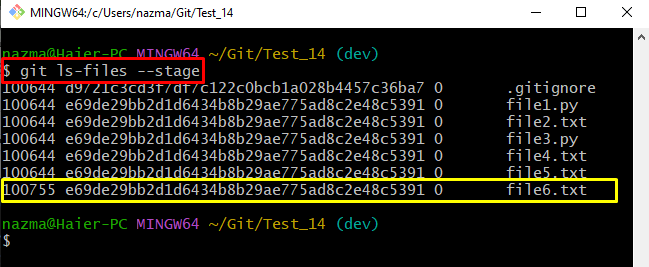
Step 6: Verify Added Chmod Permissions Files
Then, execute the provided command to ensure the added permission:
It can be seen that the default file permission is successfully changed to the “755” mode:
Step 7: View Added Chmod Permissions
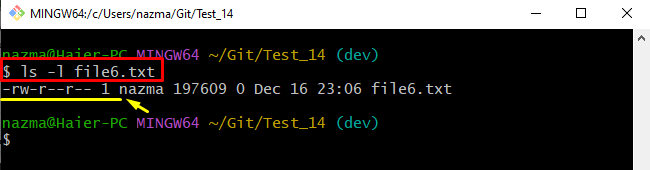
Lastly, execute the “ls -l” command to view the individual file permissions:
According to the below-provided output, the changed chmod “100755” permission indicates that the file owner has the “read/write/search” permission. However, other members can only have the search permissions:
That’s all! We have effectively illustrated the process of adding chmod permissions to files in Git.
Conclusion
To add chmod permissions to a file in Git, first, navigate to the required Git repository. Then, set the file mode configuration value as “true” in the configuration file and ensure it. Next, list the stage files with their default permissions mode. After that, execute the “git update-index –chmod=+x <file-name>” command. This guide demonstrated the method of adding chmod permissions to files in Git.