The “PyTorch” framework is an ideal choice to develop machine learning models for various purposes. PyTorch has numerous features that enhance the coding experience such as optimizers. A key example is the “ADAM” optimizer which is significantly more efficient than others and can perform at its optimal level with less memory. Its functionality is completely embedded within the “torch” library.
In this article, we will demonstrate the use of the ADAM Optimizer in PyTorch to improve the processing of machine learning models.
How to Use the ADAM Optimizer in PyTorch?
The “torch.optim” package is used to operate an optimizer on a machine-learning model in PyTorch. The “ADAM” optimizer is also used in the same way.
Follow the steps below to use the ADAM optimizer to speed up models in PyTorch:
Step 1: Launch Google Colaboratory
Go to Google Colab and open a “New Notebook” as shown below:

Step 2: Install and Import the Required Libraries
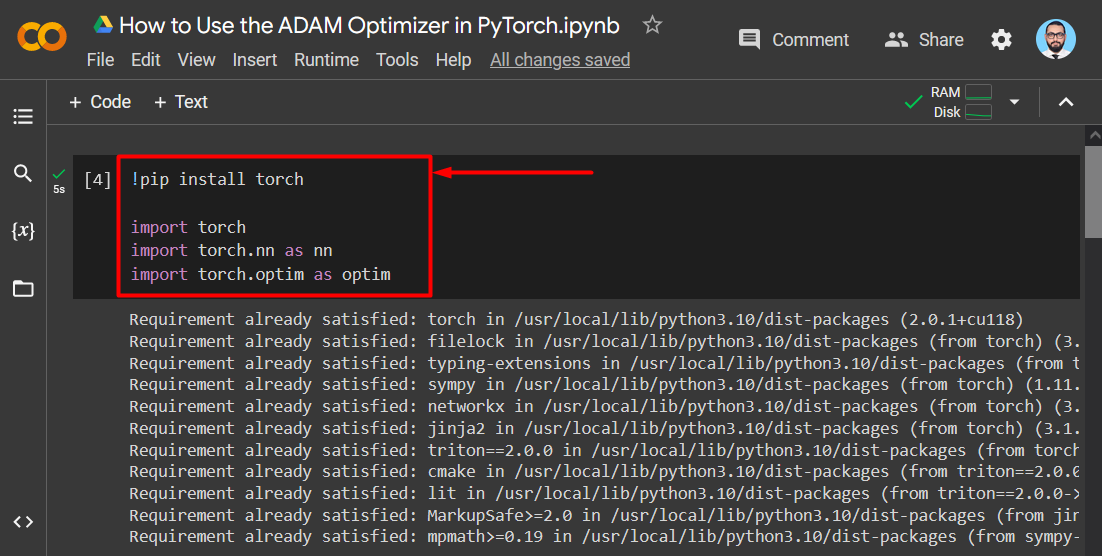
Install the “Torch” library by using the “pip” installation package and import it using the “import” command. Import the “torch.nn” and “torch.optim” libraries as well as shown:
import torch
import torch.nn as nn
import torch.optim as nn
The libraries are imported as shown in the output below:
Step 3: Random Data Generation
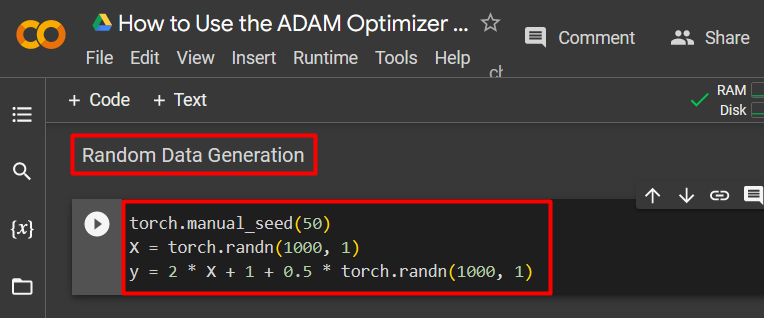
Use the “torch.randn” method in order to generate data at random that will be processed within the model:
X = torch.randn(1000, 1)
y = 2 * X + 1 + 0.5 * torch.randn(1000, 1)
The above code works as follows:
- Use the “torch.manual_seed()” function to manage how much randomness there is in the generated numbers.
- Use the “torch.randn()” to generate random numbers for the independent variable “X”.
- Define an equation for the dependent variable “Y” as shown above.
The screenshot is attached below:
Step 4: Define the Model
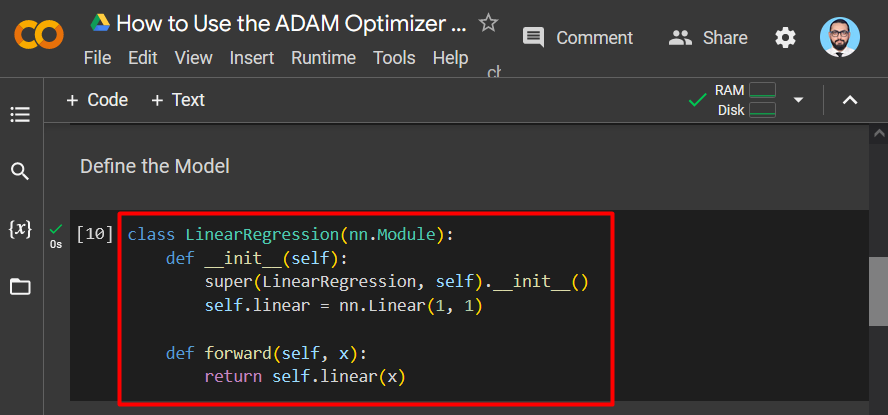
In this example, a Linear Regression Model is demonstrated for reference. It will be defined using the “Linear Regression” Class:
def __init__(self):
super(LinearRegression, self).__init__()
self.linear = nn.Linear(1, 1)
def forward(self, x):
return self.linear(x)
The above code works as follows:
- Use the “nn.Module” class to define the “Linear Regression” model.
- Initialize the class using the “super.__init__” method.
- Assign a single output to a single input to the “self.linear” variable as such: “nn.Linear(1, 1)”.
- Define the “forward” pass using the “forward()” method.
The screenshot is shown below:
Step 5: Model Instantiation
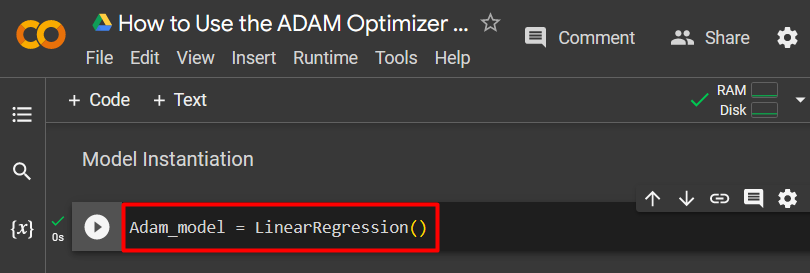
The instantiation of the model is done by assigning the “Linear Regression” function to a custom variable. “Adam_Model” in this case as shown:
The screenshot is shown below:
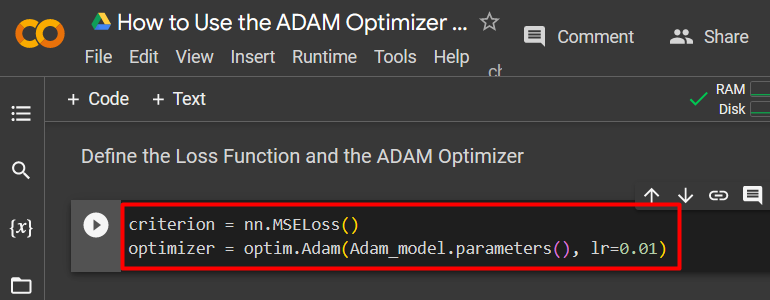
Step 6: Define the Loss Function and the ADAM Optimizer
This is the most important step in the development of this model. The use of the “ADAM” optimizer is defined in this step:
optimizer = optim.Adam(Adam_model.parameters(), lr=0.01)
The above code works as follows:
- Assign the “nn.MSELoss()” function to the “criterion” variable. This function defines the “mean squared error”.
- Next, use the “optim.Adam()” function to specify the “parameters” of the model and the “learning rate”. Assign these values to the “optimizer” variable.
The screenshot of the code is shown below:
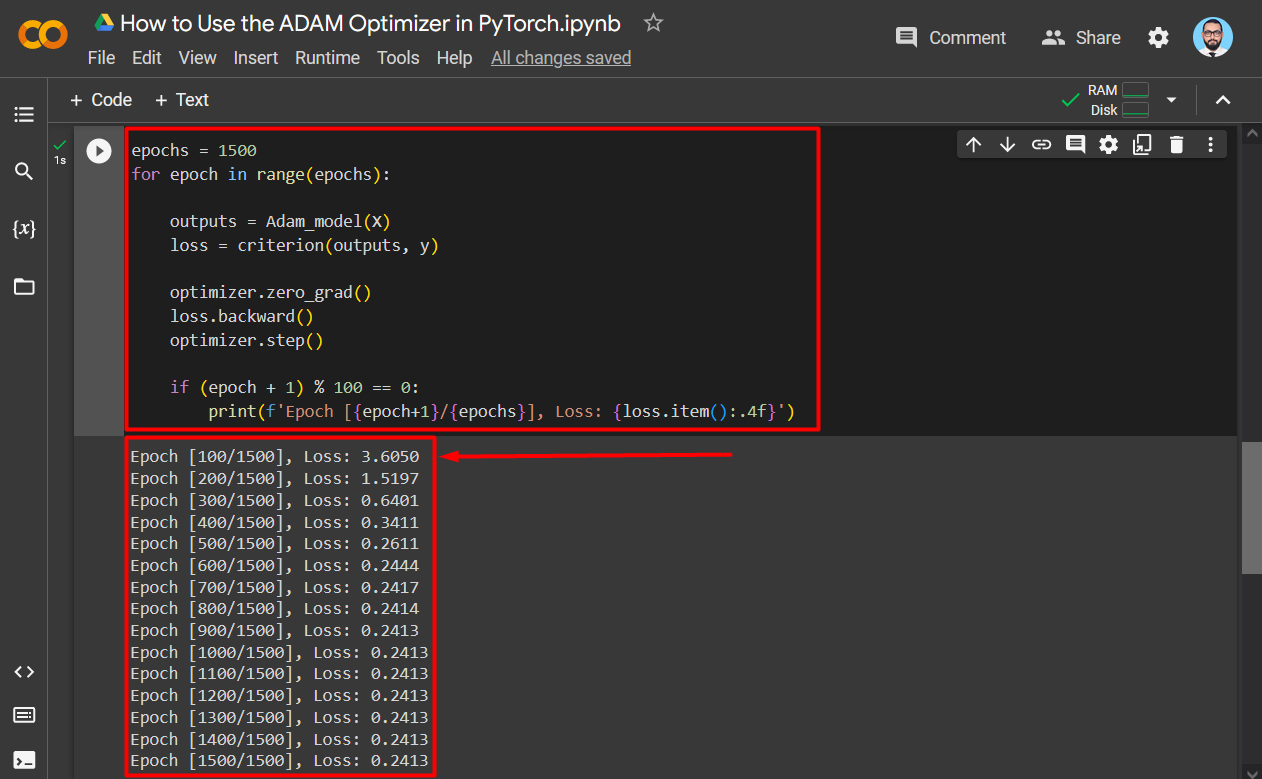
Step 7: Train the Model
Define the “Training Loop” with a fixed number of “epochs”, 1500 in this case as shown below:
for epoch in range(epochs):
outputs = Adam_model(X)
loss = criterion(outputs, y)
optimizer.zero_grad()
loss.backward()
optimizer.step()
if (epoch + 1) % 100 == 0:
print(f'Epoch [{epoch+1}/{epochs}], Loss: {loss.item():.4f}')
The above code works as follows:
- “epochs” specify the number of times the same training loop will rerun.
- Next, the “forward” pass is defined within this loop by execution of “Adam_model()” and its value will be stored in the “outputs” variable.
- Then, the model is optimized with each pass by using the “optimizer.zero.grad()” function.
- Lastly, the loss for each pass is shown in the output using the “print()” method.
The output is shown below:
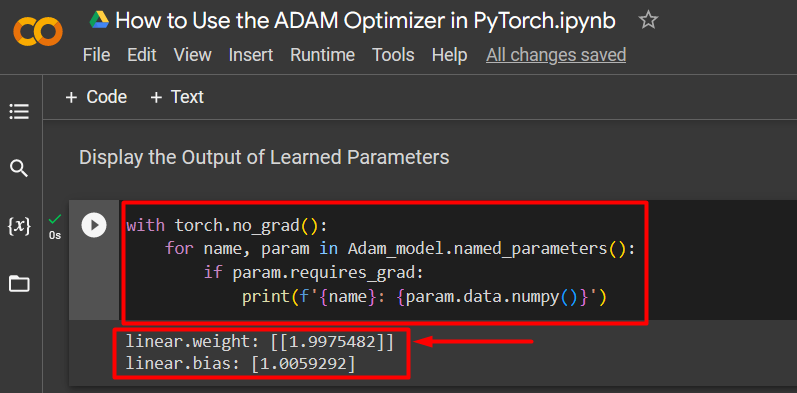
Step 8: Display the Output of Learned Parameters
The last step in the model optimized by the “ADAM” optimizer is to show the weights and biases as shown below:
for name, param in Adam_model.named_parameters():
if param.requires_grad:
print(f'{name}: {param.data.numpy()}')
The above code works as follows:
- Use the “torch.no_grad()” function to access the weights and biases of the model.
- Use the “if” condition to showcase the output of the different parameters in the “Adam_model.name_parameters()” function.
- Lastly, use the “print()” method to display the output.
The output is shown below:
Note: You can access our Google Colab Notebook on “How to Use the ADAM Optimizer in PyTorch” for yourself at this link.
Pro-Tip
The learning rate is a crucial aspect of each machine-learning model. It defines the change in each iteration of the process. Specifying a learning rate of “lr=0.01”, as done in the previous example, is the best for models that are optimized using the “ADAM” optimizer. This means that no significant volume of data is overlooked during the model training.
Success! We have demonstrated how to use the “ADAM” optimizer to improve the workflow when working with complicated machine-learning models.
Conclusion
Use the “ADAM” Optimizer in PyTorch with the “optim.Adam()” function and specified “parameters” and a fixed “learning rate”. In this way, machine learning models in PyTorch are optimized to run faster and have smoother processing without compromising the quality of results. The “ADAM” optimizer reduces losses in a model extremely efficiently. In this article, we have shown you how to use the “ADAM” optimizer in a linear regression model.