Prerequisites
Before practicing the examples of this tutorial, you must complete the following tasks:
- Install the Django version 3+ on Ubuntu 20+ (preferably)
- Create a Django project
- Run the Django server to check the server is working properly or not.
Setup a Django App
A. Run the following command to create a Django app named filterapp.
B. Run the following command to create the user for accessing the Django database. If you have created the user before then don’t need to run the command.
C. Add the app name in the INSTALLED_APP part of the py file.
…..
'filterapp'
]
D. Create a folder named templates inside the filterapp folder and set the template’s location of the app in the TEMPLATES part of the py file.
{
….
'DIRS': ['/home/fahmida/django_pro/filterapp/templates'],
….
},
]
Create a Model for the Database Table
Open the models.py file from the filterapp folder and add the following script to define the structure of employees tables. Employee class is defined to create a table named employees with name, post, email, department, and joining_date fields. Here, name, post, and department fields will store character data, the email field will store the email address and the joining_date field will store date data.
models.py
from django.db import models
# Define class to create employees table
class Employee(models.Model):
name = models.CharField(max_length=50)
post = models.CharField(max_length=40)
email = models.EmailField()
department = models.CharField(max_length=30)
joinning_date = models.DateField()
Run the makemigrations command to create a new migration based on the changes made by the models.
Run the migrate command to execute the SQL commands and create all tables in the database that are defined in the models.py file.
Modify the content of the admin.py file with the following content. Here, the Employee class of the models is registered using the register() method to display the records of employees tables in the Django administration dashboard.
admin.py
from django.contrib import admin
# Import Employee model
from .models import Employee
# Register employee model
admin.site.register(Employee)
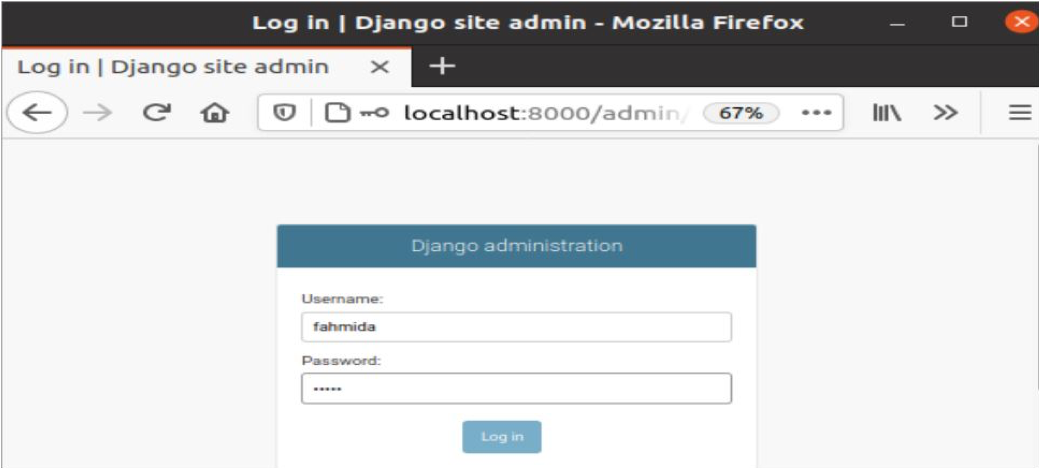
Run the following URL to open the Django admin login page. Provide the valid username and password to open the Django Administration Dashboard to access the database tables.
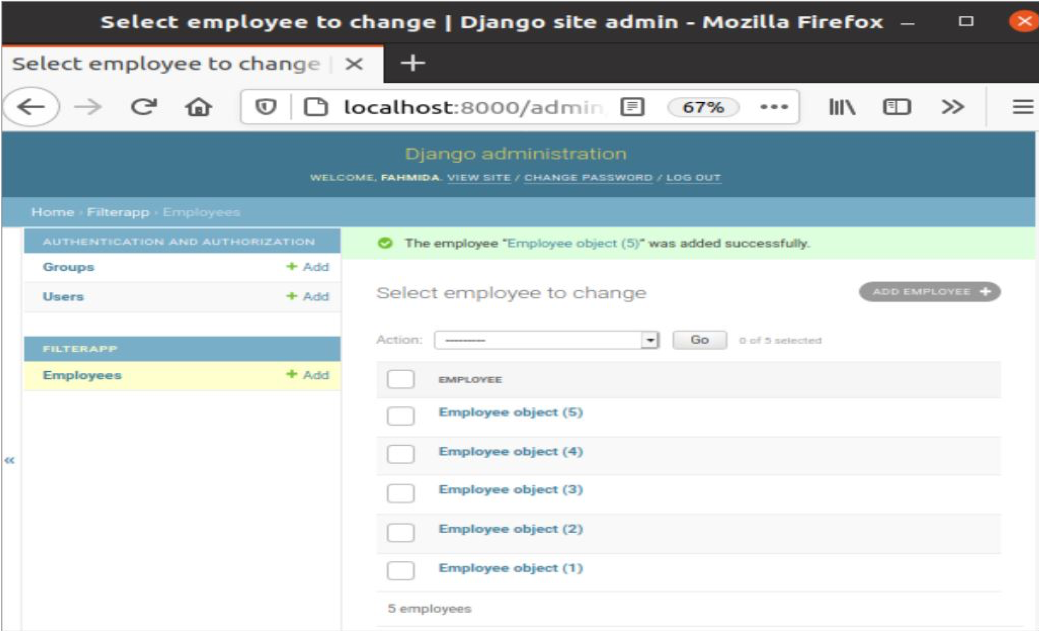
Insert two or more Employee records to apply the filter on the data. Here five records are inserted.
Create the search.html file inside the filterapp/templates/ folder with the following script. The data from the employee table will be displayed in this template file. for loop is used to read the content of the object_list variable that will be passed from the view file. The name, post, and department values of the employees table will be displayed by using the list.
search.html
Open the views.py file from the filterapp folder and modify the content of the file with the following script. Model and template names are defined in the script.
views.py
from django.views.generic import ListView
# Import Employee module
from .models import Employee
# Import Q module
from django.db.models import Q
# Define class for filtering data
class SearchEmployee(ListView):
# Define model
model = Employee
# Define template
template_name = 'search.html'
Modify the content of the urls.py file with the following content. In the script, the ‘searchEmp’ path is defined to call the SearchEmployee.as_view() method that will send all data and the filtered data of the employees table to the template file.
urls.py
from django.contrib import admin
# Import path and include module
from django.urls import path, include
# Import SearchEmployee module
from filterapp.views import SearchEmployee
urlpatterns = [
# Define the path for admin
path('admin/', admin.site.urls),
# Define the path for search
path('searchEmp/', SearchEmployee.as_view()),
]
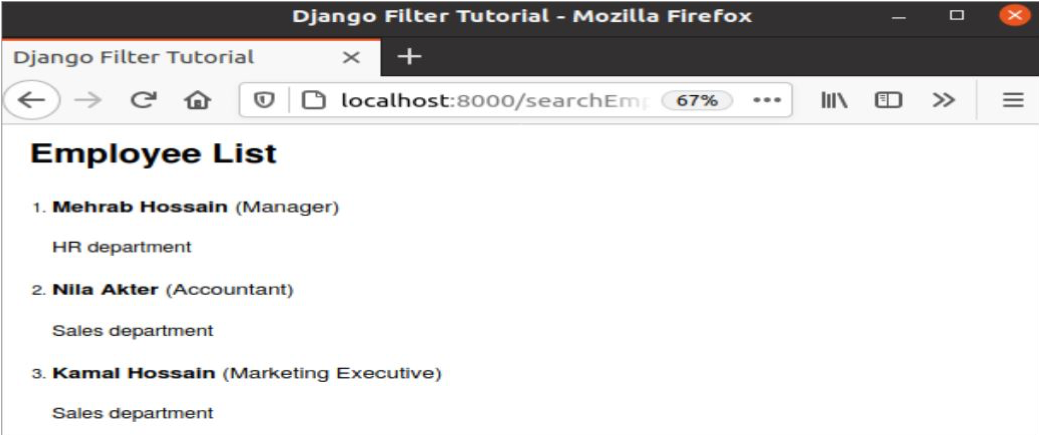
The following output will appear without applying any filtering for the following URL.
http://localhost:8000/SerachEmp
Filter Data by Simple Filtering
Add the following line at the end of the views.py file to filter the records of the employees table where the value of the post field is ‘Accountant’.
queryset = Employee.objects.filter(post ='Accountant')
The following output will appear after applying basic filtering.
Filter Data with Multiple Fields
Add the following line at the end of the views.py file to filter the records of the employees table where the value of the department field is ‘HT’ and the email field is ‘[email protected]’.
queryset = Employee.objects.filter(department='HR', email='[email protected]')
The following output will appear after applying multiple filtering.
Filter Data with Q Object
Add the following line at the end of the views.py file to filter the records of the employees table where the value of the post field is ‘Manager’ or the value of the department field is ‘Sales’.
queryset = Employee.objects.filter( Q(post='Manager') | Q(department='Sales'))
The following output will appear after applying Q object filtering.
Filter Data by Using Filter Chaining
Add the following line at the end of the views.py file to filter the records of the employees table where the value of the department field will be checked first and if it returns true then the value of the name field will be checked.
queryset = Employee.objects.filter(department='HR').filter(name='Mehrab Hossain')
The following output will appear after applying filter chaining.
Conclusion
The data can be filtered in Django in many ways based on the application requirements. Four different ways of filtering were explained in this tutorial to understand the basics of Django filtering. These are simple filtering, multiple filtering, filtering with Q object, and filter chaining.


