
Diaspora is a privacy-aware distributed and an open-source, decentralized social network. It comprises a collection of independently owned and deployed nodes that are incorporated to create the social network. This article will show the installation procedure of Diaspora distributed social network on the Debian 10 system.
Prerequisites
All commands should run under administrative privileges.
Follow the following procedure to install the diaspora decentralized social media on Debian 10:
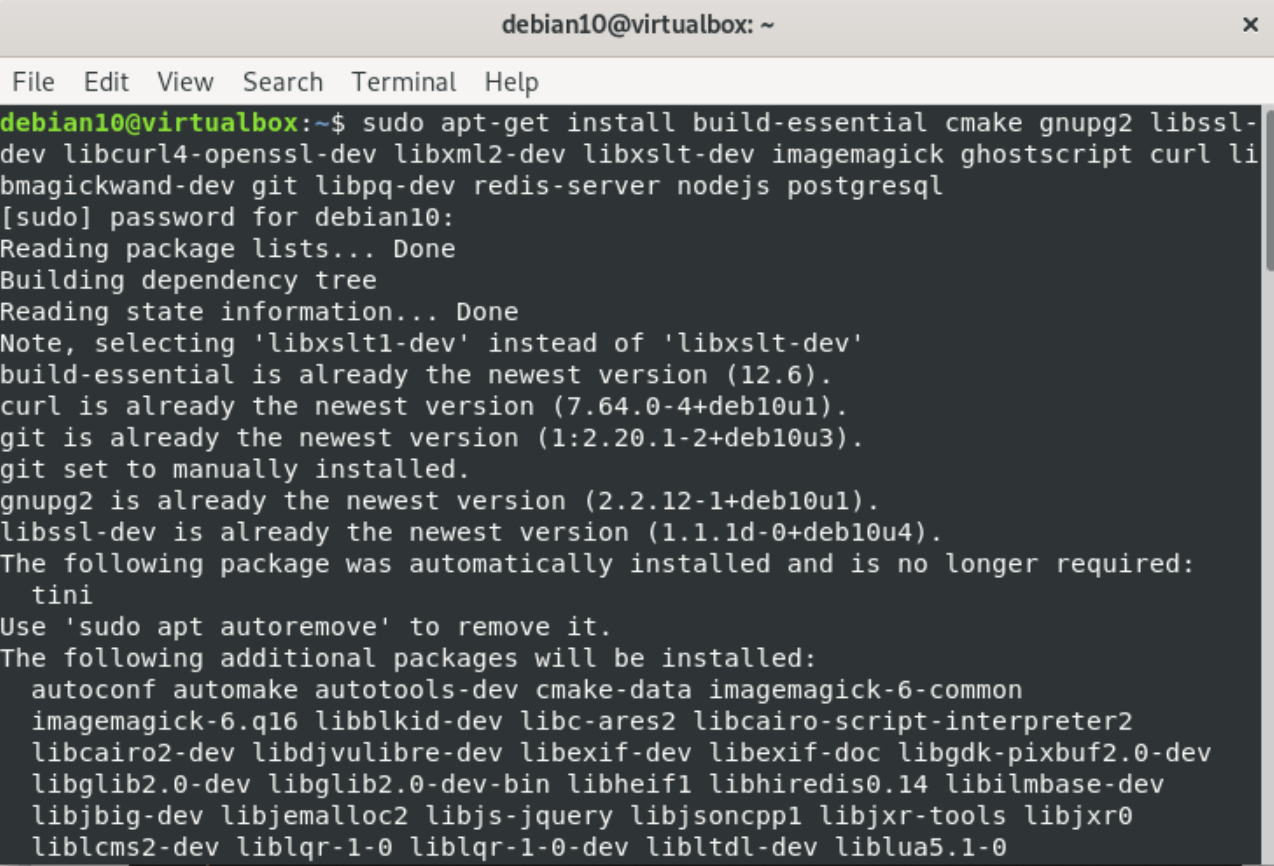
Step 1: Install the required packages
Install the required dependencies for diaspora installation such as Redis, PostgreSQL, and Nginx web server.
Enable and start the Redis and PostgreSQL services after completing the installation of required packages. Add all of them to the Debian system boot by using the following commands:
$ systemctl enable redis-server

$ systemctl enable postgresql

Step 2: Create PostgreSQL new user for diaspora
Change the f=default ‘Postgres’ user password and create a PostgreSQL user for the diaspora.
By using the ‘psql’ command, Log in to the PostgreSQL shell.

Now, change the ‘postgres’ default user password by using the following command:

Enter the new password and again re-enter the password for confirmation.
Create a new user named ‘diaspora’ who have certain privileges ‘CREATEDB’:
Type ‘exit’ on the terminal to leave the PostgreSQL shell window.

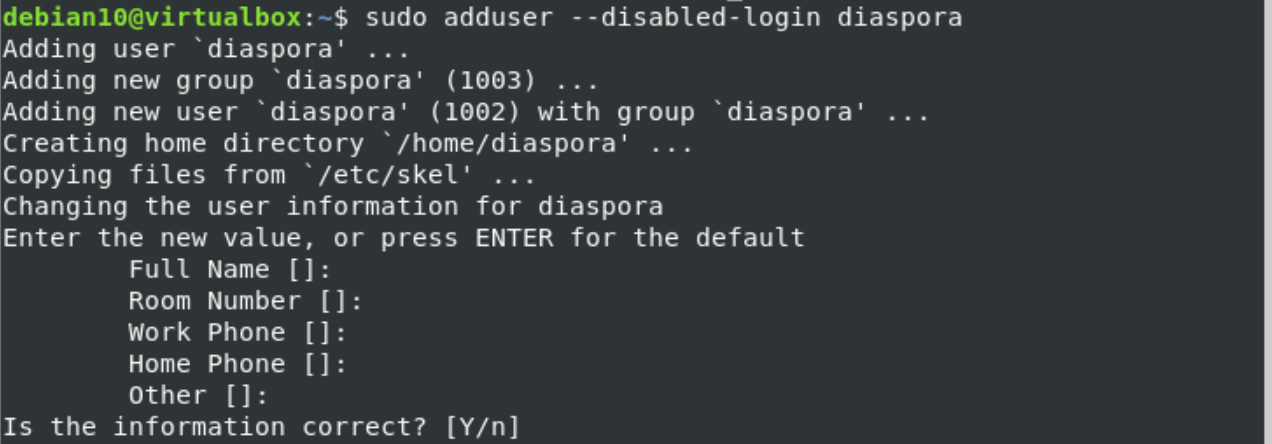
Step 3: Create a new diaspora user
Once the PostgreSQL user for diaspora is created, you will create a system user named ‘diaspora’ and then include it into the sudo group.
By using the following commands, create a new system user named ‘diaspora’ and assign its password:

Add the above user ‘diaspora’ into the sudo group by running the below-given command:

Now, this user can run all administrative sudo commands on this system.
Step 4: Installation of RVM and Ruby Packages
Log in as a diaspora user on your system by executing the following command:
Enter the password that you have been set above for a diaspora system user.

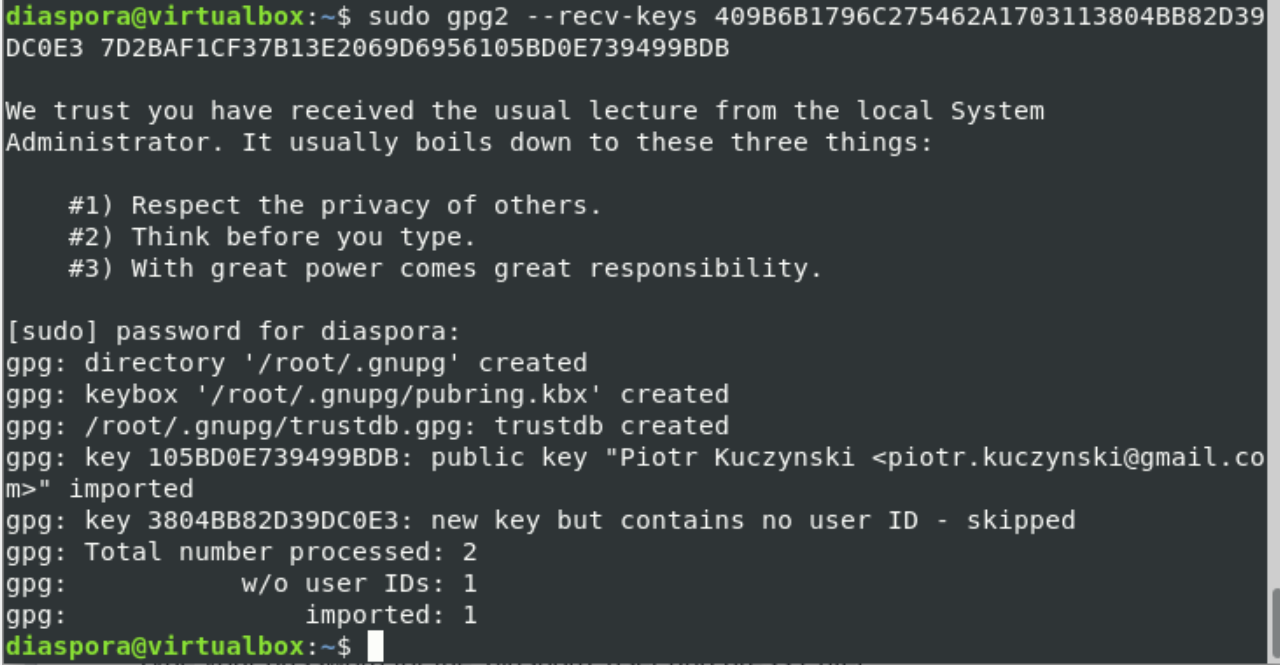
Now, start the installation of Ruby Version Manager (RVM) and install Ruby packages for the ‘diaspora’ user.
Include the RVM GPG key by running the following command:
Next, install the RVM by executing the following command:
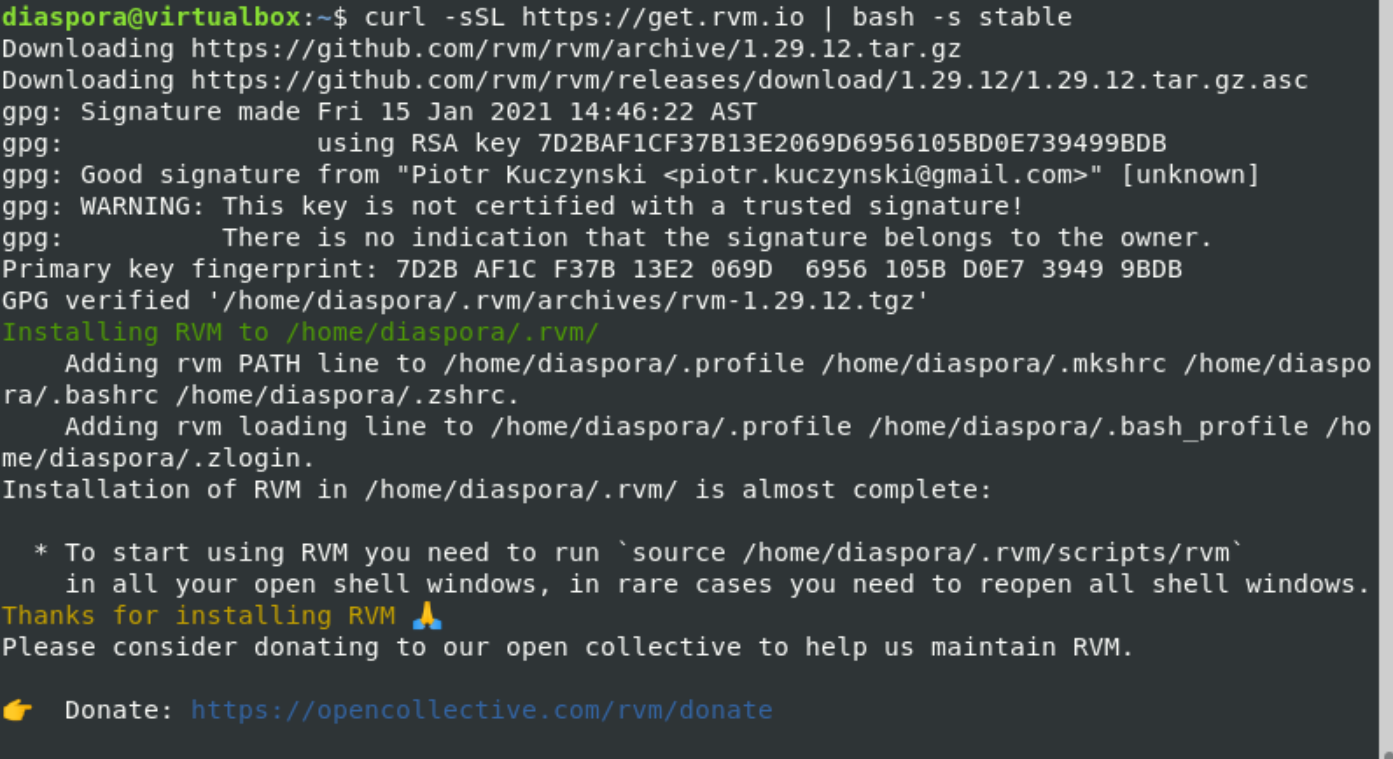
Once the RVM installation is completed, load the script on your system by using the following command:

Now, using the rvm commands, you can install ruby packages on your system. So, use the following command to install Ruby 2.6:

Once the installation of Ruby is completed, check the installed version by executing the following command:

Step 5: Download and set up Diaspora
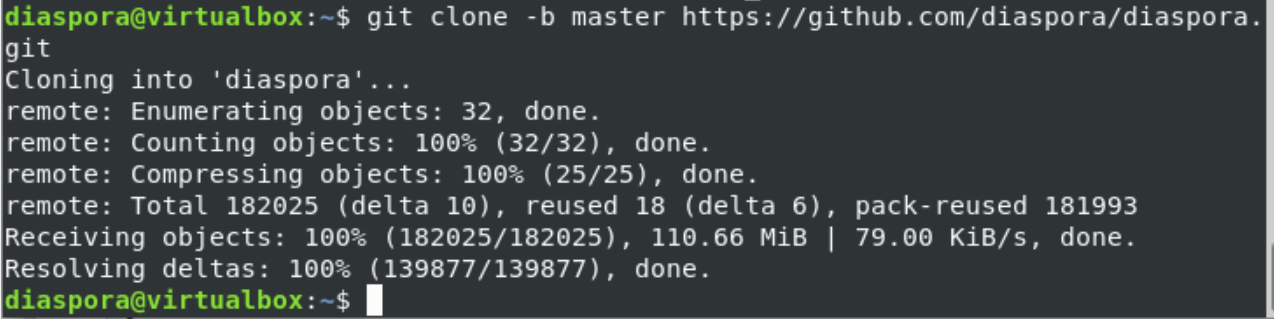
Download the source code of diaspora by using the following git clone command:
Navigate into the diaspora directory and copy or duplicate the database configuration ‘database.yml’ and the diaspora configuration ‘diaspora.yml’.
$ cp config/database.yml.example config/database.yml
$ cp config/diaspora.yml.example config/diaspora.yml

Open the configuration files in the most friendly nano text editor and edit them.
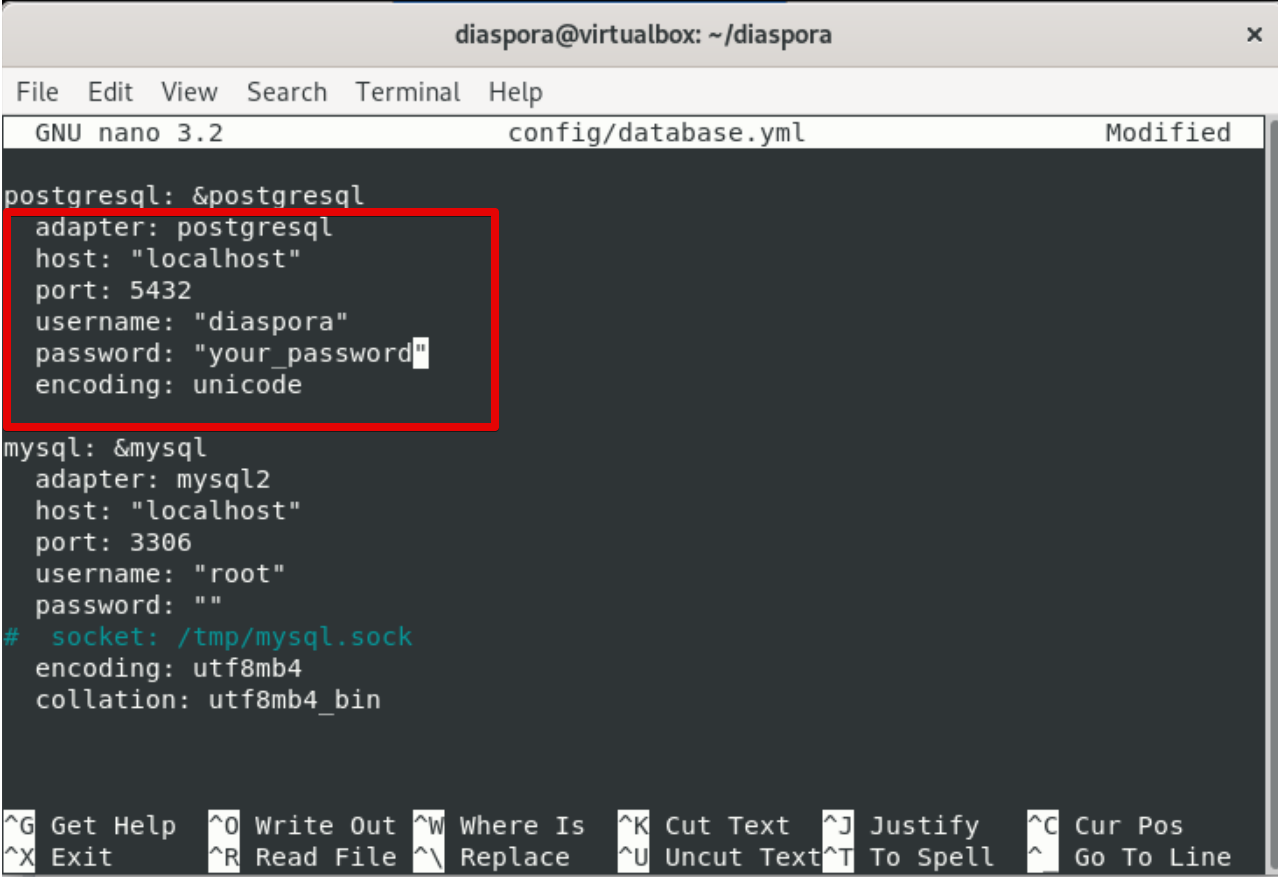
For database configuration:
Edit the PostgreSQL section with your username and password as follows:
adapter: postgresql
host: "localhost"
port: 5432
username: "diaspora"
password: "yourpassword"
encoding: unicode
Press ‘Ctrl + O’ to save changes and then press ‘Ctrl +X’ to exit from the nano.
Now, edit the ‘config/diaspora.yml’ file.
configuration: ## Section
::::::::::
environment: ## Section
:::::::::
url: "https://example.org/"
certificate_authorities: '/etc/ssl/certs/ca-certificates.crt'
require_ssl: true
::::::::
server: ## Section
rails_environment: 'production'
:::::
Save the configuration exit from the current displaying window by pressing ‘Ctrl+O’.
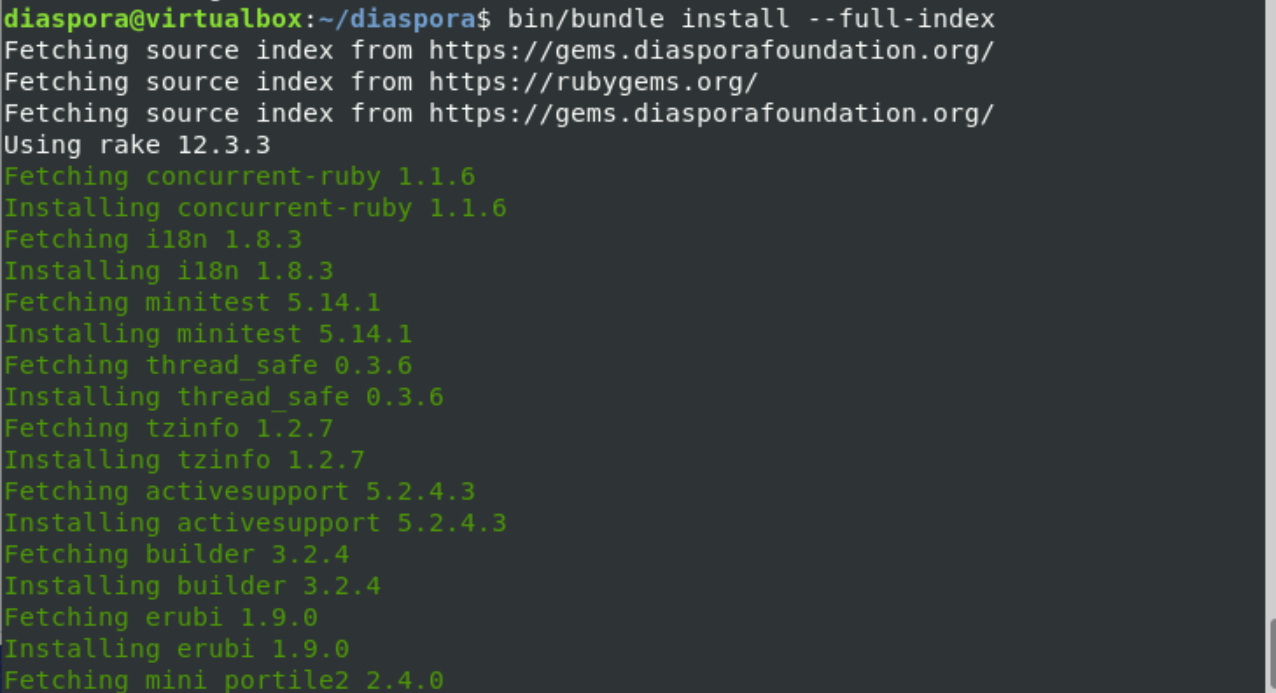
Now, you need to install the gem and required ruby libraries for the diaspora.


After that, you need to migrate the database by executing the following command:
Combine all rails assets as follows:
Step 6: Configure diaspora as a Service
Once the diaspora installation is completed, you will set up the Diaspora as a systemd service.
Navigate into ‘/etc/systemd/system’ directory and create a new service file using the nano editor as follows:
$ sudo nano diaspora.target

Paste the following lines in this file:

Save and exit from the nano editor.
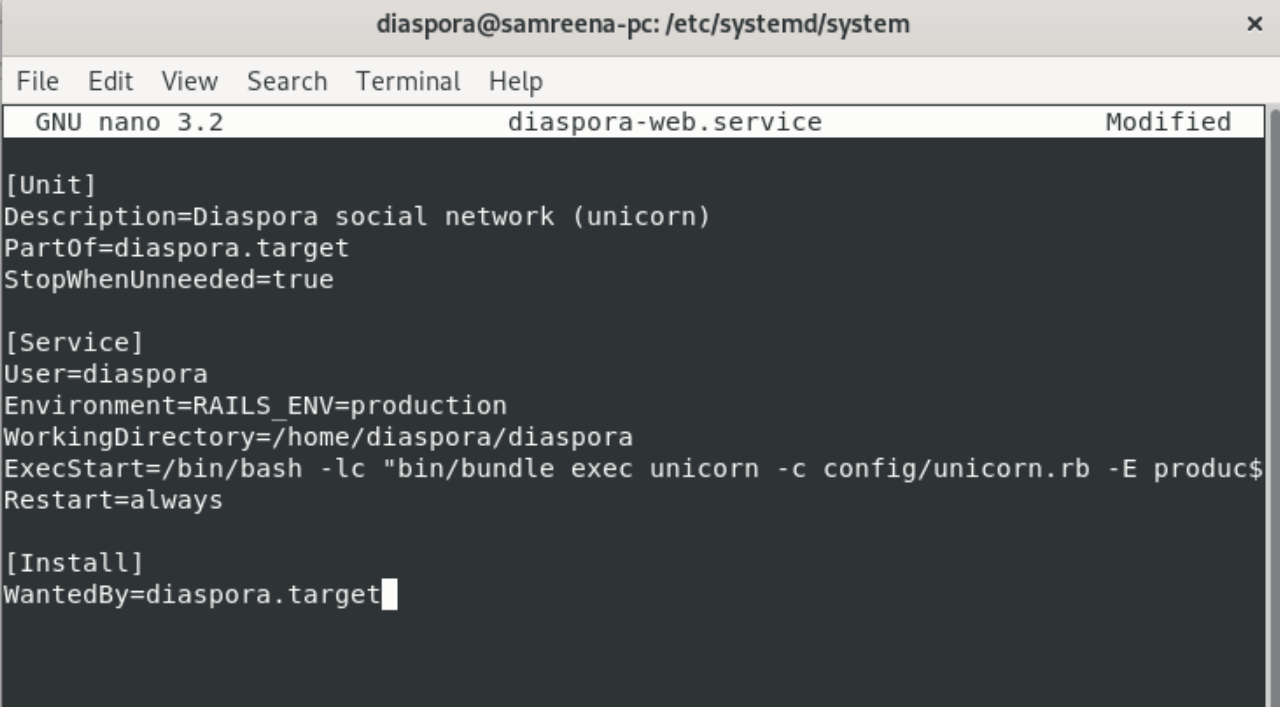
Now, create a new service file named ‘diaspora-web.service’ using the nano command:

Paste the following code in it:
Save and exit from the nano.
Create a new file for monitoring services with named ‘diaspora-sidekiq.service’ using the nano command as follows:

Paste the following configuration code in it:
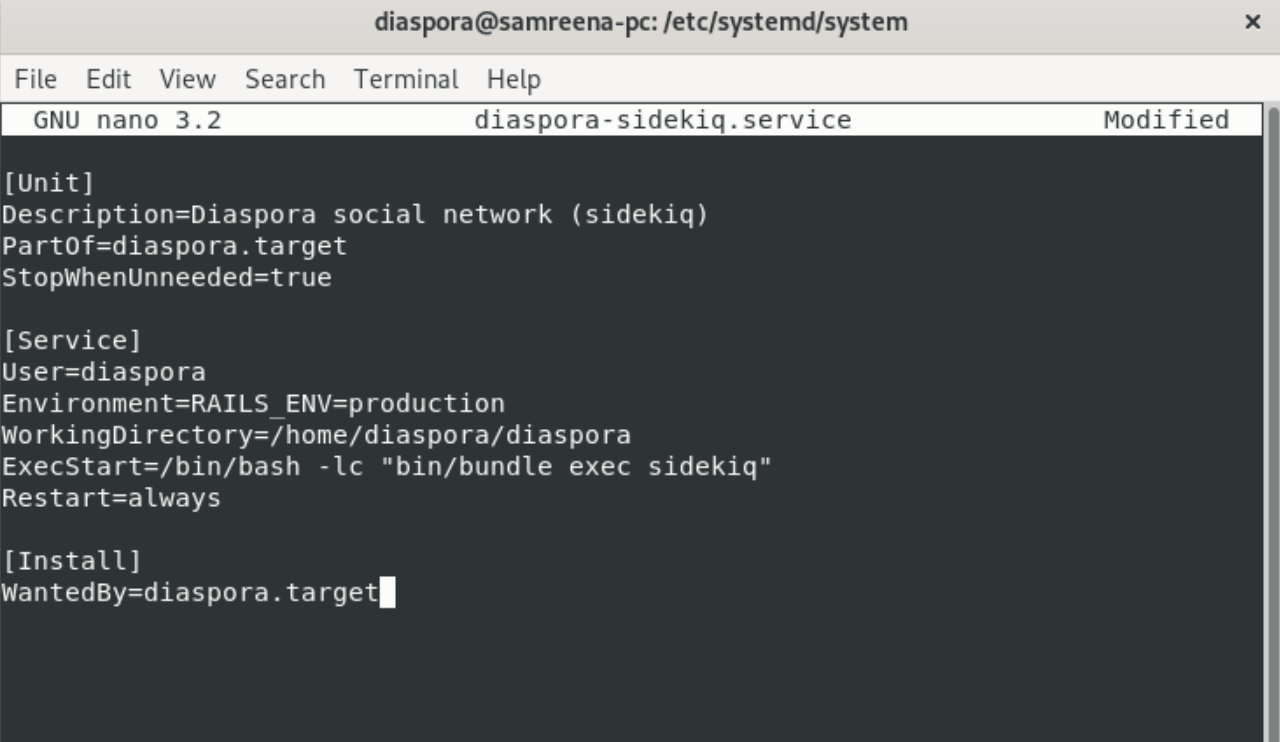
Save and exit from the current window.
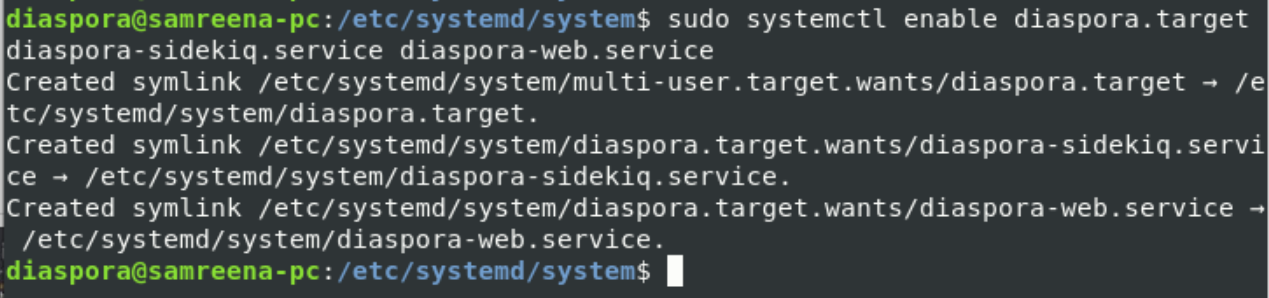
Now, reload the systemd services and enable the following diaspora services on your system:
![]()
Now, start all services and get status by using the following commands:
Enter the password and continue the process.
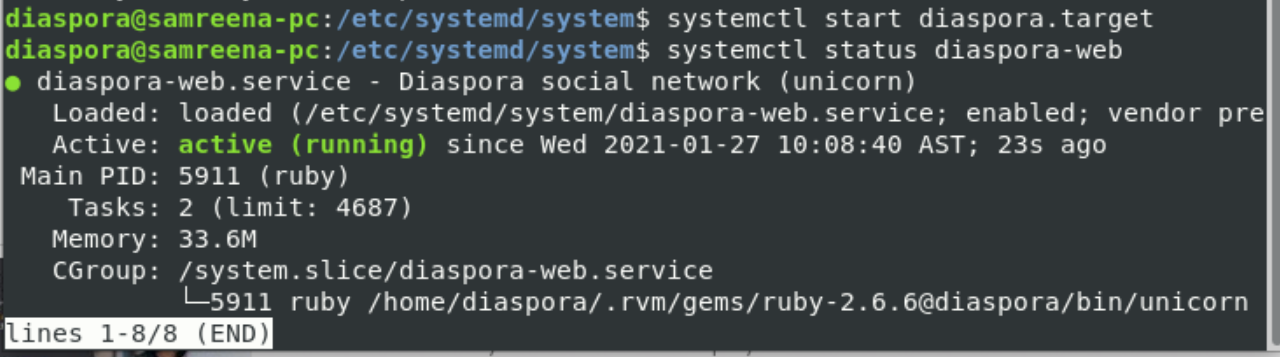

From the above results, you can verify that the Diaspora is running as a systemd service. The basic configuration for Diaspora has been completed now.
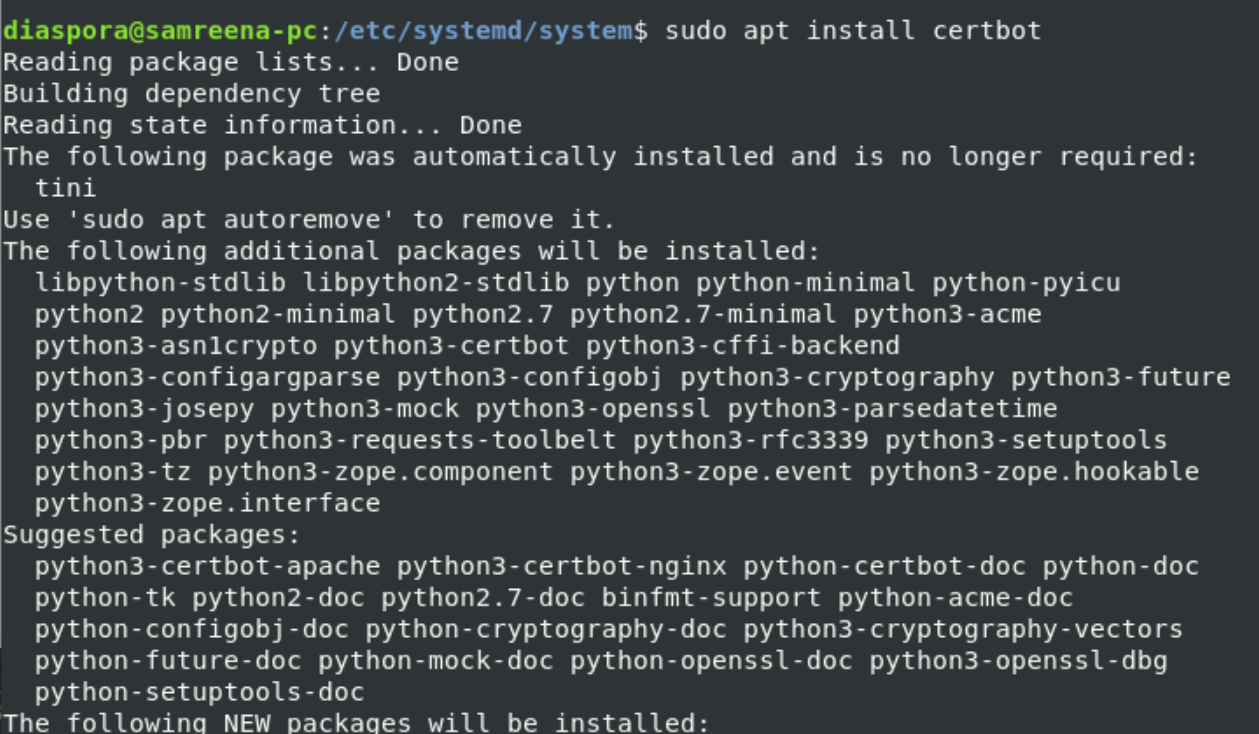
Step 7: Generate SSL certificate
To make your domain more secure, generate the SSL Letsencrypt certificate. For this purpose, install the certbot using the following command:
Generate the SSL letsencrypt certificate by replacing the mentioned domain name with your domain as follows:
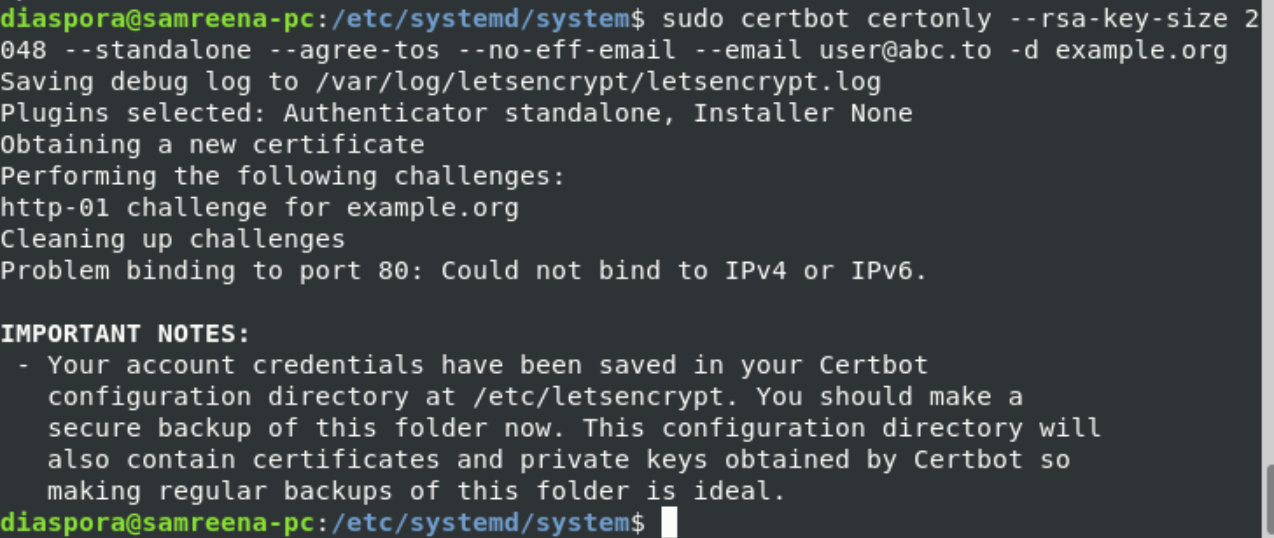
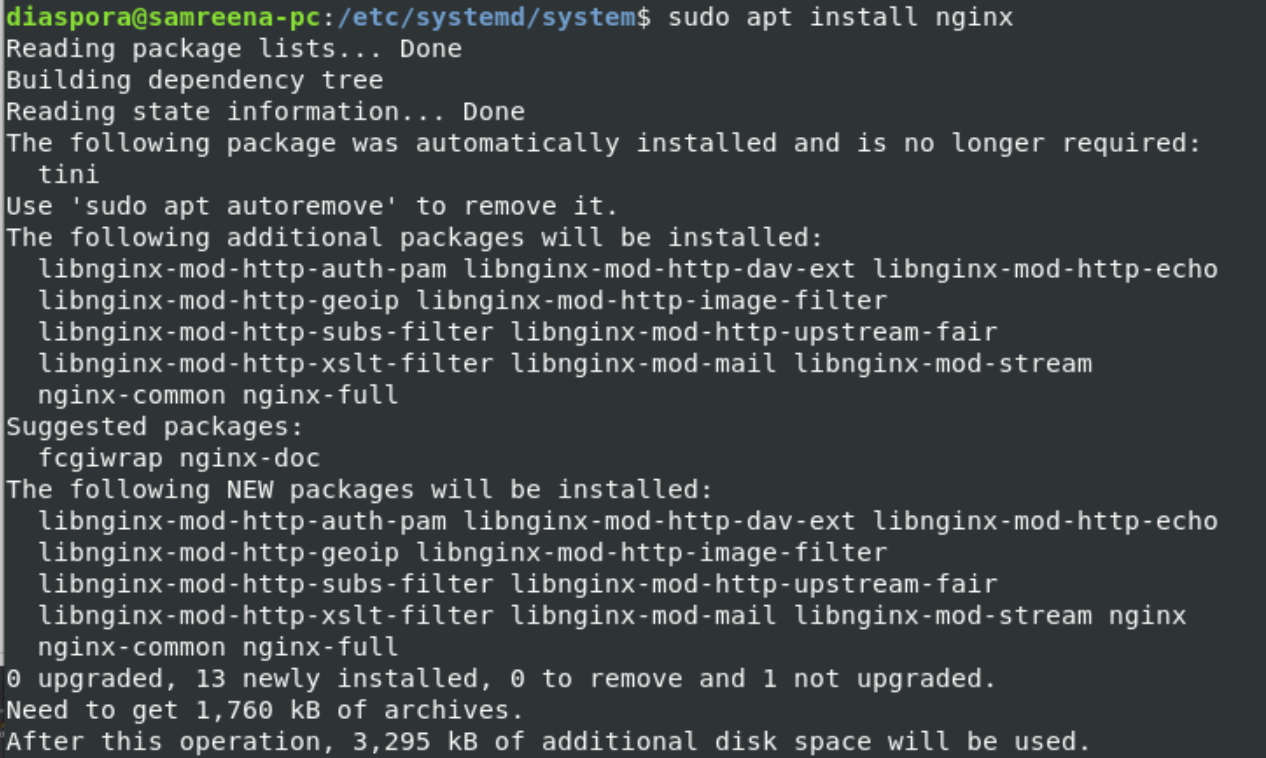
You can find your SSL certificate in the ‘/etc/letsencrypt/live/yourdomain.com/’ directory in your system. Now, install Nginx as follows:
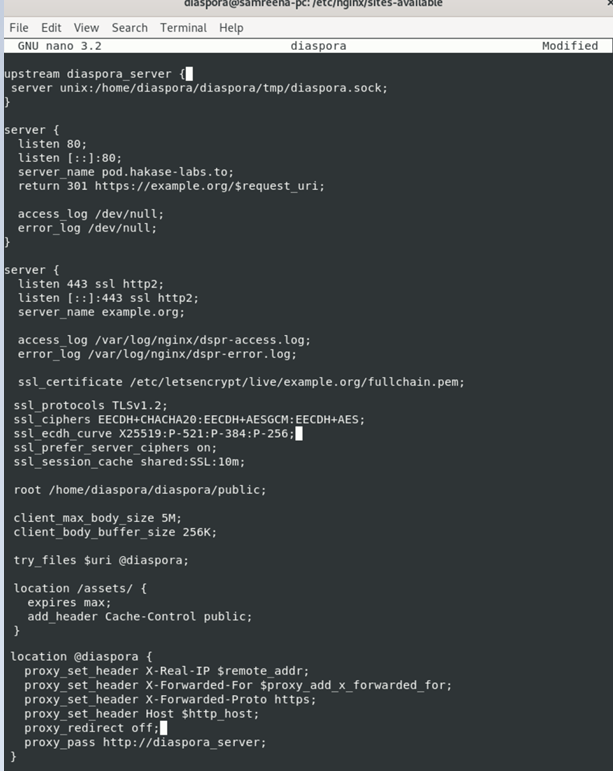
Configure diaspora with Nginx.
Testing
Once you have configured all diaspora services, add your domain name to your browser’s address bar.
http://youdomain.com/
Conclusion
That’s all about the Diaspora installation on your Debian 10 system. By using the above steps, you can easily install the Diaspora Decentralized Social Media on your Debian system. Thanks.