In a multi-device Btrfs filesystem or Btrfs RAID, depending on the filesystem configuration, there may be multiple copies of the data/metadata blocks stored in different locations of the storage devices added to the Btrfs filesystem. When the Btrfs scrub tool finds a corrupted data/metadata block, it searches all the storage devices added to the Btrfs filesystem for duplicate copies of that data/metadata block. Once a duplicate copy of that data/metadata block is found, the corrupted data/metadata block is overwritten with the correct data/metadata block. This is how the Btrfs scrub tool repairs corrupted data/metadata blocks in a multi-device Btrfs filesystem or Btrfs RAID.
In this article, I am going to show you how to use the Btrfs scrub tool to find and repair corrupted data/metadata blocks in a multi-device Btrfs filesystem or Btrfs RAID. So, let’s get started.
Abbreviations
RAID – Redundant Array of Inexpensive/Independent Disks
GB – Gigabyte
Prerequisites
To follow this article, you need to have a working multi-device Btrfs filesystem or a Btrfs RAID.
I have created a Btrfs RAID in RAID-1 configuration (mounted on the /data directory) using 4 storage devices sdb, sdc, sdd, and sde, as you can see in the screenshot below. I will be using this Btrfs RAID for the Btrfs scrub demonstration in this article.

If you need any assistance on installing the Btrfs filesystem on Ubuntu, check my article Install and Use Btrfs on Ubuntu 20.04 LTS.
If you need any assistance on installing the Btrfs filesystem on Fedora, check my article Install and Use Btrfs on Fedora 33.
If you need any assistance in creating a Btrfs RAID, check my article How to Setup Btrfs RAID.
Generating Dummy Files on the Btrfs Filesystem
To show you how the Btrfs scrub tool works, we need to generate some random files to fill up the Btrfs filesystem. Let’s create a shell script that does just that.
Create a new shell script genfiles.sh in the /usr/local/bin/ directory as follows:
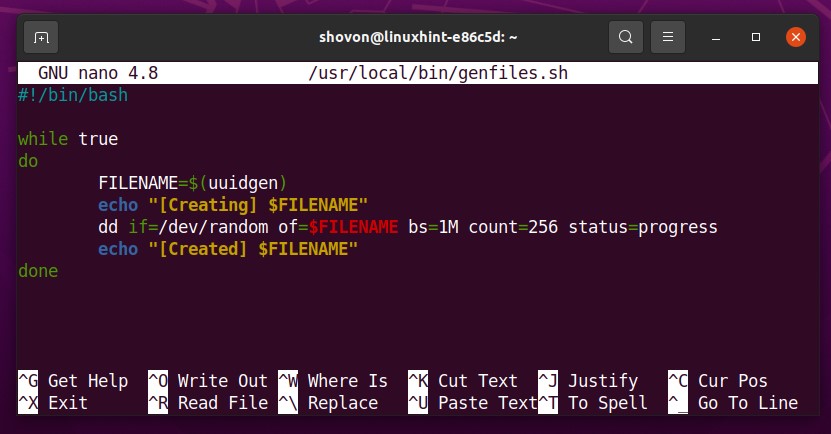
Type in the following lines of codes in the genfiles.sh shell script.
while true
do
FILENAME=$(uuidgen)
echo "[Creating] $FILENAME"
dd if=/dev/random of=$FILENAME bs=1M count=256 status=progress
echo "[Created] $FILENAME"
done
Once you’re done, press <Ctrl> + X followed by Y and <Enter> to save the genfiles.sh shell script.
The genfiles.sh shell script runs an infinite while loop.
do
# other codes
done
The following line generates a UUID using the uuidgen command and stores the UUID in the FILENAME variable.
The following line prints a message on the console before the file FILENAME is generated.
The following line generates a new random file FILENAME using the dd command. The file will be 256 MB in size.
The following line prints a message on the console after the file FILENAME is generated.
Add execute permission to the genfiles.sh shell script as follows:
The genfiles.sh shell script should now be accessible as any other commands.
Let’s generate some random files in the Btrfs RAID mounted in the /data directory.
Navigate to the /data directory where the Btrfs RAID is mounted as follows:
As you can see, there are no files available in my Btrfs RAID at the moment.
To generate some random files in the current working directory (/data directory in this case), run the genfiles.sh shell script as follows:
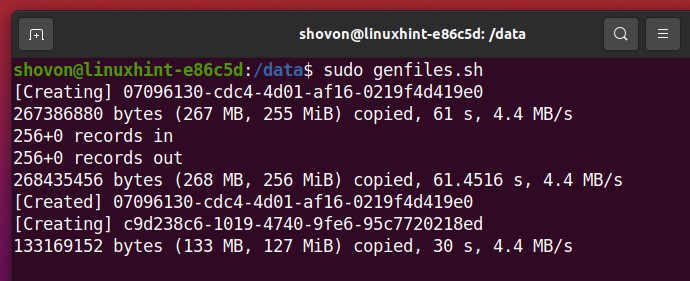
The genfiles.sh shell script should start generating random files in the /data directory.
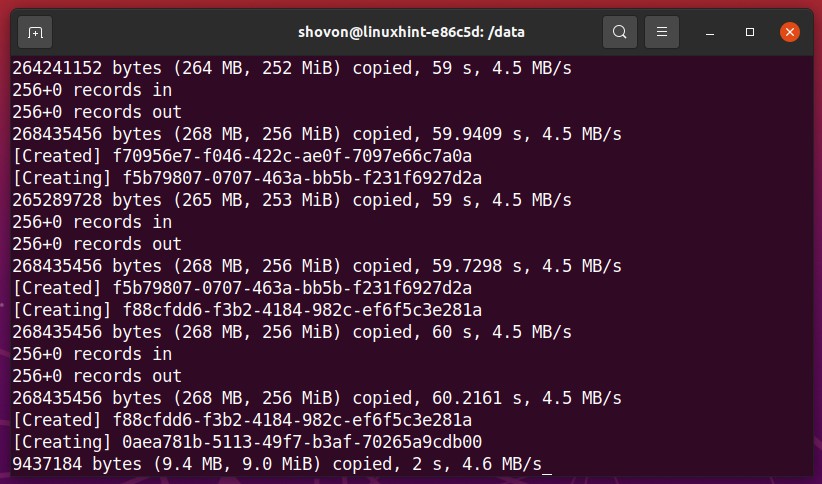
The genfiles.sh script is generating random files. Let the script run for a couple of minutes, so it fills up about 2-3 GB of disk space of the Btrfs RAID.
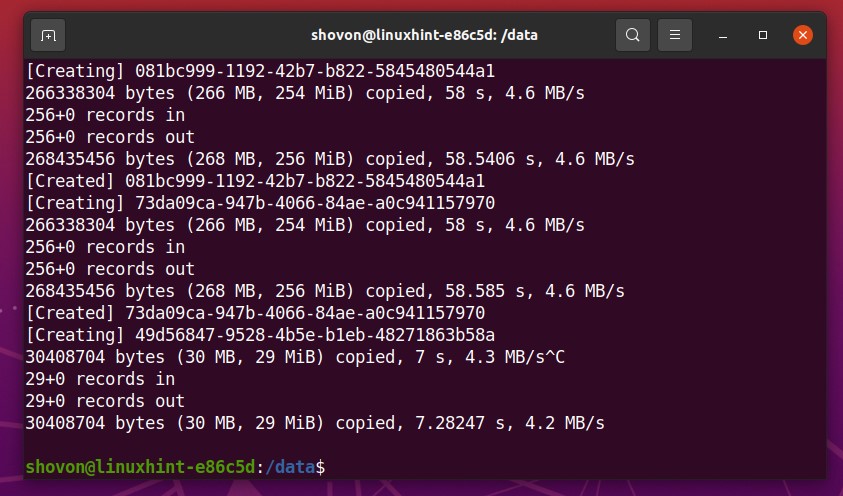
When you want to stop the genfiles.sh shell script, press <Ctrl> + C.
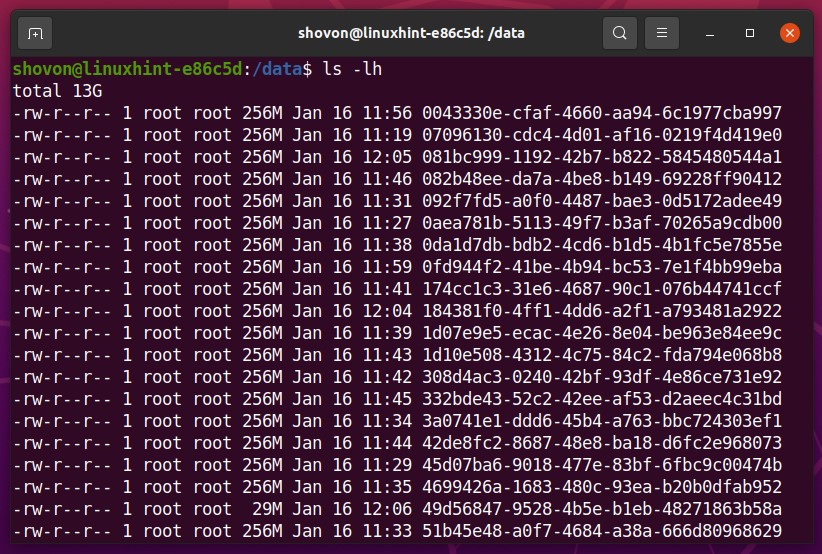
As you can see, some random files are generated in the Btrfs RAID.
I have generated about 13 GB of random files in the Btrfs RAID mounted in the /data directory, as you can see in the screenshot below.
Working with the Btrfs Scrub Tool
In this section, I am going to show you how to use the Btrfs scrub tool. Let’s get started.
You can start the scrub process on the Btrfs filesystem mounted on the /data directory with the following command:
A Btrfs scrub process should be started on the Btrfs filesystem mounted on the /data directory.
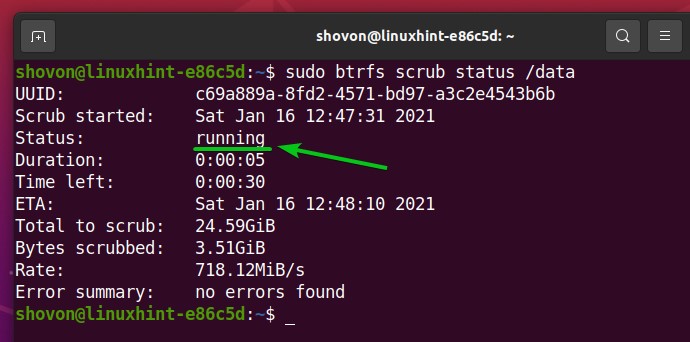
You can see the status of the Btrfs scrub process running on the Btrfs filesystem mounted on the /data directory as follows:
As you can see, the Btrfs scrub process is still running.
Scrubbing a Btrfs filesystem or Btrfs RAID that has a lot of files will take a long time to complete.
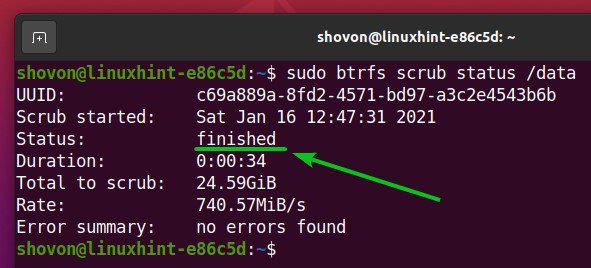
Once the Btrfs scrub process is complete, the status should be changed to finished, as you can see in the screenshot below.
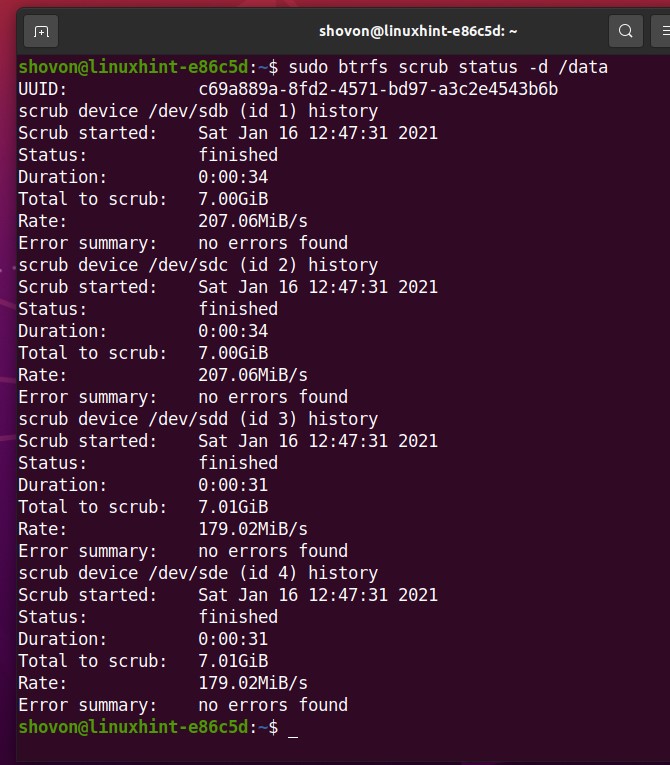
You can also see the Btrfs scrub status for each of the storage devices added to the Btrfs filesystem (mounted in the /data directory) separately as follows:
I have told you that the Btrfs scrub process takes a long time to complete on a big Btrfs filesystem. One big advantage of the Btrfs scrub tool is that its process can be paused and resumed at any time.
Let’s see how to pause and resume a Btrfs scrub process.
First, start a new Btrfs scrub process on the Btrfs filesystem mounted in the /data directory as follows:
To cancel or pause the Btrfs scrub process that is currently running on the Btrfs filesystem mounted on the /data directory, run the following command:
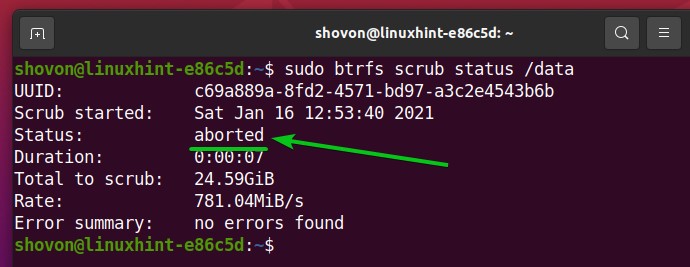
The running Btrfs scrub process should be canceled or paused.
As you can see, the Btrfs scrub status is aborted. So, the Btrfs scrub process is not running anymore.
To resume the Btrfs scrub process that you’ve canceled or paused, run the following command:
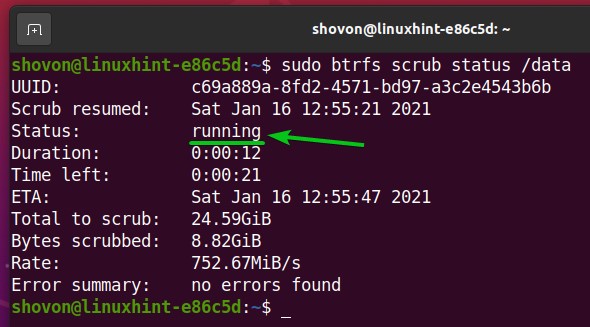
The Btrfs scrub process should be resumed.
As you can see, the Btrfs scrub status is now running. So, the Btrfs scrub process is resumed.
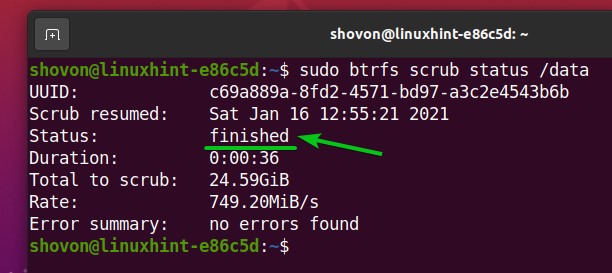
After the Btrfs scrub process is complete, the Btrfs scrub status should be changed to finished.
Conclusion
In this article, I have shown you how to work with the Btrfs scrub tool to find and fix corrupted data/metadata blocks of a Btrfs multi-device filesystem or RAID. I have shown you how to cancel/pause and resume a Btrfs scrub process once it’s started as well.


