Methods of Showing the Git Tree in Ubuntu 20.04 Terminal
The following sections cover several different methods for displaying a Git tree in your terminal. Before attempting these methods, we will first navigate to our test project repository by running the following command:
You can provide your own path with the “cd” command, i.e., the location in which your test project repository currently exists.
After running this command, the path in your terminal will instantly change, as shown in the image below:
Method 1: Using the graph Flag with the git log Command
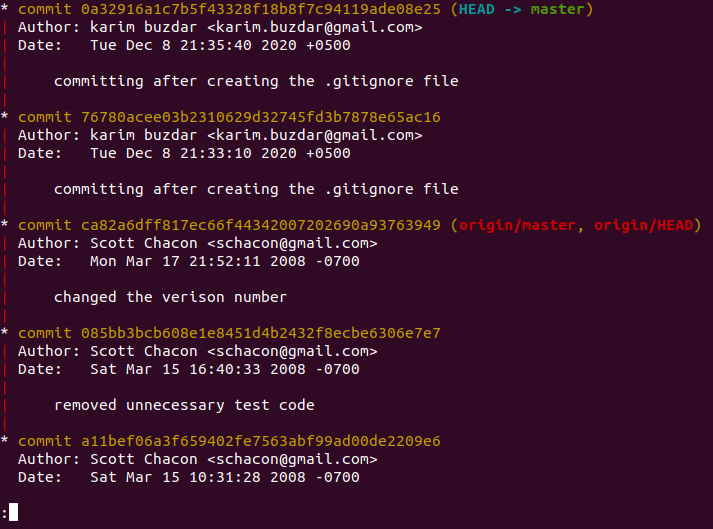
Once we have navigated to the test project repository, we will run the following command to show the Git tree in our Ubuntu 20.04 terminal:
Our Git project tree is shown in the image below:
Method 2: Using the oneline Flag with the git log Command
We can also create the Git tree in our terminal by running the following command:
Our Git project tree is shown in the image below:
Method 3: Using the pretty Flag with the git log Command
This is yet another method that to create the Git tree in your Ubuntu 20.04 terminal. You can create the Git tree using this method by running the following command:
Our Git project tree is shown in the image below:
Conclusion
This article showed you three different methods for creating a Git tree in your Ubuntu 20.04 terminal. A question that still might concern you is, “What is the difference between Method # 2 and Method # 3, because apparently both of them show the exact same output?” Well, this difference can only be seen if your Git log is rich enough, i.e., it contains a significant number of commits. If you perform both Method #2 and #3 on a Git project repository that contains enough commits, then you will see that the output of Method # 2 will be more technical, as it may contain some ASCII values; whereas, the output of Method # 3 will be more user-friendly, which would solely be due to using the “pretty” flag in that method.


