Graphical Method
To remove PPAs using a GUI app, an application named “Synaptic Package Manager” needs to be installed. Run the following command to install Synaptic:
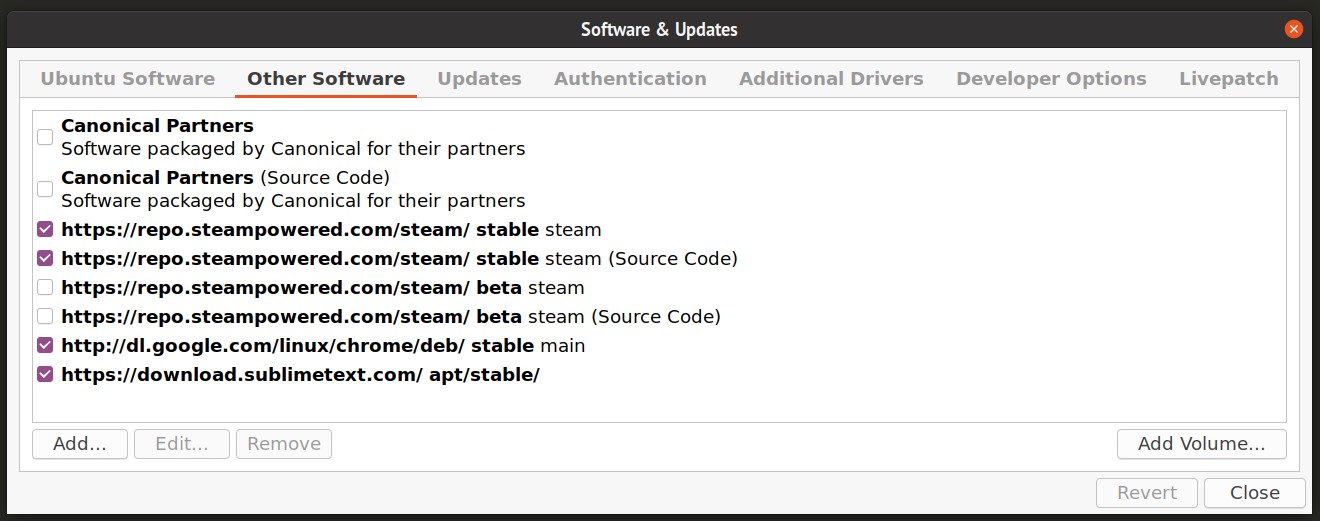
Launch Synaptic from the application menu and go to “Settings > Repositories > Other Software” tab.
To disable a PPA, uncheck checkboxes for both the main repository and its source code repository. Click on the “Close” button to exit. You may be prompted to reload repositories, click on “Reload” to refresh all repositories added to your Ubuntu system.
Wait for the reload process to finish. Note that disabling PPAs from the “Other Software” tab will remove repositories only. Any packages you upgraded or installed from PPA repositories will remain unchanged. Unfortunately Synaptic doesn’t provide an automatic way of removing both repository source and packages installed from it. You can manually remove packages from Synaptic using two methods.
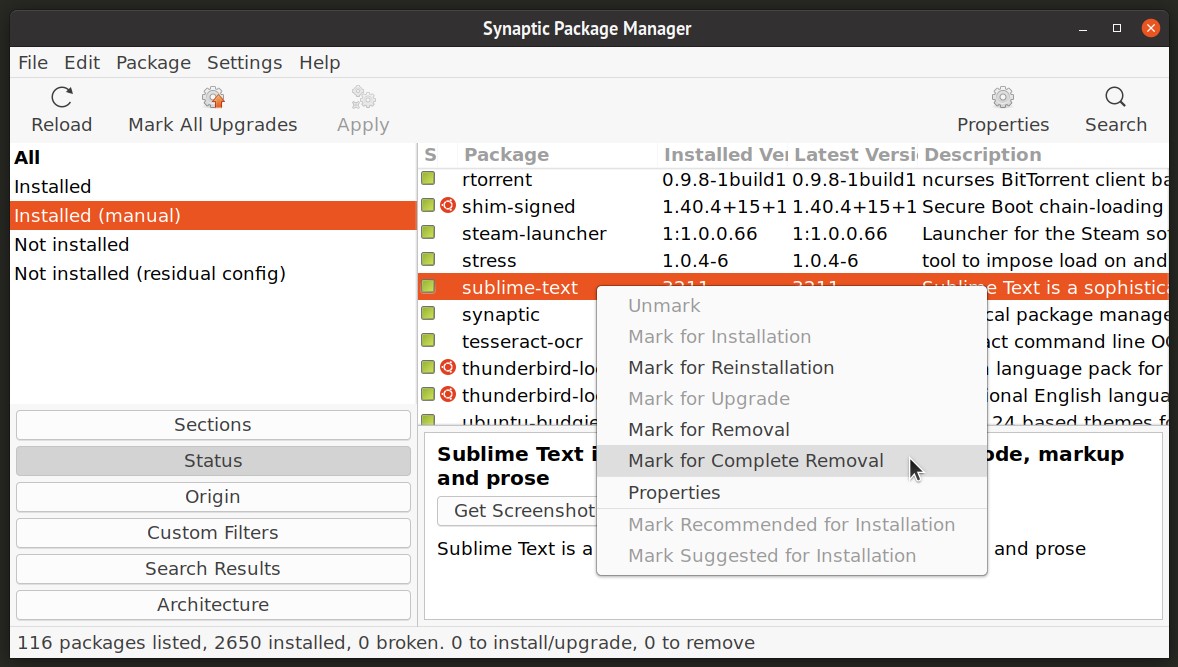
In the first method, you will have to manually remove packages before disabling repositories in the “Other Software” tab. Click on the “Origin” tab in the sidebar and click on the repository you intend to remove. Remove all packages from the highlighted repository, as shown in the screenshot below:
Once done, you can proceed to disable repositories in the “Other Software” tab.
The second method can be used after removing repositories in the “Other Software” options. Click on the “Status” tab and highlight the “Installed (manual)” entry in the sidebar. Find packages that you installed from PPA and remove them manually.
Command Line Method (Better Approach)
This method requires installing a handy command line utility called “ppa-purge”. This tool not only allows you to remove PPA repositories, but also removes or downgrades associated packages automatically.
To install ppa-purge in Ubuntu, use the command below:
Now to purge a PPA completely along with the packages that came with it, run a command in the following format:
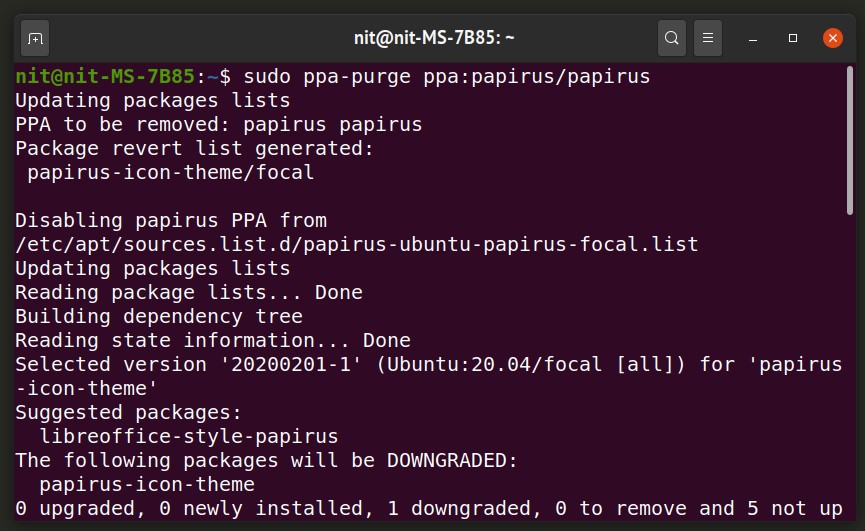
For instance, to purge Papirus icon theme PPA, you will have to run the following command:
You should get some output as shown below. Wait for the process to finish. Packages in the repository will be either removed or downgraded to stock Ubuntu version if they already existed in official Ubuntu repositories and were installed on your system prior to running ppa-purge command.
Conclusion
If you frequently install third party apps on your Ubuntu system or you like to tinker with your desktop by adding third party PPA repositories, things can break and you might want to revert the packages. In such cases, ppa-purge can be pretty useful. You can also install synaptic and aptitude package managers to fix broken packages. If you have these three utilities installed on your system, you can solve most of the packages and PPA repositories related issues on your Ubuntu system.


