In the case of Linux, it comes with two basic but powerful tools: Cron daemon (default task scheduler) and at (more suitable for one-time task scheduling).
In this guide, check out how to schedule a task in Linux.
Schedule tasks in Linux
Cron
The cron daemon is responsible for running a lot of jobs at specific times. These tasks are generally run in the background at scheduled times. It offers great flexibility irrespective of the task, irrespective of the interval (hour, week, month, year, or whatever).
Cron keeps track of its actions using the crontab file. The crontab file is a script that contains all the necessary information to run all the cron jobs.
Let’s have a quick look at some of the basic usage of cron. In the case of any of the following commands, it’ll be configured for the root user if it’s run with sudo privilege. For the demonstration, I’ve grabbed a sample crontab file from here.
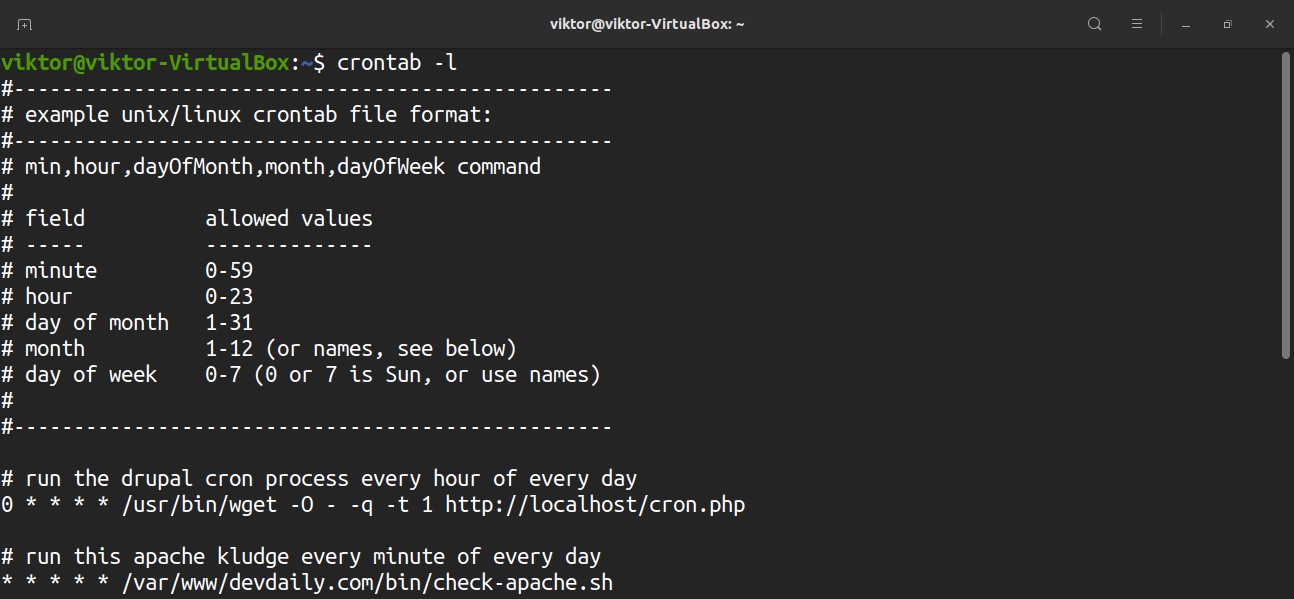
To list all the scheduled cron jobs for the current user, run the following command. It’ll print all the contents of the crontab file.
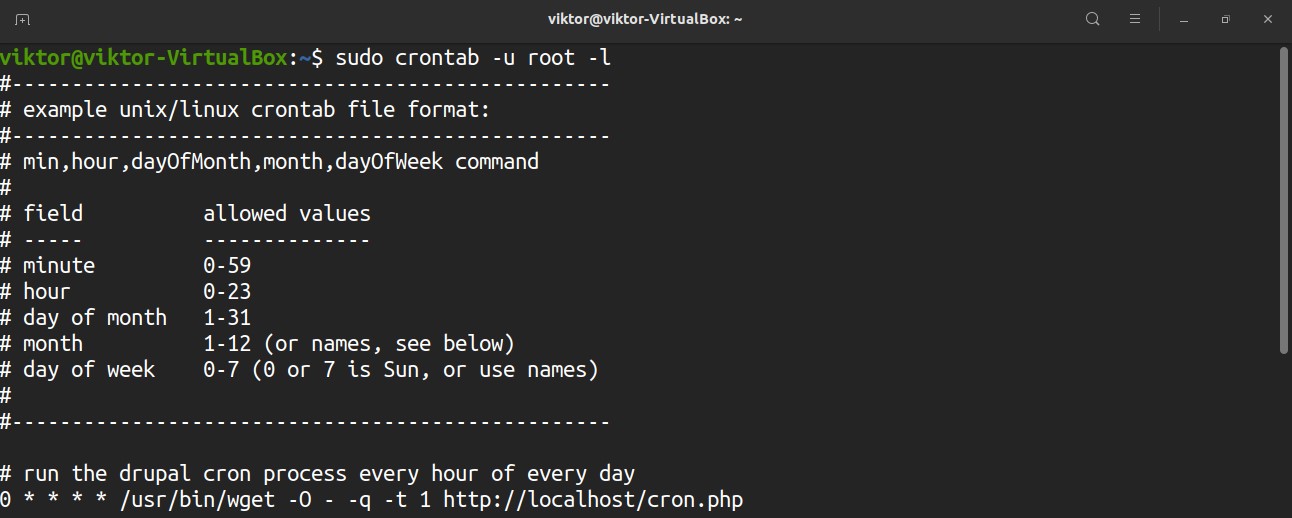
Want the cron job list for a different user? Run this command instead.
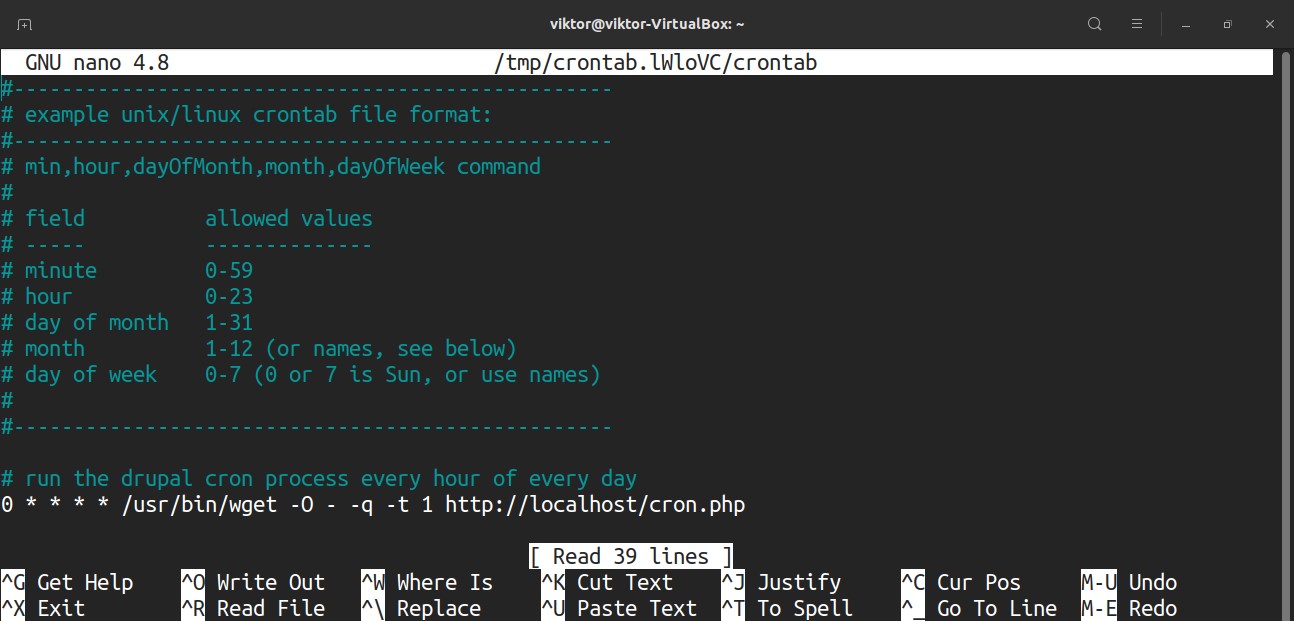
To edit the crontab script, run the command. To edit the crontab file for root, run the following command with sudo privilege.
Each line in the crontab script defines a task. Here’s a quick breakdown of the crontab entries.
Here’s a list of all the possible values for all these fields. If used an asterisk (*) instead of a numeric value, every possible value of the field will be used.
- minute: 0 to 59
- hours: 0 to 23
- day of the month: 1 to 31
- month: 1 to 12
- day of the week: 0 (Sunday) to 6 (Saturday)
For an in-depth guide on how to use crontab to automate tasks, check out how to setup cron jobs in Linux. Here’s another quick example of a cron job running every minute.
at
While cron is the primary way of task scheduling, at offers the ability to run a command/script at a specific time or at a fixed interval, note that at will run the target job once whereas cron would re-run the job at the interval. The at tool is less popular compared to cron, but it’s relatively easier to use. You can use certain keywords like midnight or teatime (4 P.M.).
This tool doesn’t come pre-installed in most of the Linux distros. To install at, run the appropriate command according to your distro.
For Debian/Ubuntu and derivatives.
For CentOS/RHEL and derivatives.
For Arch Linux and derivatives.
For Fedora and derivatives.
After installation is complete, enable the at daemon.
The way at works is a bit different. Whenever calling at, you have to define the interval of running the desired task. For example, to run a certain command after an hour, use the following command.
To run the desired task at 6 P.M., six days from now, run the following command instead.
When you run the command, at will ask for the command(s) to run. To exit the at prompt, press “Ctrl + d.” At will present a summary of the tasks scheduled and the time they’ll be executed.
This is just basic usage. A more consistent way of using at could be executing a bash script containing all the tasks that need to be performed. Interested in learning more about bash scripting? Check
Run the command to list all the pending at jobs.
Note that the output will list all the jobs with a specific reference number at the left column. In case you want to delete a queued job, use the following command.
Final thoughts
Scheduling a task, in the case of Linux, is a very simple job. Learning it for the first time definitely requires a bit of effort. However, once learned, it can be incredibly useful. Once configured, the scheduled tasks will keep on running.
Happy computing!


