This tutorial will explain how to install Autodesk Maya in Ubuntu OS. The commands and procedures in this article were run in the Ubuntu 20.04 LTS (Focal Fossa) system.
Install Dependencies
Autodesk Maya depends on some packages and libraries to work. Follow the below steps to install the relevant dependencies:
To install Autodesk Maya in Ubuntu 20.04, you will need to add some libraries. Some of these libraries are not available in the official Ubuntu 20.04 repositories; however, they are available in the Ubuntu 16.04 repository.
To install these libraries in Ubuntu 20.04, you will need to add the Ubuntu 16.04 (Xenial) repository to your Ubuntu repository. Issue the following command in the Terminal to do so:
multiverse' | sudo tee /etc/apt/sources.list.d/xenial.list
Then, to update the Ubuntu 20.04 local repository with that of the newly added repository, issue the following command in the Terminal:
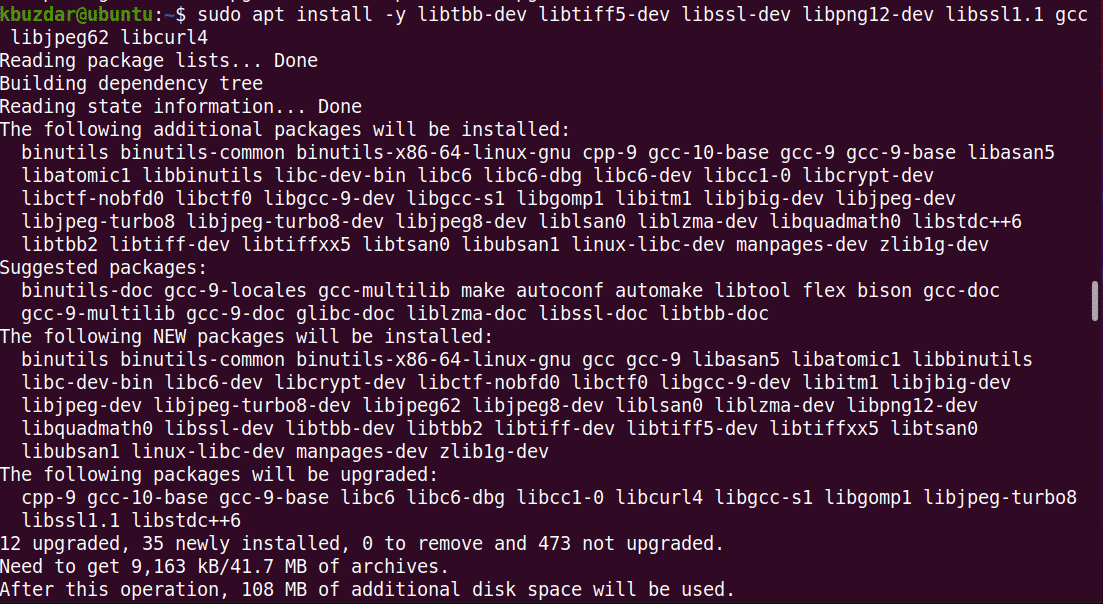
Now, install the libraries using the following command in the Terminal:
libssl1.1 gcc libjpeg62 libcurl4
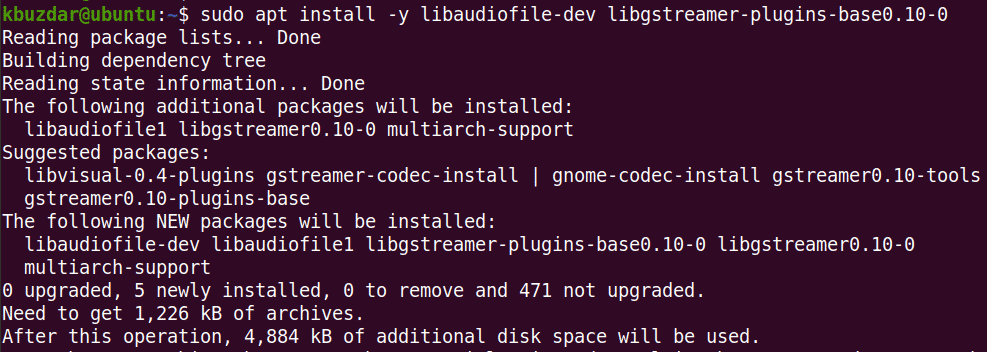
Next, install the multimedia library files. Run the following command in the Terminal to do so:
libgstreamer-plugins-base0.10-0
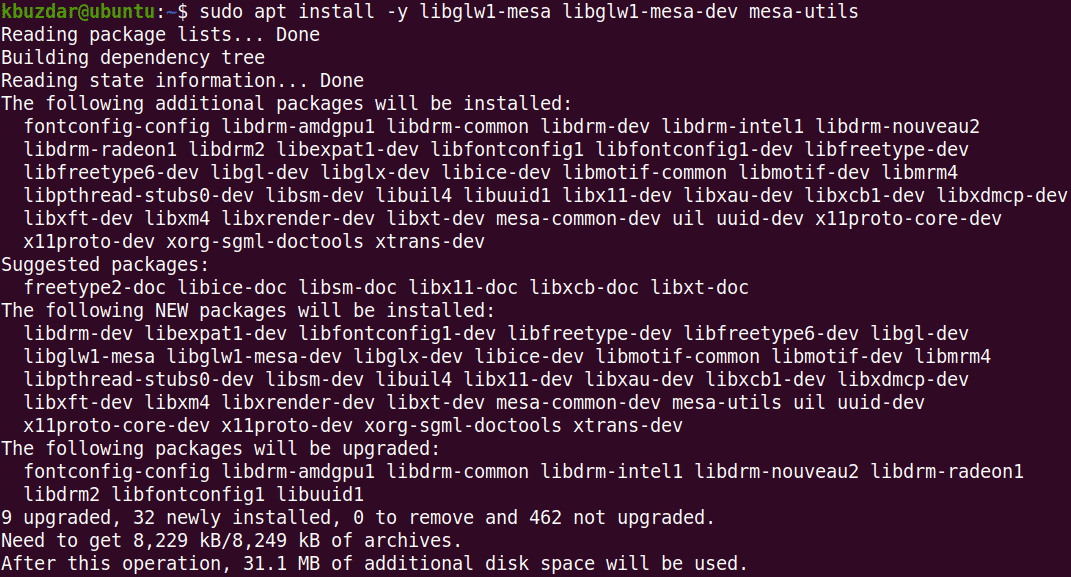
Install the graphic library files. Issue the following command in the Terminal to do so:
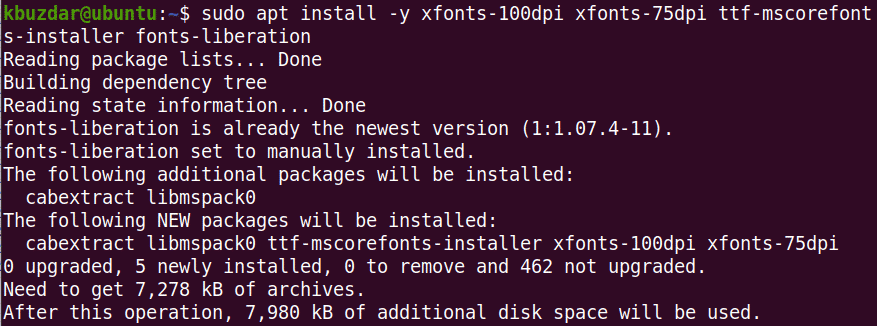
Install the Microsoft True Type Core Fonts. Issue the following command in the Terminal to do so:
fonts-liberation
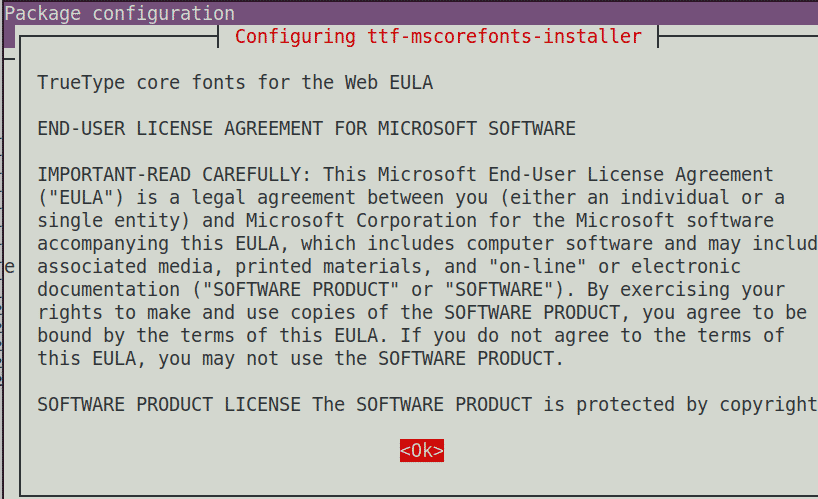
When the following screen appears, use the tab key to select OK and then hit Enter.
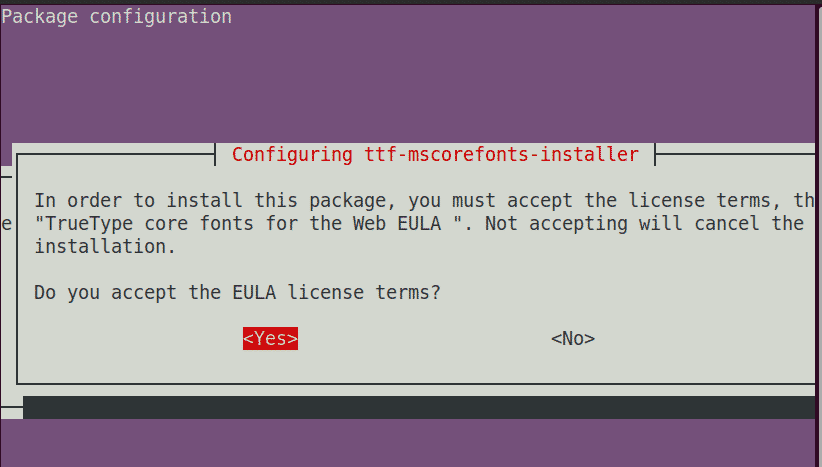
Accept the end-user license agreement. Use the tab key to highlight the Yes option and then press Enter to do so.
After accepting the license terms, the required fonts will be installed on your system.
Autodesk Maya also requires some other packages to be installed. Install the packages using the following commands in the Terminal:
The libxp6 package is not available in the Ubuntu repositories, so you will first need to download its .deb file. Issue the following command in the Terminal to do so:
$ wget http://launchpadlibrarian.net/183708483/libxp6_1.0.2-2_amd64.deb
Then, install the libxp6 package using the command below in the Terminal:
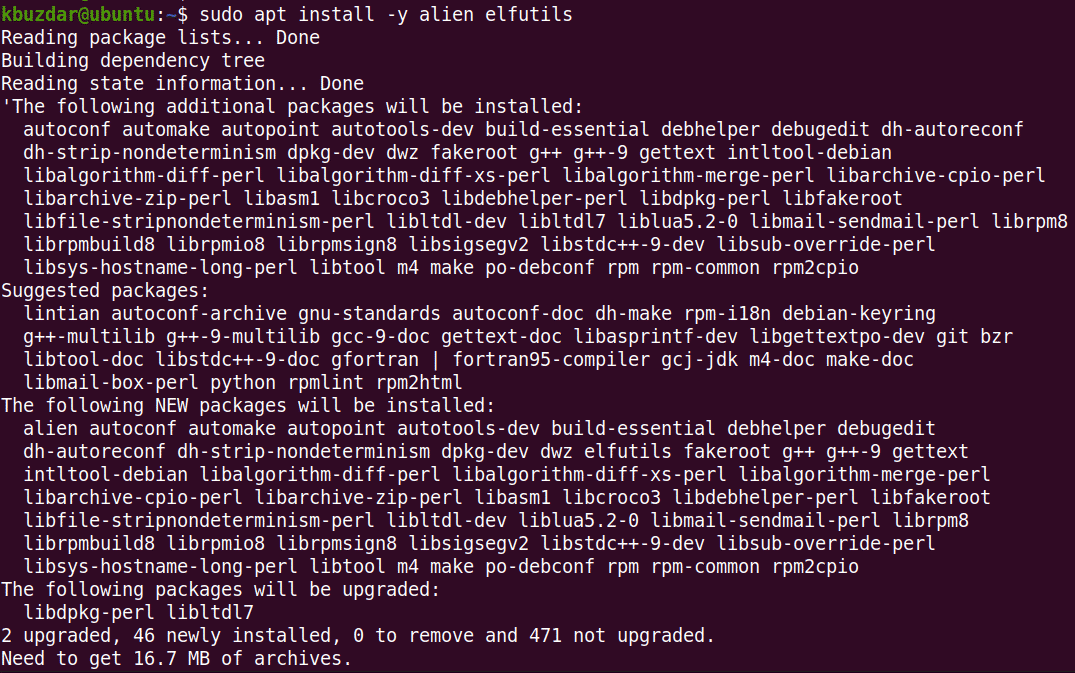
The installer packages of Maya are in .rpm format. You will need to convert them to .deb format using the Alien program. Issue the following command in the Terminal to install the Alien program:
After completing the steps listed above, all the dependencies required to run Maya should be installed, and you can now move on to the next step.
Download Autodesk Maya
To download Maya, follow the steps listed below:
Move inside the ~/Downloads directory using the cd command in the Terminal:
Use the wget command to download the Autodesk Maya installer:
_JP_ZH_Linux_64bit.tgz
Create a directory named “maya” to which the installation files will be extracted:
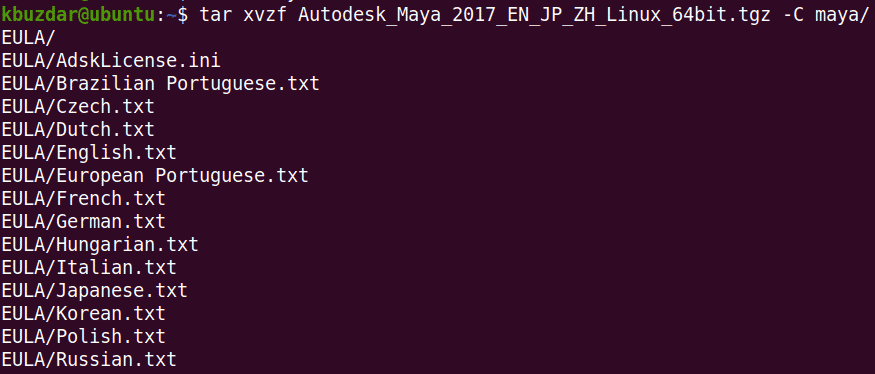
Extract the Maya installer to the newly created “maya” directory using the below command:
Convert the Maya .rpm Installer Files into .deb
1. Move inside the “maya” directory using the cd command:
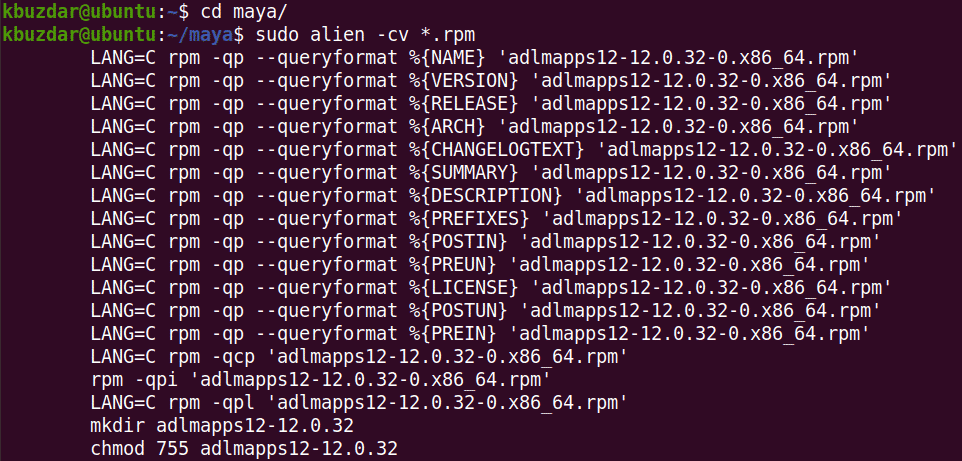
2. Convert all the Maya installer files, which are currently in .rpm format, into .deb format. Use the Alien program to do so:
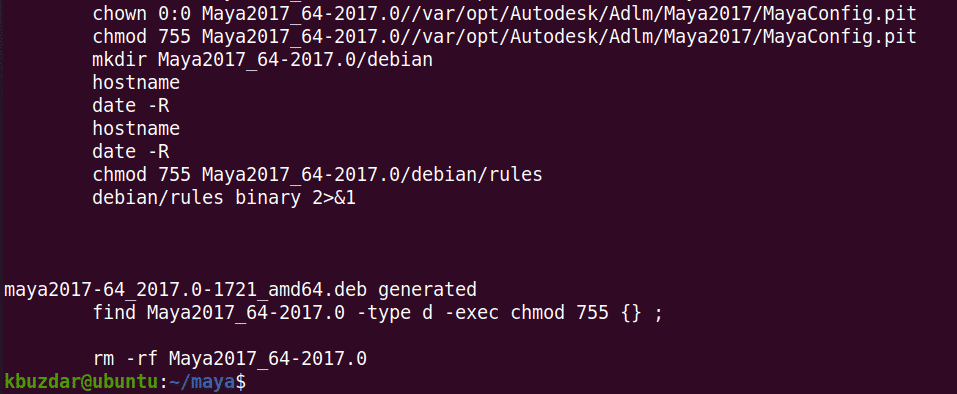
The conversion process will take a while. Once the process has completed, you will see the following output:
Install Autodesk Maya
To install Maya, follow the steps listed below:
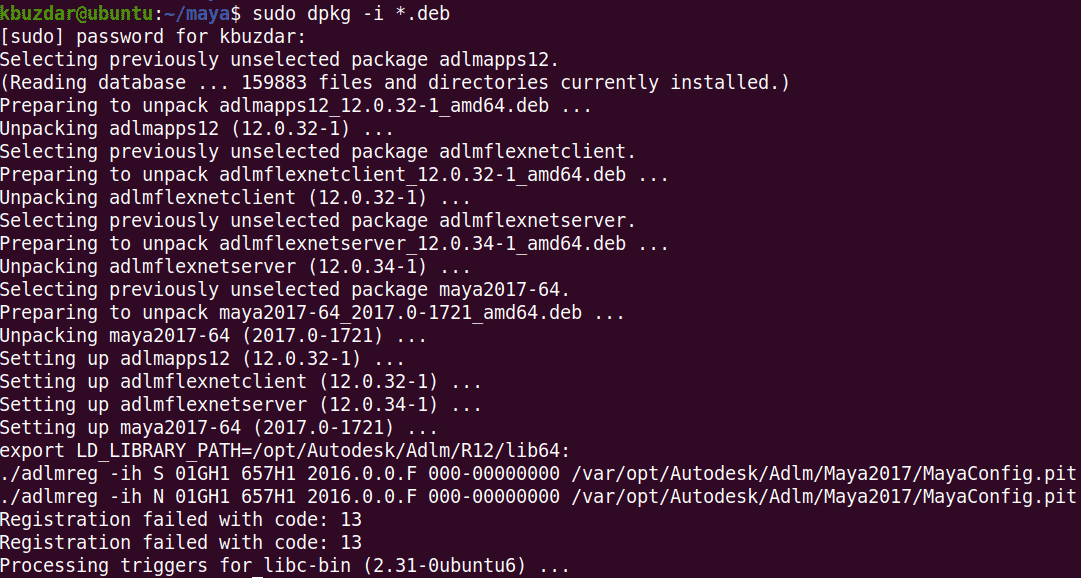
In the previous section, we converted all the .rpm files into .deb format. In this step, we will install them using the following command in the Terminal:
Create a source file using the below command:
Then, compile it using the following command:
After compilation, move the binary to the /usr/bin/rpm. But before doing this, create a backup of the /usr/bin/rpm using the following command:
Move the binary to the /usr/bin/rpm using the following command:
Now, you will create symbolic links to all the required library files that Autodesk Maya depends on. Use the following commands to do so:
libtbb_preview.so.2
$ sudo ln -s /usr/lib/x86_64-linux-gnu/libtiff.so /usr/lib/libtiff.so.3
$ sudo ln -s /usr/lib/x86_64-linux-gnu/libssl.so /usr/autodesk/maya2017/lib/
libssl.so.10
$ sudo ln -s /usr/lib/x86_64-linux-gnu/libcrypto.so /usr/autodesk/maya2017/lib/
libcrypto.so.10
Next, you will need to make the setup file executable. Use the following command to do so:
Then, run the Maya installer.
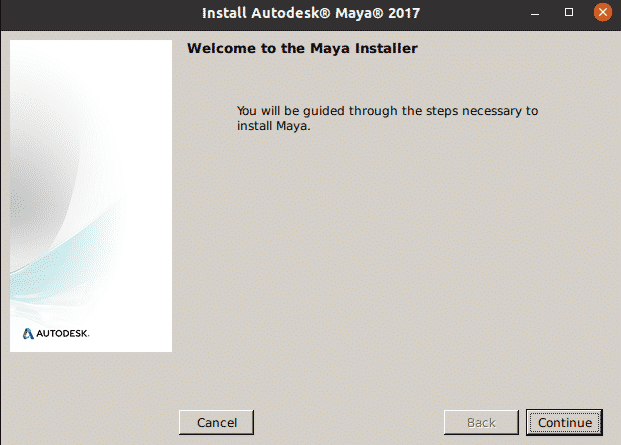
This will initiate the Maya Installer wizard. Click Continue.
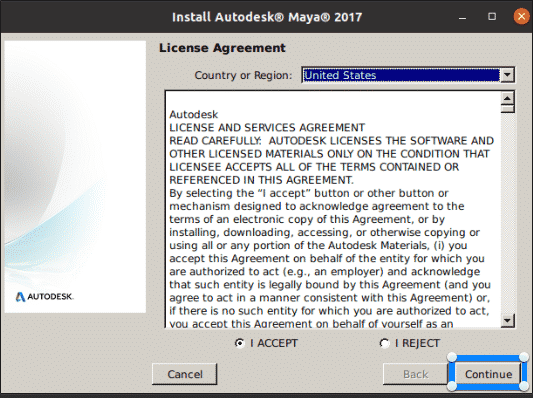
Select your country or region, and then select the I ACCEPT radio button to accept the license and services agreement. Then, click Continue.
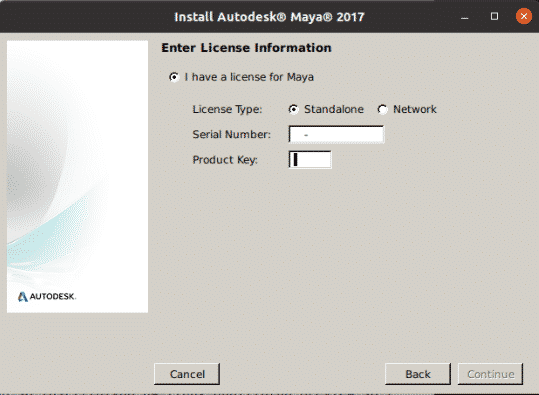
Now, you will enter the license information. Select your license type and then enter the serial number and product key.
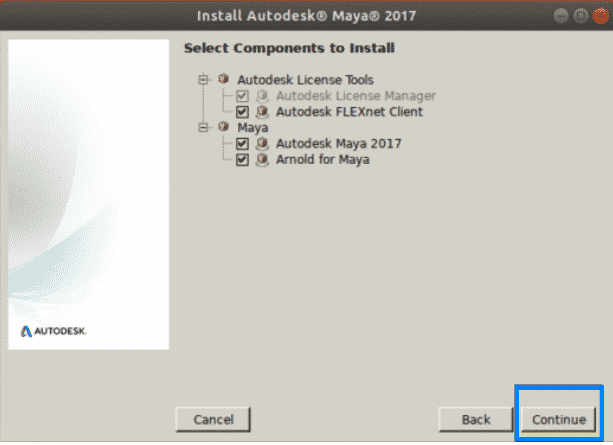
When the following screen appears, click Continue to install the selected components.
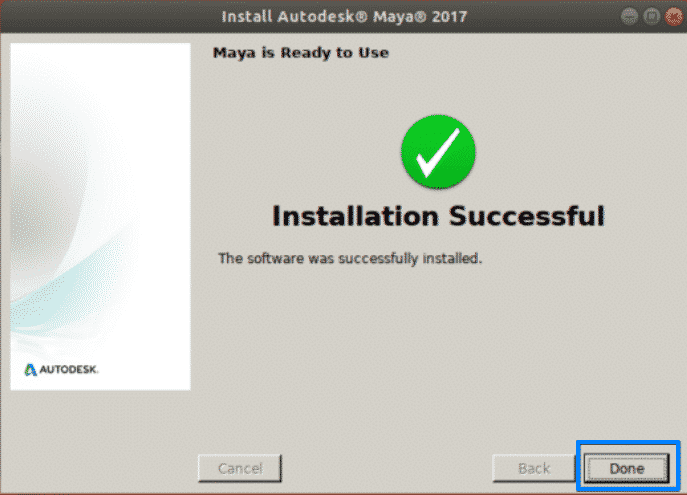
The installation will be started and once it has completed, you will see the following screen. Click Done to close the wizard.
Post-Installation Configuration
After the installation is completed, you will need to perform some more configurations. Follow the below steps to do so.
Create the /usr/tmp directory.
Set the permission to this directory.
Create a few directories for Maya configuration files.
Fix segmentation fault errors using the following command in the Terminal:
Fix color management errors using the following command:
Set the permissions using the following command:
Configure fonts for Maya using the following commands:
$ xset +fp /usr/share/fonts/X11/75dpi/
$ xset fp rehash
Fix the Maya Camera Modifier Key. Issue the following command to do so:
"<Super>"
Restore rpm utilities using the following command:
$ sudo mv -v /usr/bin/rpm_backup /usr/bin/rpm
Finally, run Maya using the following command:
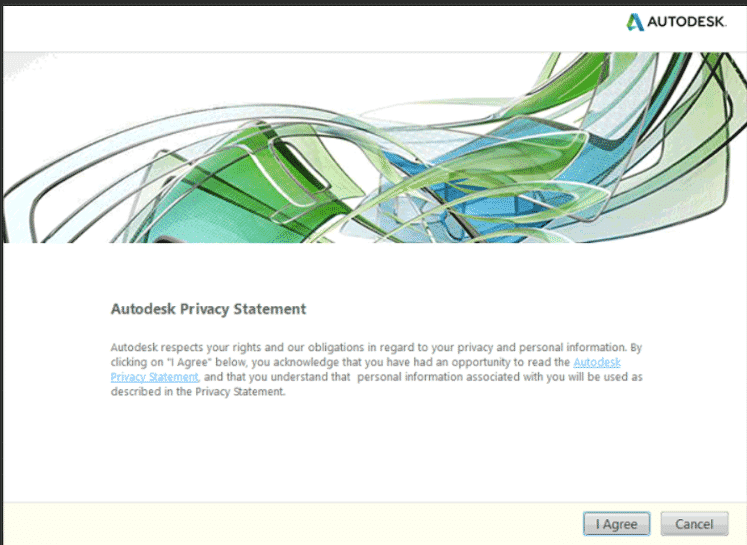
When the following screen appears, click on I Agree, after which Maya will be launched on your system.
Conclusion
That is all there is to it! In this article, you have learned how to install Autodesk Maya in Ubuntu 20.04 LTS (Focal Fossa). I hope you liked the article and that now, you will be comfortable installing the computer animation and modeling software Autodesk Maya on your Linux system.

