There are many ways to use remote desktop for your needs. This article will show you how to set up a remote desktop in Linux.
Remote Desktop in Linux
There are several different ways to set up a remote desktop in Linux. As for CLI, SSH is probably the best method to use for this. If you are looking for a GUI remote desktop, there are plenty of other options available. This article will cover some of the most popular ways to use remote desktop o\in Linux.
Depending on your distro, some features or characteristics of each of the tools may vary. I will be using Ubuntu for this article.
TeamViewer
Among all the remote desktop tools out there, TeamViewer is one of the top ones. It’s a freemium model which means you can use the base version for free and pay for more capability and access to the software. To enable remote connection, both devices must have TeamViewer installed.
TeamViewer is a cross-platform tool available for Windows, Linux, macOS, and other operating systems. To install in Linux, grab the appropriate Linux package for your system. Download TeamViewer here.
In my case, since I am using Ubuntu, I grabbed the DEB package. If you are using openSUSE, RHEL, CentOS, or Fedora, you will need to grab the RPM package.
To install the DEB package on Ubuntu, run the following command in the terminal.
To install the RPM package on openSUSE or SUSE Linux, run the following command.
To install the RPM package on RHEL or CentOS, run the following command.
To install the RPM package on Fedora, run the following command.
If you are running Arch Linux or Arch-derivatives, you can grab TeamViewer from AUR here.
Once the installation is complete, launch the app.
Accept the license agreement.
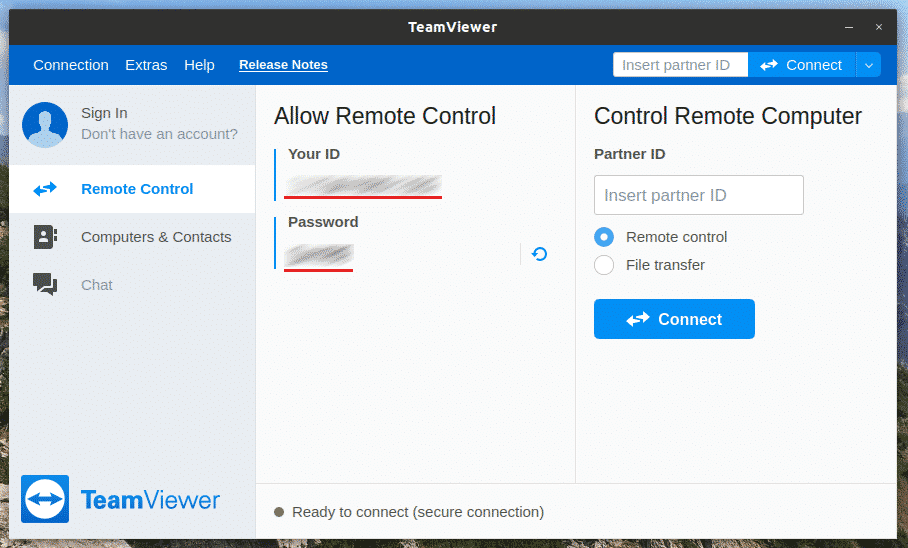
TeamViewer is now ready to set up a remote desktop connection. The ID and password will be required for someone else to connect to the system. Note that these are random and temporary. It is possible to configure custom credentials and permanent logins. However, you will need to have a TeamViewer account. For now, we will set up the basic TeamViewer remote desktop connection.
Enter the partner ID of the remote desktop and click “Connect.”
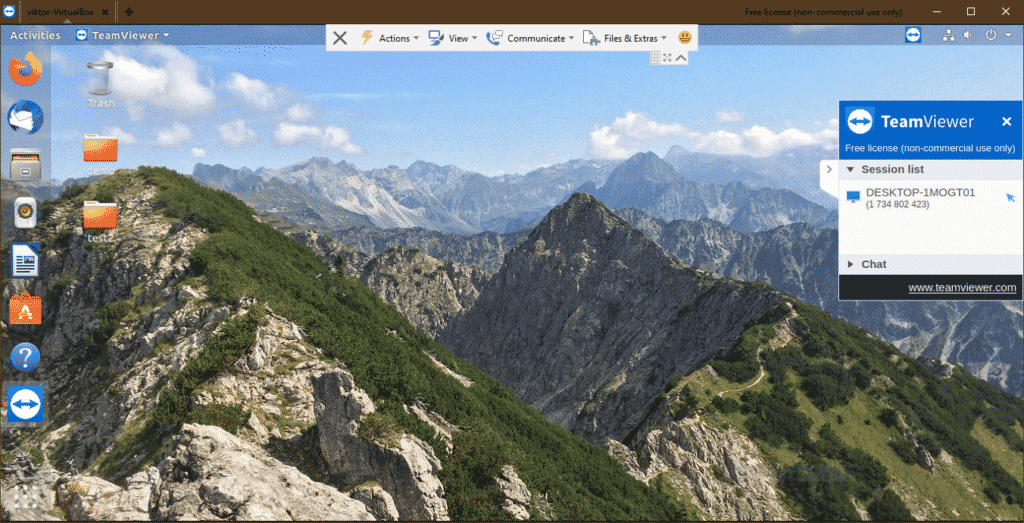
TeamViewer will ask for the password of the remote desktop.
Voilà! The remote desktop is successfully configured!
Remmina
Remmina is a free and open-source remote desktop client. Like TeamViewer, Remmina is available for all the major platforms. Remmina supports various remote desktop network protocols, including VNC, SSH, RDP, NX, and XDMCP.
Unlike TeamViewer, Remmina has no restrictions as to its usage. Remmina can be used for both personal and professional (system admin, server, and others) workloads. This makes Remmina incredibly lucrative for general and professional users alike.
Note that Remmina is just a client that can connect to all your remote desktops through supported protocols. The remote desktops must be configured with a remote desktop server (VNC server, SSH, NoMachine server, etc.) beforehand so that Remmina can access them.
There are several ways to install Remmina. Depending on your distro, the method will vary. Check out the official Remmina installation guide here.
This section will cover how to install Remmina snap and flatpak. These are universal Linux packages, so you can enjoy them on any distro you are running.
To install Remmina snap, run the following command. Note that you already have to have snappy (snap package manager) installed in your system.
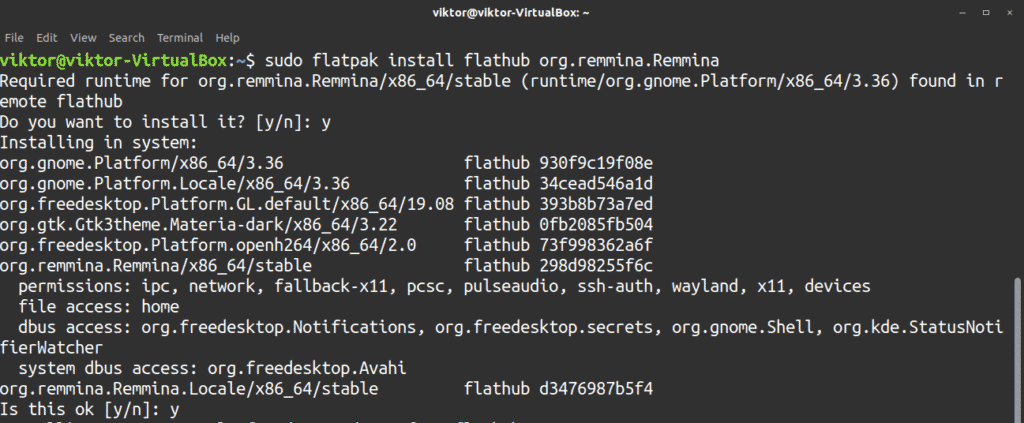
To install Remmina flatpak, run the following command. As with snap, you will need to have the snap package manager installed, first.
Once the installation is complete, launch the tool.
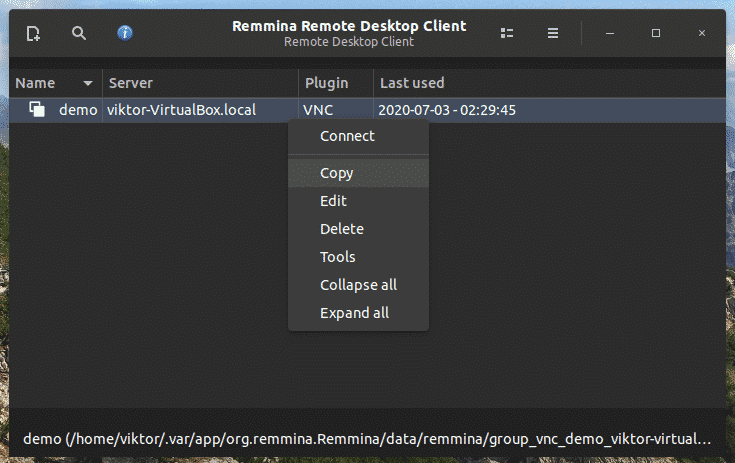
I will be connecting to a remote Ubuntu system that has already been configured with a VNC server. To connect to the remote desktop, right-click and select “Connect.”
NoMachine
TeamViewer is a powerful, easy-to-use remote desktop software, but it comes with a price for power users. In the case of Remmina, it is free, but you need to go through configuring VNC on the target machine. If only there were a solution that was powerful, easy-to-use, and free of cost!
NoMachine is such a remote desktop solution. Its features can be on par with TeamViewer while coming free of cost. This may sound a bit suspicious to privacy-concerned folks. You may be wondering, how does NoMachine get the money they need to sustain themselves? According to NoMachine, their income source is selling their software to businesses. NoMachine does not collect any personal data, nor does it use AdWare for revenue.
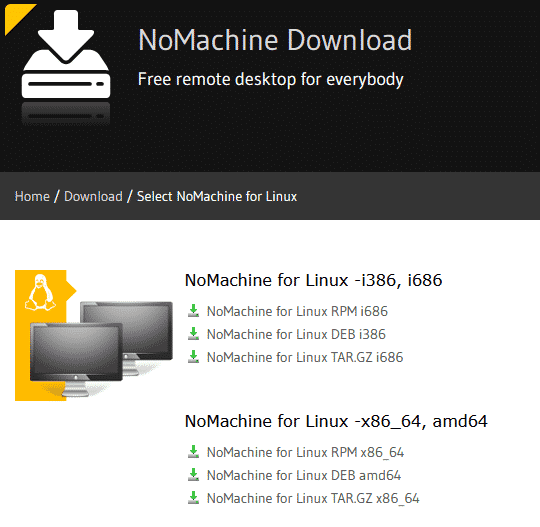
NoMachine is a cross-platform tool available for Windows, Linux, and macOS. In the case of Linux, NoMachine is available in DEB (for Debian, Ubuntu, and derivatives) and RPM (Fedora, SUSE, RHEL, CentOS, and derivatives) packages. If you are running Arch Linux (or derivatives), check out NoMachine at AUR here.
Download NoMachine here.
To install the DEB package on Debian, Ubuntu, and derivatives, run the following command.
To install the RPM package on openSUSE, SUSE Linux, and derivatives, run the following command.
To install the RPM package on Fedora (using dnf), run the following command.
To install the RPM package on CentOS, RHEL, and derivatives, run the following command.
There are two parts of NoMachine: the NoMachine server and the NoMachine client. The server will be responsible for allowing other NoMachine clients to connect to the system. The client will be used for connecting and using those remote desktops.
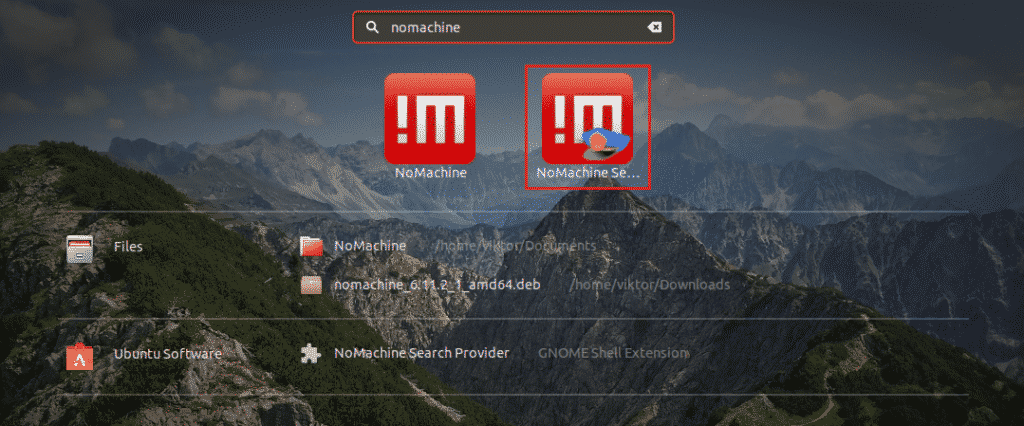
First, we will check out the NoMachine server. Launch the NoMachine server.
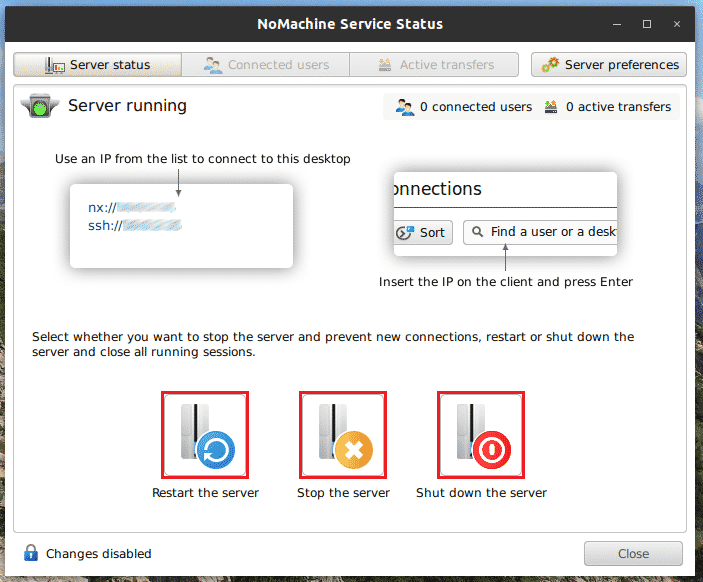
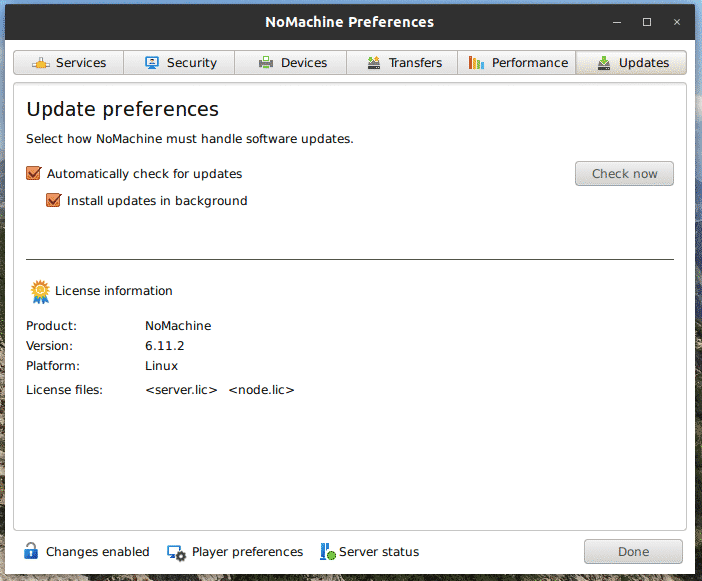
The NoMachine server status window will pop up. There are 4 tabs. The first one is “Server status.” Here, you can see the server IP address. There are also options for stopping, restarting, and shutting down the server.
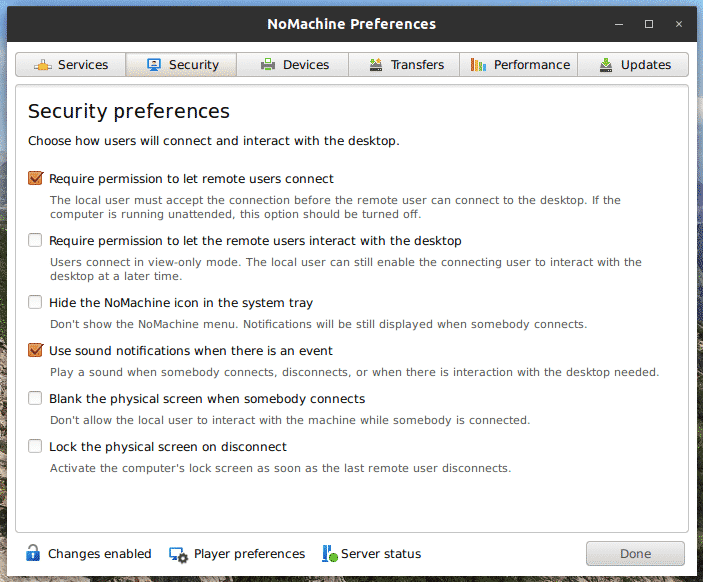
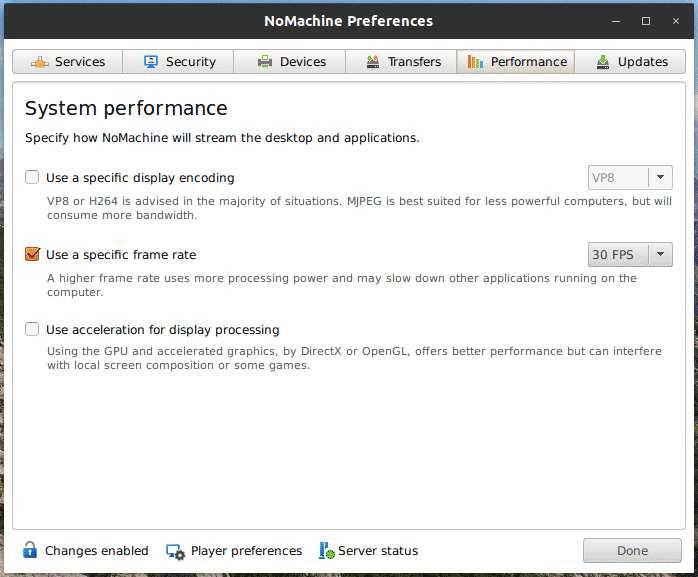
Next, we will check out the “Server preference” tab. Here, you can configure the behavior of the server.
Next, we will check out the NoMachine client. This client will be used to connect to a NoMachine remote desktop.
To add a remote desktop connection, click the “New” button.
NoMachine will start the new connection creation process. First, select the protocol. There are two available protocols: NX and SSH. It is recommended to use NX for a GUI remote desktop.
Enter the NoMachine server IP and port.
The next step is the authentication method. Most of the time, it is going to be “Password.”
NoMachine will ask whether you want to configure a specific proxy for the connection. If there is no proxy that you would like to set, then select “Don’t use a proxy.”
Give the connection a name. The name should be something that allows you to easily recognize the system.
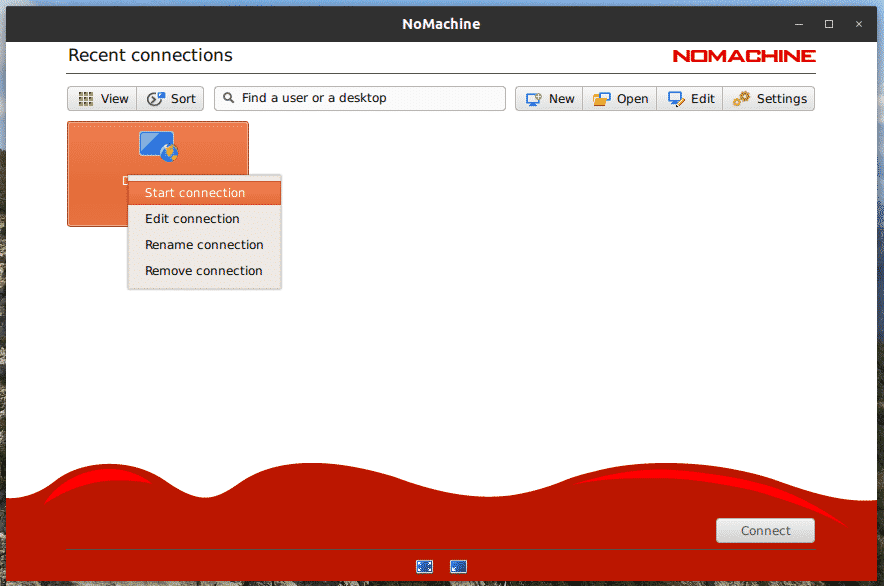
The connection is set! Right-click and select “Start connection” to connect to the remote desktop.
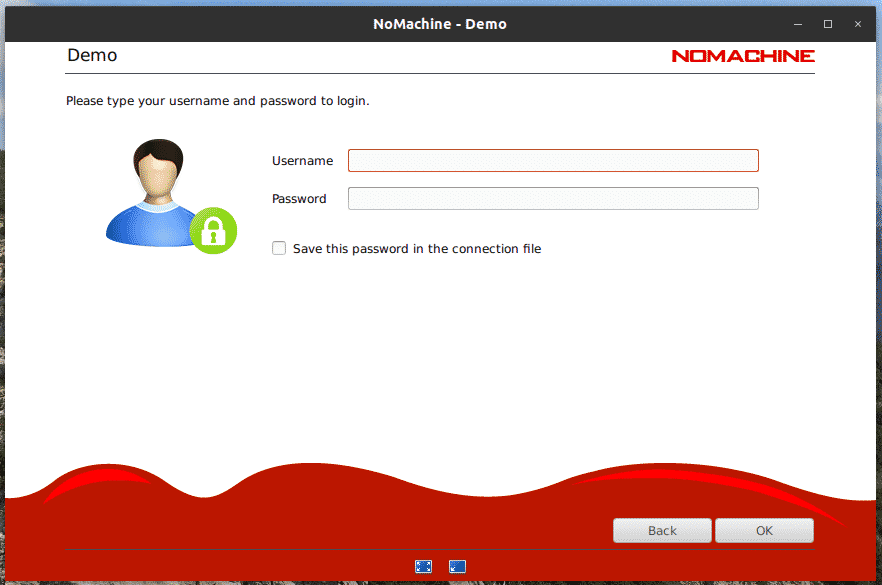
Enter the username and password of the remote desktop.
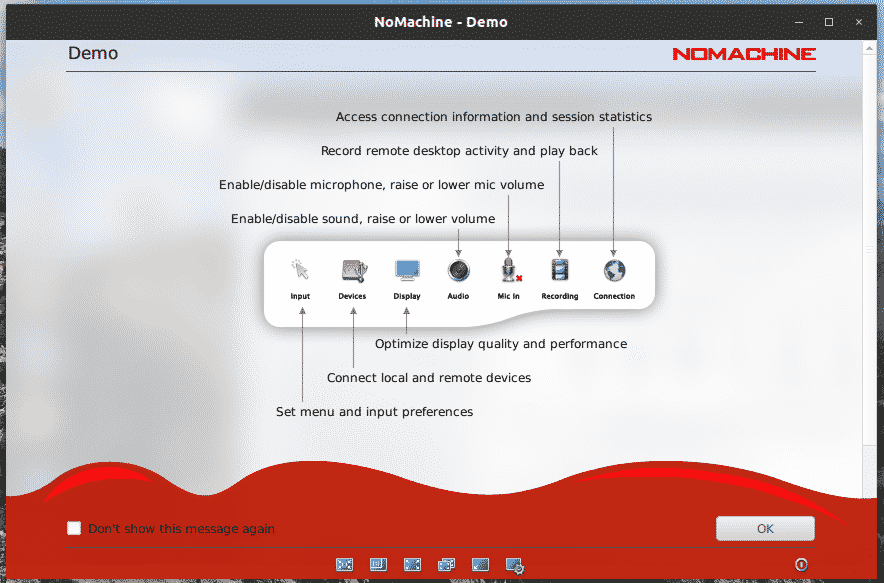
Once connected, NoMachine will show some quick tips and tricks for using the software.
Voila! Enjoy the remote desktop!
Note that Remmina is also compatible with the NoMachine server.
Conclusion
Depending on your workload, select the appropriate solution for your needs. All the remote desktop software packages mentioned here are for GUI remote desktop. If you just want access through the command line, then SSH is the best option. Check out how to configure and use SSH in Linux here. A portion of the tutorial is Ubuntu-specific, but the rest is applicable to any distro.
Enjoy!


