Today, we will discuss the two popular multiplexer tools: Tmux and Screen. The tutorial is supported by examples that include snapshots of commands and their output so that the users can easily grasp the concept of multiplexers.
Without any further ado, let’s get started!
Tmux
We will discuss about Tmux first. Using Tmux (Terminal Multiplexer), you can manage the multiple Terminal sessions simultaneously instead of one. You can easily switch between multiple programs.
Let’s begin by installing Tmux on our machine using the following command:
![]()
To launch Tmux, execute this command:
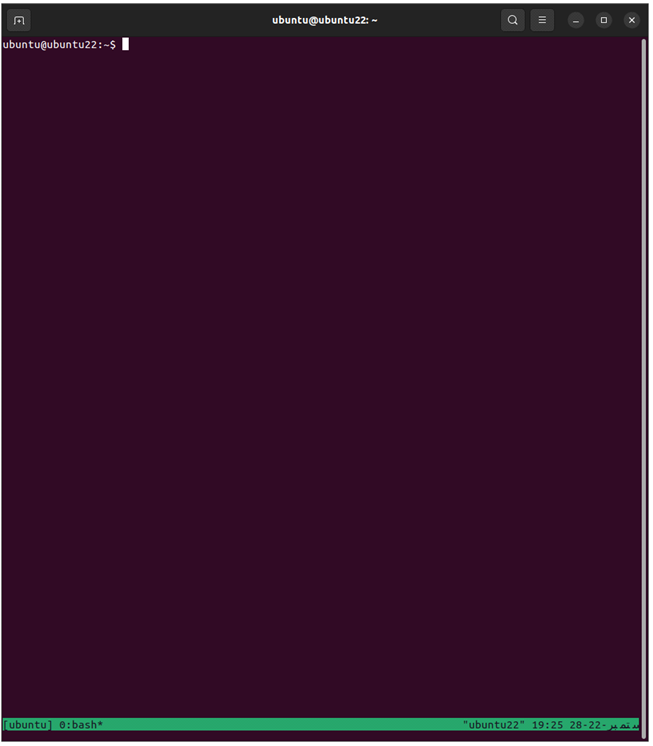
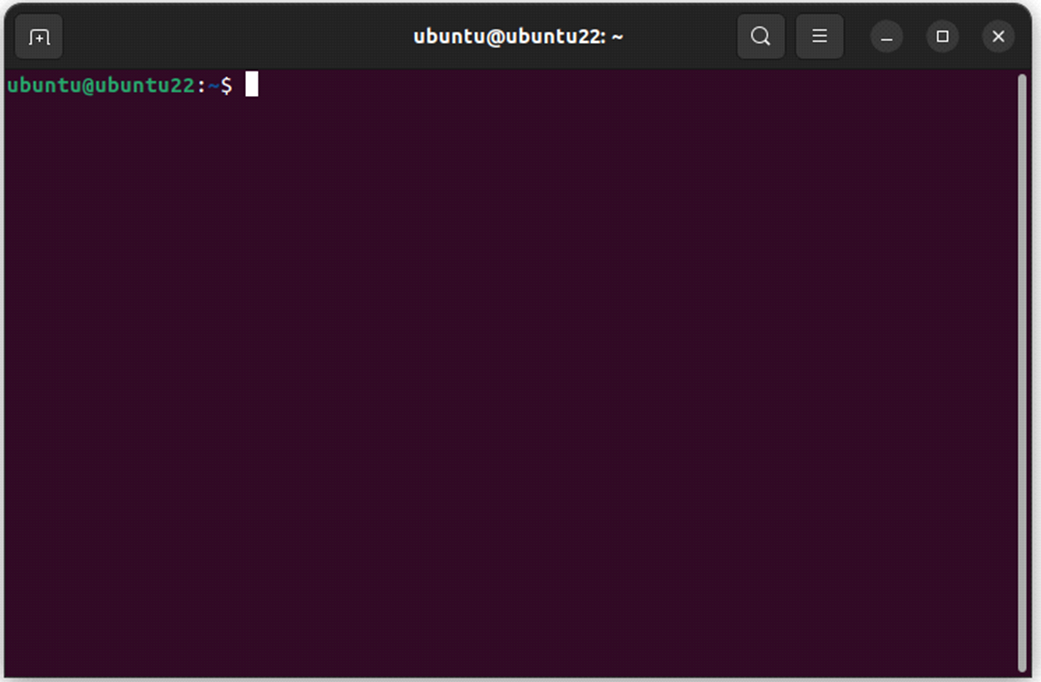
This is how the terminal appears when launched using tmux:
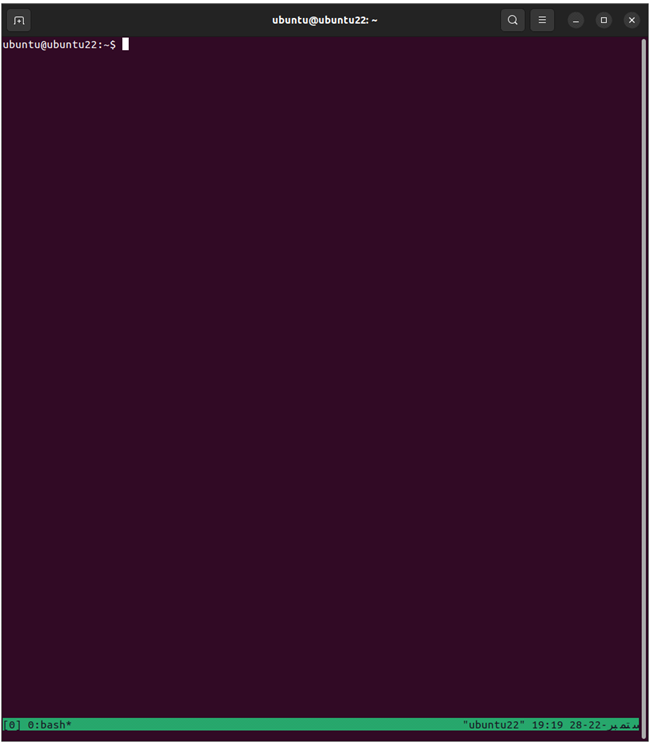
Now that we have seen how to launch tmux, let’s explore how to use it.
Create Named Sessions with Tmux
To launch a named session with Tmux, run the following command:
t mux new -s ubuntu
You can see the name of the session on the bottom left of the Terminal as shown in the following:
Split Tmux Horizontally
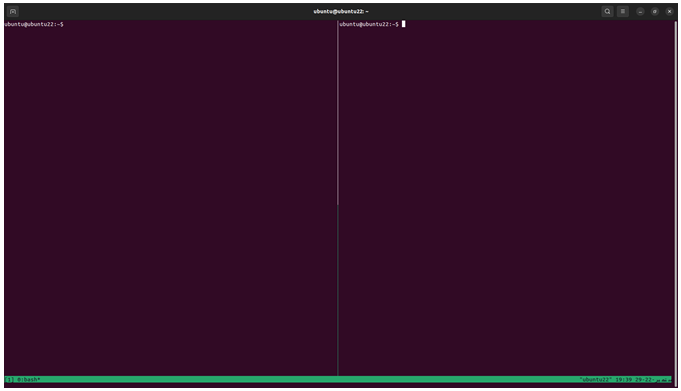
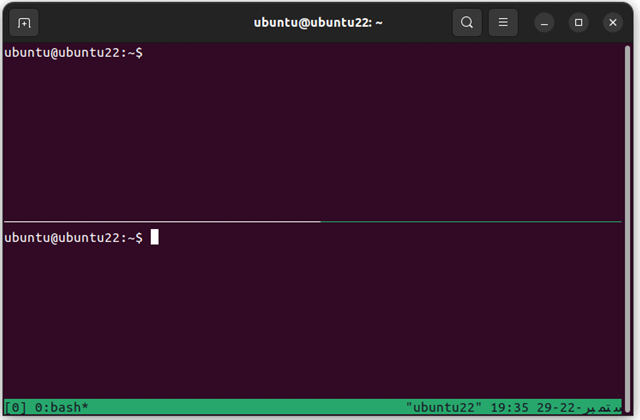
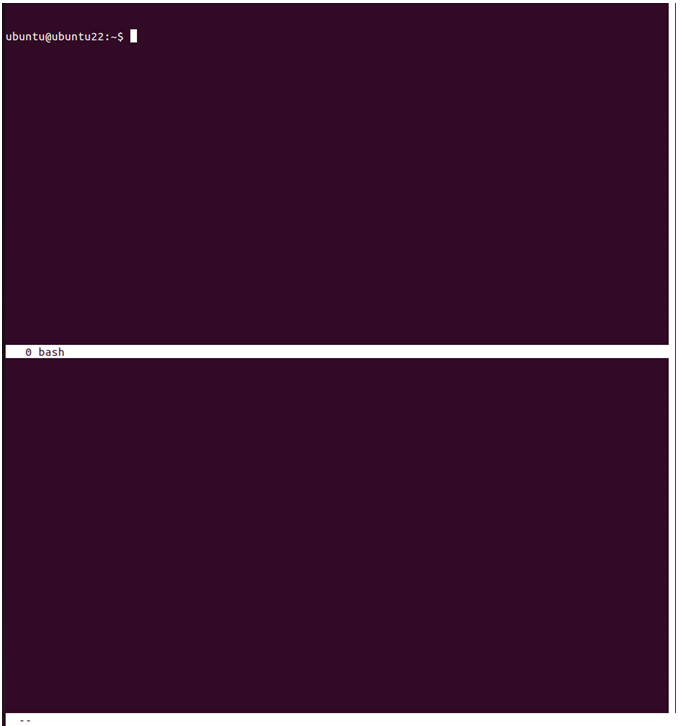
It is possible to split the terminal horizontally with Tmux. This can be achieved by pressing the keys on the keyboard like this:
(Ctrl-b) + “You need to press Ctrl and B at a time. Then, lift your finger from ctrl, press shift, and then press “.
If executed properly, your terminal splits like this:
Split Tmux Vertically
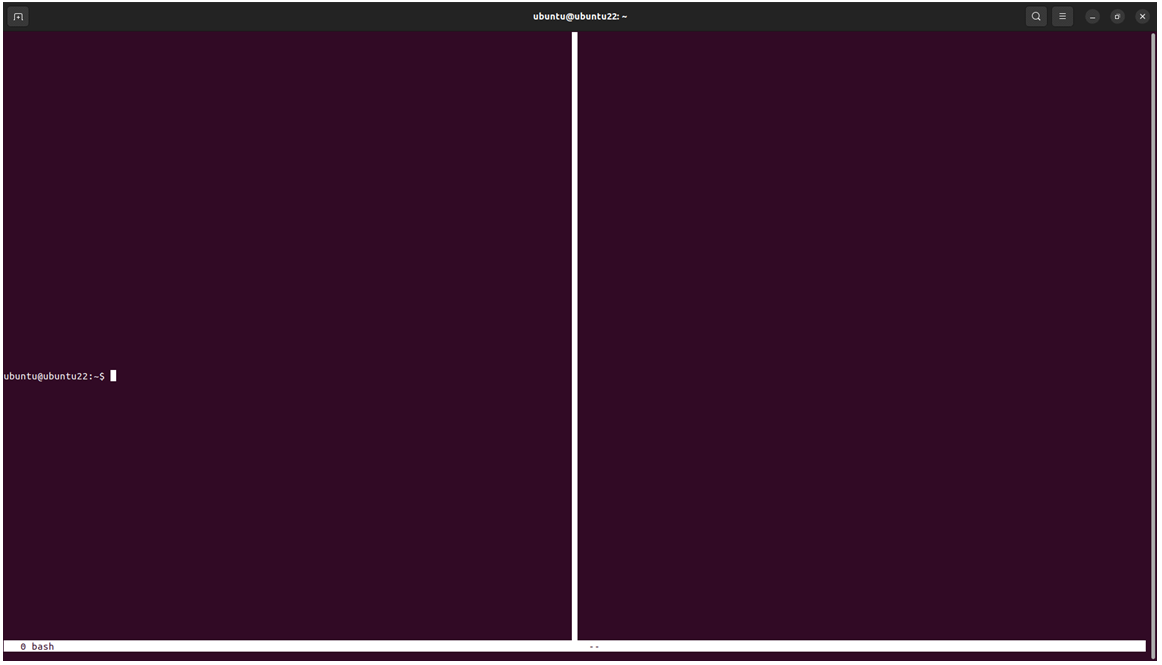
Similarly, you can split the terminal vertically as well. To do that, press the following keys on the keyboard:
(Ctrl-b) + %
Press Ctrl and B. Then, lift your finger from Ctrl. Press Shift and then press %.
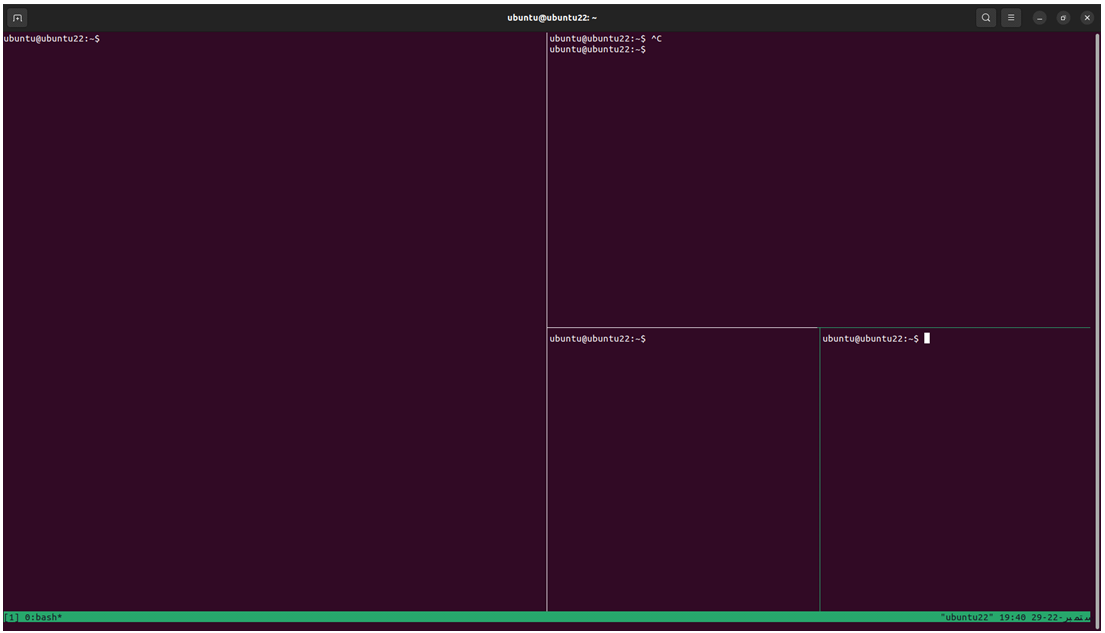
You can also create more screens using the methods that we followed for Horizontal and Vertical splitting.
Screen
It is now time to explore the Screen. GNU Screen is also a Terminal multiplexer that allows you to manage several Terminal sessions from a single window. Like Tmux, you can also attach/detach your sessions. The best thing about this multiplexer is that it allows you to share your session with other users.
Let’s begin by installing Screen on our system using the following command:
Now, launch the Screen by issuing the following command:
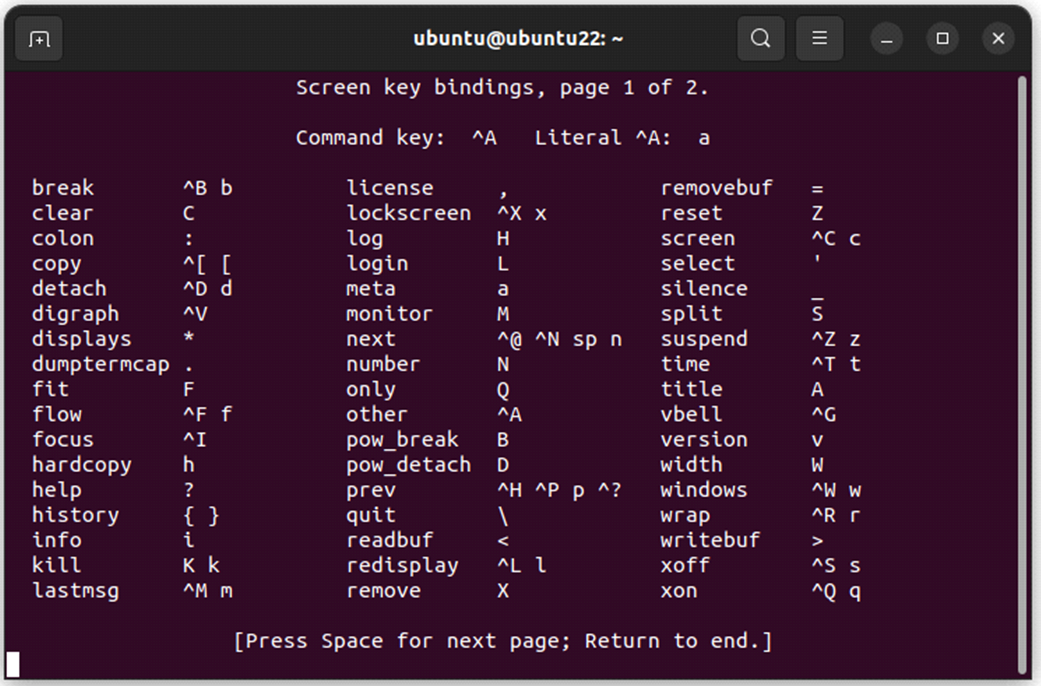
When screen is launched, this is the window that appears:
Press the spacebar to move to the blank screen.
Create a Named Window
To create a named window with Screen, execute this command:
To list down all the opened screens, use this command:
The commands that are listed down both attach and detach the screens:
Detach the Session
To detach the current screen session, use this command:
Reattach the Session
To reattach a screen session that was previously detached, issue the following command:
Switch Between Windows
To switch between windows, use the following key pattern on your keyboard:
List the Opened Windows
All the opened screens can be listed down using the following key pattern:
Ctrl+a ”
Splitting Horizontally
Like Tmux, we can split the terminal with Screen using the following keys:
(Ctrl-a) + |
Splitting Vertically
To split vertically, press the following keys:
(Ctrl-a) + S
Conclusion
In today’s guide, we learned in detail with examples the difference between Tmux and Screen. Both Tools have almost similar usage. We can split the terminal vertically and horizontally using both tools. But which tool is better? It all comes down to the user’s experience. Some users like Tmux better and some are more comfortable with Screen. Tmux, however, is deemed more user friendly than the other. On the other hand, Screen allows a user to share a session with the other users but this feature is missing in Tmux. Which tool do you like the most?
We hope you liked the tutorial.

