
Virtualbox has been around for almost 2 decades now. It was launched in 2007 as open source by Innotek and later acquired by Sun microsystems and became a part of Oracle product catalogue when Oracle purchased Sun microsystems. Virtualbox basically lets you create a computer within a computer. You are able to install another OS in your current OS and virtualbox uses the memory, storage and resources from current hardware. So you get to install other operating systems in your current PC without having to remove the current OS. This is useful for testing purposes where you get to test dozens of operating systems if you want to test them and that too without breaking your current operating system.
There are two methods to install Virtualbox on Ubuntu 26.04 LTS. Let’s go over both of them.
Method 1: Install VirtualBox by Downloading .deb Package
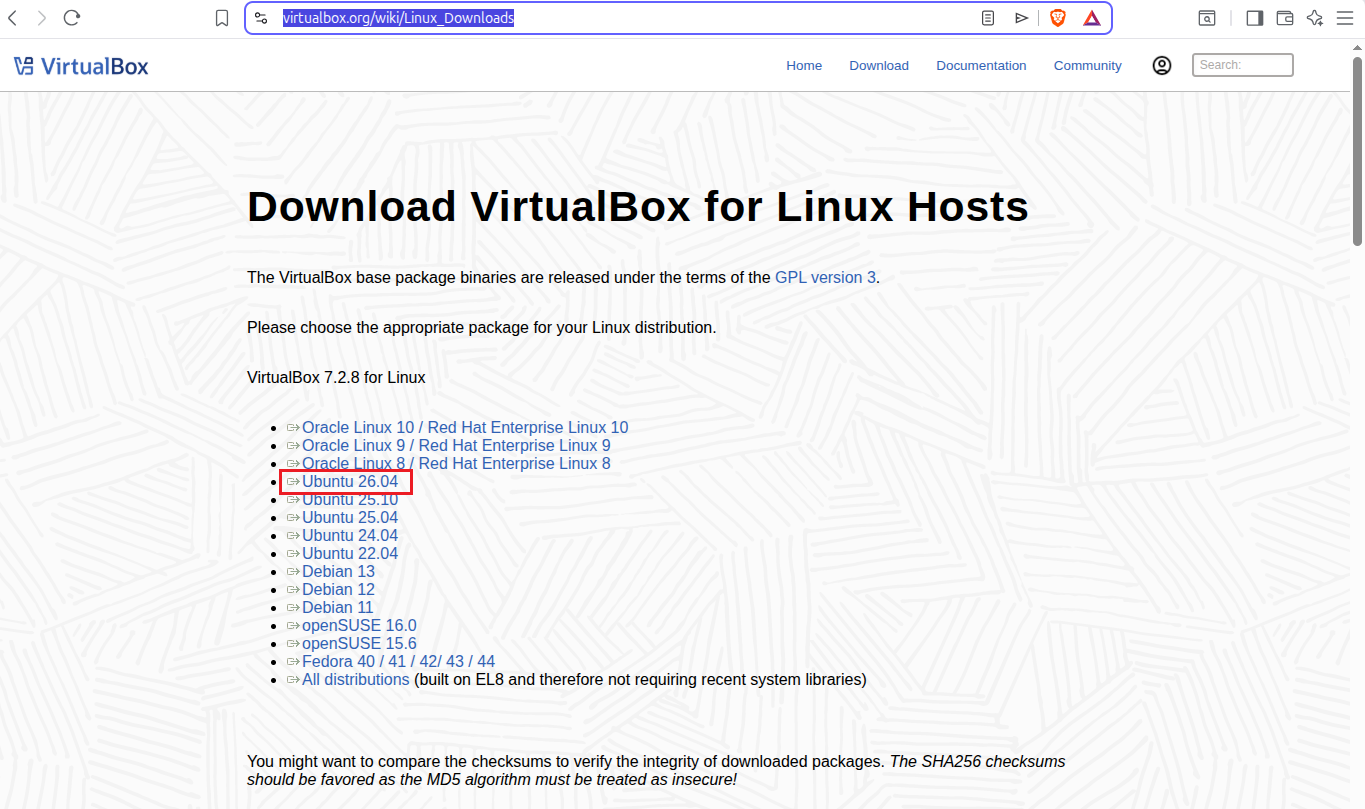
Step 1. Go to the official Virtualbox downloads page for linux and download the .deb package specifically for Ubuntu 26.04 LTS.
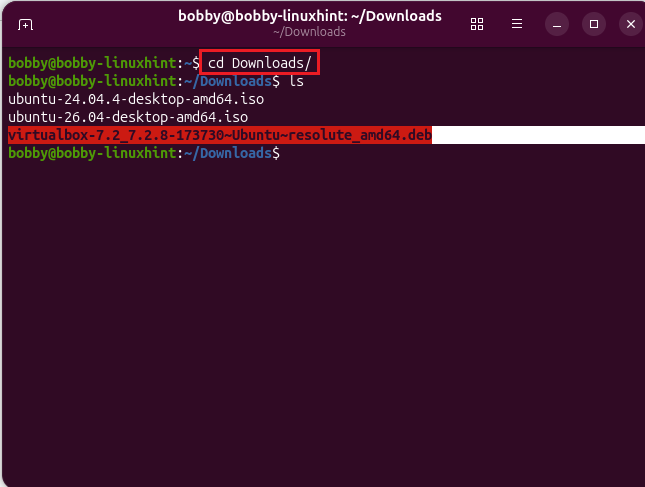
Step 2. Once downloaded, open your terminal by pressing CTRL + ALT + T and then go to the directory where it was downloaded (usually ~/Downloads directory).
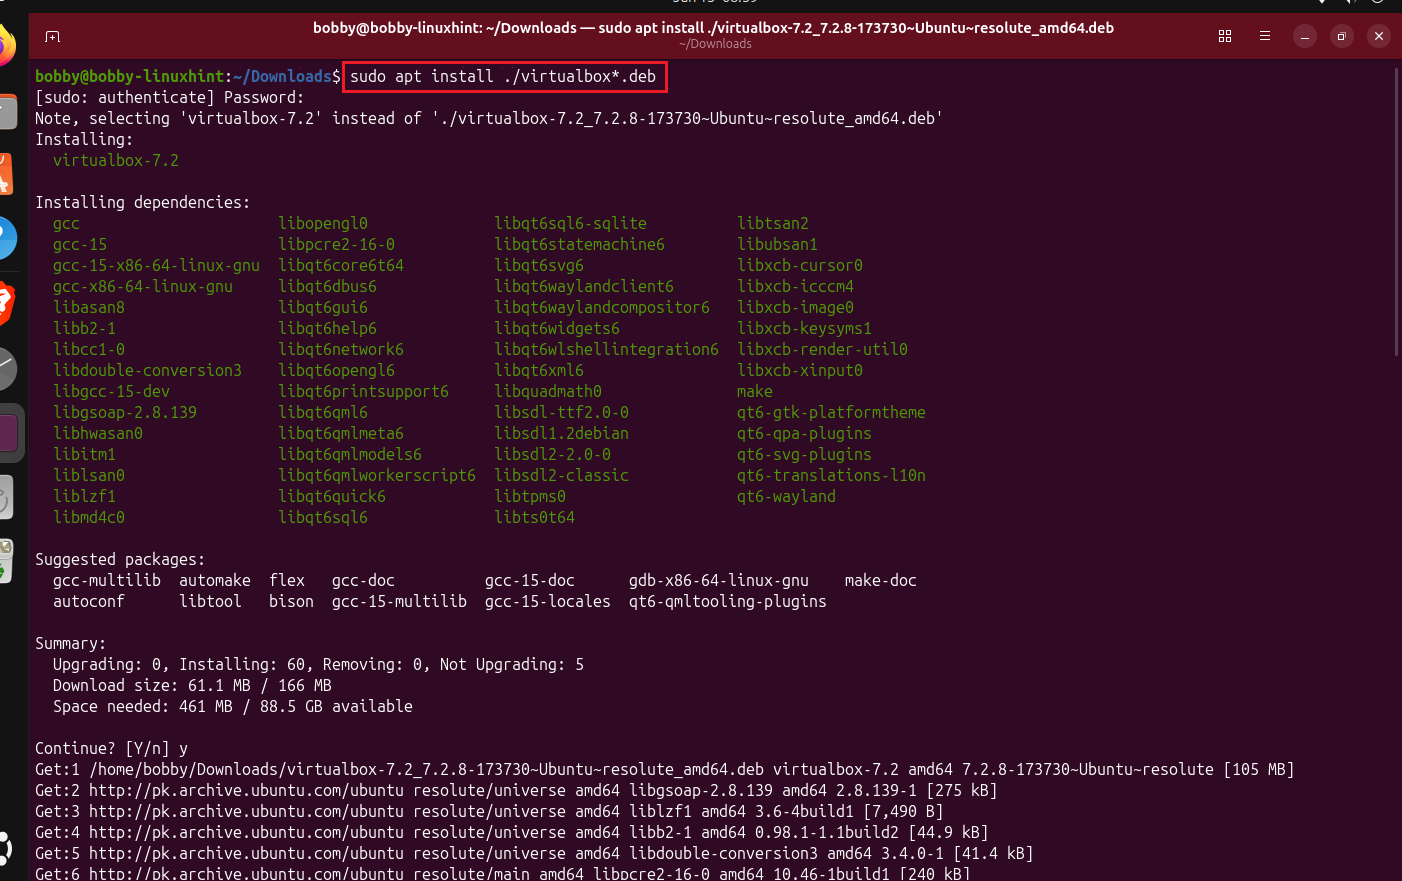
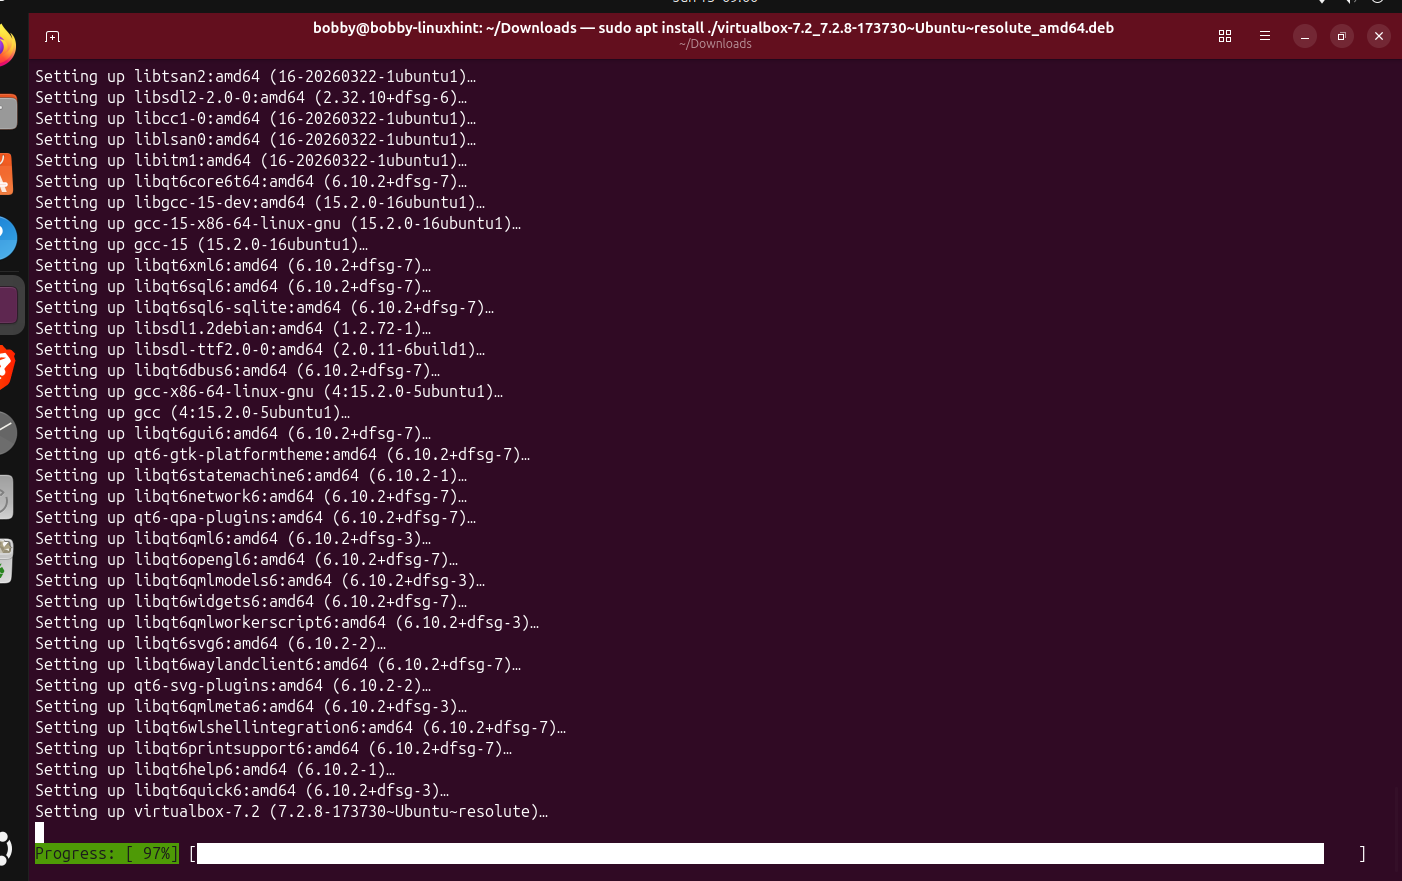
Step 3. Now, install Virtualbox by using apt and this .deb package which is downloaded. We use apt because it’s better for dependencies in comparison to dpkg -i. Run this command in your terminal:
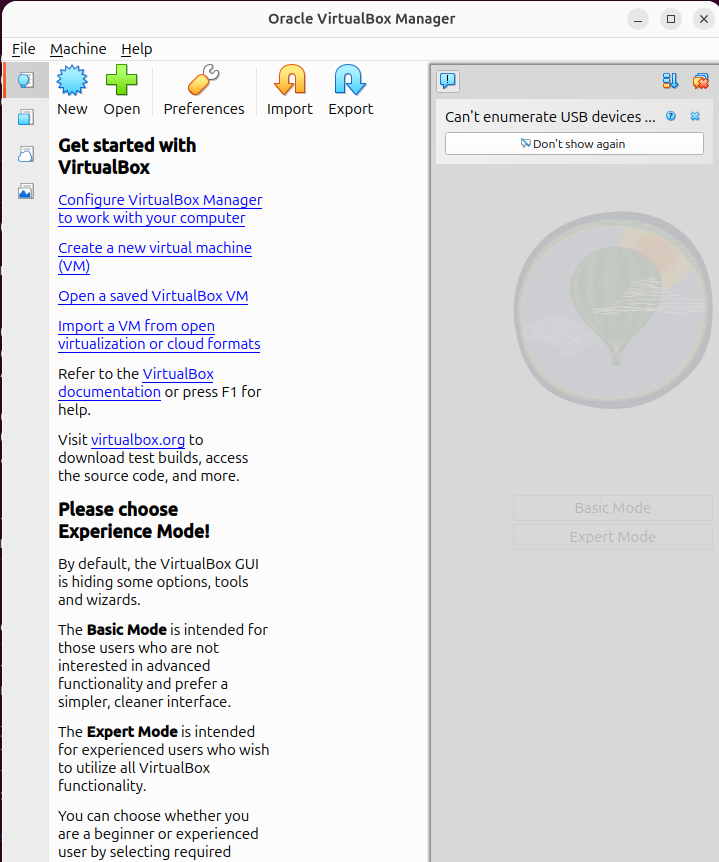
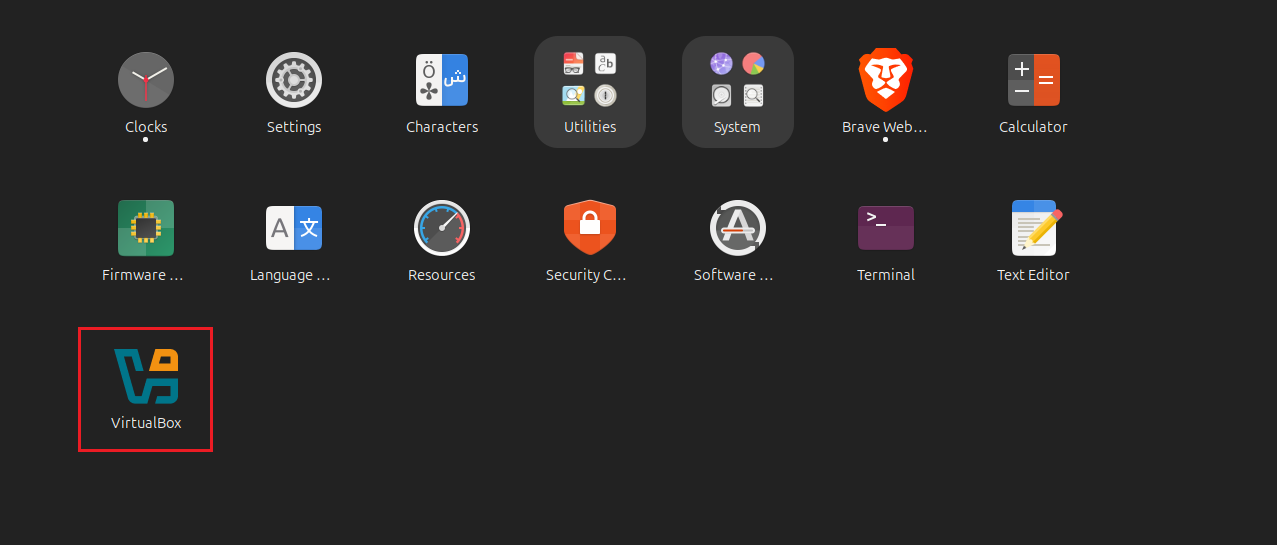
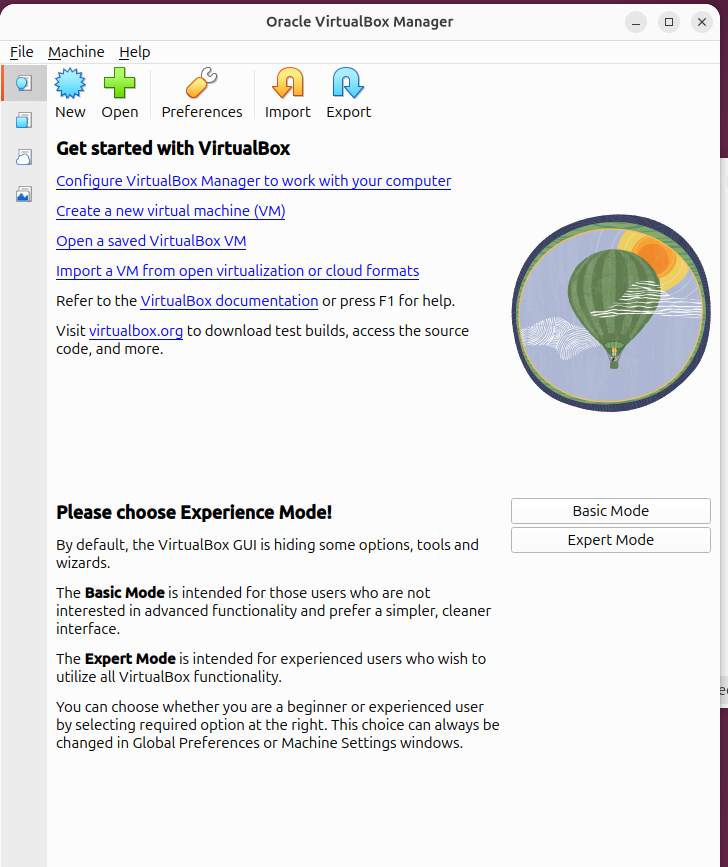
Step 4. Go to your apps section in Ubuntu and you will see Virtualbox installed there, just click on it and it will open Virtualbox.
Method 2: Install VirtualBox from Multiverse (Ubuntu Repo)
Step 1. Update the repository.
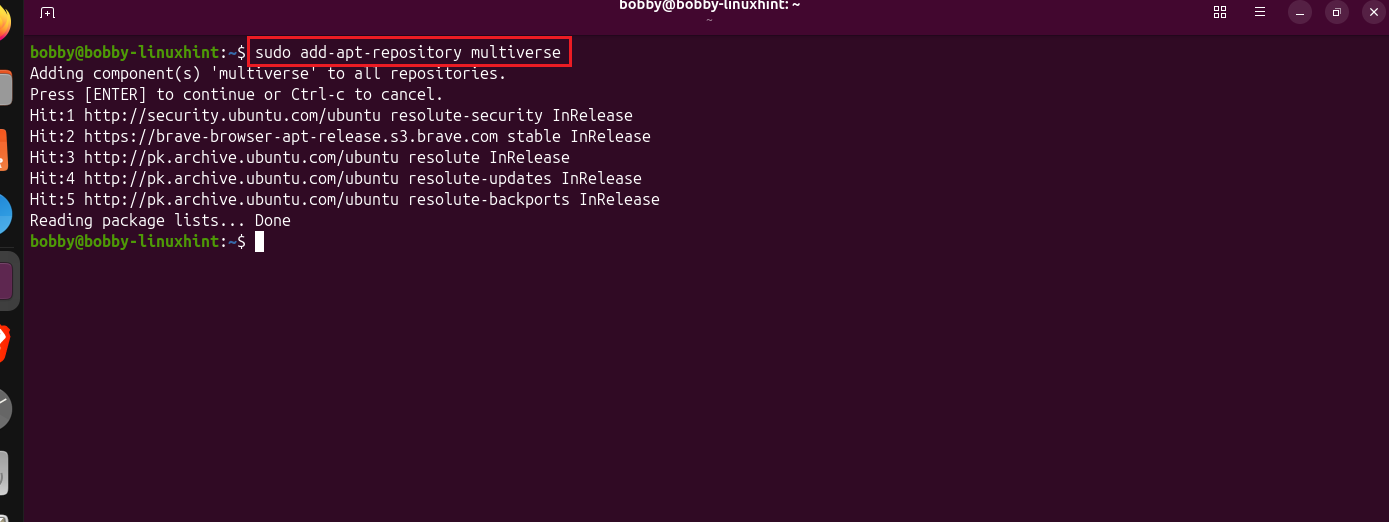
Step 2. Enable multiverse that has virtualbox components by writing this command:
Ubuntu repositories have multiple sections such as main, universe, restricted and multiverse.
Update the repository once again.
Step 3. Install virtualbox, its GUI package and the needed linux headers by running this command:
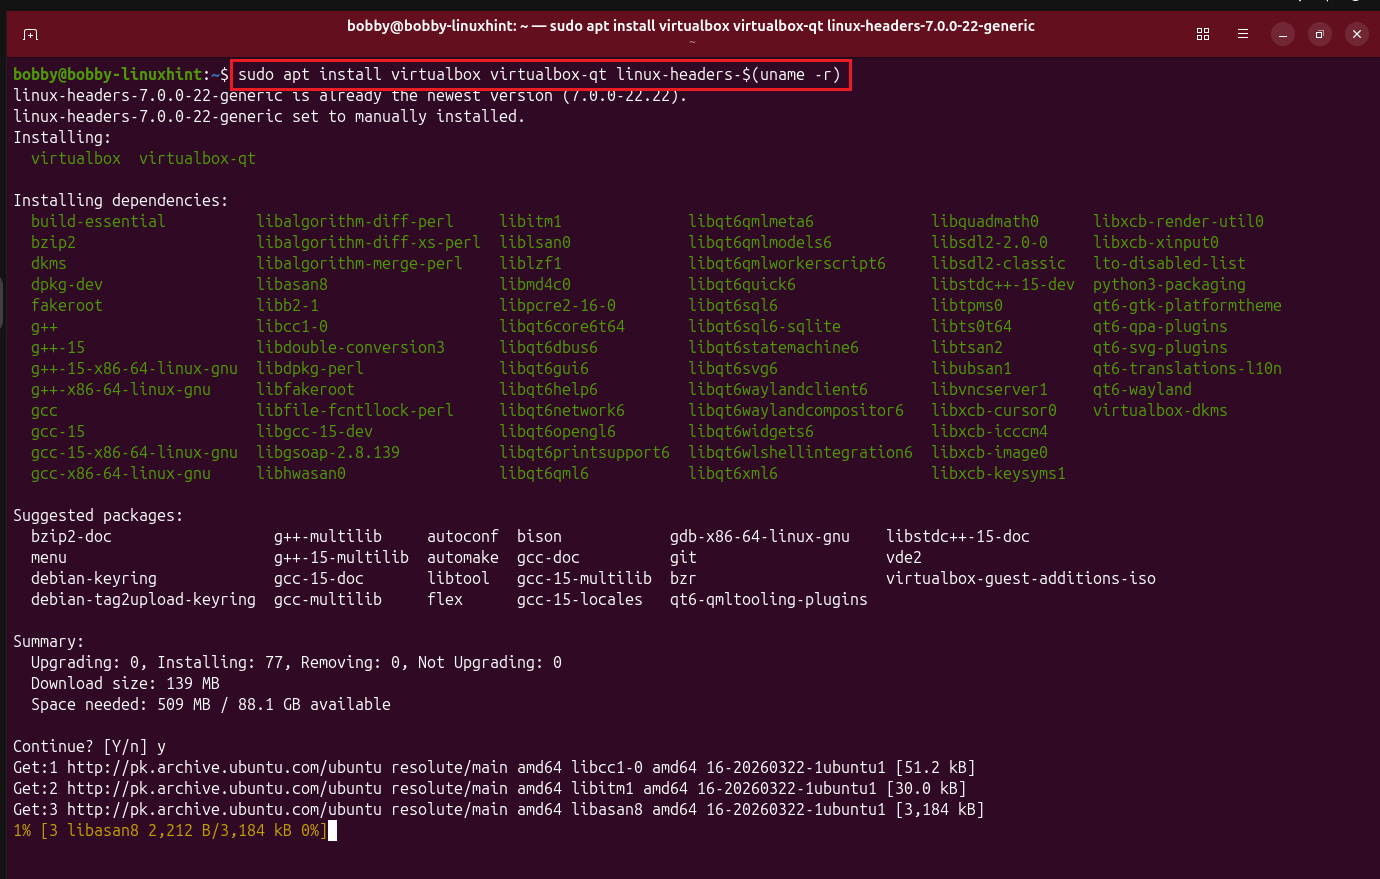
virtualbox-qt installs GUI package of virtualbox and linux-headers installs the linux kernel headers that help virtualbox communicate with the linux kernel. uname -r simply means the current linux kernel so combined with linux headers it means install linux kernel headers for this current linux kernel version of my OS.
Step 4. Now add the current user to the virtualbox group to use the features of Virtualbox properly.
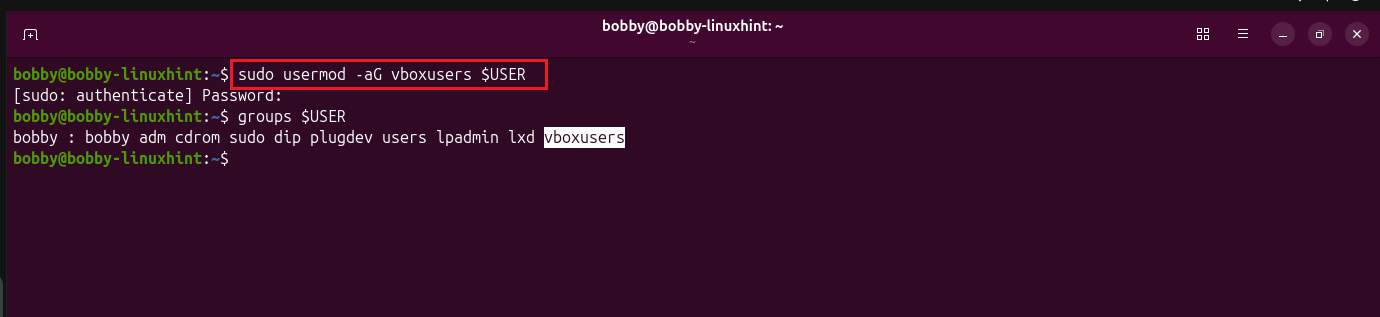
-a means append and -G means supplement group so together –aG they mean that add the current $USER to the vboxusers group without removing it from its current group. $USER is the environment variable and holds the current logged in user.
Step 5. Reboot the system to refresh the login session.
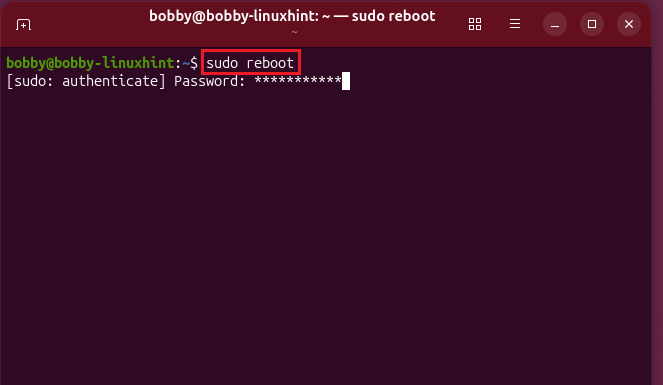
One thing to note is that if you have apps open such as browsers or anything else then the system will give you some inhibit warning/error and you won’t be able to reboot it until you close all apps. This is something new I noticed in Ubuntu 26.04 LTS while it was not there in Ubuntu 24.04 LTS.
If you want to force reboot then you can use this:
Step 6. Go to the Apps section and here you can see Virtualbox installed, click on that to open it.
Conclusion
We have learned to install Virtualbox in two ways. One way is where we install it directly by downloading the .deb package from Oracle website directly. The second way is where we install it from the Ubuntu repository by adding multiverse which is one section of the Ubuntu repo. In the second method, we also added the user to virtualbox group because some features can’t be used by the user without being the part of the group such as USB device support is not available if the user is not the part of vboxusers group.
Virtualbox is a powerful tool that can be used to install multiple operating systems on the current operating system without uninstalling it. It uses real hardware’s CPU, RAM, Network, Storage and other resources and only assigns a portion of it to the virtual operating system so you can run both side by side and not run out of resources.