With Emacs, you can create, edit, and manage the text documents. Moreover, you can harness its extensibility using the Emacs Lisp programming environment. Emacs stands out as a text editor to support numerous key bindings to ease its use. Our focus for this post is the mode features that Emacs offers. In particular, we will talk about the Org Mode. More about it is discussed in this post.
What Is the Org Mode in Emacs?
The Org Mode is an outline-based markup mode that is designed for use with Emacs that offers a versatile environment to manage and organize an information. Org Mode supports creating outlines that help with achieving a structured document format. Still, Org Mode allows creating TODO lists for different activities, and you can define the state such as “DONE” or “TODO”.
With Org Mode, you can create tables, schedules, deadlines, embed code blocks, and export the document in different formats to utilize it in various contexts. While this may sound complex to do, using Org Mode in Emacs only requires adequate practice, and with the examples presented in the next section, you will easily harness the power of Emacs Org Mode to make you a power user.
How to Use the Emacs Org Mode
Throughout this section, we will understand how to use Emacs Org Mode by covering various examples of some of its features. That way, you will understand some of these features while seeing how you can implement them. Let’s begin!
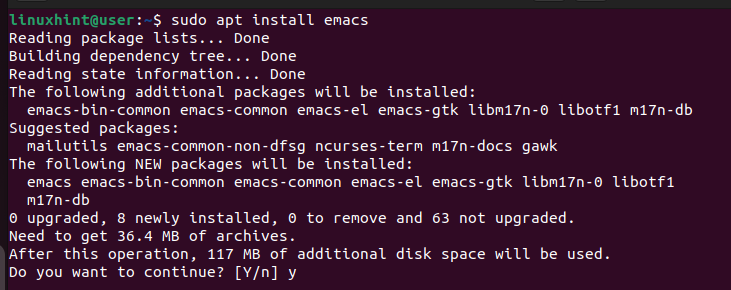
First, ensure you have Emacs installed. Otherwise, run the following “install” command:
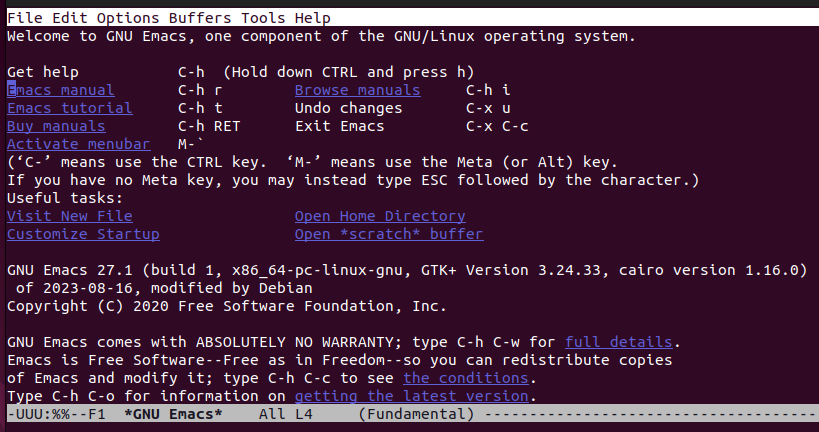
To use Emacs, open it from the terminal and the following window will open up if it’s your first time using Emacs.
With Emacs installed, let’s proceed with the usage examples.
Example 1: Creating an Org File
To open a new document in Emacs, use the following command. Note that in Emacs, “C” stands for the “Ctrl” keyboard key. For instance, the following command requires you to press “Ctrl + x”, release them, then press “Ctrl + f”:
Select where to save your file. Next, we must specify that we are dealing with Org Mode. For that, add the following line at the top of your document to make Emacs understand that you are using Org Mode. Replace “First Emacs” with any name that is ideal for you.
To save the file, use the following command:
Example 2: Creating Headings
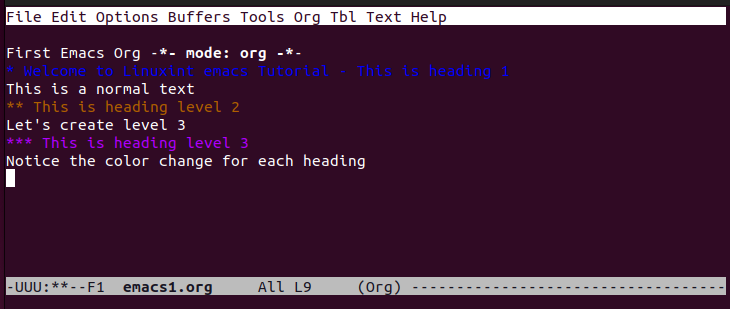
You can create three heading levels with the Org Mode. For level 1, use an asterisk (*) and type the heading name. For level 2, use two asterisks. For level 3, use three asterisks. You will notice that each heading level takes a different color as shown in the following. The white text is the plain text.
Example 3: Using Text Formatting
You can use bold, italics, and other text formatting options in the Org Mode. For bold, enclose the text with double asterisks. For italics, enclose the text with slashes (/). To underline a text, enclose it with underscores. You can also create a verbatim text by enclosing it with an equal sign. All formatting are represented in the following example:
Example 4: Working with Lists
To create the unordered lists, the best way is to add “+”, “-“, or “\*” at the start of the item. However, if you want to create the ordered lists, use numbers at the start of each item, depending on the level where you want the list to appear.
The following is an example of an ordered list:
Example 5: Folding a Content
When working with a large document, folding is the best way of organizing the content and getting a better view of all the contents. You can fold a given item, such as a list or heading, or choose to fold the entire document. Press “Ctrl + tab” for the whole document or “tab” for a specific section.
For instance, you have the following document that contains the ordered and unordered lists:
If we fold the entire document, we will narrow its contents and have the folded version appear as shown in the following:
Example 6: Creating TODO Tasks
With Org Mode, you can quickly create TODO for your tasks by adding the TODO keyword at each item. Here, we used the level two heading for our TODO list.
Alternatively, you can create a TODO that contains the listed tasks. For that, create a task list using [ ] as demonstrated in the following. You can mark a TODO as “DONE” to show its state.
Example 7: Creating Schedules and Deadlines
A TODO is not enough, and having schedules and deadlines is the better way of keeping tabs on your upcoming tasks. Use the “SCHEDULED” keyword to schedule an activity and add the date. To monitor the task, set the “DEADLINE” for when you should complete it.
Example 8: Exporting the Org Mode File
After you created your Org Mode file, you can export it in different formats to interact with the results. Some of the supported formats include HTML, PDF, LaTeX, etc.
First, save the file. Next, use the “C-c C-e” command to bring up the export window. Press the relevant key bindings depending on which export format you want to use.
For this example, we selected the HTML format and our exported file appears as shown in the following when opened on a browser:
Conclusion
Emacs supports Org Mode which helps with structuring a document while giving more functionalities to achieve different goals. We introduced the Org Mode and provided examples on how to use it in Emacs. Hopefully, you can now comfortably use Emacs in Org Mode.


