Step-by-Step Guide on How to Install HAProxy on Debian Linux
HAProxy is compatible with different operating systems and distro. You can use it as a load balancer, a reverse proxy, or to secure your traffic between the client and the server. Whatever your use case is, the first step is to install HAProxy. Once installed, you can edit the configuration file to meet your needs. The following are the steps to install HAProxy on Debian Linux.
Step 1: Update and Upgrade the System
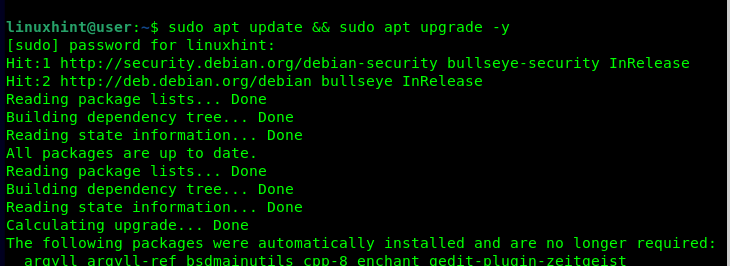
As a rule of the thumb, updating and upgrading the system is essential whenever you want to install packages. The main benefit is that you will get the latest version of the package that you wish to install. Quickly update your Debian as follows:
Step 2: Install HAProxy
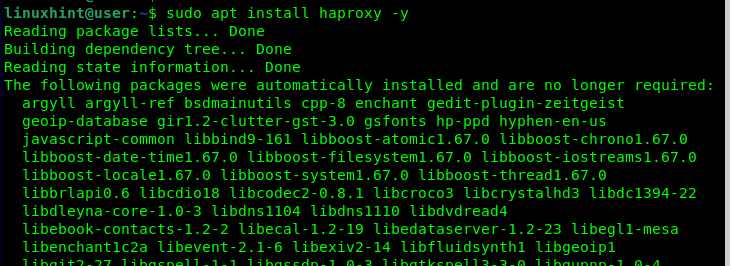
HAProxy is available from the official Debian repository and on the other Linux systems. Therefore, you can quickly install it using the following APT command:
Give the required permissions and confirm that you want to continue with the installation by pressing “y” on your keyboard.
Once the installation runs successfully, verify that HAProxy has been installed by checking the available version. For this case, the following output shows that we have HAProxy version 2.2.9 installed:
Step 3: Configure HAProxy
After installing HAProxy, you can access and edit its configuration file to define how you want to use it with your web servers. The configuration file is at “/etc/haproxy/haproxy.cfg”. Open it with a text editor and you will have a file like the one in the following.
The first section is the “global” section. It’s where you define what to log and where to send the log files. Leave the “global” and “defaults” section as they are.
Our focus is on the “frontend” and the “backend” sections where you define what ports you want to listen to for connections and how to handle the traffic by specifying what servers to use based on the rules you define.
For this example, we specify to bind all the connections that come through ports 80 and 81. Moreover, we create a rule that distributes the traffic depending on the incoming port. Our rule redirects all the connections via port 81 to use a different backend server as one way of distributing the load that would otherwise have been handled by the default backend server.
Once you defined your frontend, ensure that you create the backend servers and give the IP addresses or the host names for the servers that you want to use for the traffic. Lastly, save and exit the HAProxy config file.
Step 4: Test HAProxy
Start by restarting HAProxy via “systemctl”.
You must then check the validity of the configuration file to detect any error that it may contain. The following command should show “configuration file is valid” if no error is detected.
For the first test, we will try sending the traffic to our web servers using the “curl” command and see how it handles them. We channeled the traffic via ports 80 and 81 but we can’t get any response since our web servers are not running.
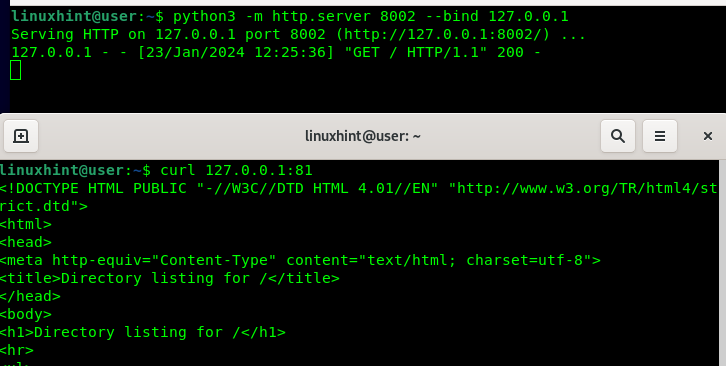
To run our Python3 web servers, we run the following command and bind the first port:
Running the “curl” command now shows that our web server is up and running, and our HAProxy is distributing the load to the default web server since we used port 81.
Suppose we bind the other port as follows. If we try to run the same “curl” command via port 81, we confirm that the rule that we specified is working, and HAProxy now uses the second web server that we defined in the configuration file.
With the given steps and explanations, you can now comfortably install and configure HAProxy on your Debian Linux.
Conclusion
HAProxy is available on Debian and can be installed from the default repository. Using the APT command, this tutorial demonstrated how to install and configure HAProxy on Debian Linux. Hopefully, the presented insights are clear and you managed to follow along and install HAProxy on your Debian Linux.


