Since the Vim statusline is fully customizable, in this guide, I will be exploring the Vim statusline: how to enable it permanently, and how to customize it.
- Enabling Vim Statusline
- Set Custom Vim Statusline
- Set Custom Vim Statusline Using Default Options
- Padding the Vim Statusline
- Set Vim Statusline with Multiple Options
- Splitting the Vim Statusline
- Change the Color of the Vim Statusline
- Creating a Custom Vim Statusline
- Set Custom Vim Statusline Through Vim Script Function
- Conclusion
Enabling Vim Statusline
To permanently view the Vim statusline use the laststatus command with the status value 2.
Other values are mentioned below:
| Status Value | Description |
| 0 | The statusline will be disabled. |
| 1 | The statusline will be enabled when there are 2 windows. |
| 2 | The statusline will always be enabled. |
Note: The 1 is the default status value of the laststatus.
Place the command in the vimrc file to keep it enabled for all sessions. Open the vimrc file:
Type the set laststatus=2 and note that, we will not add colon (:) while placing commands in the vimrc file.
Close and save the file by using the shift+zz or :wq command in the NORMAL mode.
You can disable the statusline any time by changing the status code to 0.
The Vim statusline has now been enabled and will permanently appear at the bottom of the window. Let’s learn how to customize the statusline.
Set Custom Vim Statusline
To place the custom status, use the statusline command with a string.
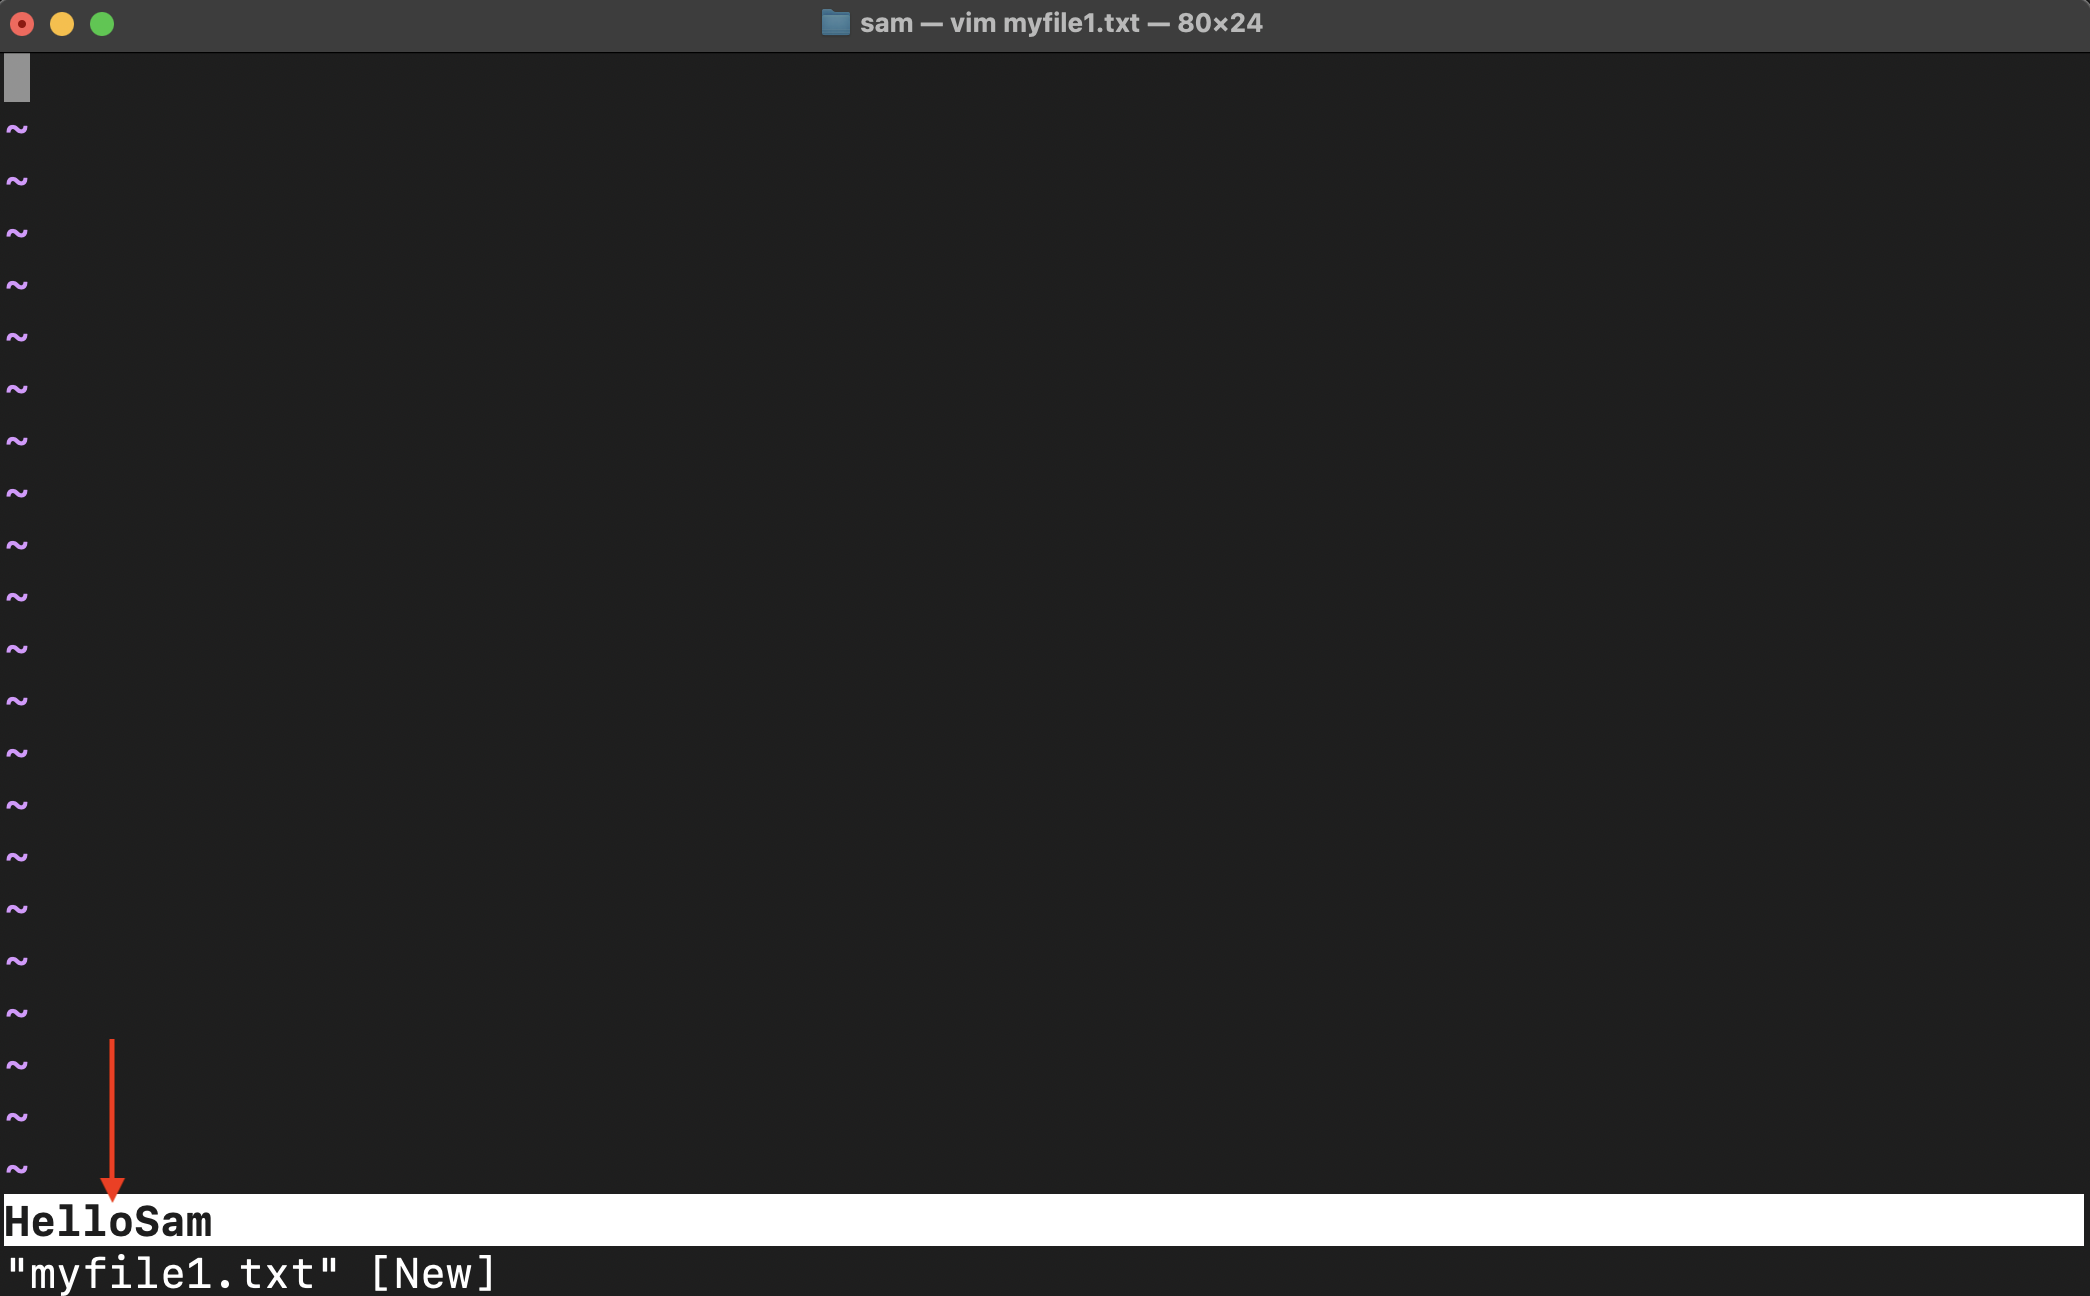
Executing the above command in Vim will set a temporary status on the statusline. If you want to keep the status on the statusline permanently, place the above command in the vimrc file.
Now, every time you open the file, you will be greeted with this customized statusline.
Note that the status we set is without any space, to include the space we need to escape the space:
Now, you can view the space between Hello and Sam.
This is how you can set a simple custom status for statusline in Vim, let’s move towards some advanced functionalities of statusline.
Set Custom Vim Statusline Using Default Options
Many useful options can be used as custom Vim statusline such as file path, modification, type of file, values of the keys, value of the character, line number, and percentage through the file.
Let’s see how to use these options to set the Vim statusline:
File Path as Vim Statusline
For the full file path F option is used with the statusline command:
The full file path can be truncated to a specific number of characters to make a long file path readable.
The above command will show the last 20 characters of the full file path.
ASCII Value of Character Under the Cursor
Use the b option with the statusline to get the value of the character on the cursor:
Line Number Under the Cursor
Use the l option to get the line number on which the cursor is:
Column Number Under the Cursor
Use the c option to get the column number as statusline:
Percentage Through the File
To get the percentage of the file by cursor position use the p option.
Total Number of Lines
For the total number of lines use the L option:
Adding Text with the Option
To insert text with an option simply type the string before the option:
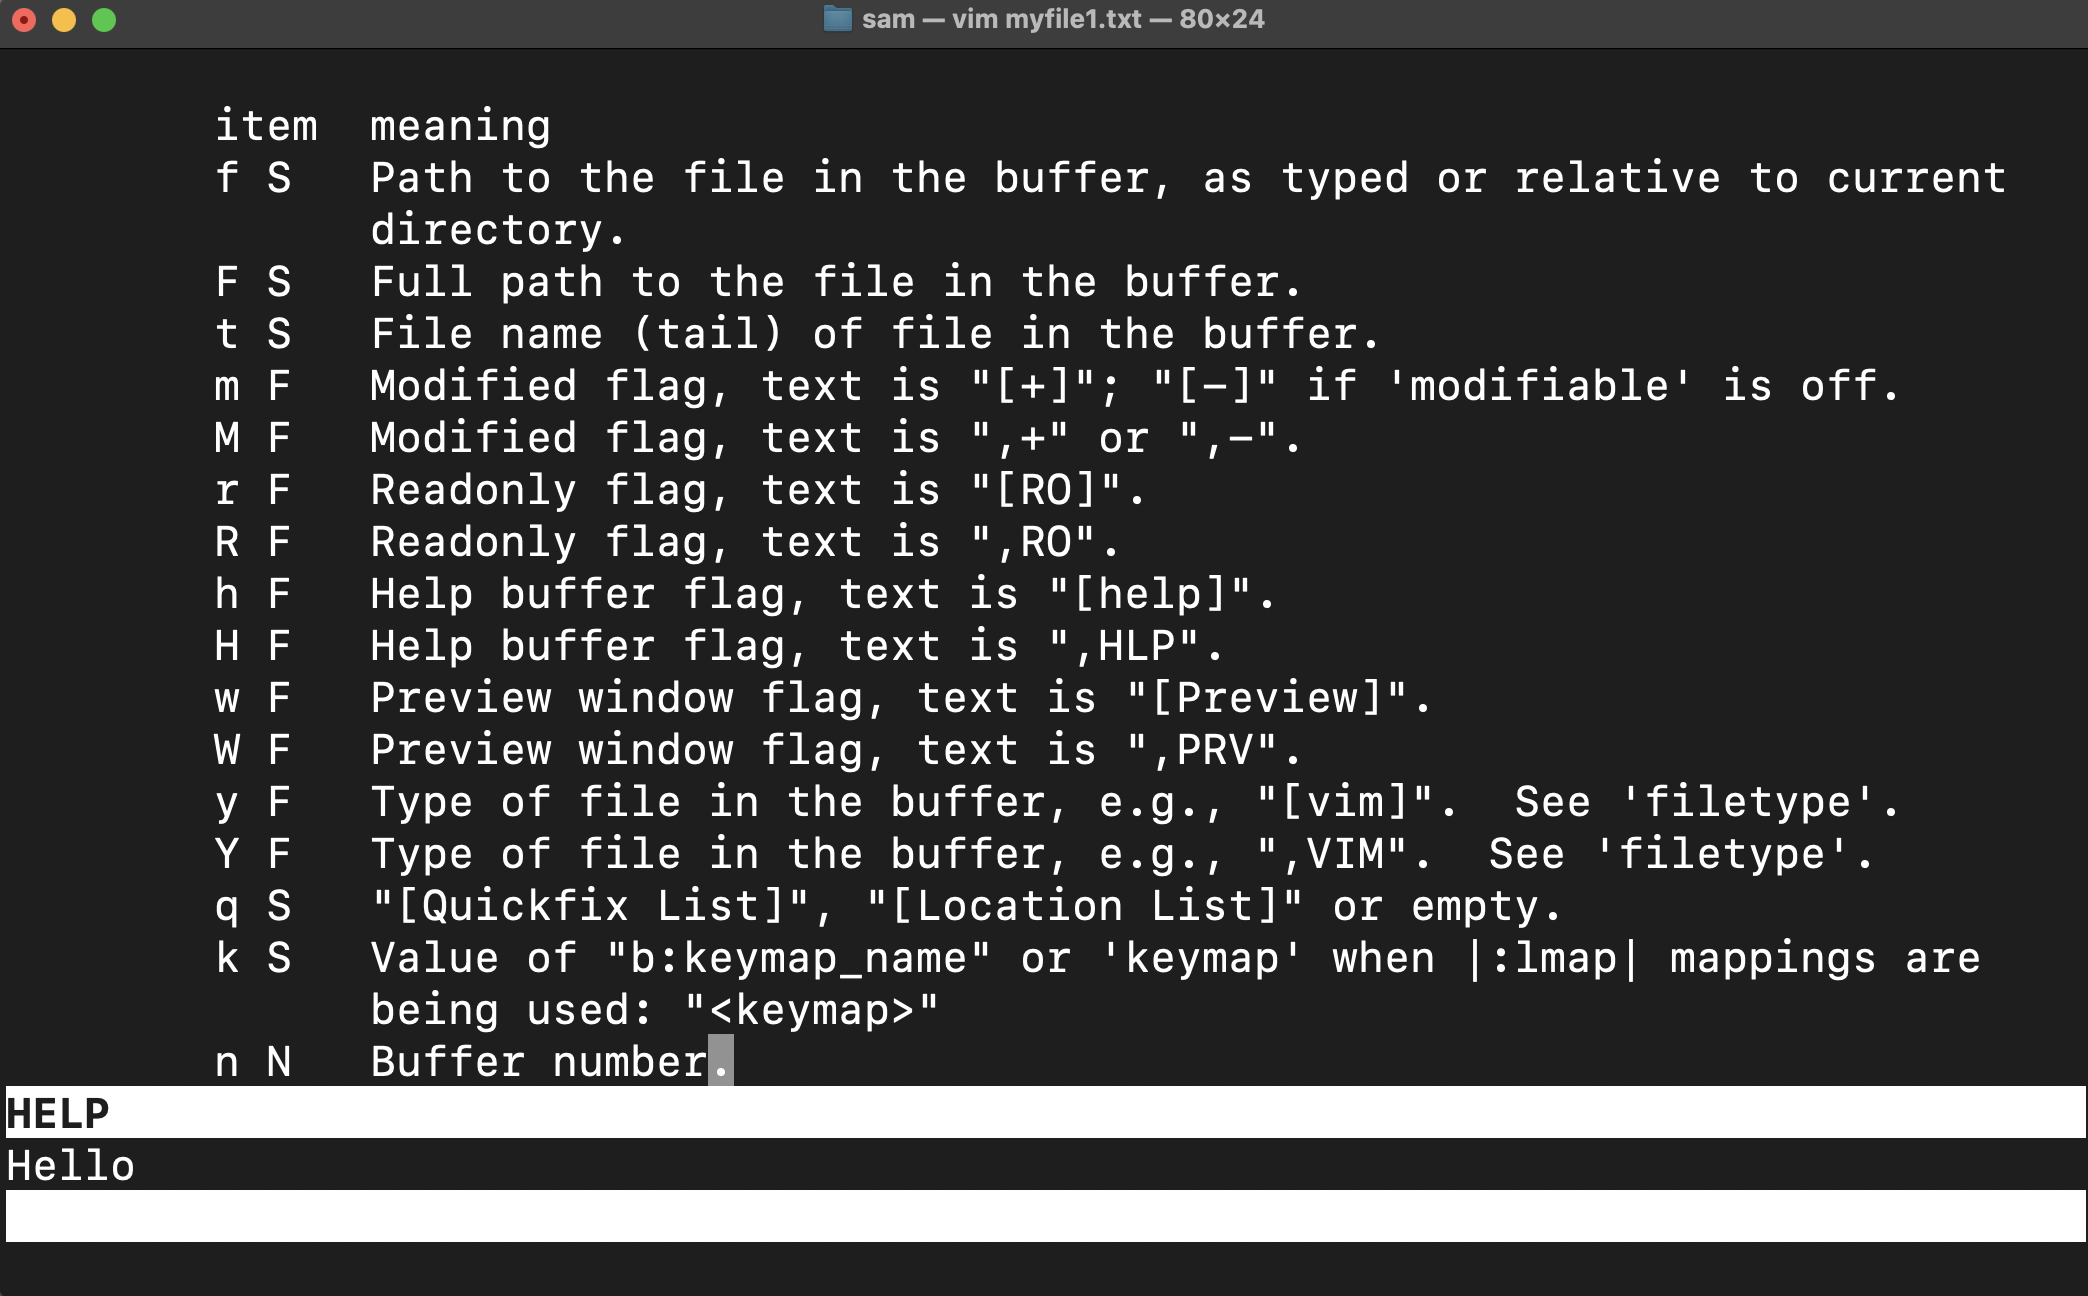
To explore more options for the statusline, execute the help command with the statusline argument.
Padding the Vim Statusline
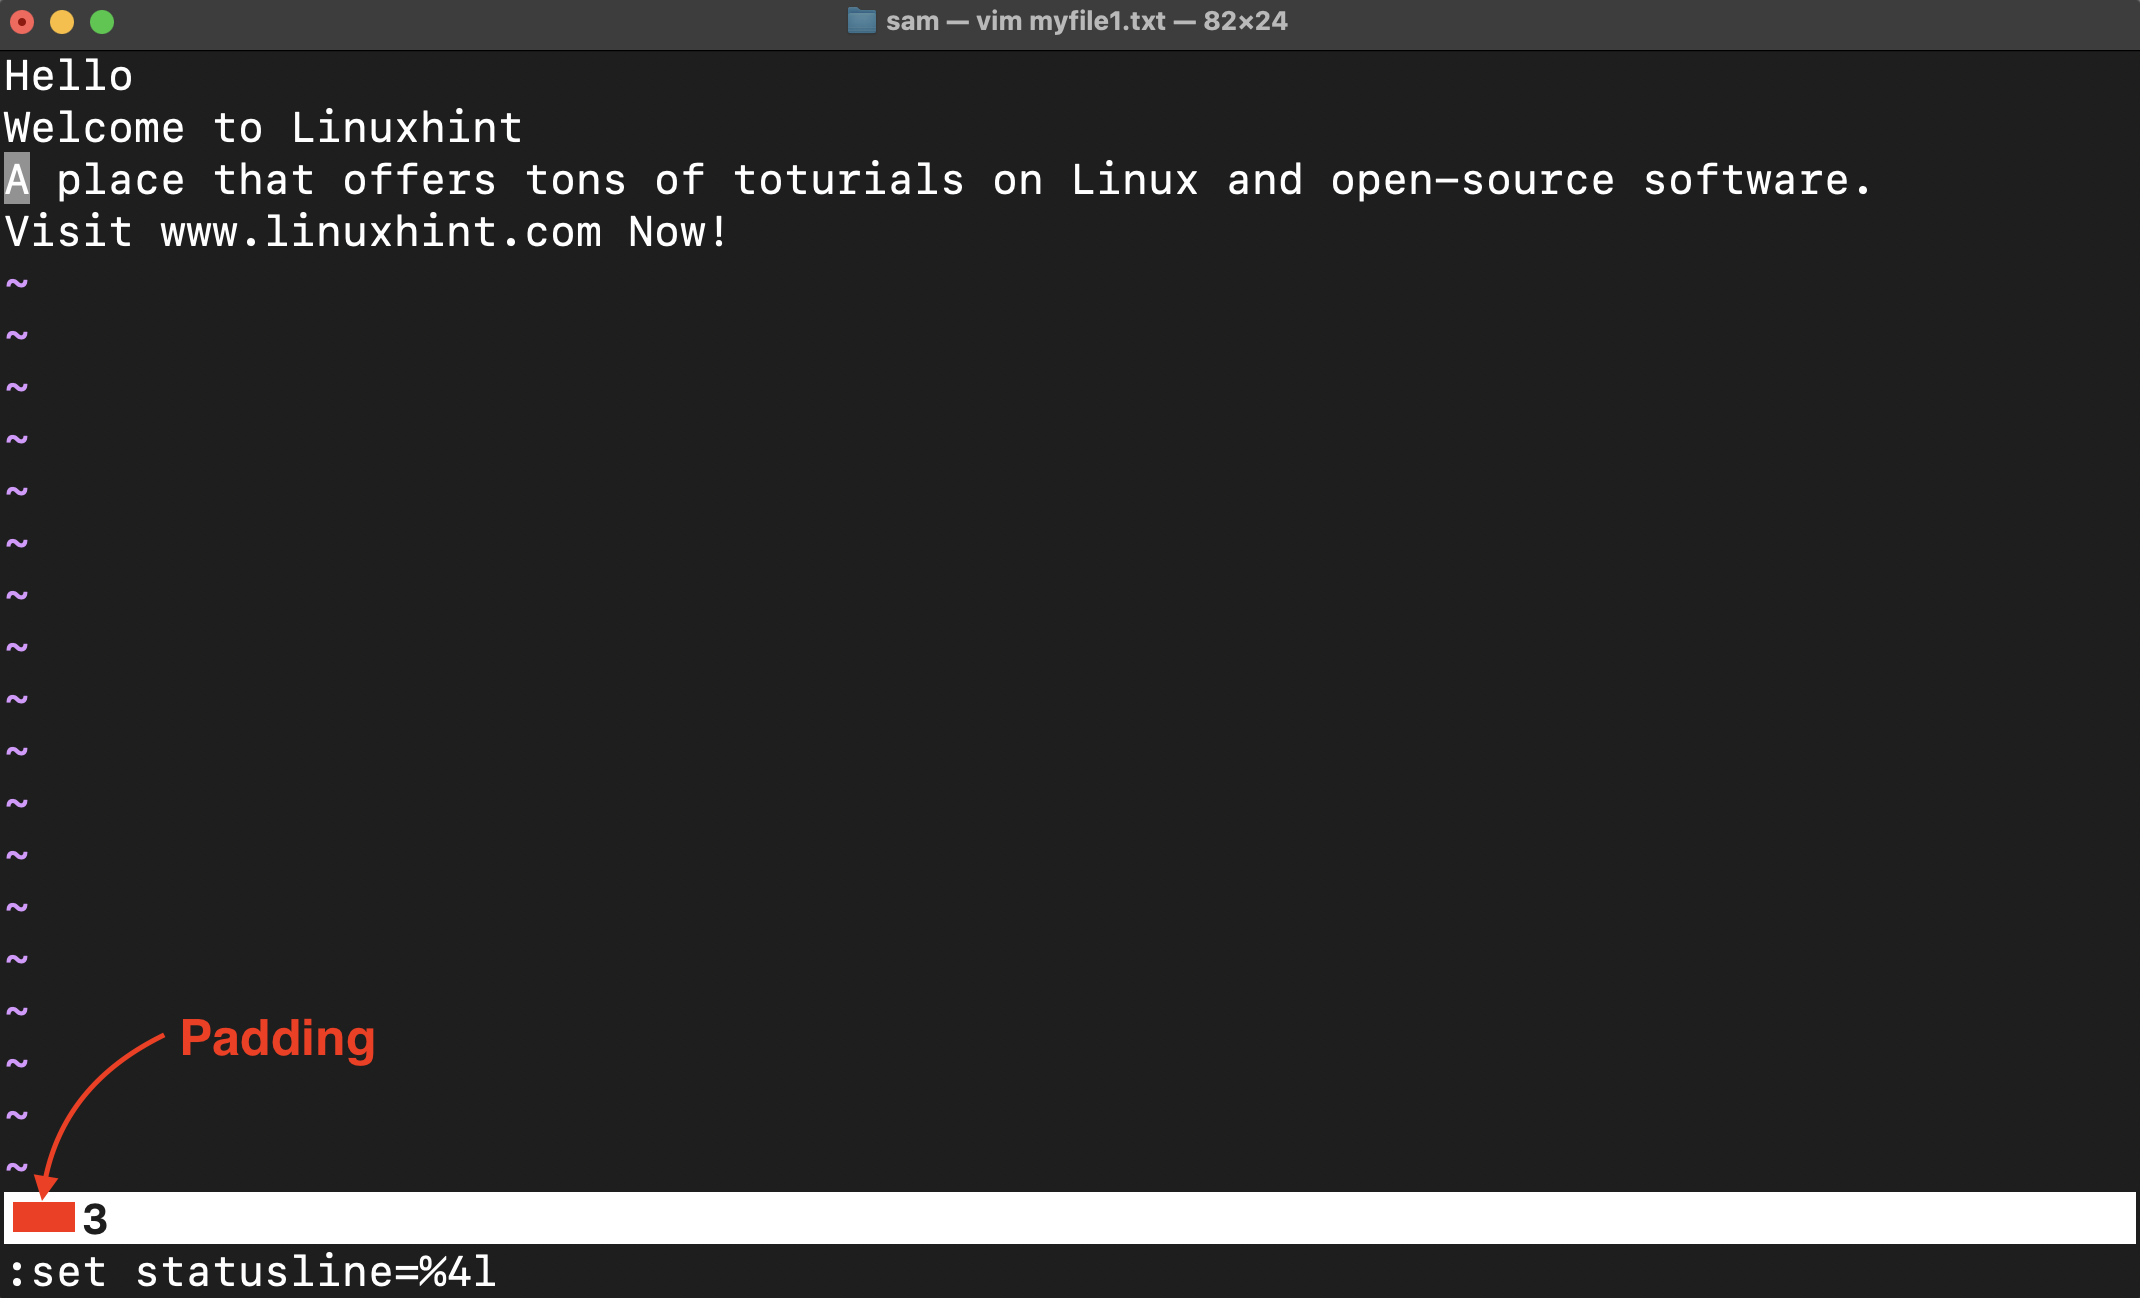
To pad the Vim statusline, we can add an integer with the default option. For example, to add padding of four characters to the line number option l we will use, %4l.
By default, padding is added to the left, but if you want to add padding to the right side just insert the minus (-) sign with the integer.
Set Vim Statusline with Multiple Options
To make a custom statusline with multiple options a different syntax will be followed. Let’s understand it with an example: assuming we want to show file path, current line number by cursor position, and the total number of lines:
set statusline+=\ \-\
set statusline+=Line\ Number:%l
set statusline+=\ \-\
set statusline+=Total\ Lines:%L
As you can notice, after the first command all the subsequent commands use the concatenation operator (+=) instead of equals (=).
Now the statusline will appear the following way:
Splitting the Vim Statusline
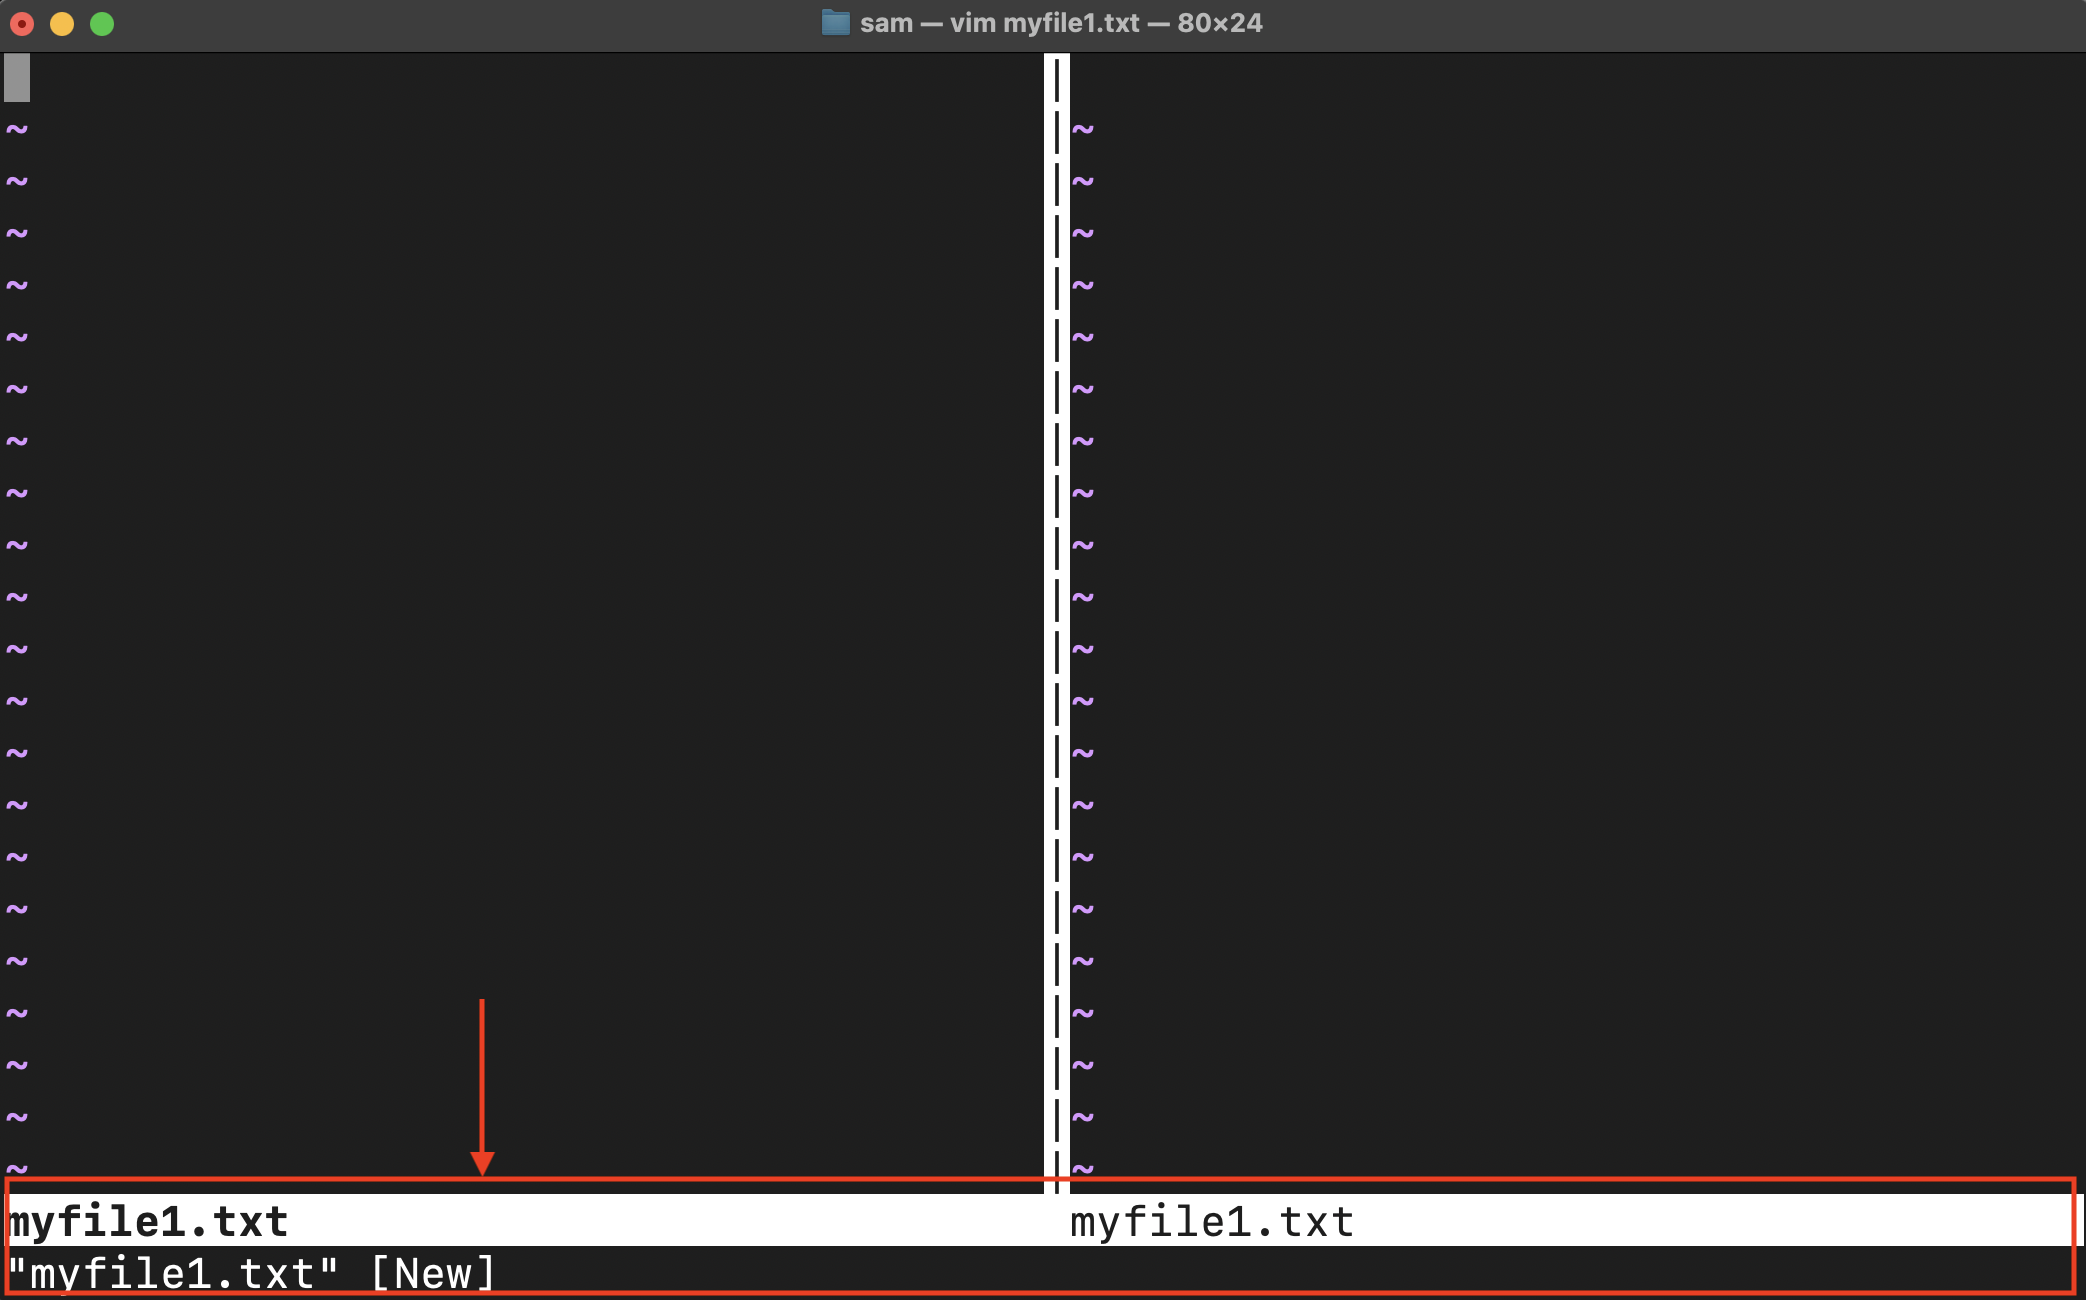
Use the %= option in the multiline Vim statusline to split the statuses left and right. Let’s split the following status and place the total number of lines on the right side of the window:
set statusline+=\ \-\
set statusline+=Line\ Number:%l
set statusline+=%=
set statusline+=Total Lines:%L
Now, the statusline will place the Total Lines option on the right of the window:
Change the Color of the Vim Statusline
To make a fully custom Vim statusline, you may want to change its color. To change the color, we will use the Vim highlight or hi option with ctermbg and ctermfg.
Open the vimrc file and type the StatusLine highlight:
Or:
The Status in the above command can be replaced with any identifier.
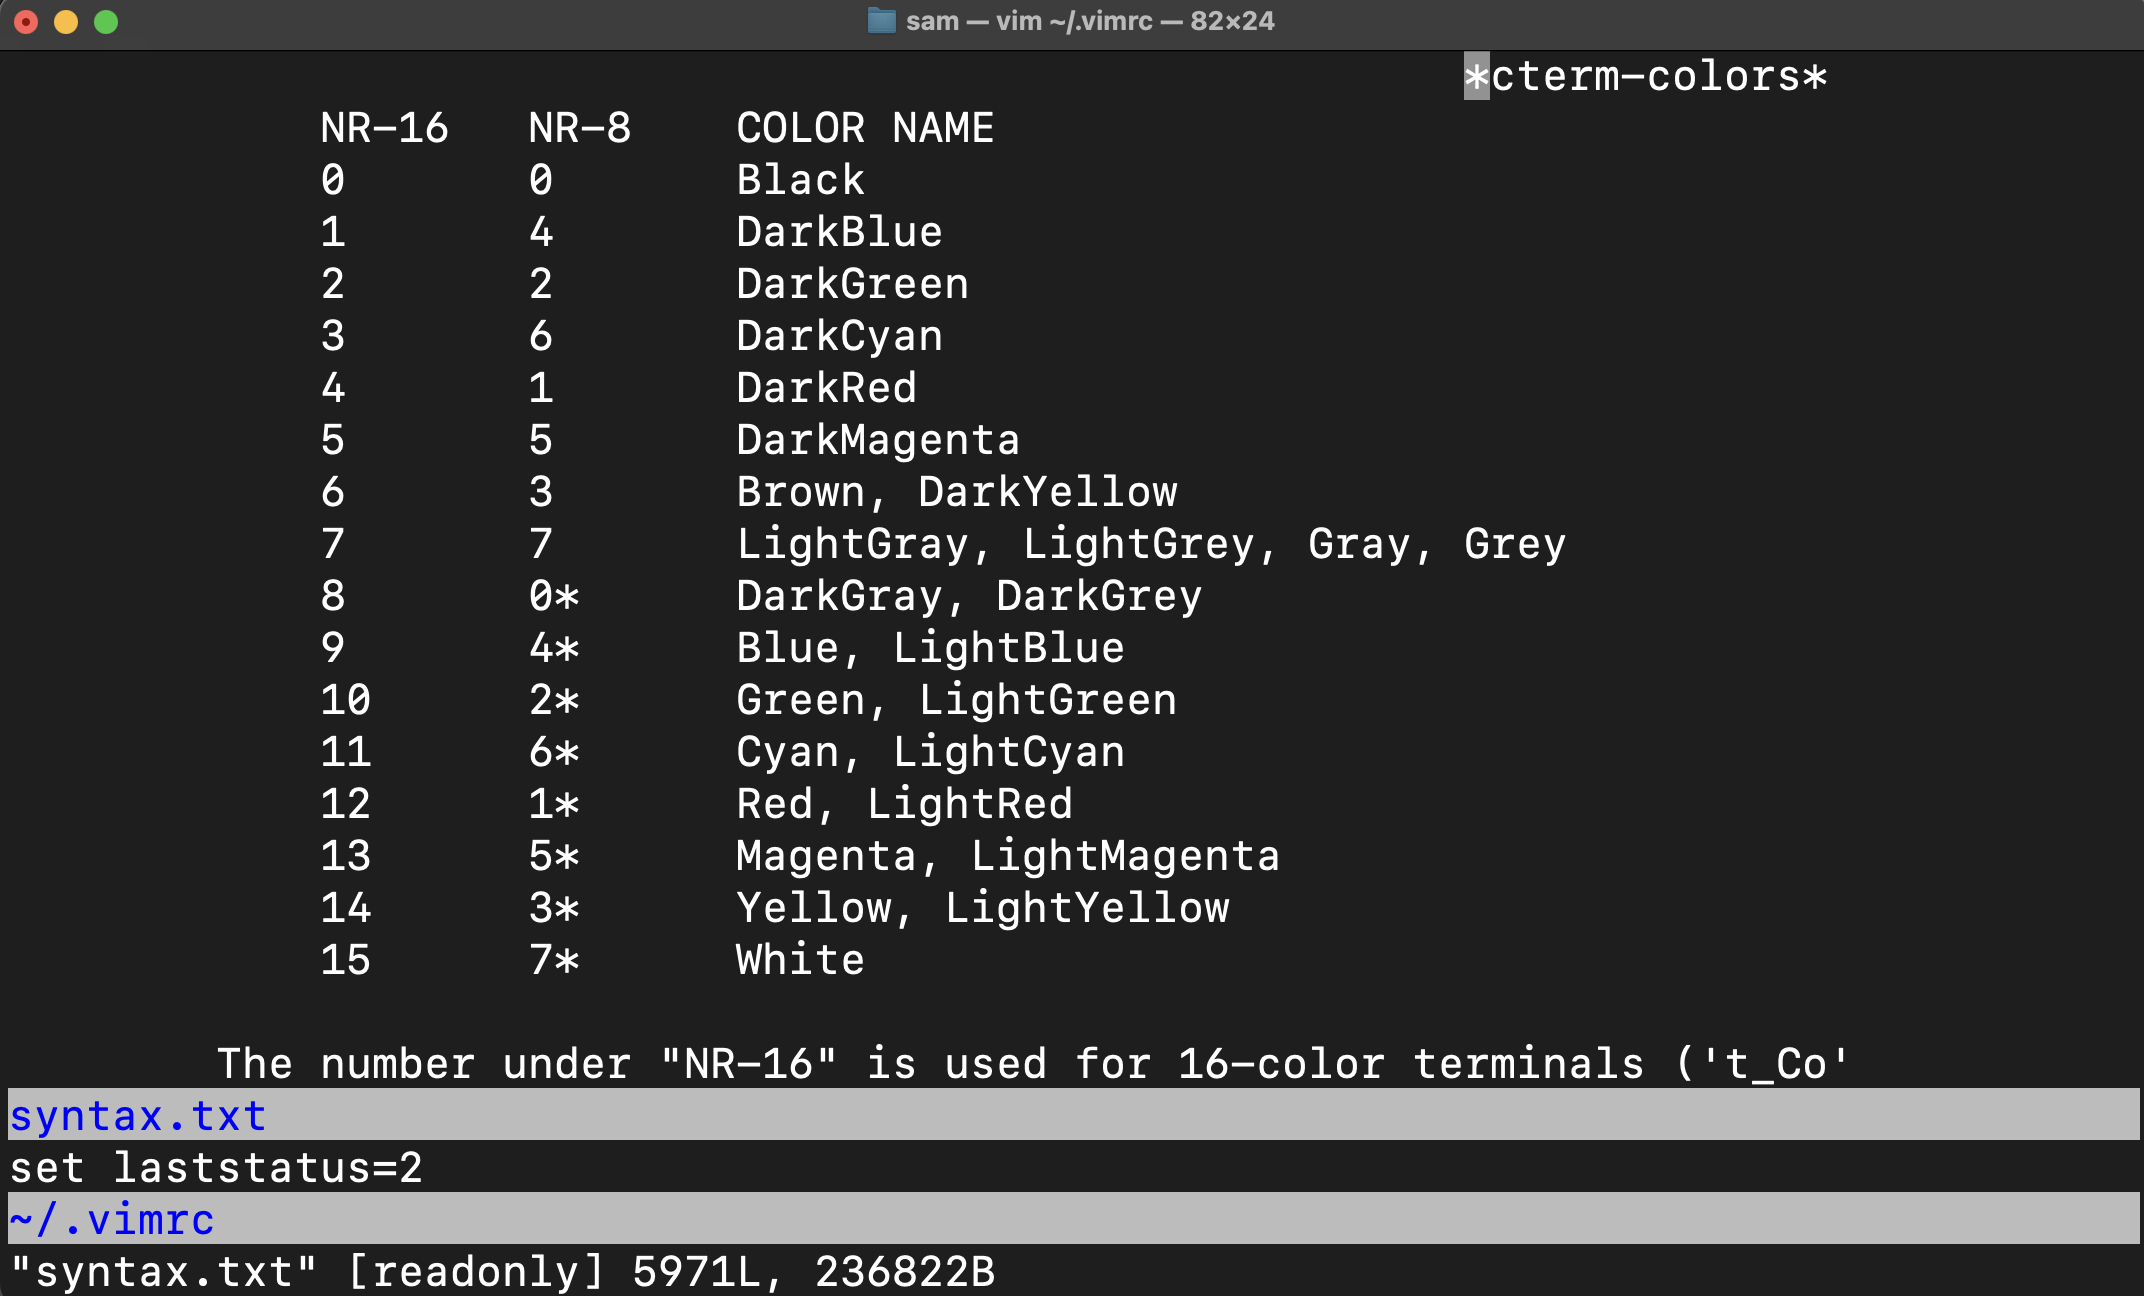
You can use explicitly color names or color codes from 0 to 256: see a list of colors that you can read here.
To read more about colors, run the command given below:
Creating a Custom Vim Statusline
Now, let’s utilize all the concepts given in above mentioned sections and create a custom statusline.
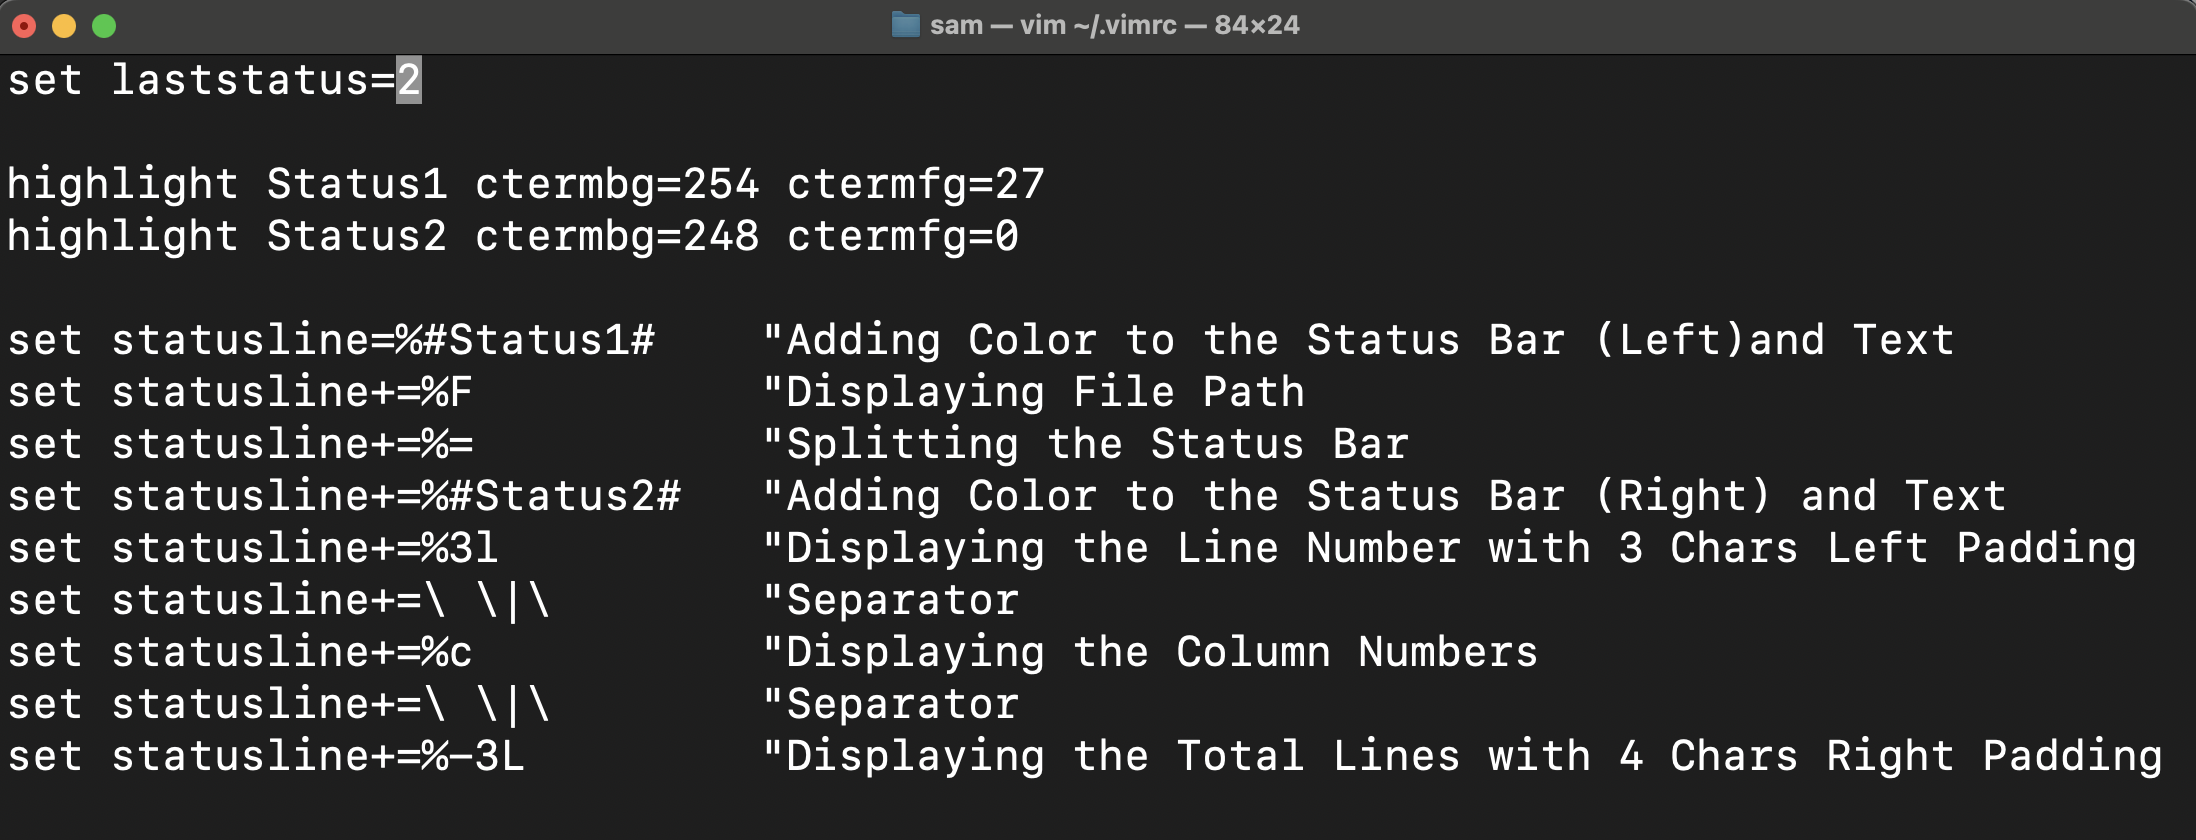
Assuming we want to create a customized statusline for our file, we can display the file path on the left side of the window. On the right side of the window, we can display the line number, column number, and the total number of lines. To make it distinguishable, we will separate the items with colors.
Note: The following commands will be placed in the vimrc file. To access vimrc file use the vim ~/.vimrc command in the terminal.
highlight Status2 ctermbg=248 ctermfg=0
set statusline=%#Status1#
set statusline+=%F
set statusline+=%=
set statusline+=%#Status2#
set statusline+=%3l
set statusline+=\ \|\
set statusline+=%c
set statusline+=\ \|\
set statusline+=%-3L
The status bar will look like:
We can make it more explicit by adding the text strings with the respective fields such as total lines, line number, or column number.
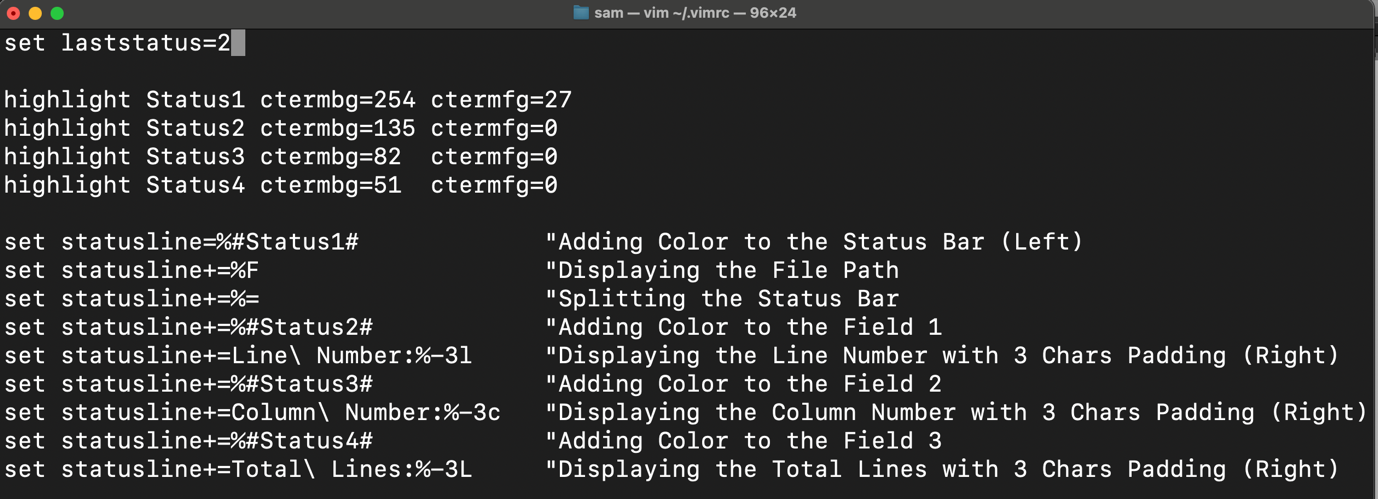
We can make separations based on color as well which will make the status bar more prominent:
highlight Status2 ctermbg=135 ctermfg=0
highlight Status3 ctermbg=82 ctermfg=0
highlight Status4 ctermbg=51 ctermfg=0
set statusline=%#Status1#
set statusline+=%F
set statusline+=%=
set statusline+=%#Status2#
set statusline+=Line\ Number:%-3l
set statusline+=%#Status3#
set statusline+=Column\ Number:%-3c
set statusline+=%#Status4#
set statusline+=Total\ Lines:%-3L
The status bar will be viewed as:
There are endless ways to customize the status bar by adding more options or options that you want to display.
Set Custom Vim Statusline Through Vim Script Function
Every command we run the Vim is made up of Vim Script which is a powerful feature to get more functionality out of Vim. For example: using Vim Script we can create any command with advanced functionality or a plugin from scratch.
We can also set the Vim Script function output to the Vim statusline.
First, open the vimrc file and create a custom function:
return "Hello Sam"
endfunction
Now, to set it as a custom Vim statusline, use the statusline command:
The custom Vim Script function can be utilized for many operations such as getting Git status, current Git branch, weather, or temperature.
Conclusion
Vim statusline provides an incredible way to customize your Vim experience. The Vim statusline is the way by which we can bring many hidden options to the screen without running specific commands. We can display the file path, line number, column number, and even the total number of lines at the status bar using the statusline command.


