
Check the Python Version
Before installing Python on Ubuntu, you must ensure that it’s not already installed on your Ubuntu Linux system. For that, you need to run the version command on the Command shell of the Ubuntu system. The “python” keyword must be entered as it is shown when running this command. The output of this instruction indicates that Python has not been found in the current system.

Install Python Using the Apt Package
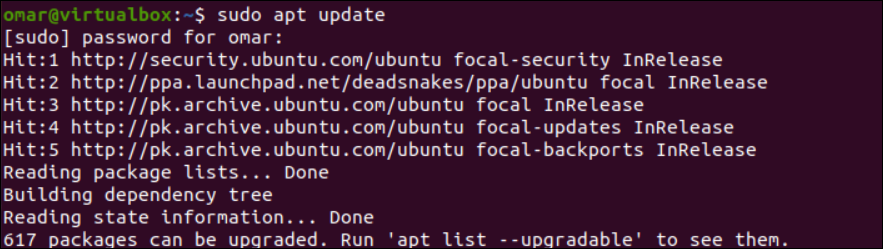
Now, we need to update the system repositories. We use the “apt” update command with the “sudo” keyword for this. The password of the user who is currently logged in must be entered before this command can be executed.

It’s necessary to install all the supporting software and any prerequisite required to install Python in the Ubuntu system. For this, Ubuntu allows you to use the software-properties-common package that supports the Python package. Installing it with the “apt” instruction enables the addition of the “ppa” repository in the Ubuntu system.

It requires your confirmation before processing, so you may cancel it anytime. Tap on “y” to continue its installation.

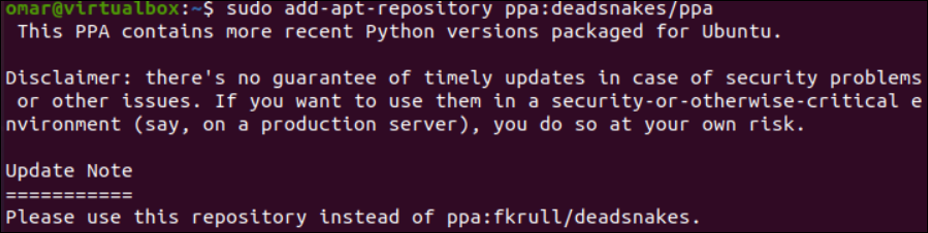
After successfully adding the software-properties-common package, your Ubuntu system can now add the PPA Deadsnakes repository of Python. After executing the following “add-apt-repository” instruction followed by the deadsnakes repository path, you can add it to your system.
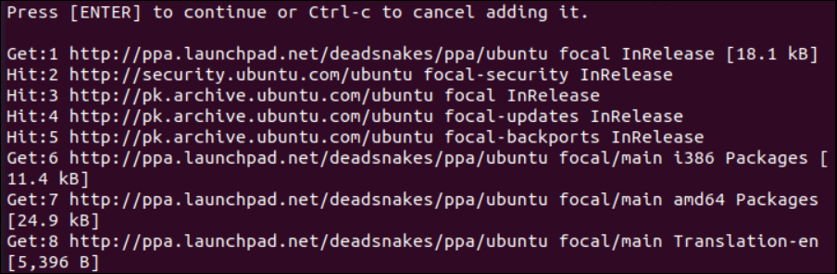
After a while, it may ask you to press ENTER to continue the processing of adding a repository or stop this process by pressing “Ctrl-c”. Upon pressing ENTER, the processing for the addition of the repository will be displayed.
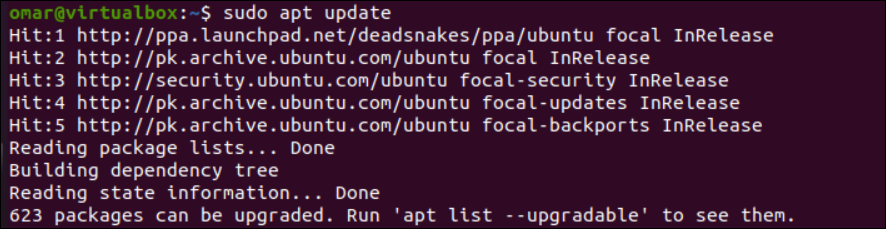
After successfully adding the deadsnakes repository, it’s time to update the system and its repositories once again via the “update” instruction that is executed via the “apt” package.
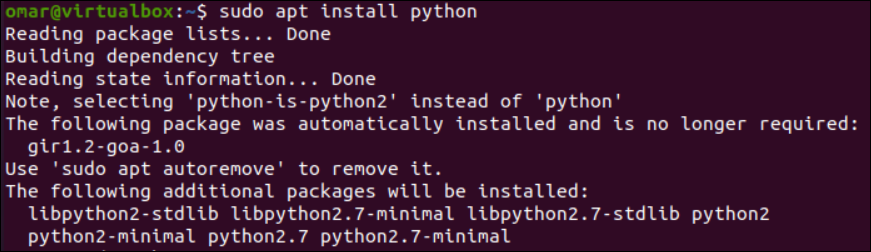
Now, our Ubuntu system is ready for the installation of Python. Using the “apt” package, we install the Python language in our system via the “install” instruction as displayed:
This installation also requires the confirmation of a currently logged-in user. Thus, tap ENTER to continue the installation process of Python.

Finally, update your system packages once again via the “apt update” instruction.

Upon running the “version” command, we find that the Python version 2.7.18 is successfully installed in our Ubuntu system using the “Apt” repository.

Install Python Using the Source Code
It’s time to install Python from the source code that is located at the developer site. Before moving towards the installation, ensure that the system repositories are updated via the “update” instruction that is executed with the “apt” package.
The Ubuntu system requires some prerequisites to be installed before installing Python through the developer’s source code. These prerequisites are some packages like development libraries that Ubuntu allows us to install. We use the “installation” command with the “apt” package to install these packages. The packages to be installed are listed in the image and query, i.e. build-essential, libncurses5-dev, etc.
sudo apt install build-essential zlib1g-dev libcurses5-dev libgdbm-dev libnss3-dev libssl-dev libreadline-dev libffi-dev wget
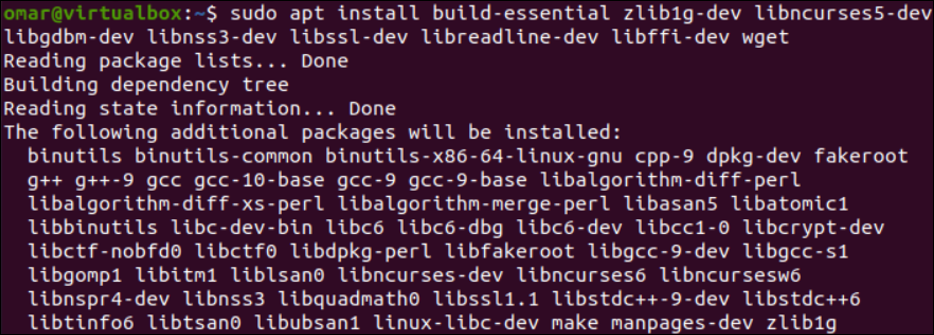
As these packages require some other packages to be installed, the system asks for confirmation to do so. After confirming this process by tapping on “Y”, you can install all the packages and their prerequisites as well.

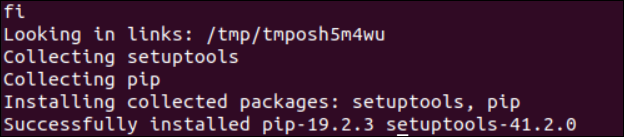
After successfully installing the supporting packages for Python, we need to move within the “tmp” directory of our Ubuntu system. Use the “cd” instruction for this purpose.
After moving within the “tmp” directory, we utilize the “wget” instruction of Python to get the latest version of Python that is available at its official site through the URL. The “tgz” file is downloaded in the “tmp” directory.
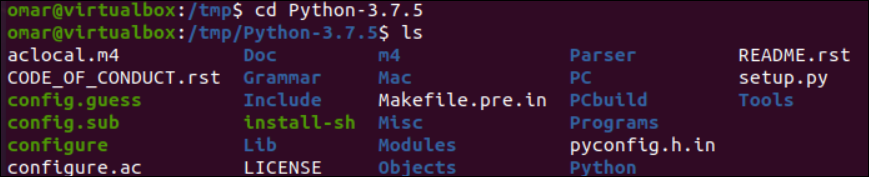
To unzip the “tgz” file, we use the “tar” command with the “-xf” options followed by the name of a Python file that we just got from the official site of Python. The Python’s “tgz” file is successfully unzipped in a new folder, “Python-3.7.5,” as the “ls” command shows.
ls
It’s time to move within the unzipped folder of Python via the “cd” instruction and list its content. It contains the configuration files, setup and installation files, etc.
We need to optimize the Python in our system before its proper installation. The configured folder will be utilized in the instruction with the “./” startup and “–enable-optimization” options.

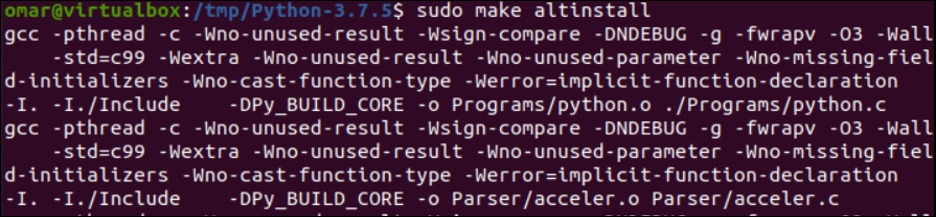
The processing of the aforementioned instruction can take up to 10 minutes. So, relax until it gets done. The installed software on your Linux system can be Python-2 dependent. To create the alternative installation for Python’s latest version, you need to use the altinstall “make” instruction in the command line as displayed. This installs the latest version of Python separately without even interrupting the older version of Python within the Ubuntu Linux system.
This process takes too much time and requires your patience until it gets completed.

After installing Python’s latest version, the successful installation message will be displayed as follows:
Now, you can execute the “version” instruction in the command shell to display the installed version of Python-3 at your end. The output of this instruction displays that Python 3.7.5 is installed instead of Python 2.
To uninstall Python’s specific version, method the Python’s version within the apt “remove” instruction and follow the instructions.

Conclusion
This guide elaborates on installing Python on the Ubuntu Linux system in the easiest way. For this, we chose to install Python in two different ways. The first method is the conventional method of installing Python, and the second method demonstrates the installation using the Source code via Python’s official website to install the latest version without modifying the previous installations.