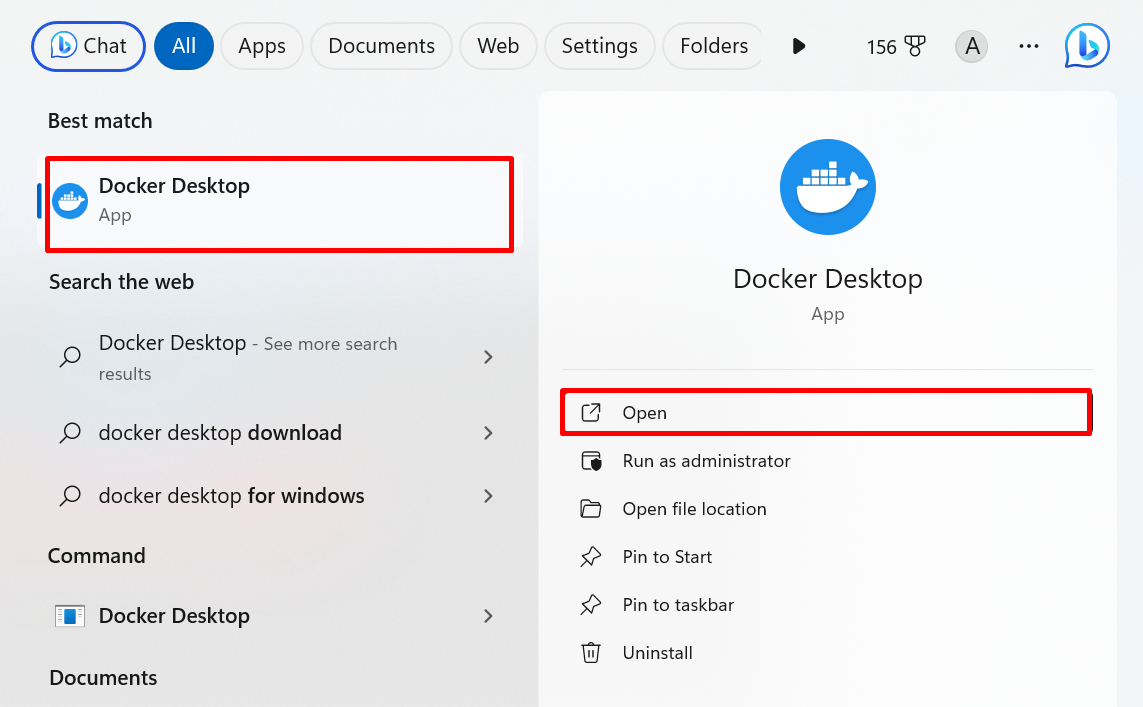
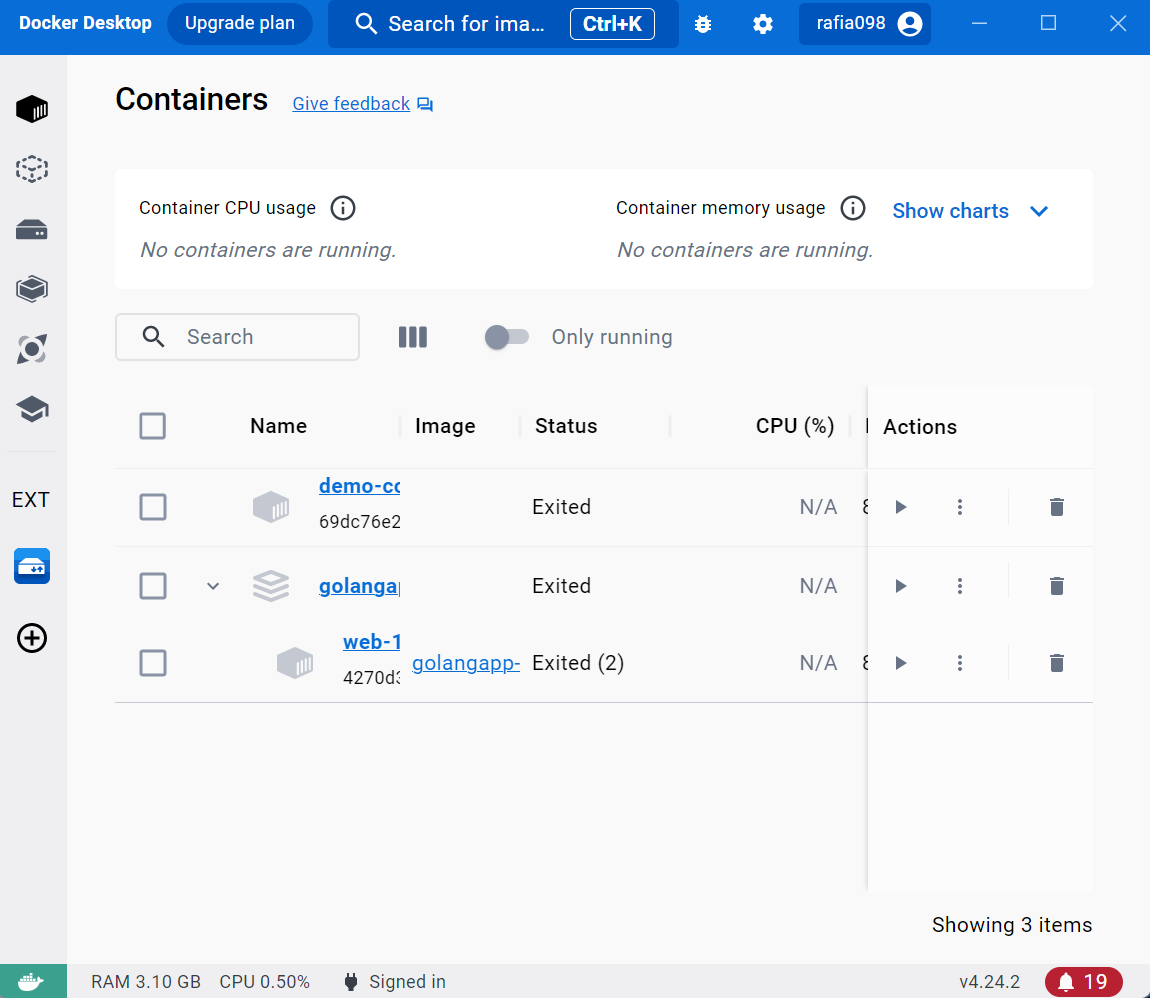
Docker Desktop is a GUI version of the Docker community that is utilized to manage and process Docker components such as Docker containers, Docker images, and Docker volume interactively. Sometimes, while launching the Docker Desktop application, the user may encounter the “Docker Desktop stopped” or “Docker Engine stopped” error.
This error can occur due to different reasons such as the user intentionally or unintentionally disabling the virtualization of the system, a problem in the Docker configuration file, HyperV being disabled, or any unknown reason:
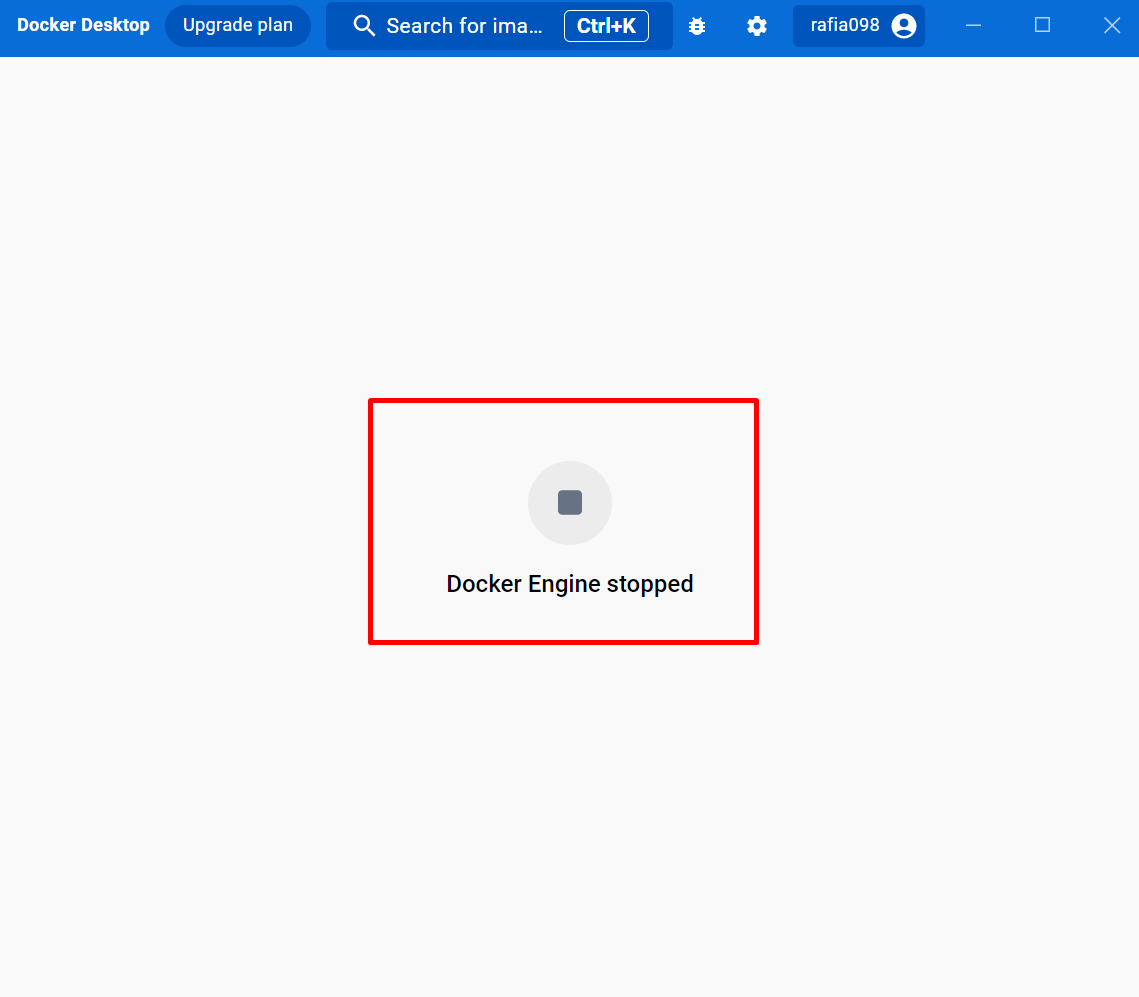
In this blog, we will demonstrate how to fix the “Docker Desktop Stopped Error” issue on Windows through the following outline:
- Solution 1: Set the “wslEngineEnabled” Value to “True” in “settings.json” File
- Solution 2: Enable System Virtualization
- Solution 3: Install WSL2 Linux Kernel Update
- Solution 4: Turn on HyperV of the System
- Solution 5: Remove “.docker” Directory and Relaunch Docker Desktop App
- Solution 6: Reinstall the Docker Desktop Application
- Conclusion
Solution 1: Set the “wslEngineEnabled” Value to “True” in “settings.json” File
Sometimes, while configuring Docker settings, the user may unintentionally turn off the WSL engine. This can cause a “Docker Desktop or Docker Engine Stopped” error on Windows. To fix the stated problem, follow the below demonstration.
Step 1: Navigate System User Directory
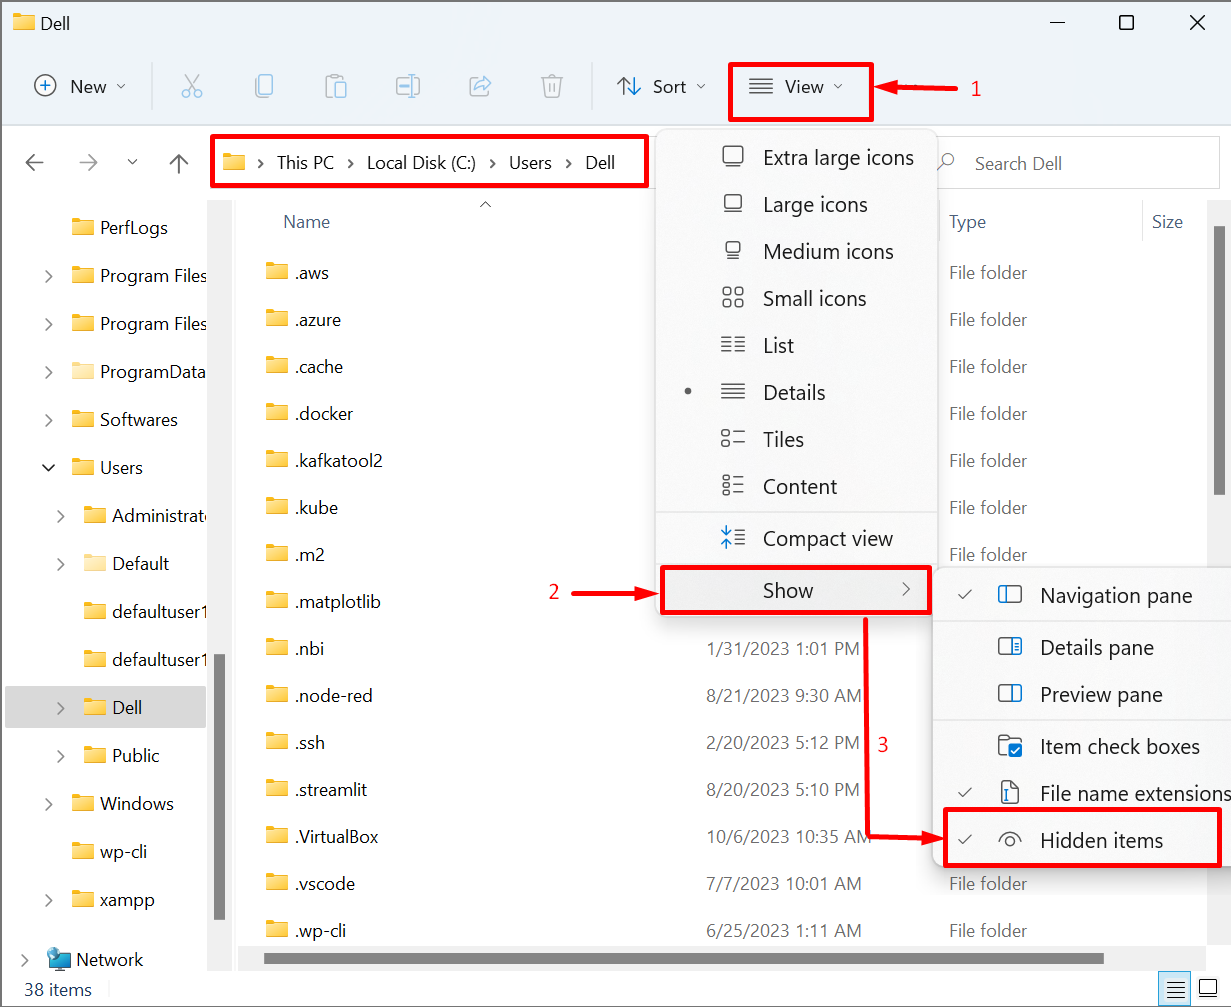
First, open the system’s User directory. After that, show all hidden folders. To do so, first, open the “View” menu. Then, click on the “Show” option and mark the “Hidden items” option from the sub-context menu to view the hidden directories:
Step 2: Open AppData Hidden Directory
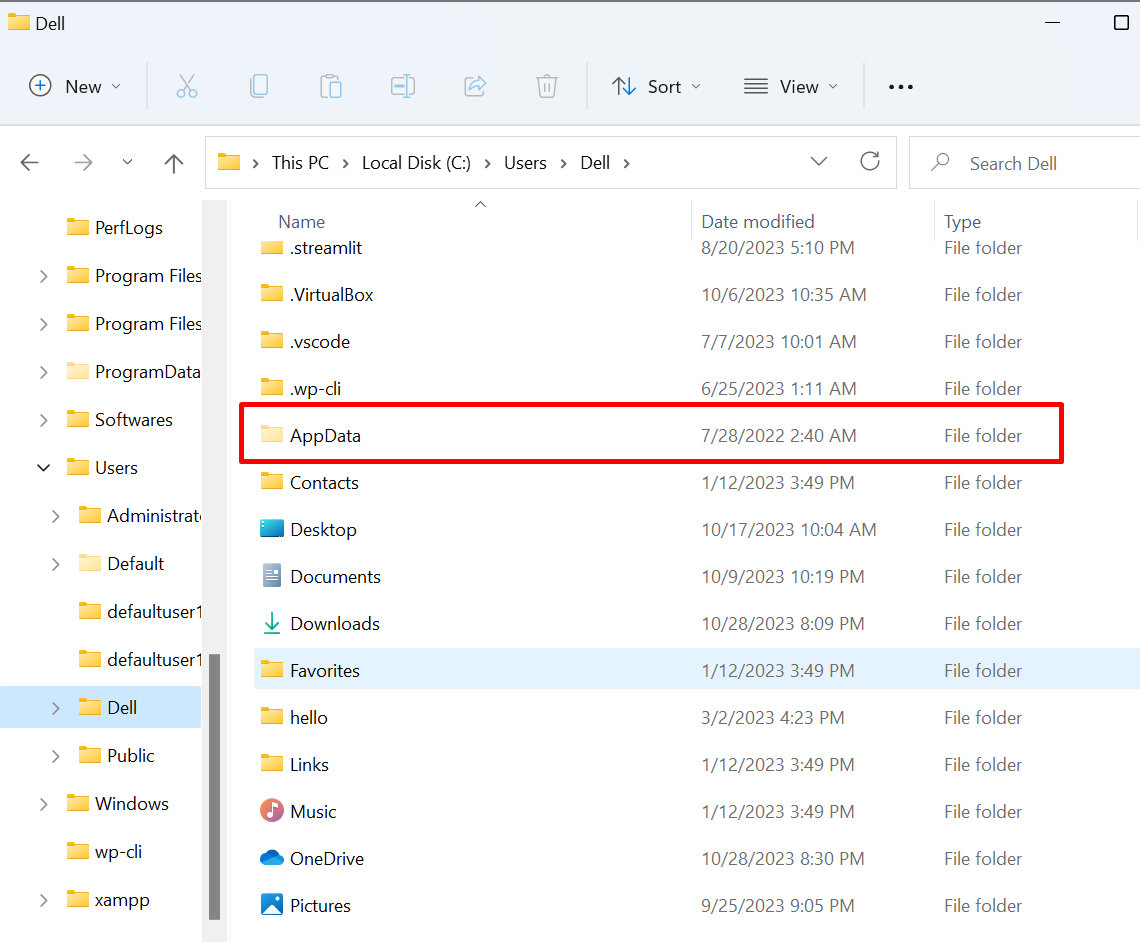
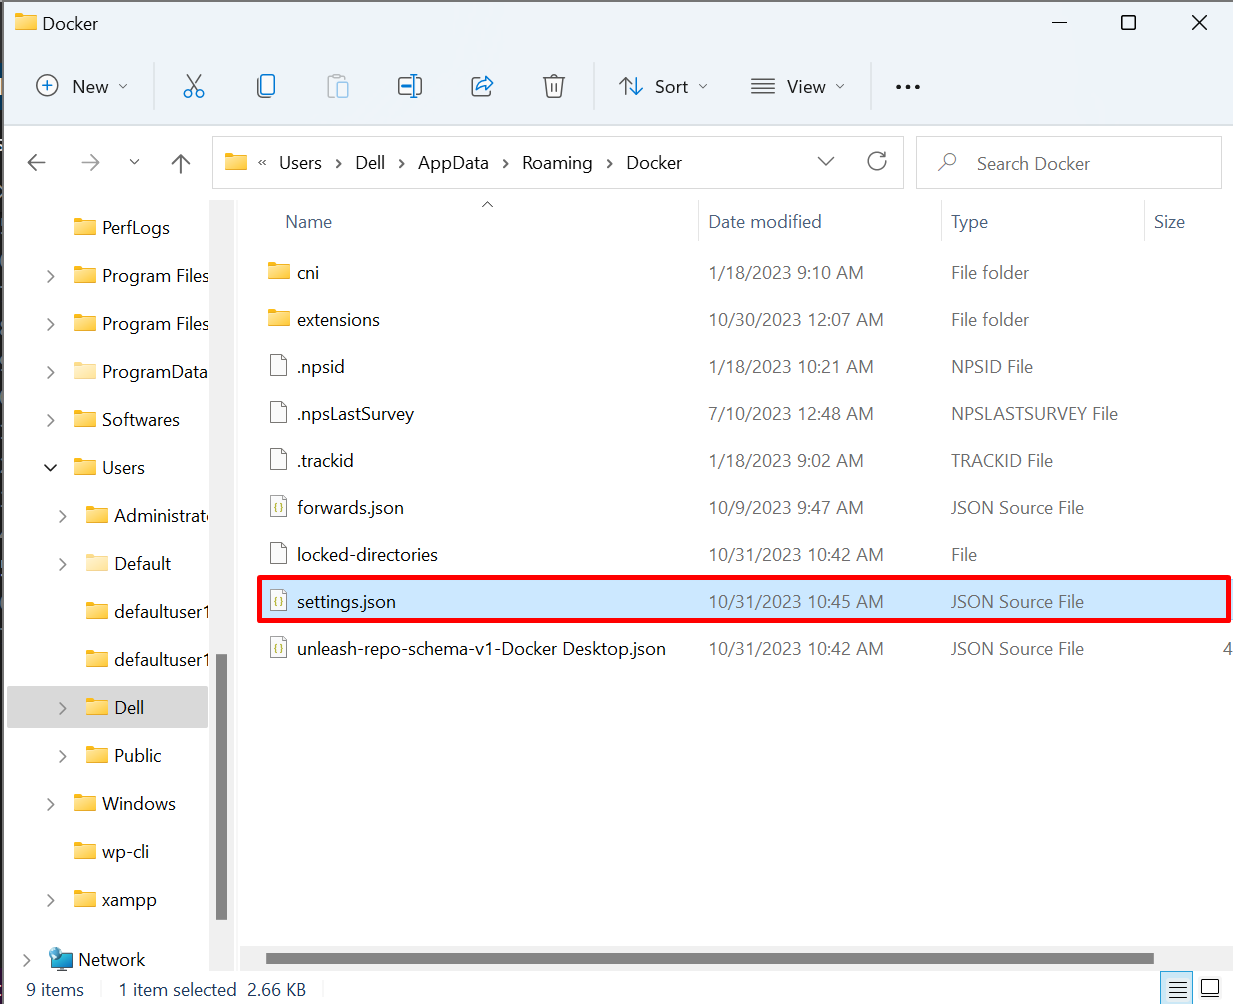
Now, open the “AppData” hidden folder. After that, navigate to the “AppData > Roaming > Docker” directory:
Step 3: Launch “settings.json” File
Open the “settings.json” file in any text editor from the “Docker” directory:
Step 4: Set the “wslEngineEnabled” Value as “true”
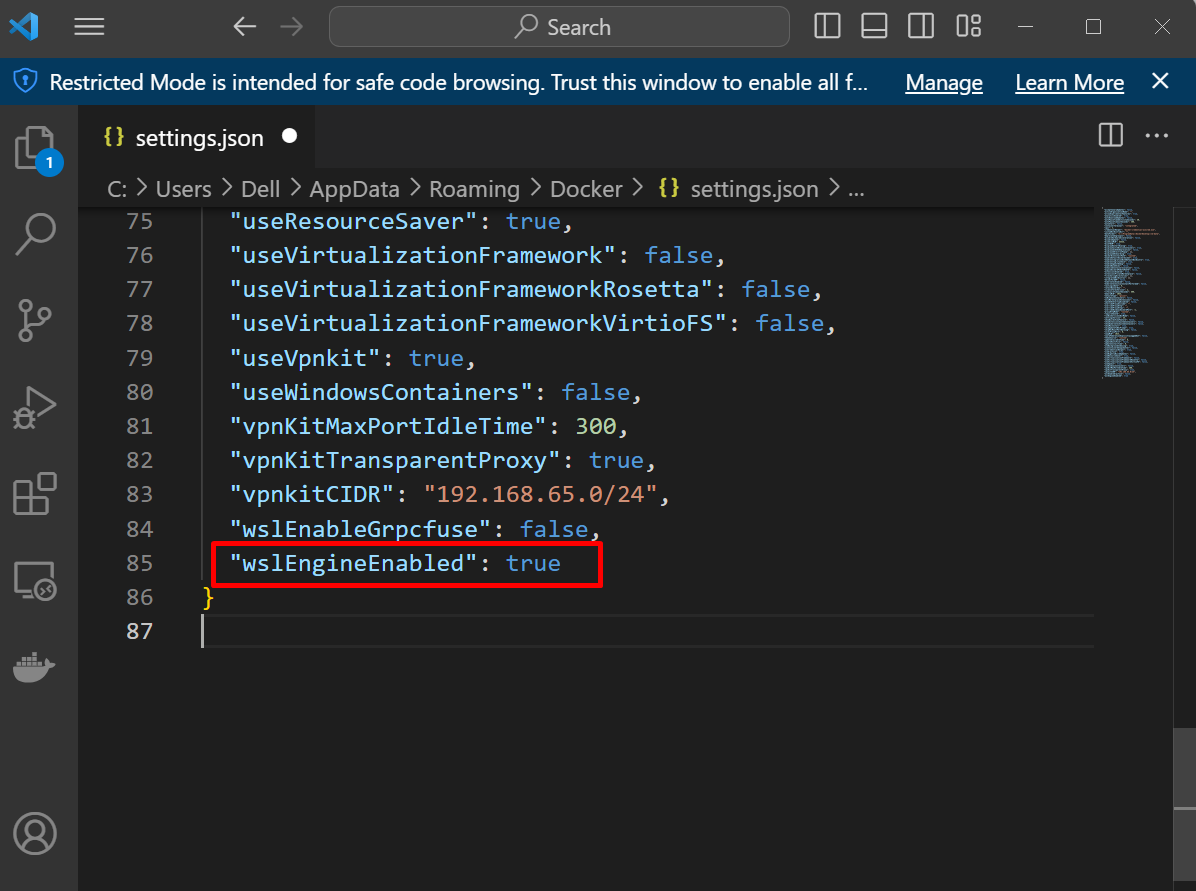
Now, scroll down to end and set the “wslEngineEnabled” value as “true” as highlighted below:
Save the file using the “CTRL+S” key and reboot the Window to implement the changes.
Step 5: Open the Docker Desktop App
Lastly, open the Docker Desktop app via the Windows “Startup” menu and check if the error is resolved or not:
The below output indicates that we have successfully resolved the “Docker Engine Stopped” error:
Solution 2: Enable System Virtualization
When the system virtualization is disabled, Docker Desktop cannot start on the system as its components like Docker containers use OS level of virtualization. To resolve the stated issue, make sure system virtualization is enabled. To check if the system’s virtualization is enabled or not, and to enable it, follow the listed steps.
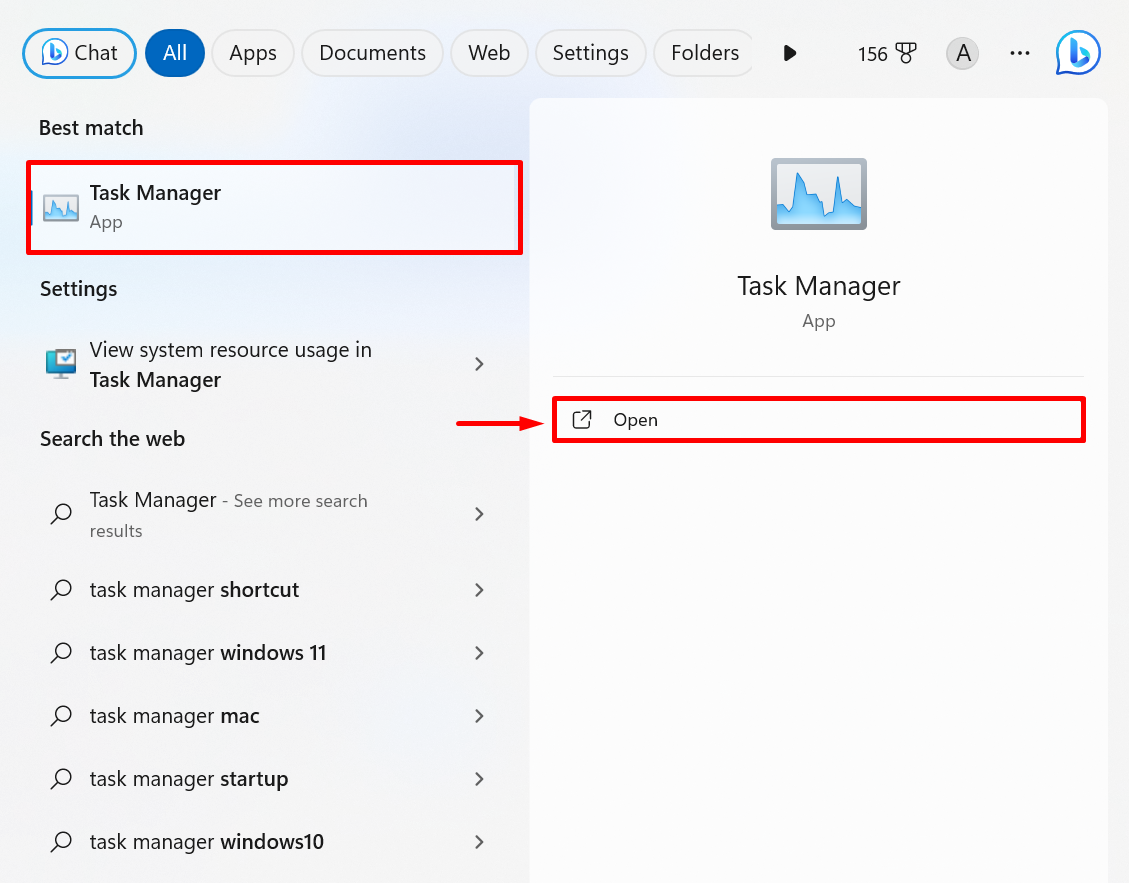
Step 1: Launch Task Manager App
First, launch the Task Manager app from the “Startup” menu:
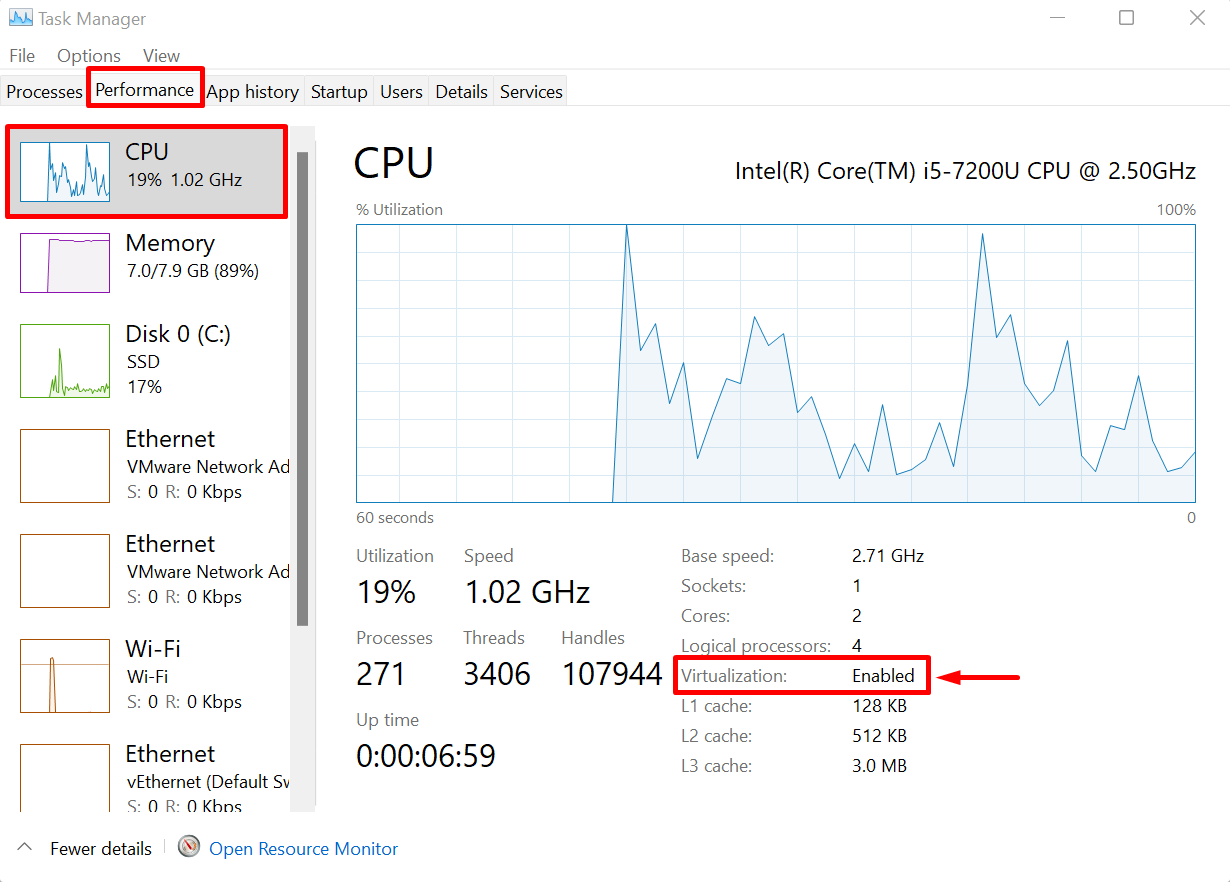
Step 2: Check System Virtualization Status
Next, navigate to the “Performance” menu. After that, open the “CPU” pane and check whether system virtualization is enabled or not. The below output shows that our system’s virtualization is already enabled:
Step 3: Enable Virtualization From Bios
In case, the virtualization is disabled, the user can enable it from BIOS settings. To enable the virtualization on Windows, go through the listed instructions.
- Power OFF the system
- Restart the system, while restarting press F2, F10, F12, or Delete Key to access the BIOS settings. These keys are dependent on system configurations. Users can also find the suitable key to enter BIOS from the system manufacturer’s website.
- After that, open the “Virtualization Technology” option and enable the system’s virtualization.
- Save the new changes and exit the BIOS settings.
After that, start the system, relaunch the Docker Desktop app, and verify if the problem is resolved or not.
Solution 3: Install WSL2 Linux Kernel Update
The Docker Desktop application is unable to start if the user does not have installed the Linux kernel update. To do so, first, download the installer of the WSL2 Linux kernel update by hitting the attached link:
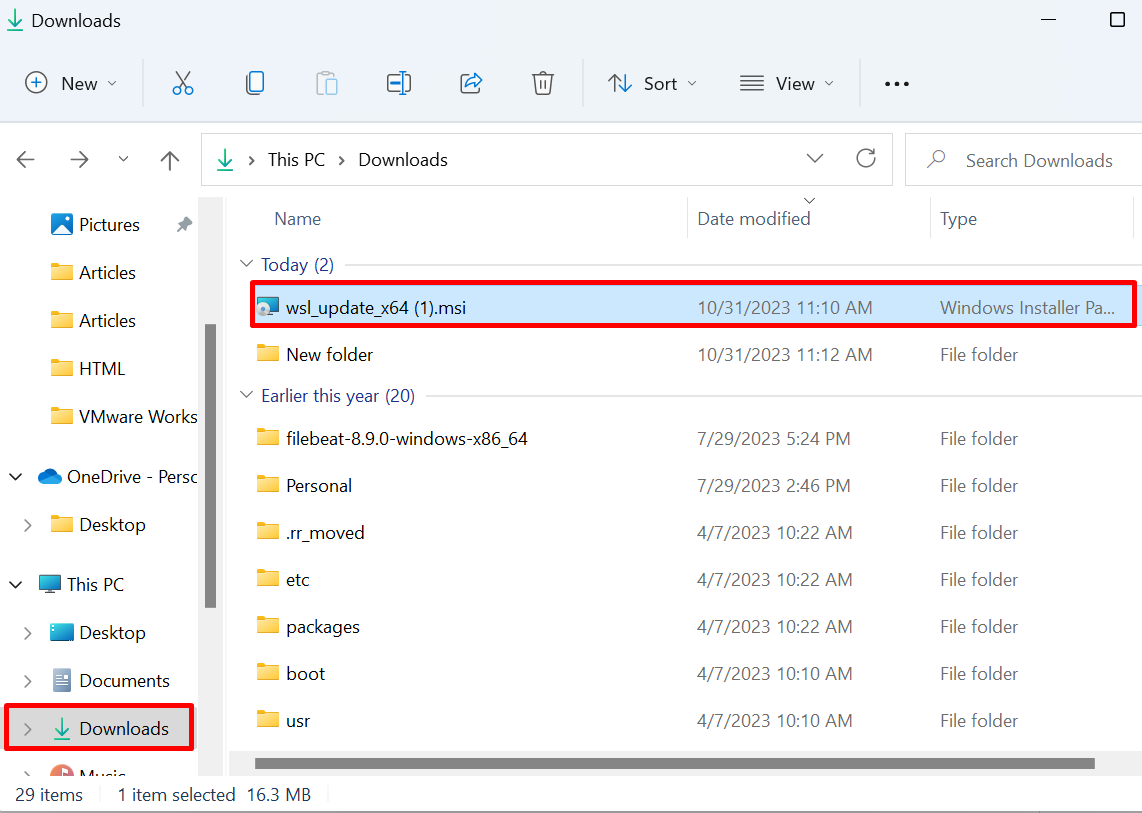
After that, navigate to the “Downloads” directory of the system, double-click on the below-highlighted installer, and install the WSL2 Linux kernel update:
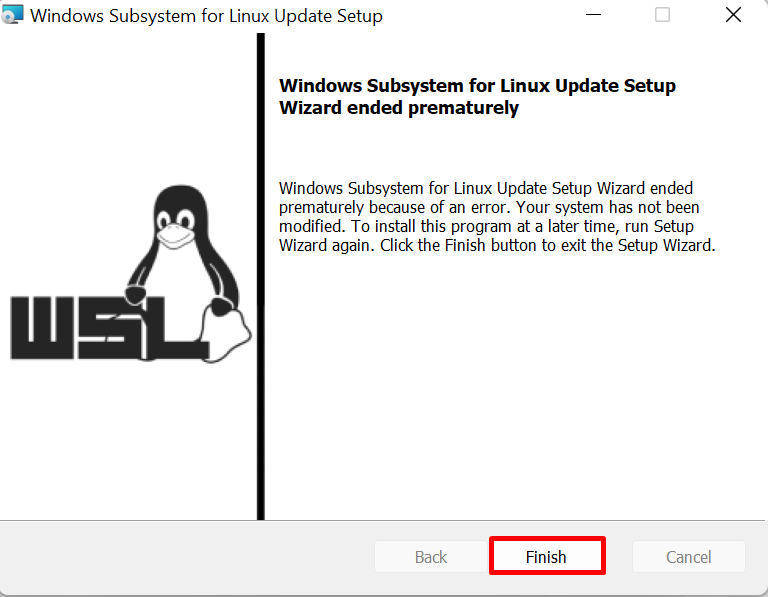
After completing the installation process, hit the “Finish” button:
Now, relaunch the Docker Desktop application to verify if the issue is fixed or not.
Solution 4: Turn on HyperV of the System
The HyperV is a hardware virtualization of the Microsoft community that gives support to the VM network. If system HyperV is disabled, the user may encounter a “Docker Engine Stopped” or “Docker Desktop Stopped” error. To fix the stated issue, turn on the system’s HyperV using the following instructions.
Step 1: Open Windows Features Settings
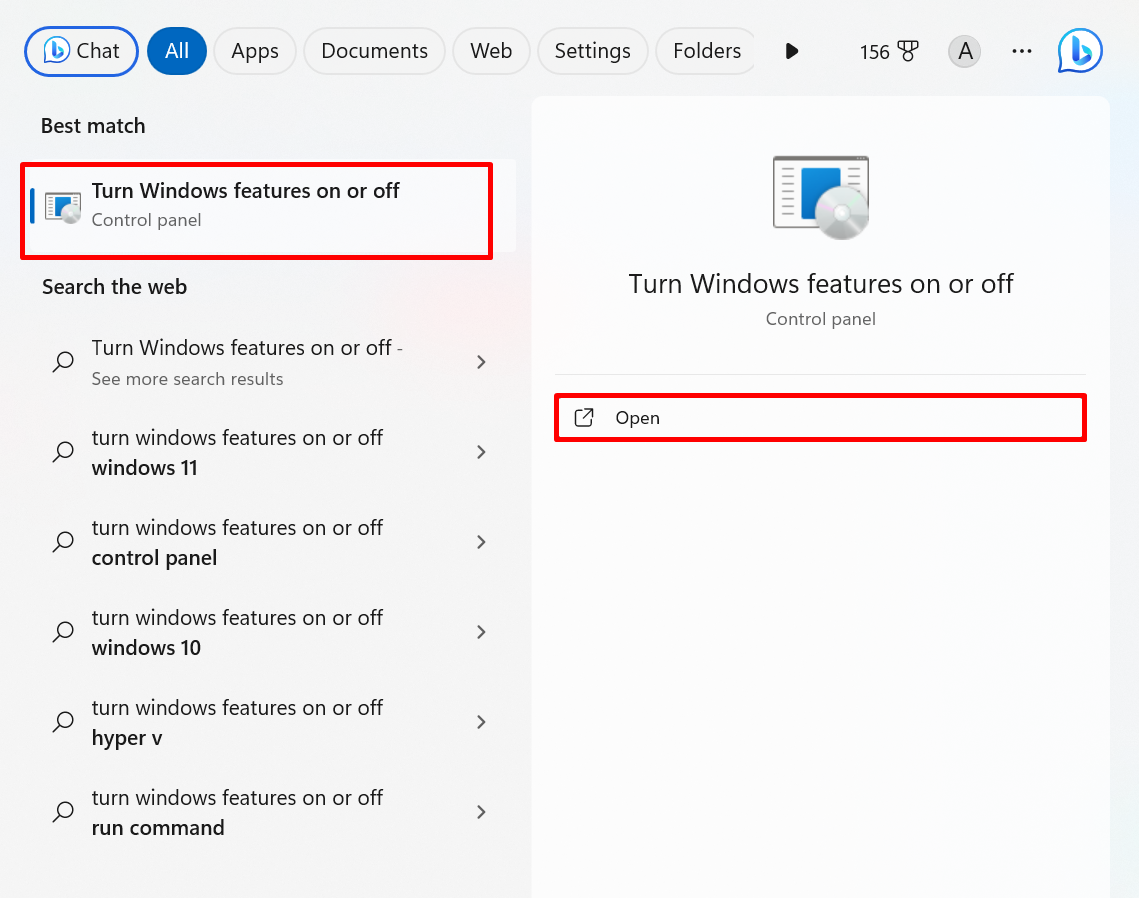
First, launch the Windows features settings. For this purpose, make a search for “Turn Windows feature on or off” Control Panel settings in the “Startup” menu and launch the searched settings from the search results:
Step 2: Enable HyperV
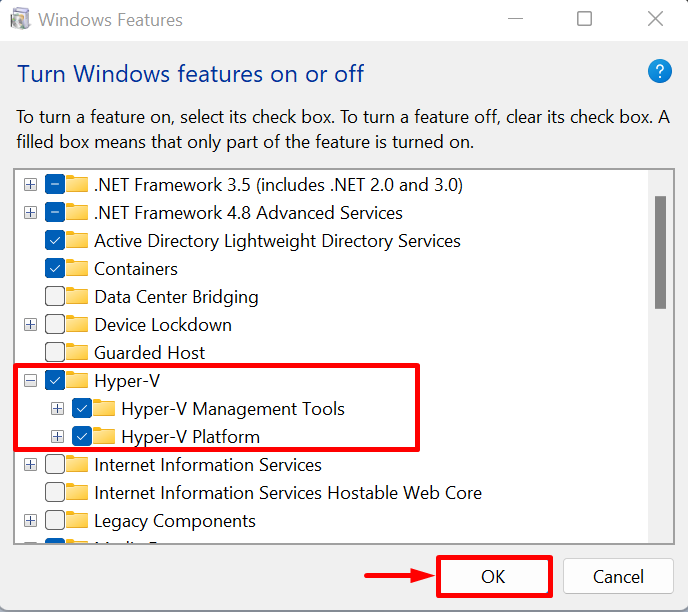
After that, mark the below-pointed checkboxes to enable the HyperV feature of Windows:
Step 3: Launch the Windows PowerShell
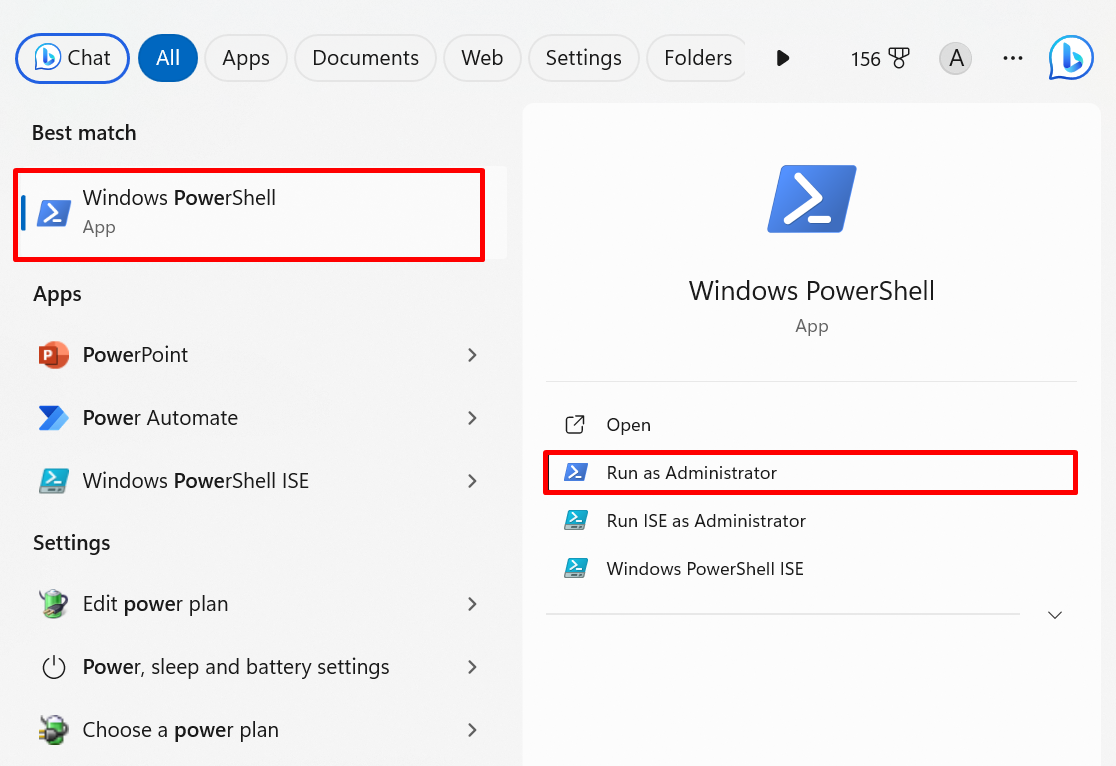
After that, launch the Window PowerShell as administrative privileges via the Start menu:
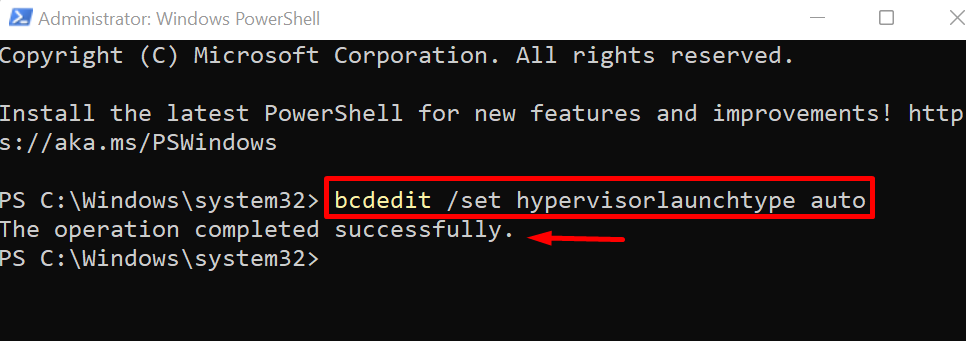
Step 4: Set HyperV Launch Type Auto
Now, execute the below-mentioned command to enable the HyperV on the system:
After that, reboot the system and relaunch the Docker Desktop application.
Solution 5: Remove “.docker” Directory and Relaunch Docker Desktop App
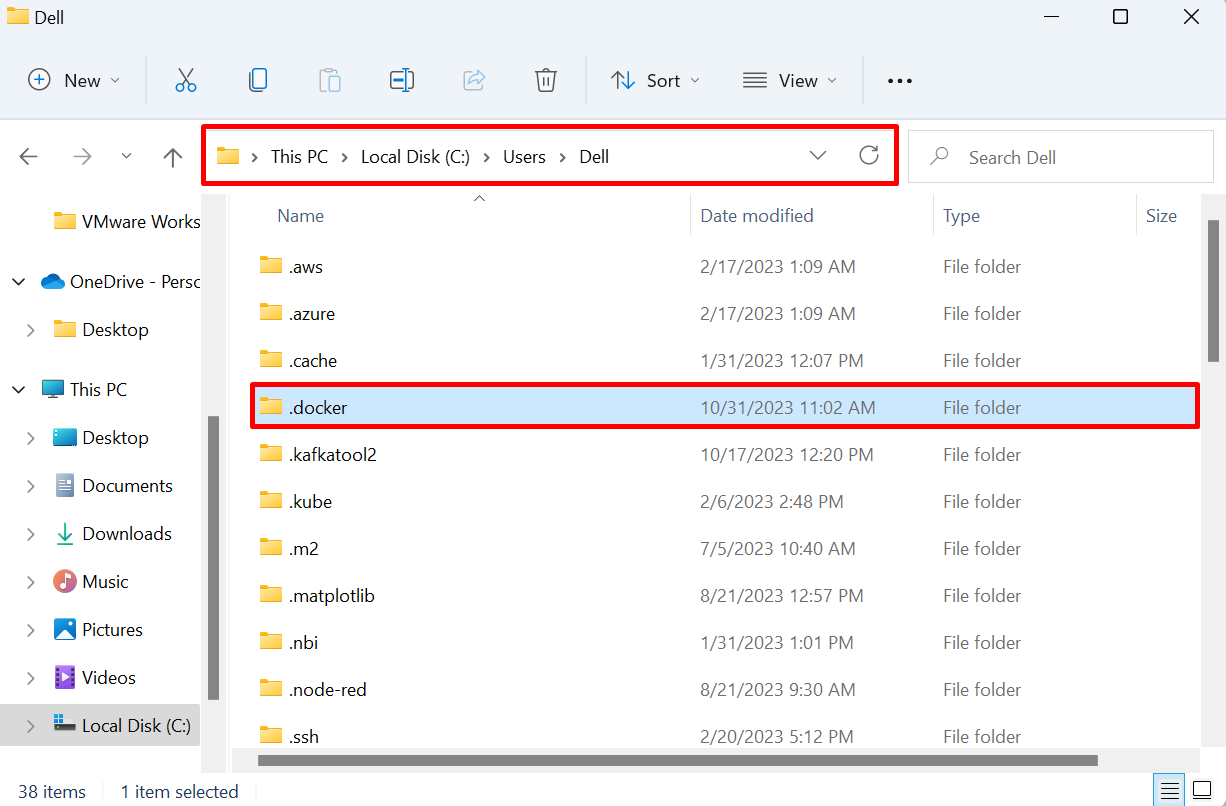
Sometimes problems with the Docker build context, or configuration settings can cause the “Docker Desktop stopped” or “Docker Engine stopped” error. To resolve the mentioned issue simply remove the “.docker” directory from the system “<C:\Users\<UserName>” directory. To do so, select the “.docker” folder and hit the DELETE key:
After that, relaunch the Docker desktop application. This will recreate the “.docker” directory with fresh configuration settings and resolve any Docker Desktop application issue.
Solution 6: Reinstall the Docker Desktop Application
If all the above-mentioned solutions do not work to resolve the stated issue, then try to reinstall the Docker Desktop application on the system. For this purpose, follow the below-stated steps.
Step 1: Uninstall Docker Desktop Application
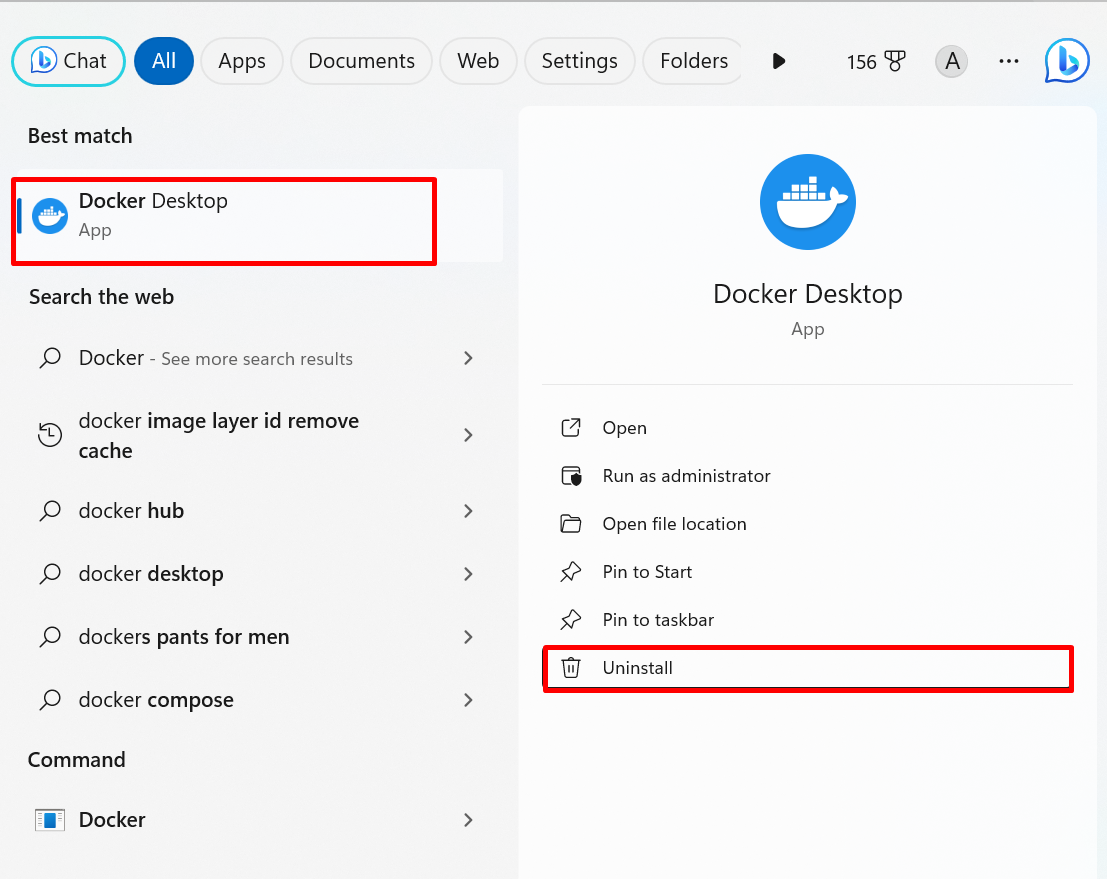
Search for the Docker Desktop application in the Start menu and hit the “Uninstall” option:
Upon doing so, the “Uninstall or change a program” setting will appear on the screen. Right-click on the Docker Desktop application and hit “Uninstall” to uninstall the app:
Step 2: Reinstall Docker Desktop
Now, follow our linked article “Install Docker Desktop Application on Windows” to reinstall the app on the system.
That is all about fixing the “Docker Engine Stopped” or “Docker Desktop Stopped” issue.
Conclusion
To fix the Docker desktop stopped error on Windows, set the “wslEngineEnabled” value to “true” in the “settings.json” file, enable system virtualization, install WSL2 Linux Kernel Update, and enable HyperV. If the issue still persists, try to reinstall the Docker desktop application. This blog has illustrated how to fix the Docker Desktop stopped error on Windows.

